
The affiliate registration form is where partners join your program. Affiliate and Referral Program for WooCommerce ships four ready-made form designs, lets you recolour them, and lets you add your own questions — a website address, a social handle, an audience size — that are saved with the application. This guide covers where the form appears, how to style it, and how to collect the extra information you need. Part of the Affiliate and Referral for WooCommerce documentation.
Where the form appears
↑ Back to topBy default the signup form is built into your affiliate page: a logged-out visitor who opens it sees the registration form, while an affiliate who is signed in sees their dashboard.
To give signups their own URL — useful when you link to it from a landing page or a social profile — create a page containing the [rtwapwcm_aff_reg_page] shortcode, then go to WooCommerce > Affiliate & Referral > Advanced Features > General and choose it under Affiliate Signup page. If you would rather the affiliate page did not also show the form, turn on Hide Registration Form on the same screen.
What applicants fill in
↑ Back to topEvery design collects the same core details: Username, E-Mail, Phone No., Password and a password confirmation. Submitting the form creates an ordinary WooCommerce customer account with affiliate status attached, so applicants do not need a separate login.
Whether they can start promoting immediately is your choice: with Affiliate Verification on (Advanced Features > General) each application waits for your approval on the Affiliates screen; with it off, new affiliates are active as soon as they register.
After registering, the new affiliate is taken to your My Account page to sign in, with the message Registration successful. Please log in to continue. To use your own wording, fill in Title for “Successful Registered user” under Advanced Features > Labels. If registration fails, the form shows the problem instead and no success message appears.
With Signup Bonus Type set to Referral Code under Bonuses > Bonus settings, the form also shows a Referral Code field that applicants must fill in. Publish a code alongside your signup link, or applicants who found you on their own cannot complete the form. See Signup, Click, Sharing and Lead Bonuses for Affiliates.
Choose a form design
↑ Back to top- Go to: WooCommerce > Affiliate & Referral > Templates > Register.
- Pick one of Template 1 to Template 4 in Choose Register Template.
- Press Preview to see it before committing.
- Save Changes.
The four designs differ in layout and emphasis rather than in what they collect:
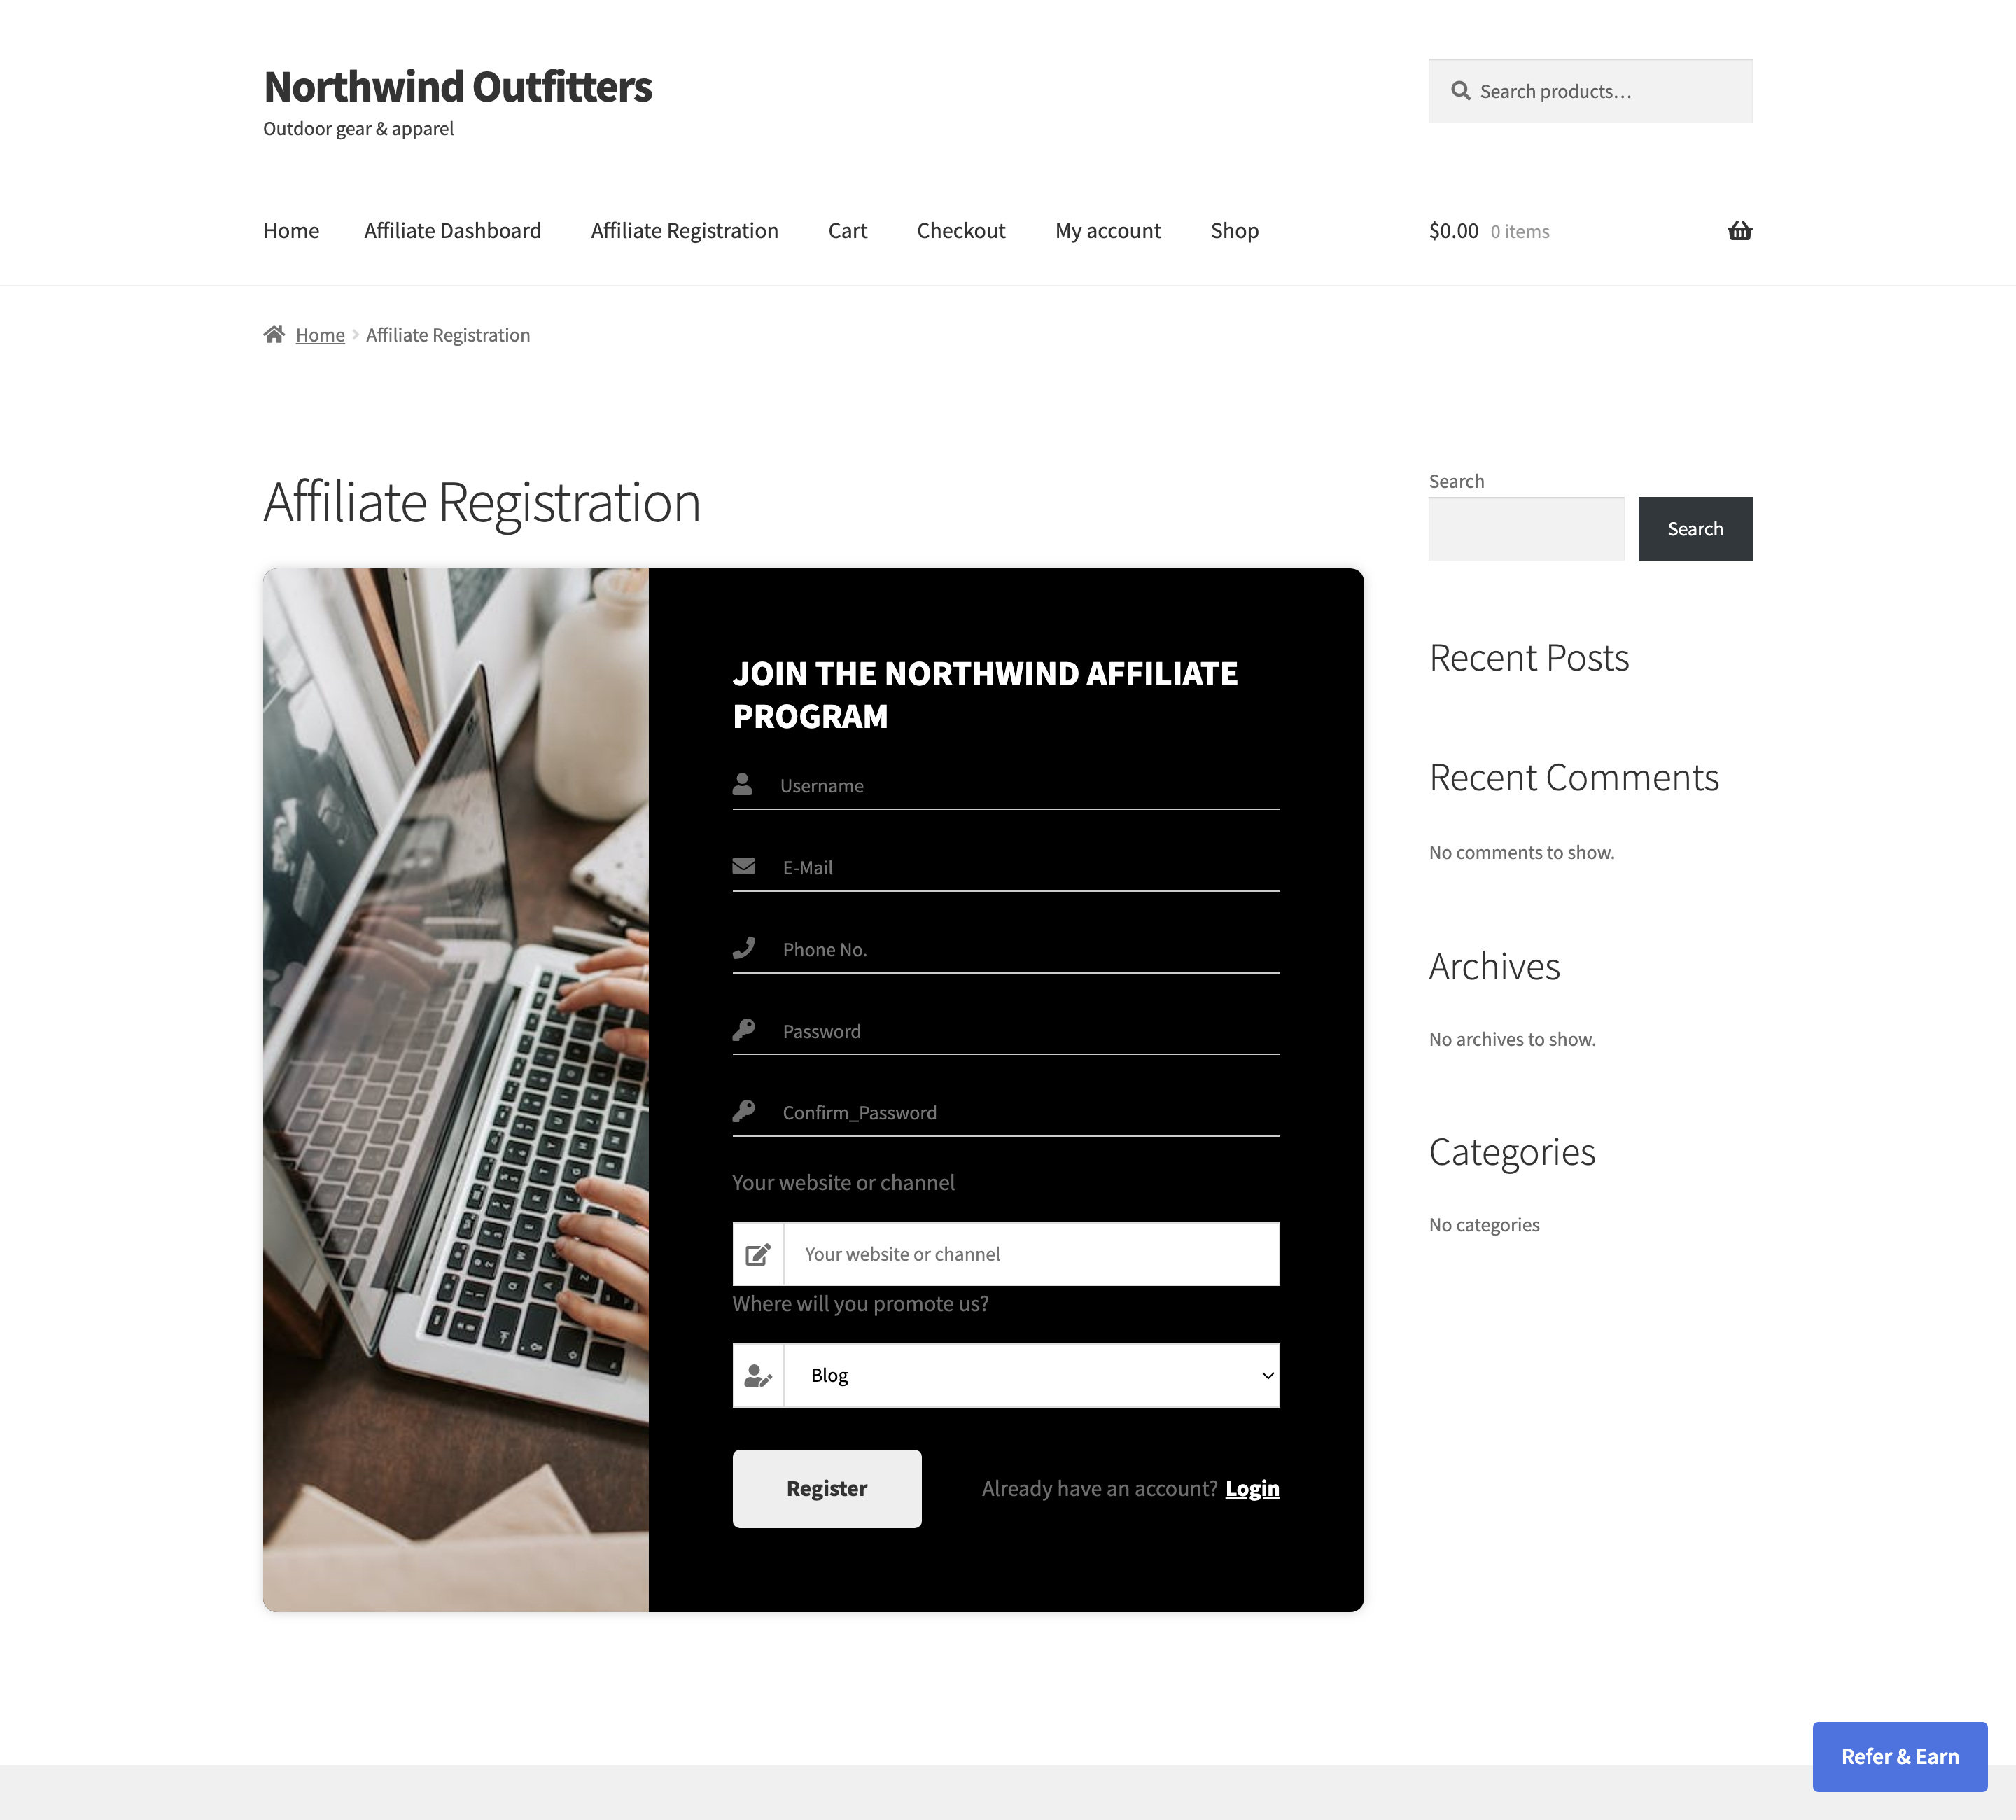
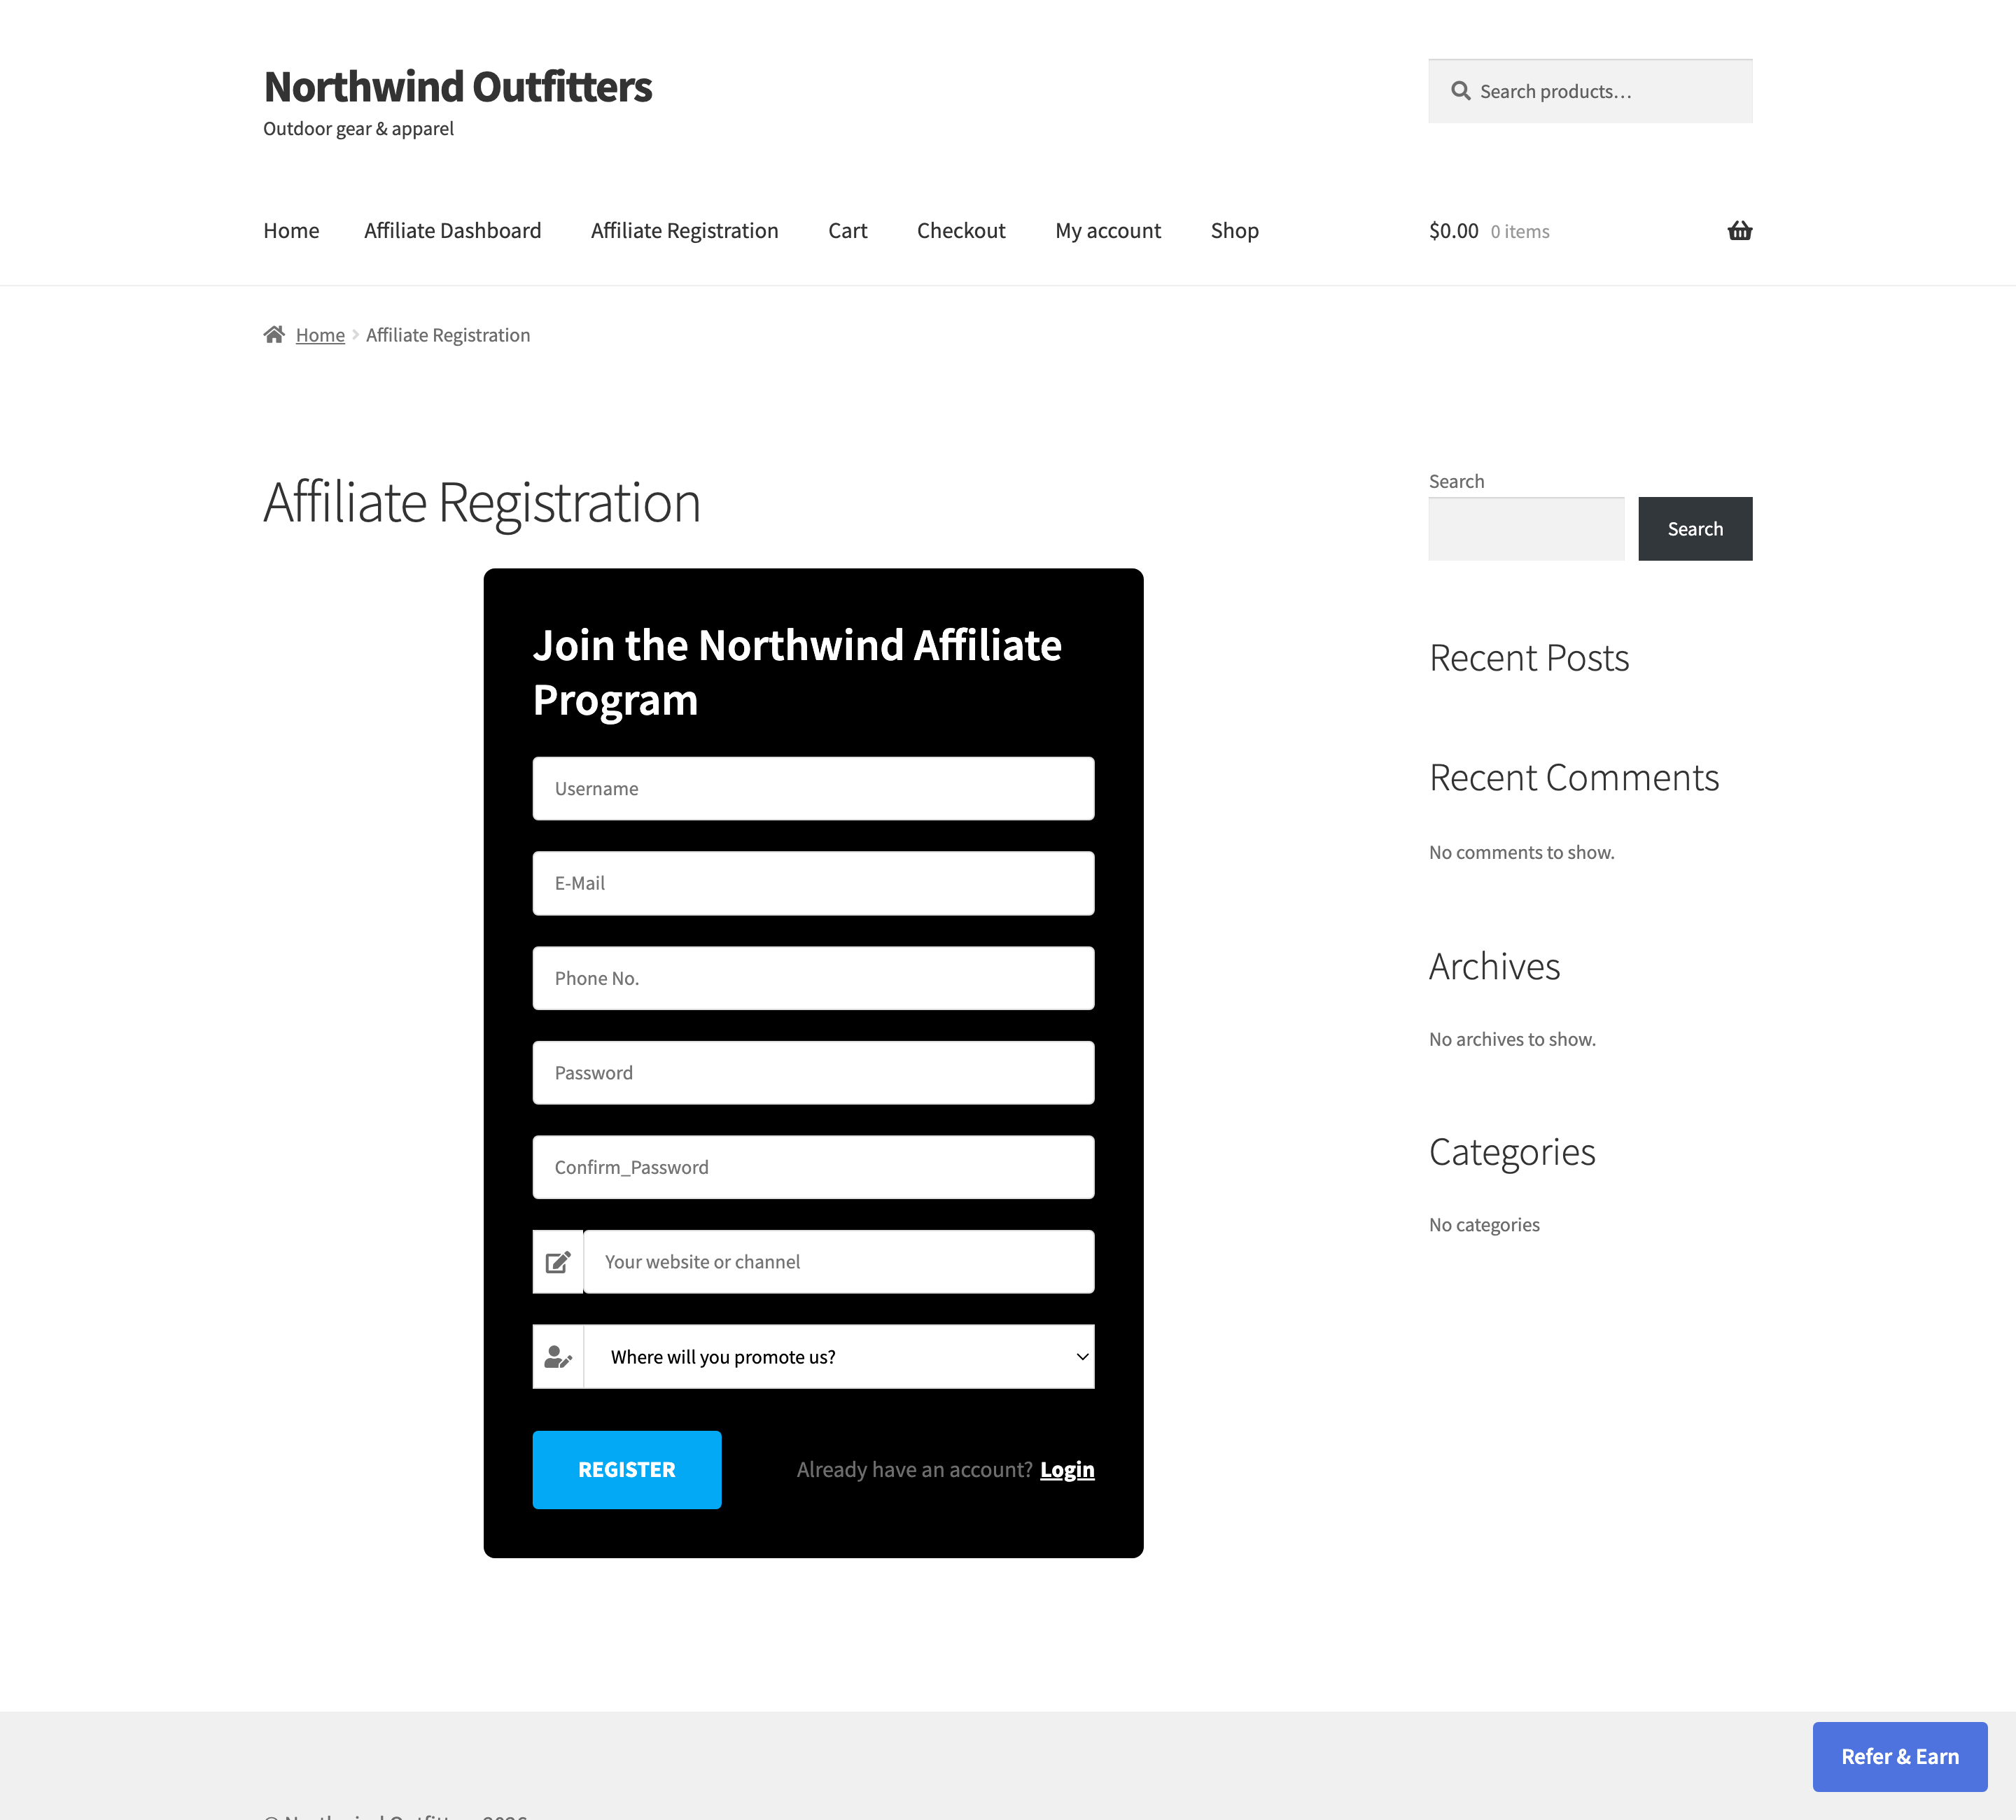
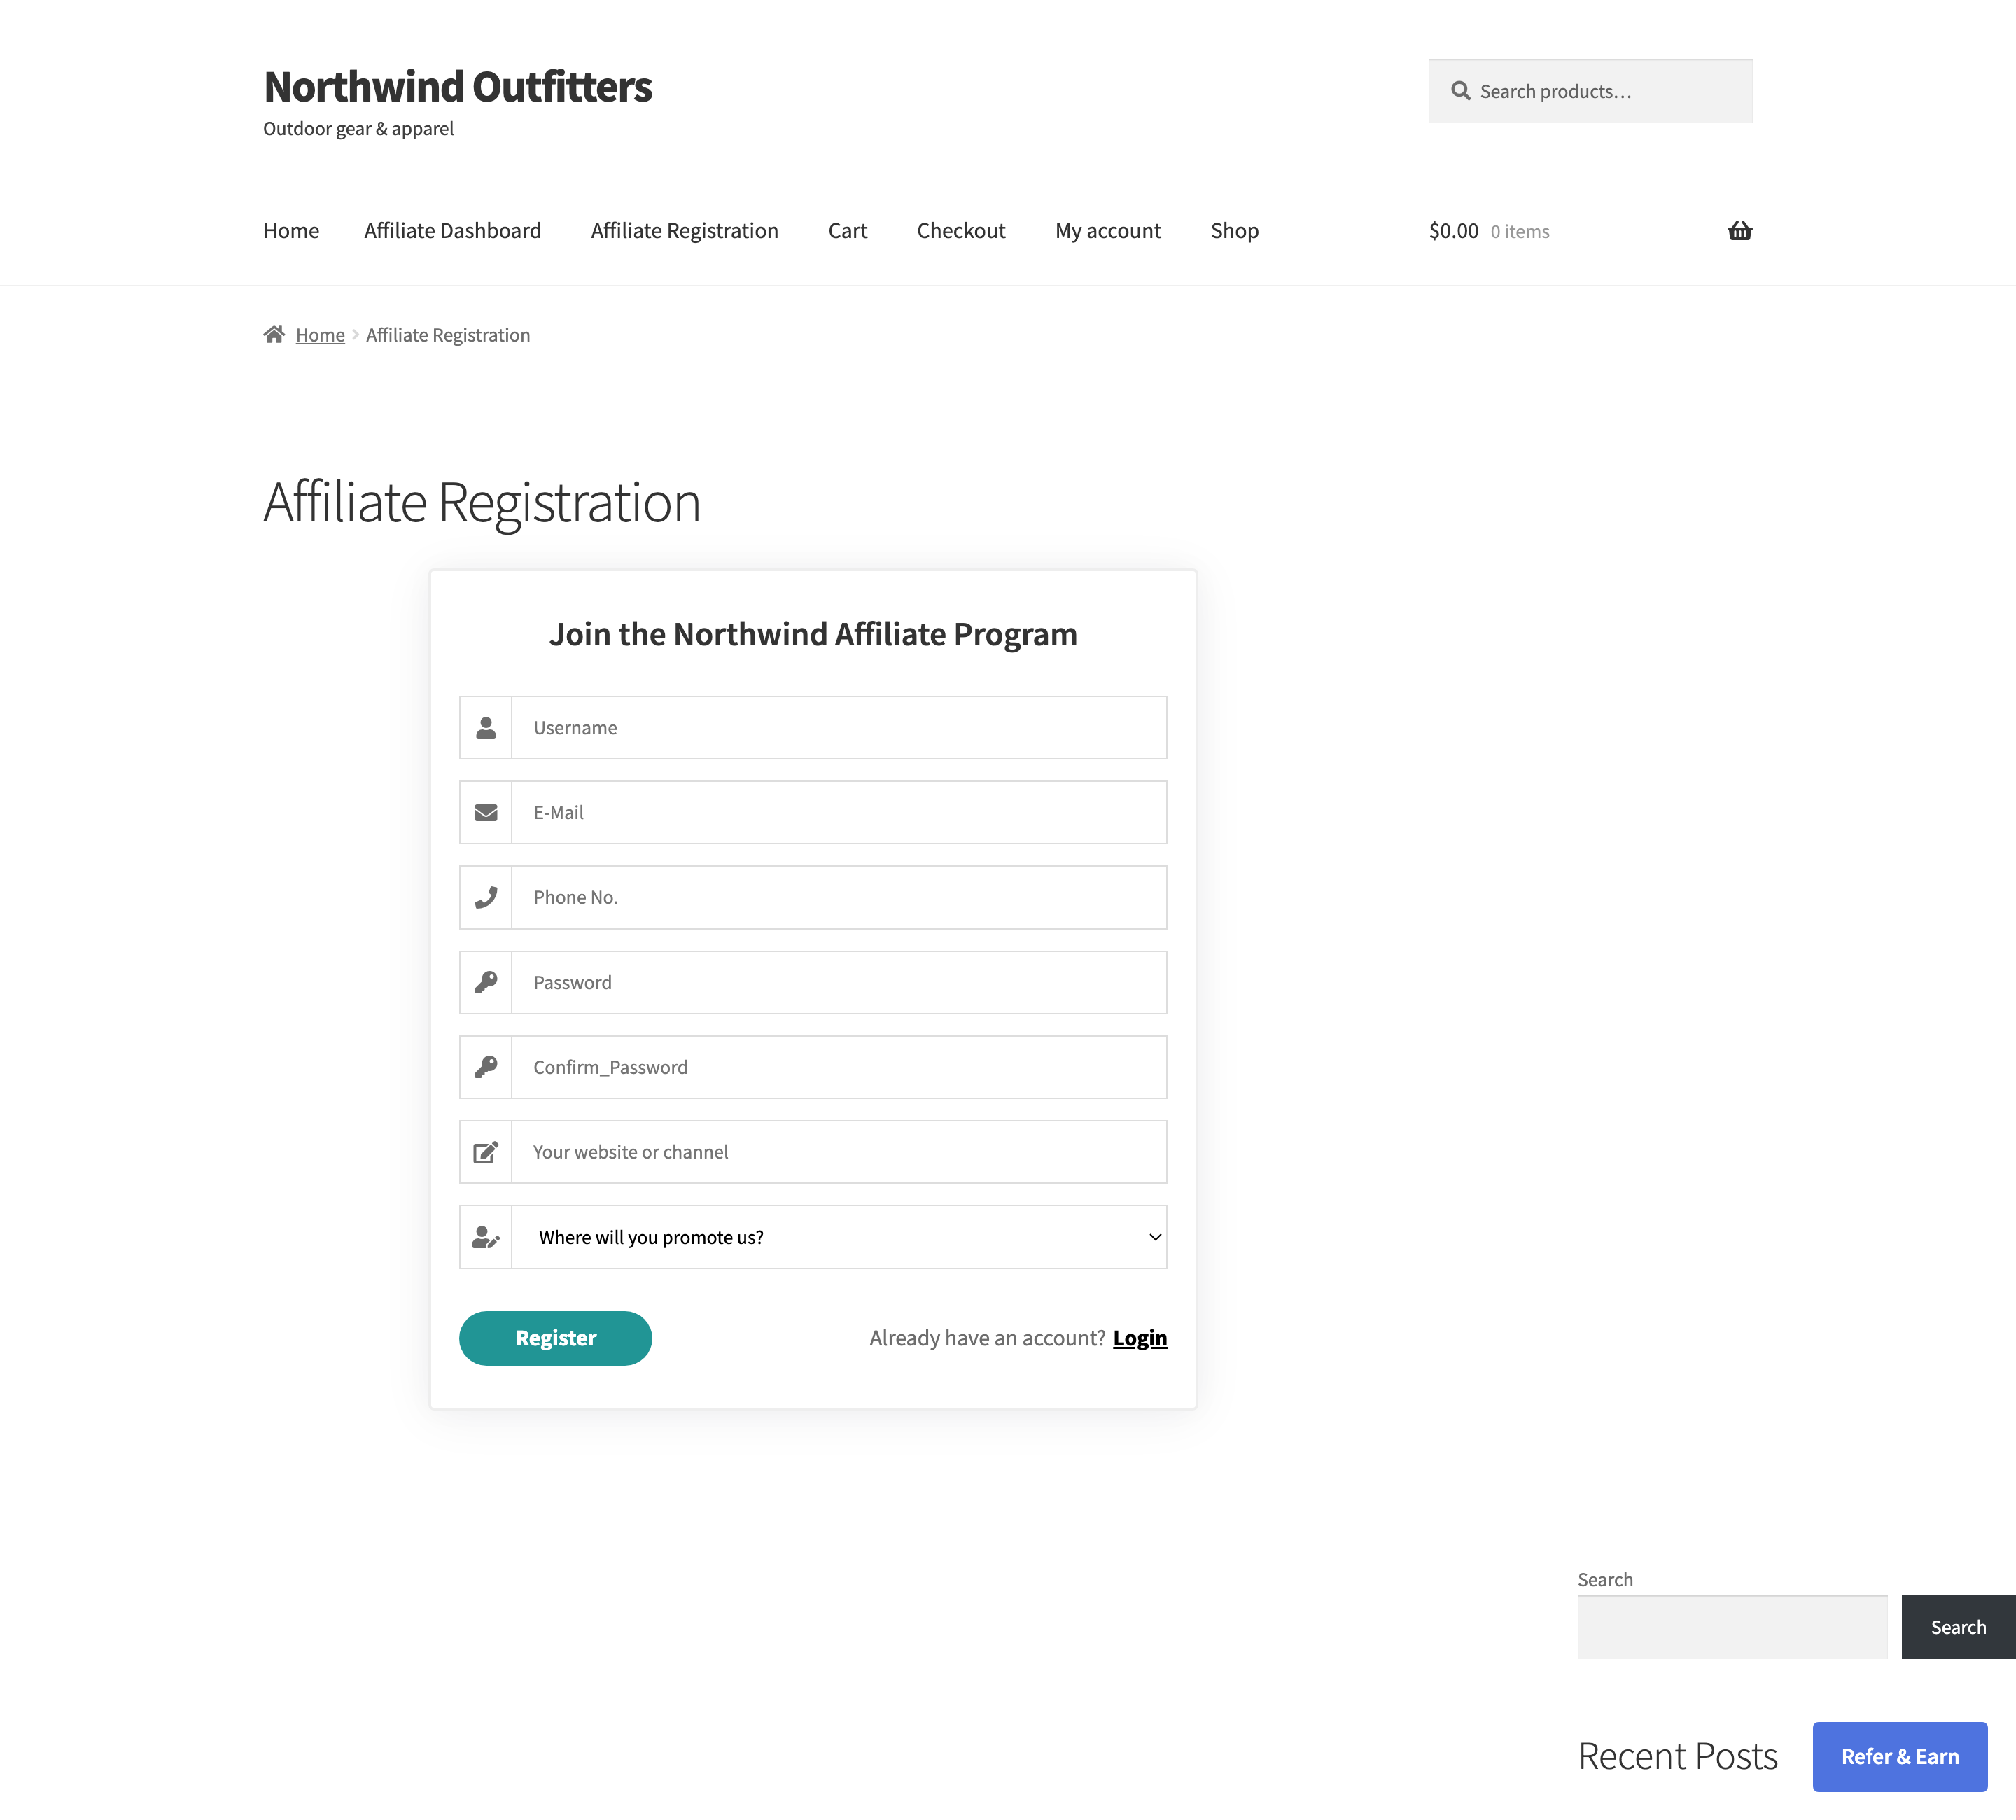
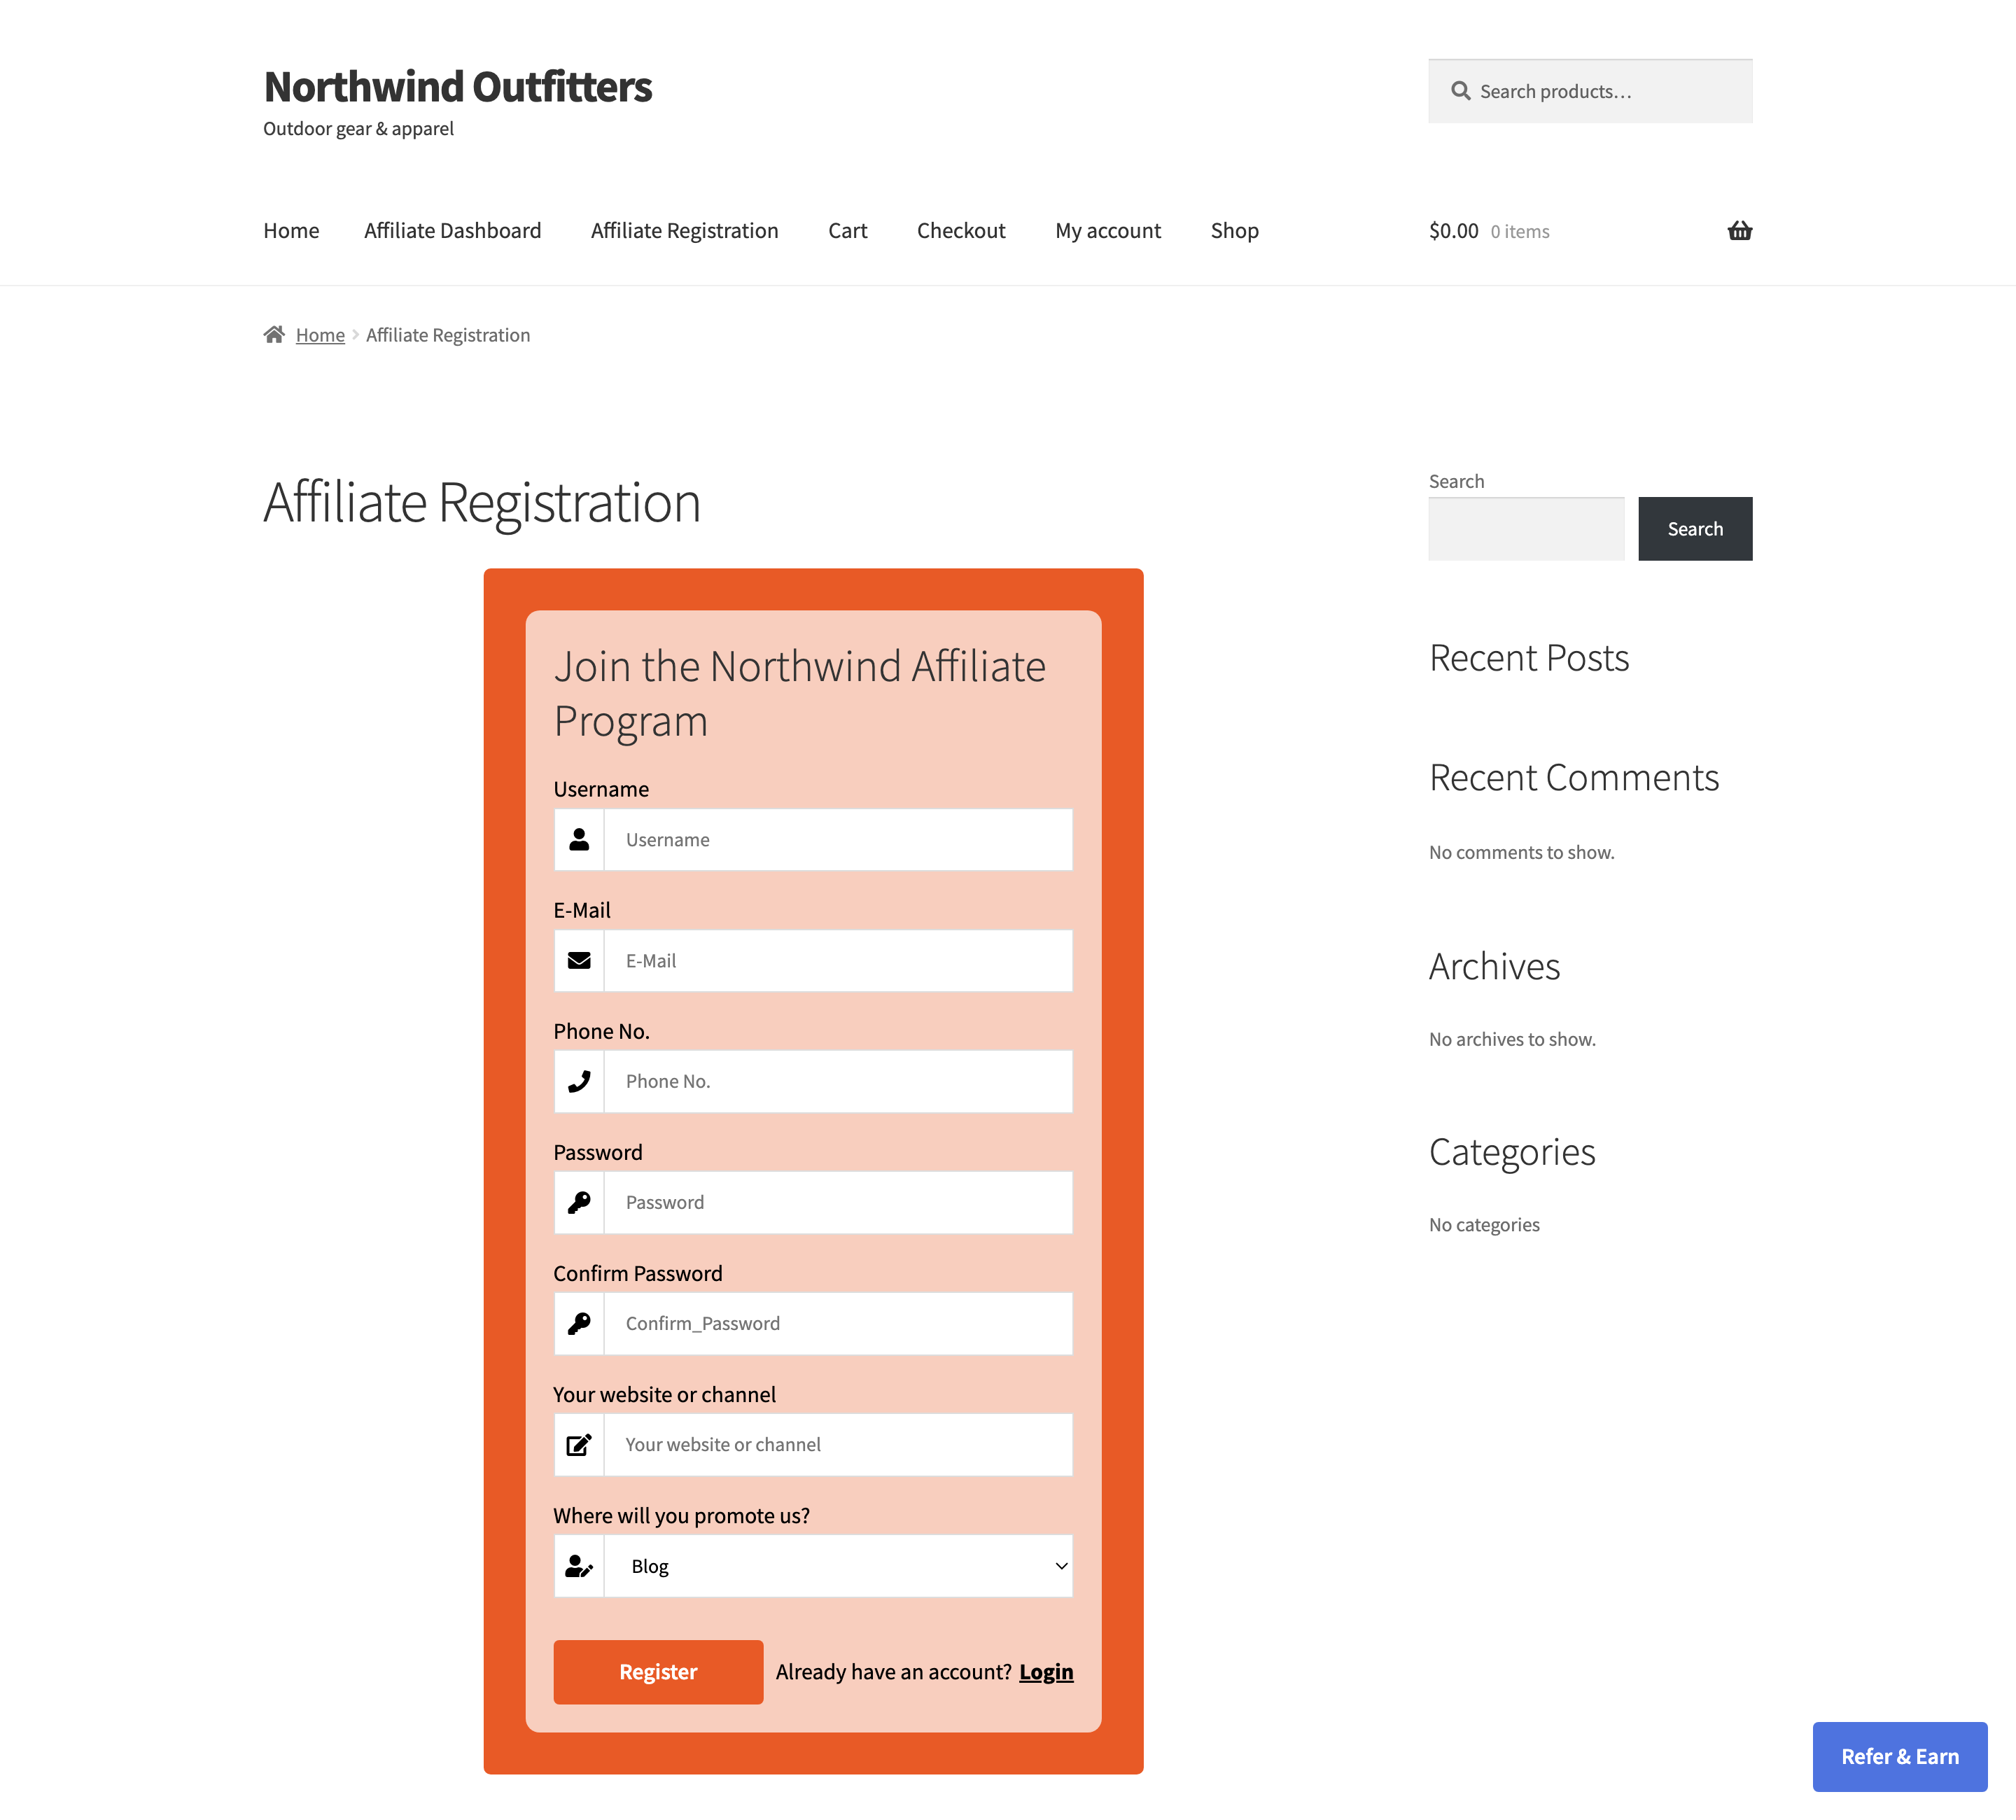
Match the form to your branding
↑ Back to topOn the same screen:
- Form Title – replaces the heading above the form.
- Main Background Color, Form Background Color, Form Header Color and Button Color – the four colours each design uses.
- Use default colors for template – turn on to discard your colours and go back to the design’s own palette.
- Custom css – for anything the colour pickers do not reach.
The preview updates as you change the title and colours, so you can settle the look without leaving the screen. This Custom css box styles the registration form only — the affiliate dashboard has its own, on Advanced Features > General.
Ask your own questions
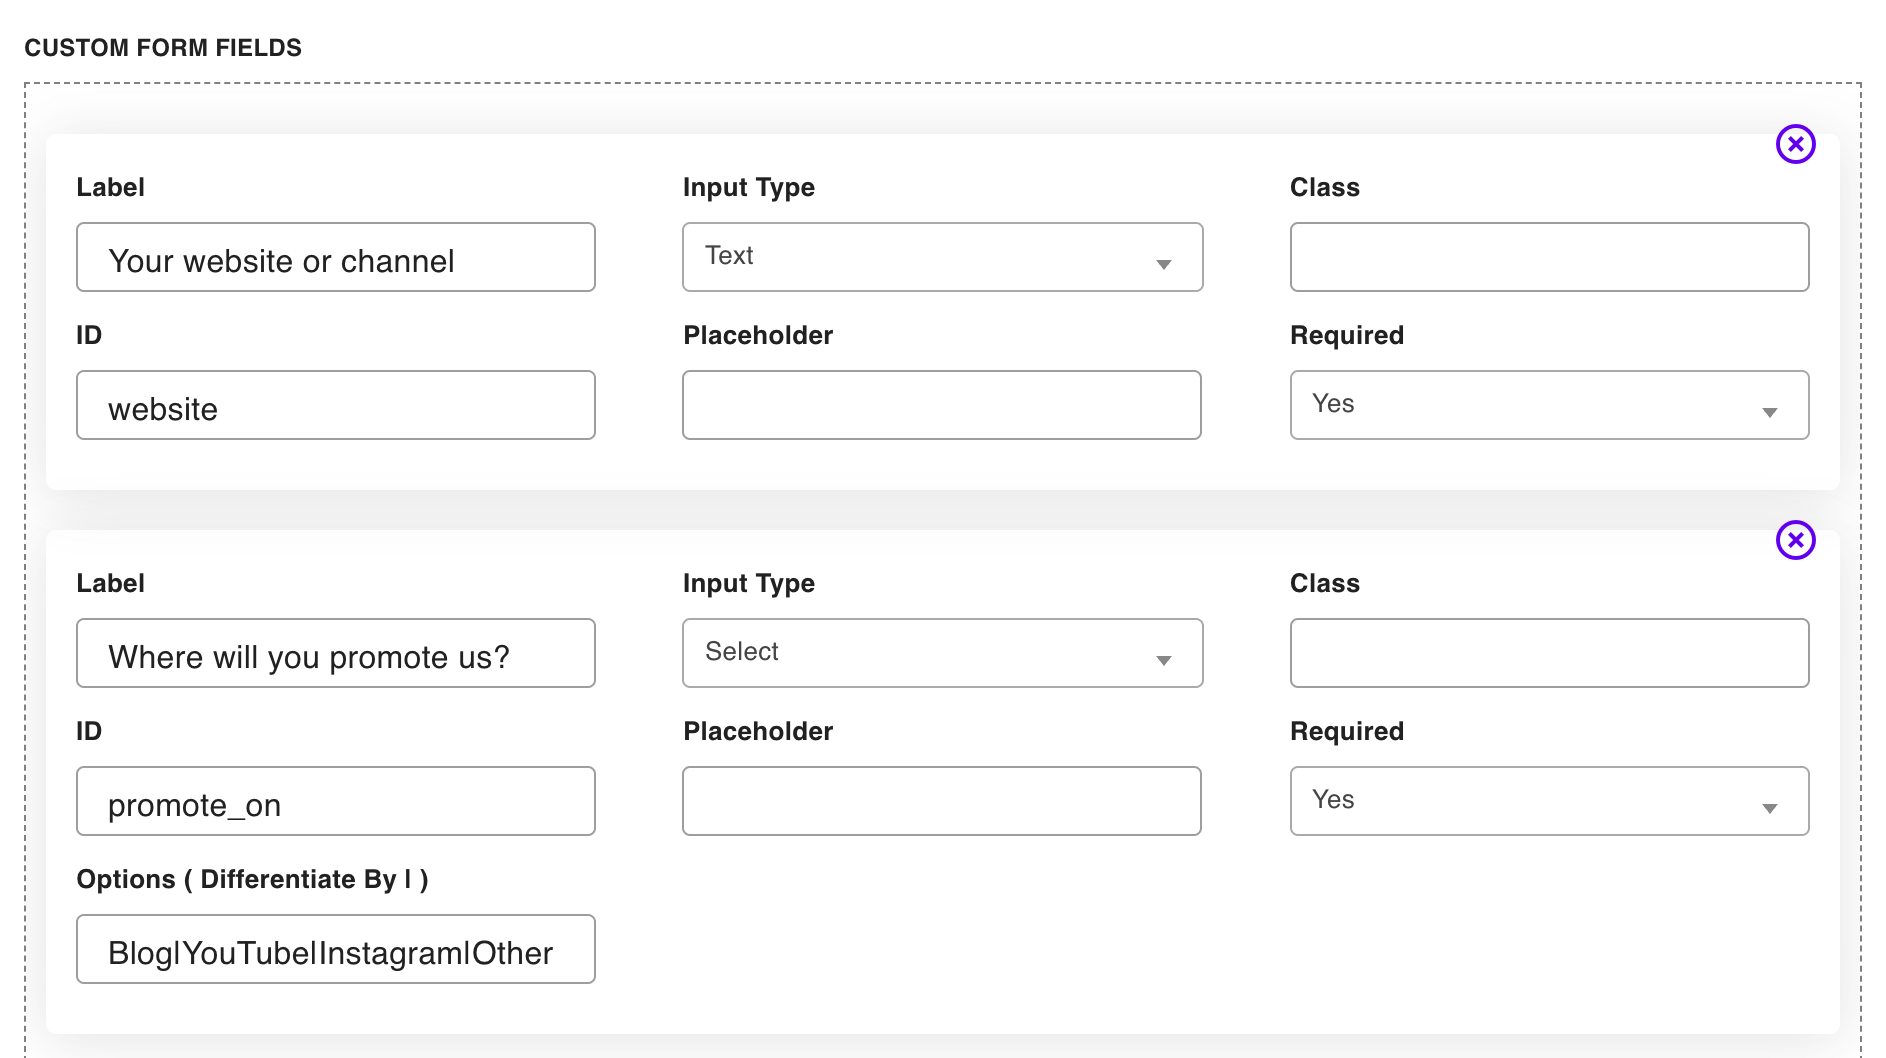
↑ Back to topCustom Form Fields adds your own questions to the form, and the answers are saved to the affiliate’s profile where you can read them when reviewing an application. Each row defines one field:
- Label – the wording the applicant sees in the field, such as “Your website”.
- Input Type – Text, Number, Textarea, Select, Radio or Checkbox. A checkbox field shows one tick box per option, and each ticked option is saved under the option’s own name rather than the field’s ID.
- ID – a short, unique, lowercase name for the field, such as website. This is the name the answer is stored under, so give every field its own.
- Class – optional, for styling with your own CSS.
- Required – set to Yes to make the field compulsory. Enforced on register Template 2 and Template 3.
- Options ( Differentiate by | ) – for Select, Radio and Checkbox, the choices, separated by the | character: Blog|YouTube|Instagram|Other.
Use Add More for another field, and Save Changes when you are done. Check each new row’s ID after adding it — new rows start as a copy of the first one.
Ask only for what you will actually use when reviewing applications. Every extra field costs you signups, and anything you collect becomes personal data you are responsible for.
Turning existing customers into affiliates
↑ Back to topCustomers who already have an account do not use the form at all. When a signed-in customer opens the affiliate page they see a Become an Affiliate invitation instead, with a list of benefits you control on Advanced Features > Labels — the button title, the section heading, and the benefits text itself. Clicking it makes them an affiliate, subject to the same approval setting.
Once they are in, the affiliate dashboard is where they get their link and follow their earnings; see Affiliate Dashboard and Affiliate Area Guide.
FAQ
↑ Back to topDo affiliates need a separate account from their customer account?
↑ Back to topNo. Registration creates a normal customer account with affiliate status, and existing customers become affiliates without a second account.
Where do I see the answers to my custom questions?
↑ Back to topThey are stored on the affiliate’s WordPress user profile under the ID you gave each field, so open the user in Users to read them while reviewing an application.
Can I approve affiliates manually?
↑ Back to topYes — turn on Affiliate Verification. Applications then wait on the Affiliates screen until you approve them.
Can I change the wording of the built-in fields?
↑ Back to topNo. The core fields keep their labels. Use Form Title for the heading, and add your own wording through custom fields and the Custom css box. More questions are answered in the Affiliate and Referral Program: FAQ.

