Installation
↑ Back to topTo start using a product from WooCommerce.com, you can use the “Add to store” functionality on the order confirmation page or the My subscriptions section in your account.
- Navigate to My subscriptions.
- Find the Add to store button next to the product you’re planning to install.
- Follow the instructions on the screen, and the product will be automatically added to your store.
Alternative options and more information at:
Managing WooCommerce.com subscriptions.

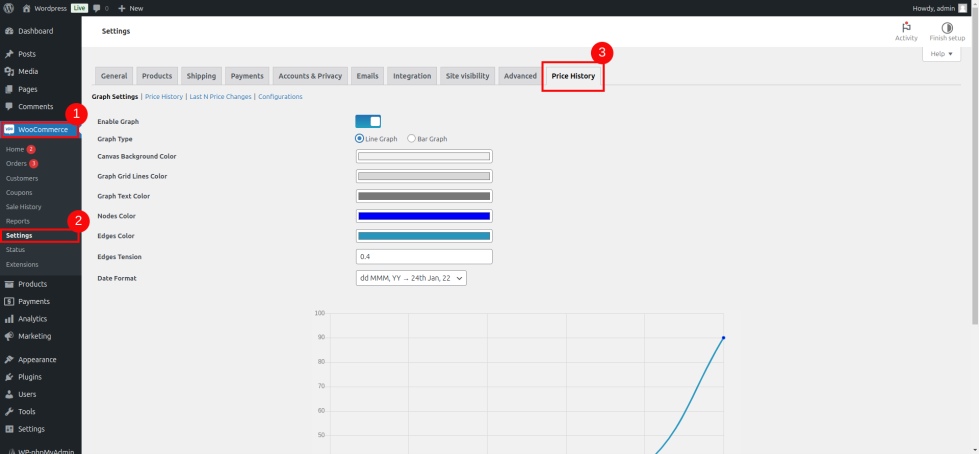
Accessing the Plugin Settings
↑ Back to topTo configure the plugin, go to WooCommerce > Settings. You will find a new tab labeled Product Price History. Click on it to access all plugin settings.
Settings Tabs Overview
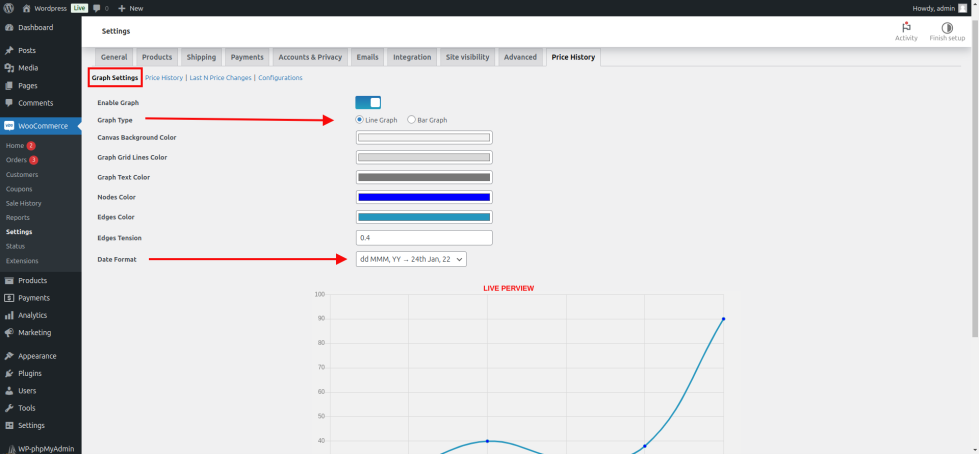
↑ Back to top1. Graph Settings
↑ Back to topCustomize how the price history graph is displayed on product pages. The available options include:
- Graph Type: Choose between Bar Graph and Line Graph to represent product price history visually.
- Date Format: Select the preferred date format for the graph labels.
- Color Customization: Personalize the graph lines, background, and other design elements to match your website theme.
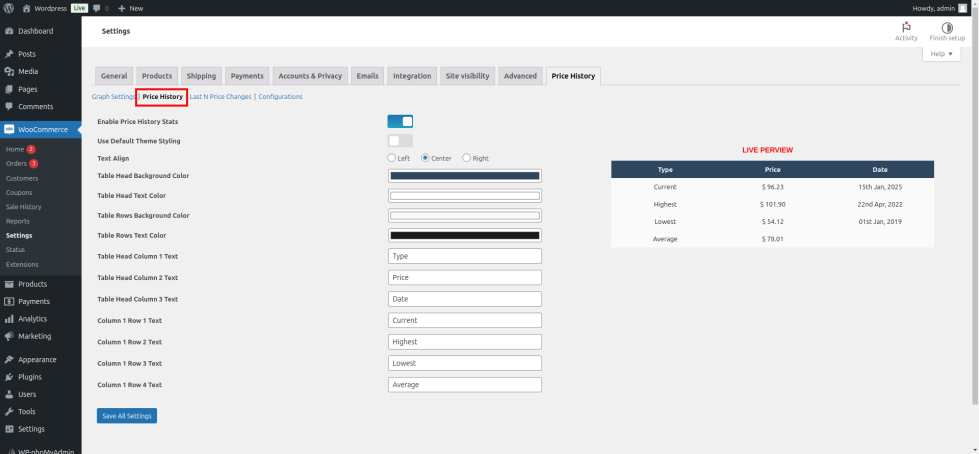
2. Product Price History Table Settings
↑ Back to topAdjust the layout and appearance of the product price history table displayed on product pages:
- Table Headers: Modify the text and order of table headers.
- Color Options: Customize the table header and row colors for a consistent look.
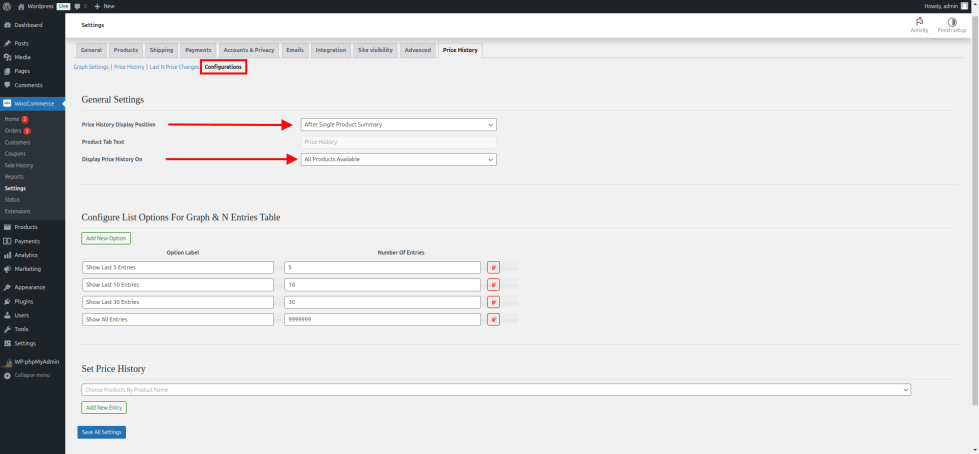
3. Configuration
↑ Back to topControl where and how the product price history information appears across your store:
- Target Products or Categories: Specify the products or categories for displaying product price history.
- Display Position: Choose the exact location on the product page to show product price history data (e.g., above price, below description).
- Manual Price History: Add or edit past product price records for any product manually.