Installation
↑ Back to top1. Download the Product Size Chart Guide.zip file from your WooCommerce account.
2. Go to WordPress Admin > Plugins > Add New and Upload Plugin.
3. Click on Choose File to upload the file you downloaded.
4. Install Now and Activate the extension
Configuration
↑ Back to topAfter you have installed and activated the Plugin, go to WooCommerce > Size Charts. Here, you can find Two Tabs, which are Settings and Size Chart.
Settings
↑ Back to topIn the Settings tab, you have three more tabs, which are General Settings, Popup Display Settings, and Table CSS Settings.
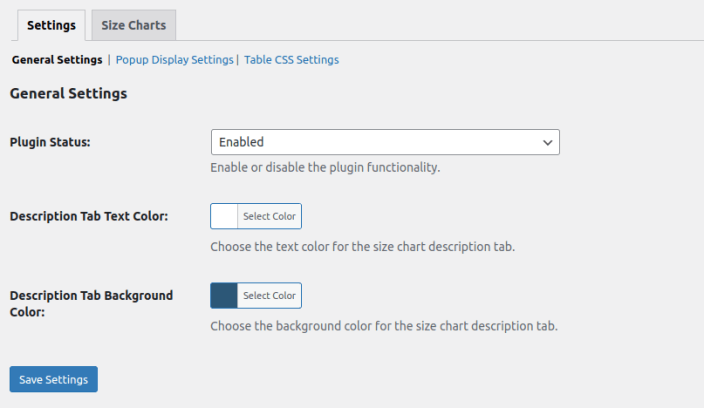
General Settings
↑ Back to top- Plugin Status: Enable or disable the plugin functionality.
- Description Tab Text Color: Choose the text color for the size chart description tab.
- Description Tab Background Color: Choose the background color for the size chart description tab.
Popup Display Settings
↑ Back to top- Popup Animation: Choose an animation for the popup.
- Button Background Color: Pick a color for the popup button background.
- Button Text Color: Pick a color for the popup button text.
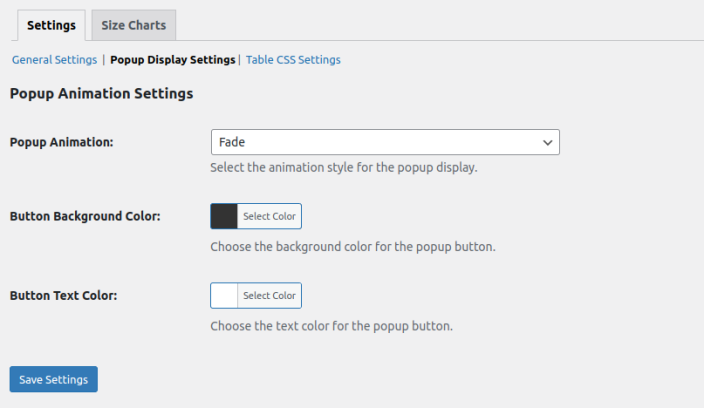
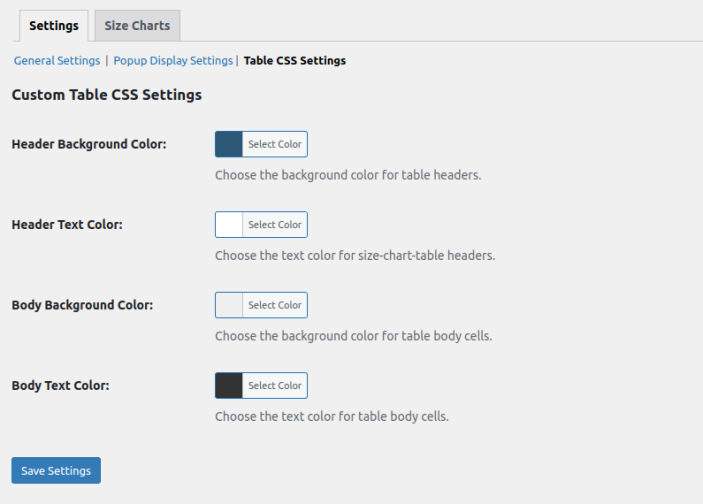
Table CSS Settings
↑ Back to top- Header Background Color: Pick a color for the table headers.
- Header Text Color: Pick a color for the text in the table headers.
- Body Background Color: Pick a color for the background of the table body.
- Body Text Color: Pick a color for the text in the table body.
Size Chart
↑ Back to topIn the Size Chart tab, you can create different rules for your size charts. For each rule, you can set:
Add Title: Choose a title for the rule.
Add Description: Write a description for the rule.
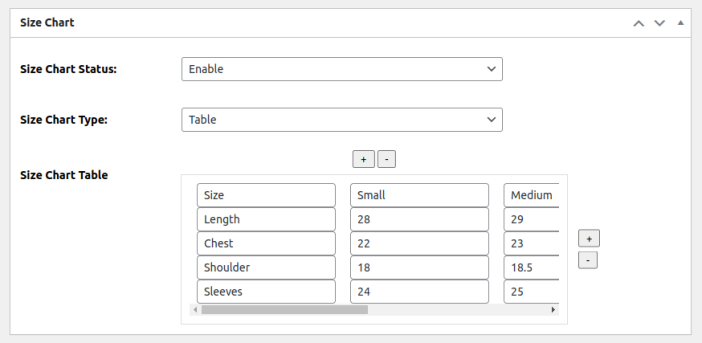
Size Chart
↑ Back to top- Size Chart Status: Turn the size chart on or off.
- Size Chart Type: Choose between a table or an image for the size chart.
- Size Chart Table / Image: If you choose a table, click the plus or minus button to add or remove columns/rows.
If you choose an image, just upload the image of the size chart.
Display Options
↑ Back to top- Display Method: Choose how you want the size chart to appear (Tab, Popup, or Shortcode).
- Button Text / Tab Name: Set the name for the button or tab based on your display method.
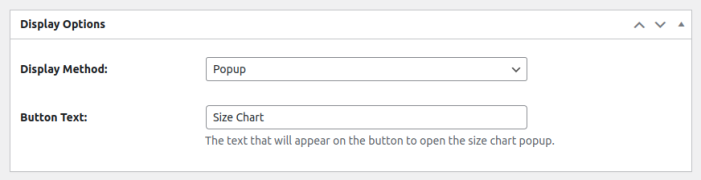
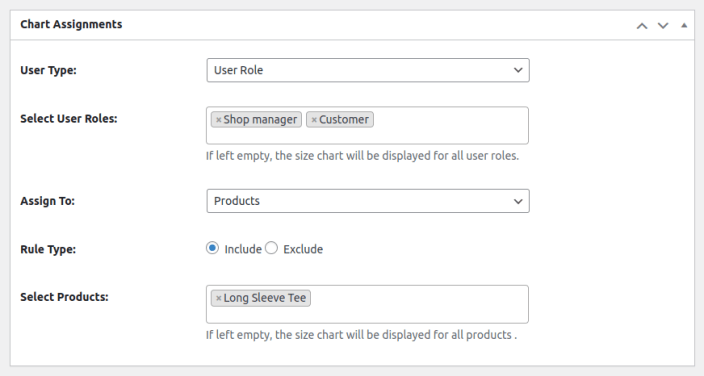
Chart Assignments
↑ Back to top- User Type: Choose whether to apply the rule to a specific user or user role.
- Select Users: Choose the user role you want the rule to apply to (leave it empty to apply to everyone).
- Assign To: Choose if you want to apply the rule to specific products or categories.
- Rule Type: Choose if you want to include or exclude certain items.
- Select Products / Categories: Choose the products or categories you want the rule to apply to (leave empty for all products).