Customizations are not covered under our support policy, so this isn’t something we can help implement or troubleshoot on your site.
You can now build your own custom templates for your emails from WooCommerce.
Creating email templates
↑ Back to topIf you want to use a different email template than the ones provided, you can add the new template file in your child theme code. Similar to how templating works in WooCommerce core, Follow-Up Emails will automatically recognize all templates added in the wp-content/themes/yourtheme/follow-up-emails/emails/ folder.
Give your template this line of code at the beginning:
The Unique name of your choosing is extremely important as this text will be the name of your template, and you will need to know it to select that template for each email.
The variables of text use the syntax like: {section:title} with title being a name of your choice. It is important to be descriptive as you will use these names to create the content that the template with replace text and images with. Do this with unique names wherever you want to customize text in your template.

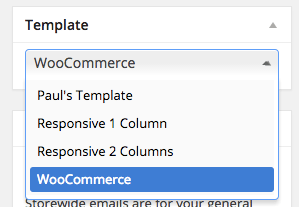
Once uploaded, when you edit an email, you should see a meta-box in the email editor screen to select a template. In the dropdown, you should see the “Unique name of your choosing”. If you wish to simply use the default WooCommerce template, you can still do that by selecting the template “WooCommerce”.
Once you select a template, then in the variable section, you should see a ton of new variables appear based upon your {section:title}'s that you added to your template.
They will look like:
{section:title}...{/section}
Use this format to add content for those specific sections. For example:
{section:new-product}This month we introduced a fantastic new product called Twitter Follow-ups. Give it a try{/section}
You can use text, images or anything else. If you forget to fill in any of the variable tags, they will be ignored in the email.
Now save your email (and test).
When you receive the email, the content you add between those variables should populate in those sections in your template when sent.
Editing email templates
↑ Back to top
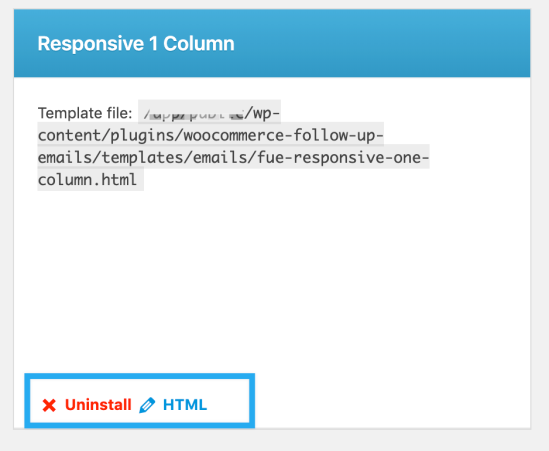
If you wish to work from one of your downloaded templates, if you hover over the name, you can see a link that says “HTML”.
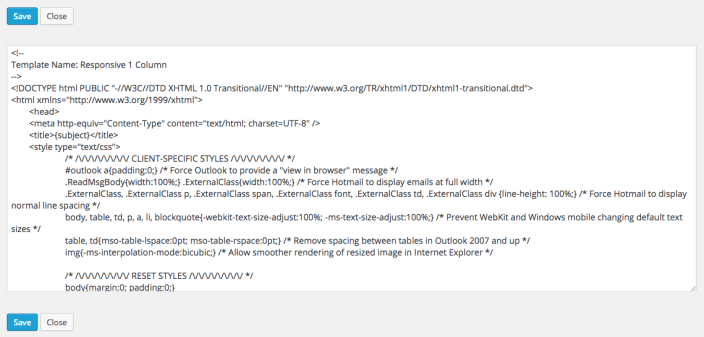
Clicking HTML will open an editor that you are likely familiar with as it is the same as the theme editor. You can edit the complete HTML right from this screen. Make your changes, and click save. You can cancel your changes by simply clicking “close” – note that you will lose your changes if you click close.

Note: You cannot use variables hard-coded into the email template. Those must be used in the editor when creating each email. The reason is that templates can be used across email types, and variables cannot always be used in every email type.
