Once you have completed setting up the Twilio integration you can begin sending automated SMS messages from WooCommerce via AutomateWoo workflows.
Using the Send SMS action
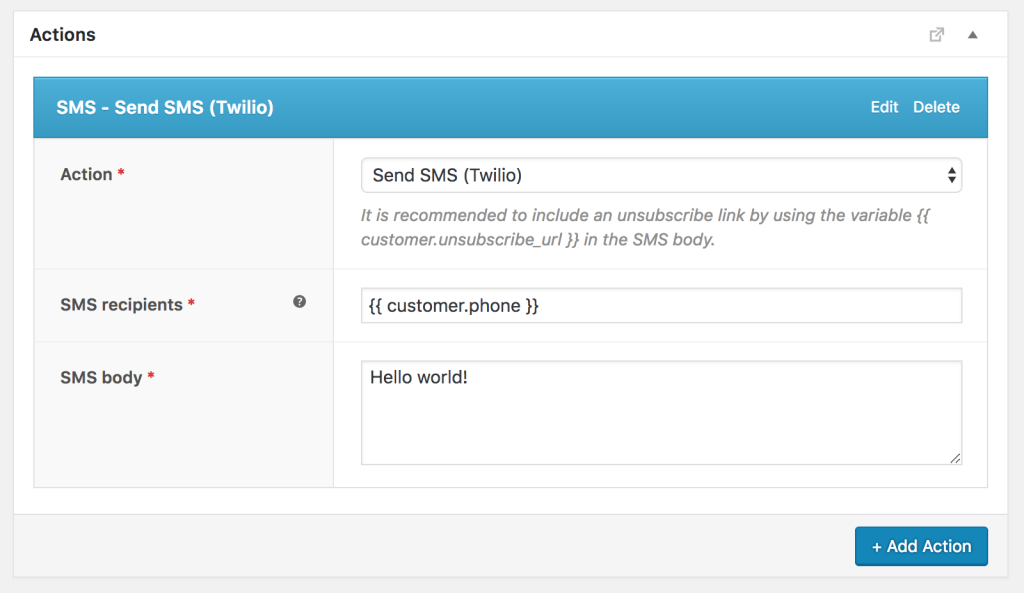
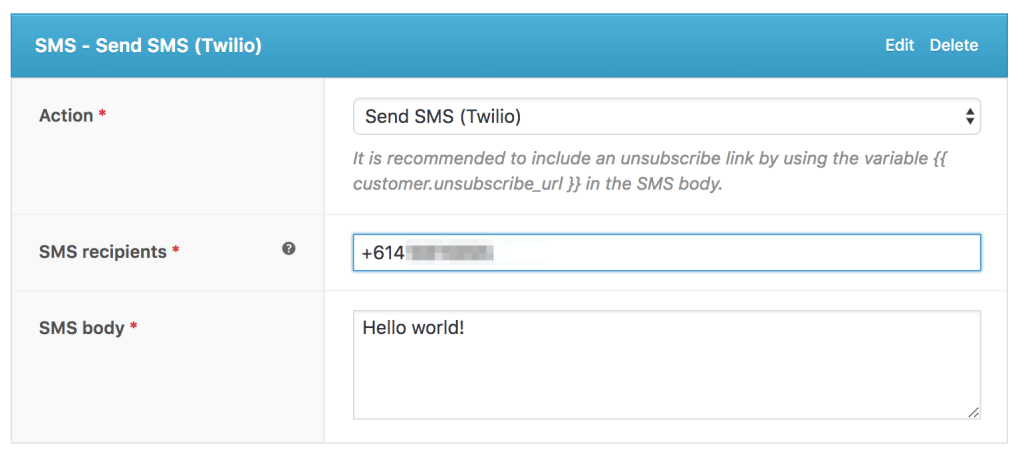
↑ Back to topTo send an SMS from a workflow, use the action named Send SMS (Twilio). This action can be used with any workflow trigger. Generally, you should use set the SMS recipient to {{ customer.phone }}but you can also set the SMS recipient to a specific phone number.
- Please note if the customer phone is not a valid mobile number the workflow will fail to send. This failure will be visible in the AutomateWoo > Logs area
Triggering a test SMS
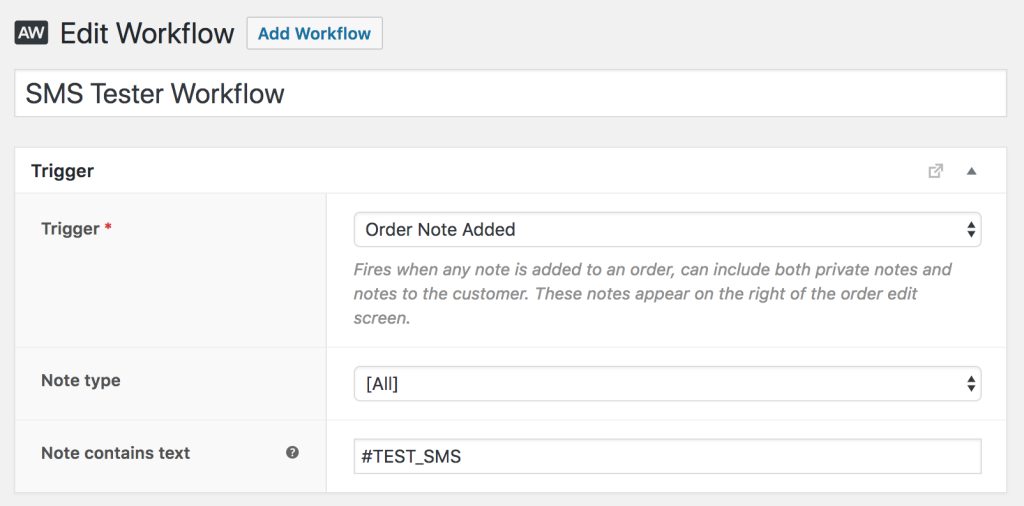
↑ Back to topStep 1 If you want to test the Send SMS action, a good trigger to use is Order Note Added. It allows you to trigger a workflow, when a specific note is added to an order. For example, you could trigger the workflow when the note #TEST_SMS is added.
If you are using a Twilio trial account you will be limited to sending messages to certain phone numbers.
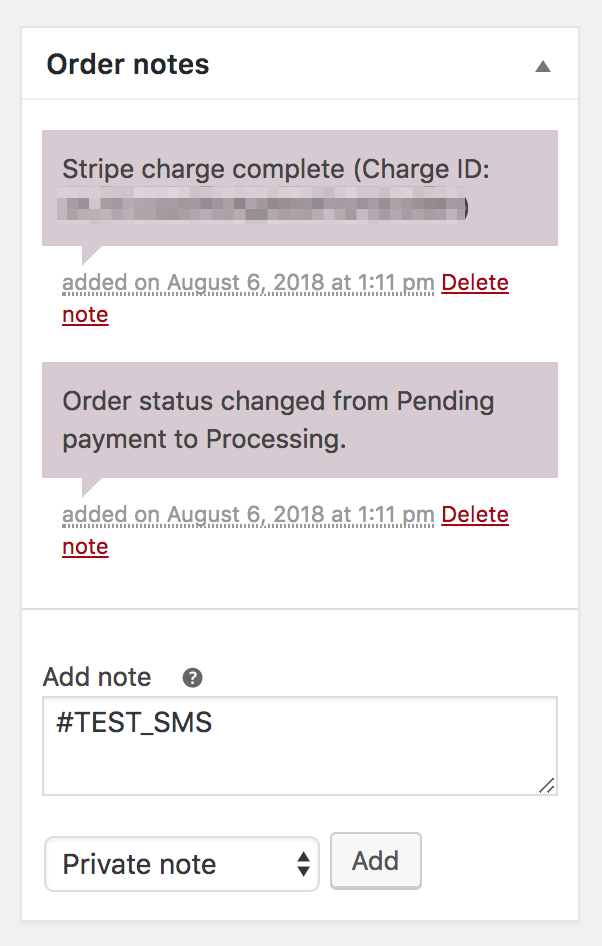
Step 2 Create a test order, then add a private note containing your test text e.g.#TEST_SMS.
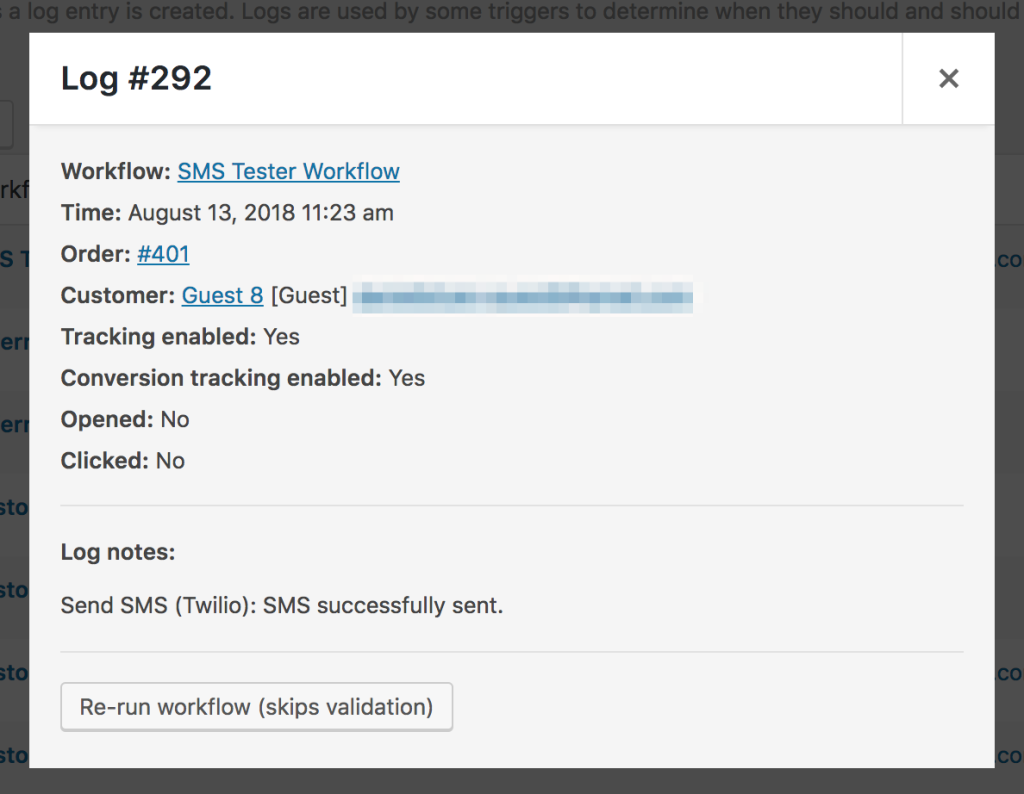
Step 3 Check AutomateWoo > Logs to see if the test workflow ran and message was sent.
Logging sent SMS
↑ Back to topThis step is not required, but if desired, it’s possible to store a log of every SMS that is successfully sent. A record of sent messages is also available in the Twilio account area but it can be useful to also log the messages in WordPress when debugging.
To enable the logging add the following line of code to your site’s wp-config.php file:
define( 'AUTOMATEWOO_LOG_SENT_SMS', true );After adding this, future messages will be logged in WooCommerce > Status > Logs. The log file with start with the prefix: automate-woo-sent-sms.


