AutomateWoo is a marketing automation plugin which integrates directly with your WooCommerce store. Using automated marketing campaigns and a unique set of tools, AutomateWoo streamlines the management of your store while saving you time and effort! With so many online stores to choose from, it can be difficult to distinguish yourself from the crowd and maintain customer loyalty. AutomateWoo is here to help!
Email Setup
↑ Back to topYou can set a specific name and email address to be used on the emails sent by AutomateWoo. Under AutomateWoo 👉 Settings 👉 Email Sender Options

If this option is left blank, the email address and name will default to the information entered under WooCommerce 👉 Settings 👉 Email
Workflows
↑ Back to topThe key component of AutomateWoo is workflow. Workflows are the format in which your automated tasks and marketing campaigns are designed.
A workflow is made up of different combinations of Triggers, Actions and Rules. Once activated, AutomateWoo will do all the hard work for you in the background.

Triggers
↑ Back to topWhen you first create a workflow, you can choose a trigger to determine the circumstance in which the workflow will run. This could be anything from an abandoned cart to when an order has been placed in your store – see the triggers list for available triggers. After you select a trigger, the compatible rules, actions and variables will be displayed, so you can continue creating your marketing campaign with ease.
Actions
↑ Back to topOnce a trigger has been selected, you can use an action to determine the response which happens afterwards. For example, you could pair the trigger Abandon Cart with the action Send Email. When a cart has been abandoned in your store, the response will be an email that is sent to increase your chances of recapturing that customer. The Actions List documents available actions.
Rules
↑ Back to topYou can make a workflow more specific using Rules. These restrict workflows so that they only trigger in certain situations, giving you a high degree of flexibility in your marketing campaigns. Each rule comes with its own comparison statements such as is, matches any of, is less than and is greater than which you can pair with a value. For example, you can pair the rule Order Total with the comparison statement is greater than and include the value 100. This means your workflow will only trigger for orders which have a total value over 100. The Rules List provides a guide on using the available rules.

Variables
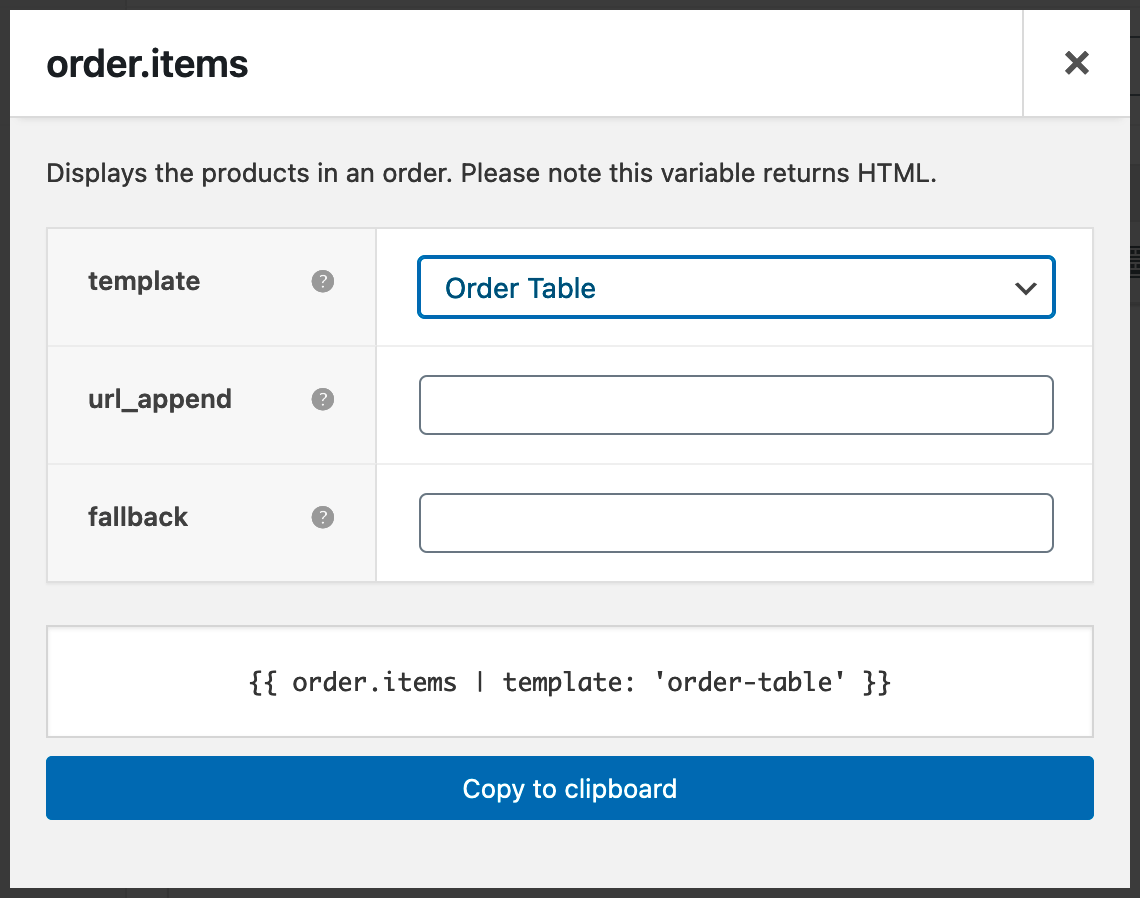
↑ Back to topAutomateWoo also provides you with over 80 variables to choose from. These can appear daunting at first, but are key tools to creating your own personalized marketing campaigns. Variables act as cheat codes – letting you add dynamic content at the click of a button. Here’s an example of a variable which displays all the items in a customer’s order.
Timing
↑ Back to topUsing AutomateWoo, you can schedule workflows to run at any time you want. Whether immediately, after a set time or even at a particular hour or day of the week. This allows you to target your customers when they are most receptive to your marketing content! The Timing Options documentation provides an in-depth guide on timing your workflow.
Marketing opt-in and unsubscribes
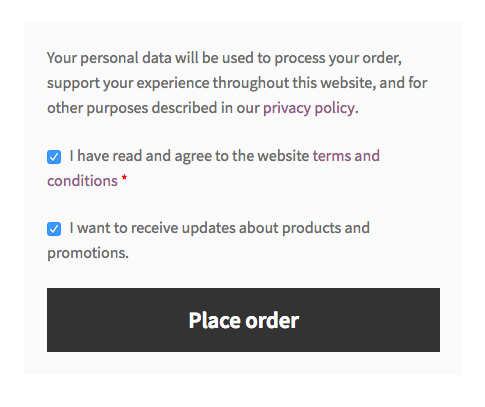
↑ Back to topAutomateWoo adds an unsubscribe link to the footer of every non-transactional workflow but you must choose whether to use opt-in or opt-out mode for your workflows. Opt-in means customers must opt-in before email or SMS is sent to them. Opt-out means email and SMS will be sent automatically until the customer chooses to opt-out. When in opt-in mode, customers can opt-in on the checkout page, account registration page, in the account area or the AutomateWoo signup page. You can manage these options on the AutomateWoo settings page. You can also import opted-in customers via the AutomateWoo admin tools.
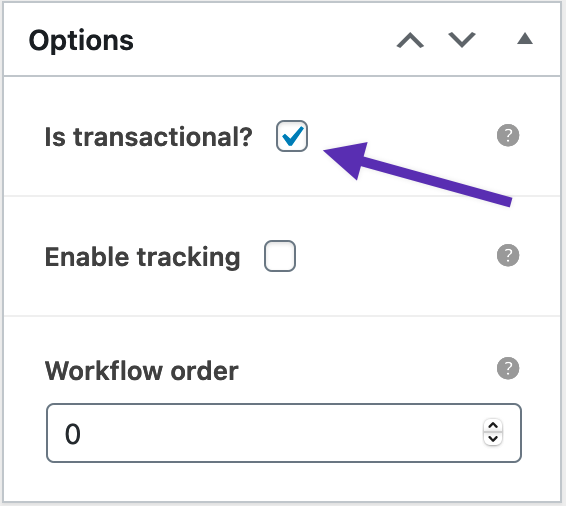
You can exclude workflows from requiring opt-in if they are transactional.
Preset Workflows
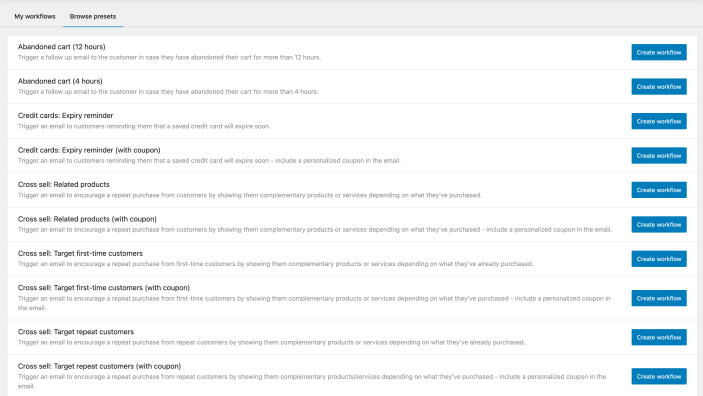
↑ Back to topPresets are pre-configured workflows that you can choose from to quickly create your own workflows. They are the best way to get started with AutomateWoo workflows as they include example content that you can build upon and modify to meet your store’s unique needs. There are presets for the most common use cases and we are continuously adding new presets to make creating workflows faster.
You can find available presets by navigating to AutomateWoo > Workflows > Browse presets. To create a workflow from a preset, click the “Create workflow” button by the snippet and modify the workflow content to meet your needs.
How to Create a Simple Follow-up Email
↑ Back to topImagine a new customer who just made their first purchase and you would like to welcome them, encouraging them to continue shopping on your store. Let’s create a workflow to send the customer a welcome email in 5 steps:
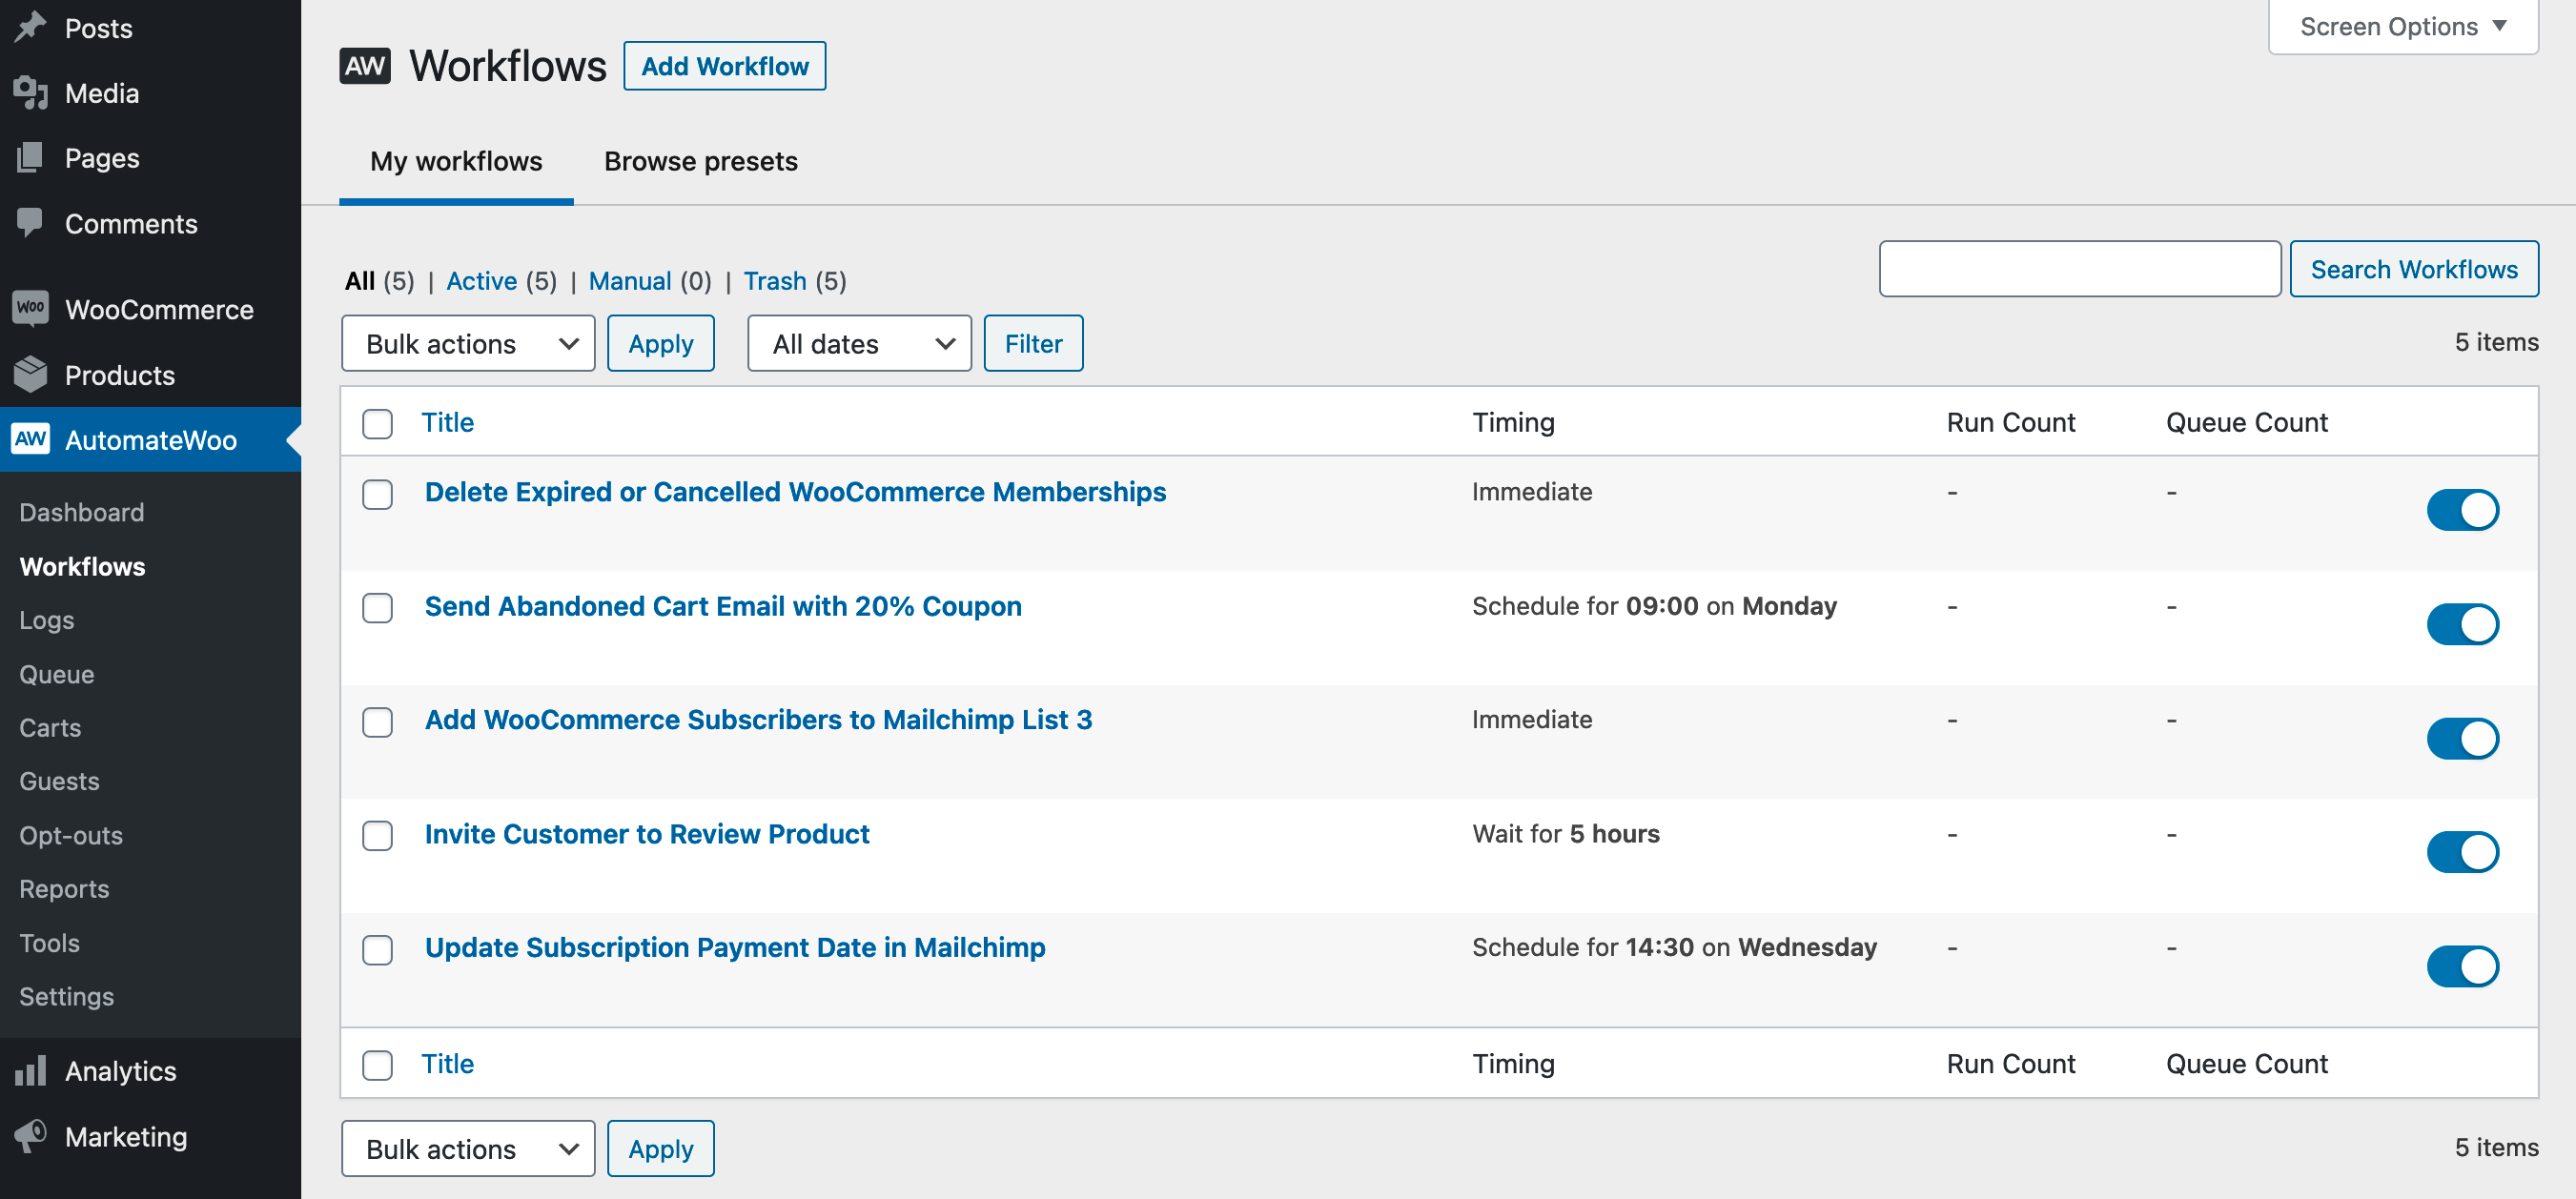
1. Create a workflow
↑ Back to topThe first step is to create a new workflow by navigating to the AutomateWoo Workflows tab and clicking “Add Workflow“. Next, give your workflow a title to help you identify it.
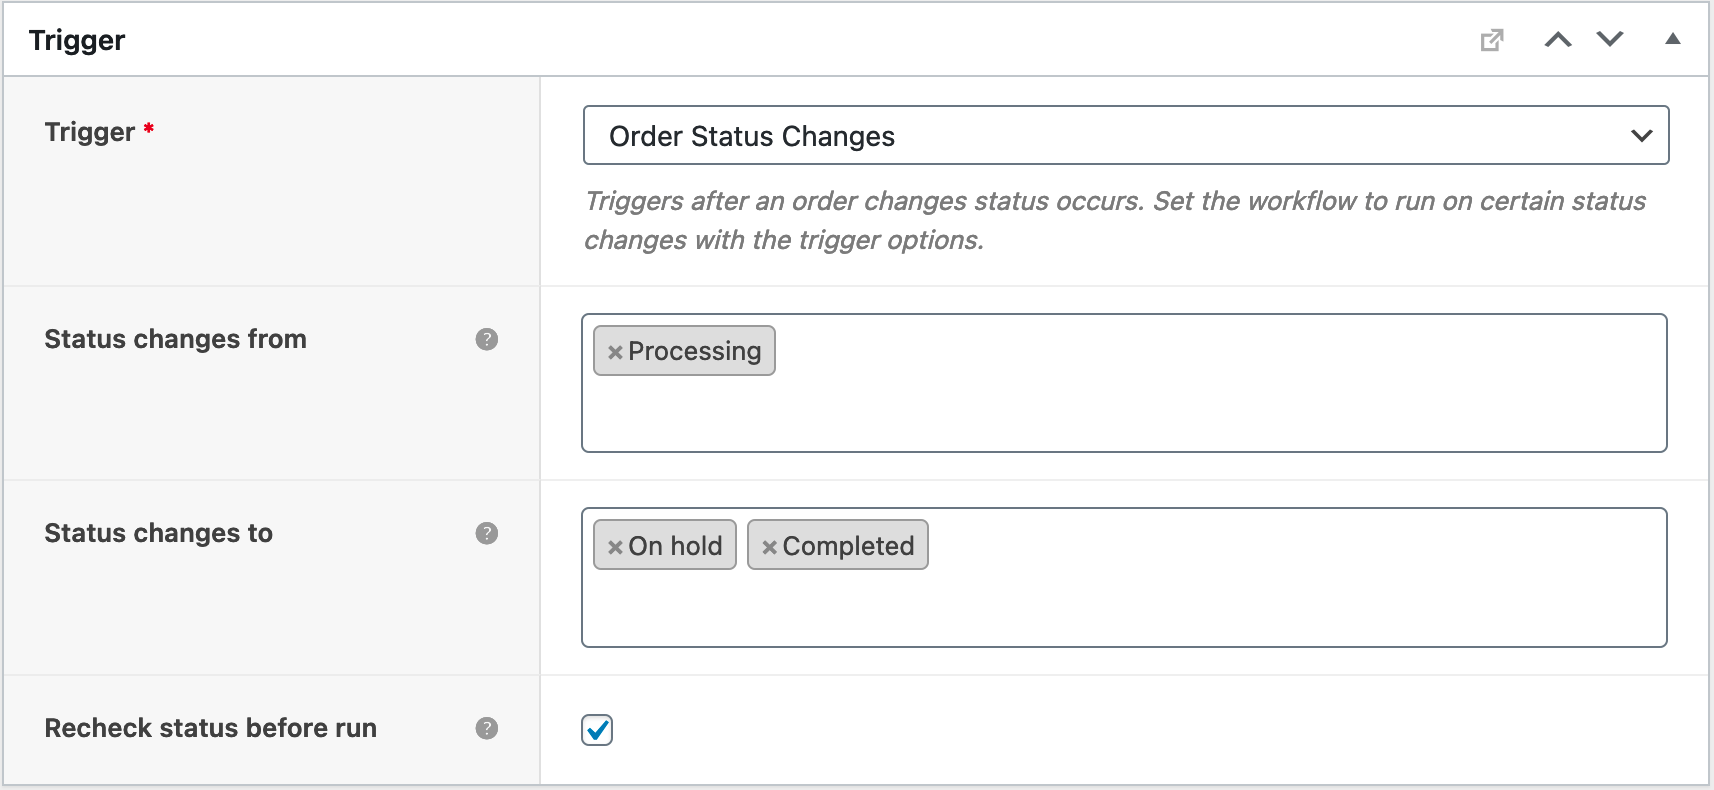
2. Choose a Trigger
↑ Back to topChoose the Order Completed trigger. This trigger will ensure the customer gets the welcome email after the order is shipped – set to “completed” status

“Recheck status before run” is selected by default and will ensure the order status is checked before the workflow runs. This ensures the workflow isn’t triggered should the customer cancel their order before the scheduled time.
3. Add a Rule
↑ Back to topAdd the Order is Customer’s First rule to tailor your workflow so it only targets first-time customers.

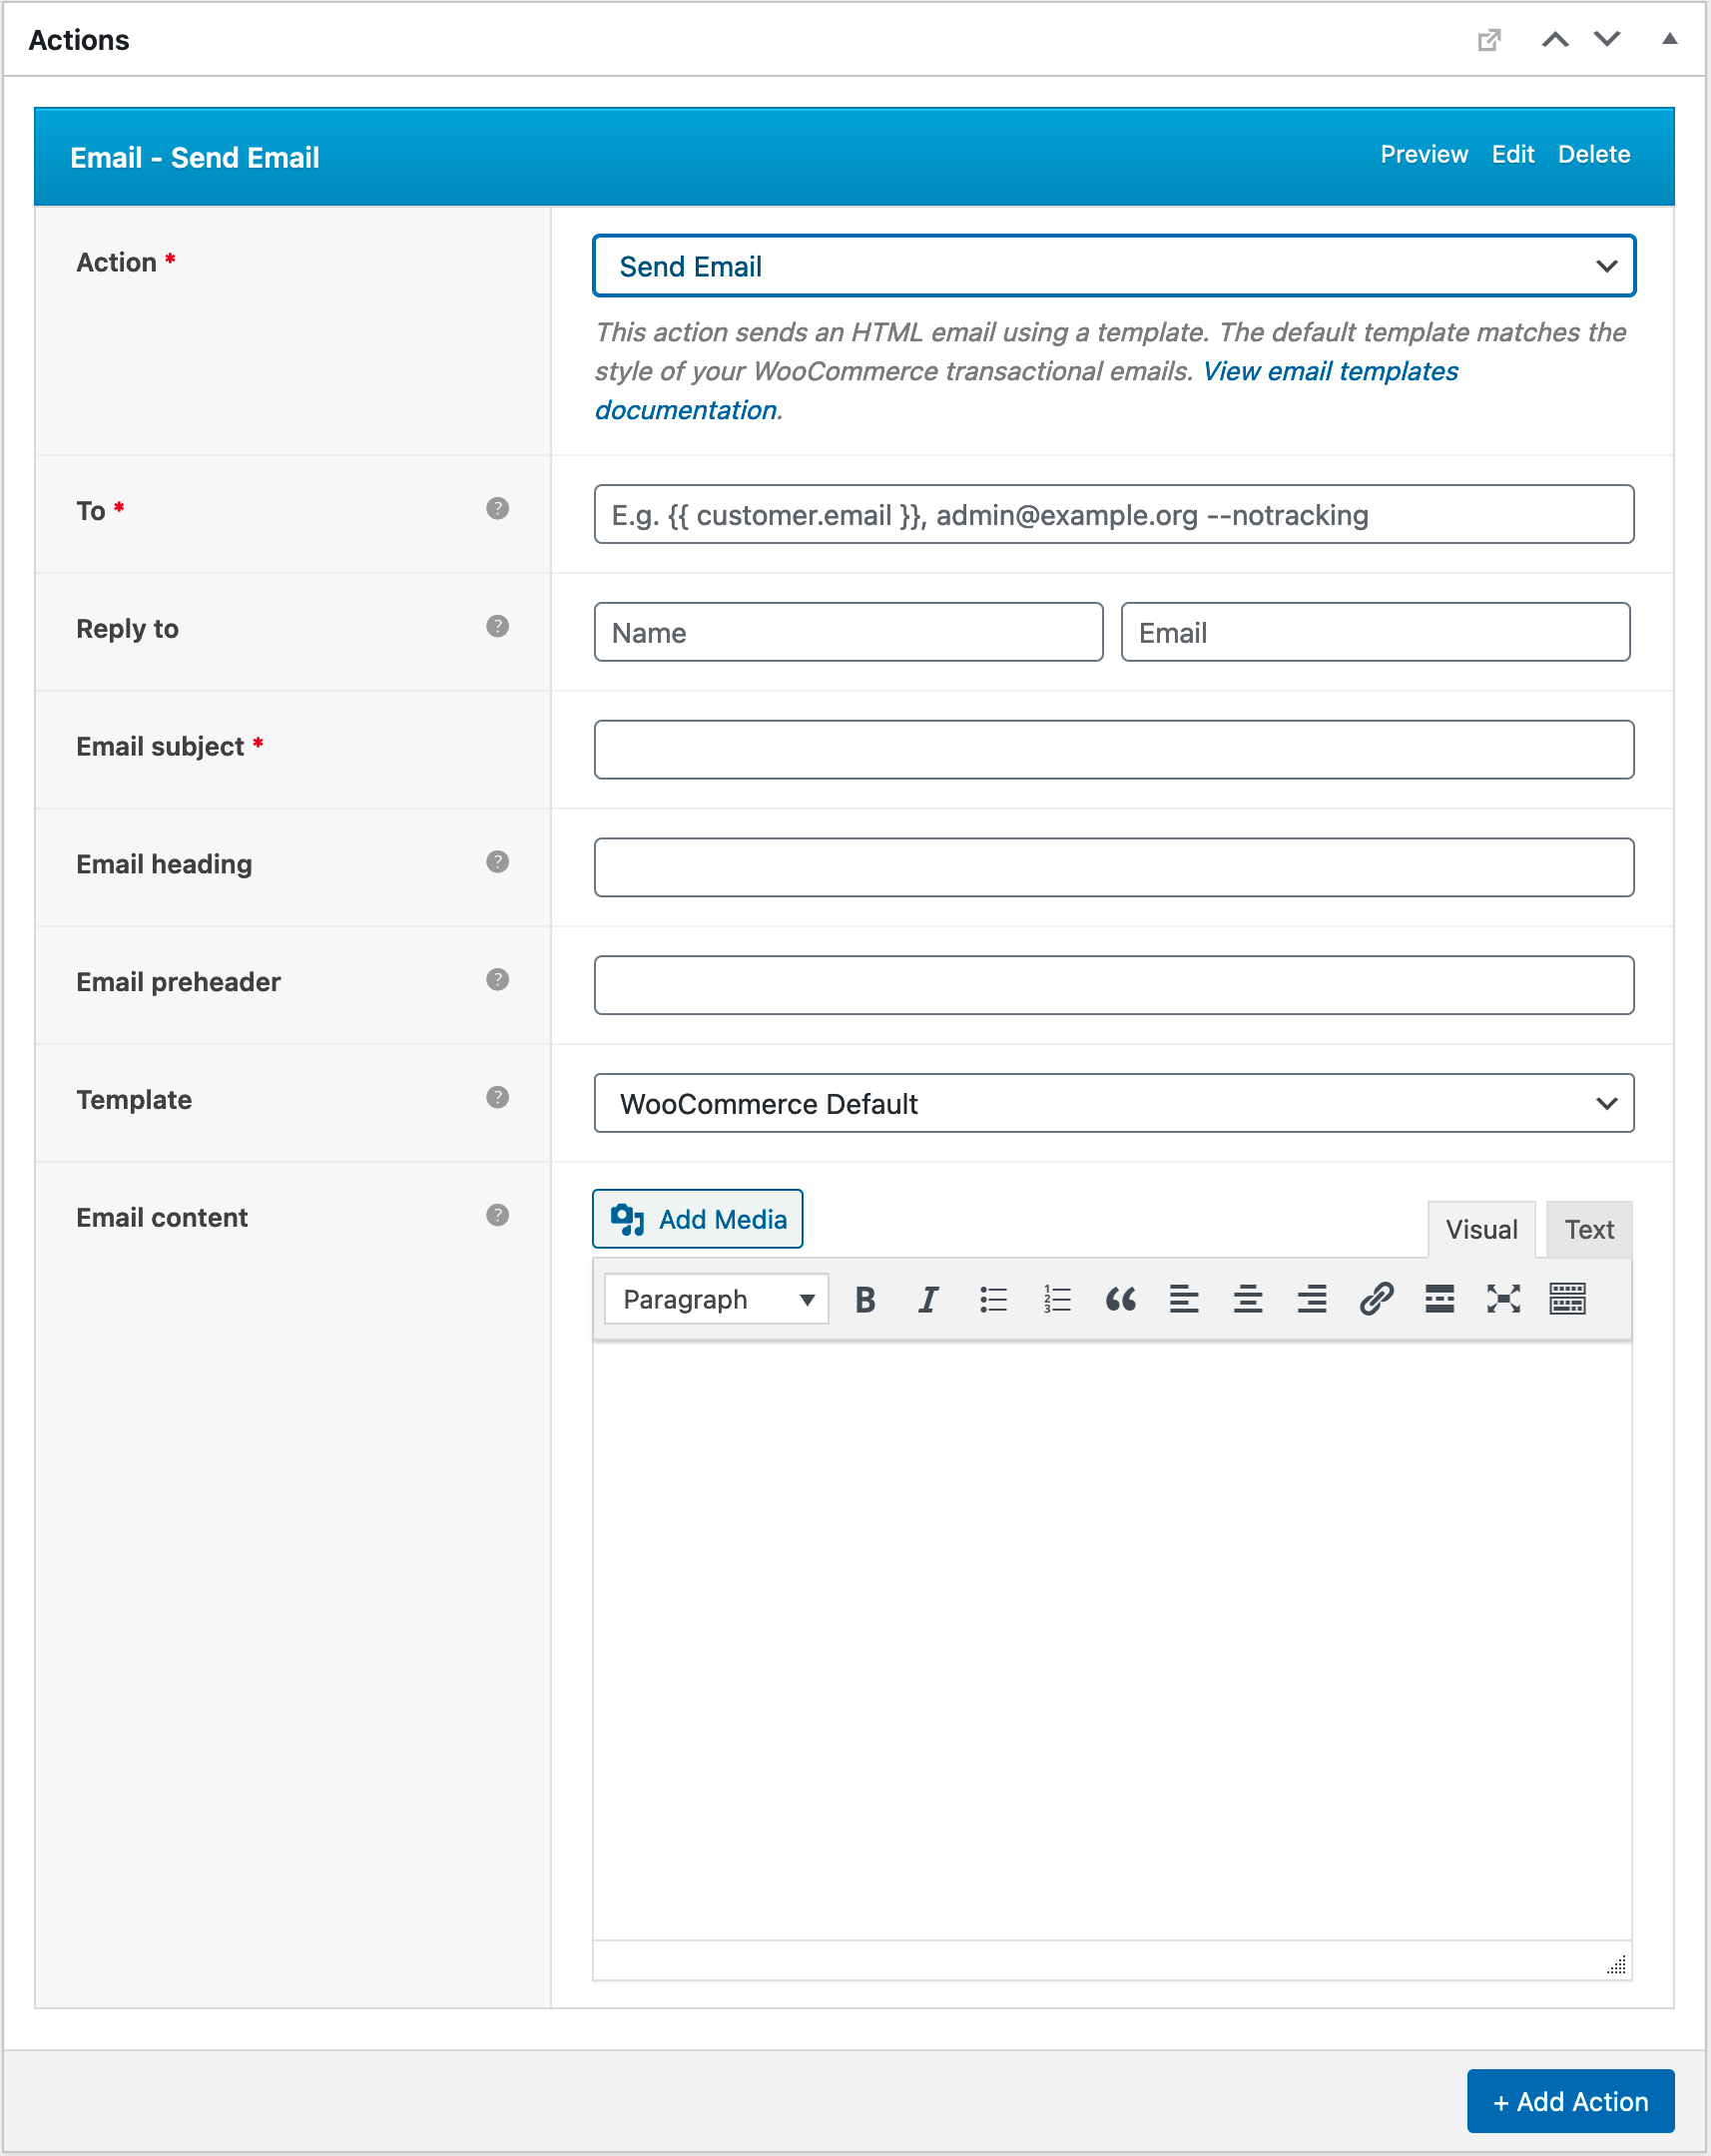
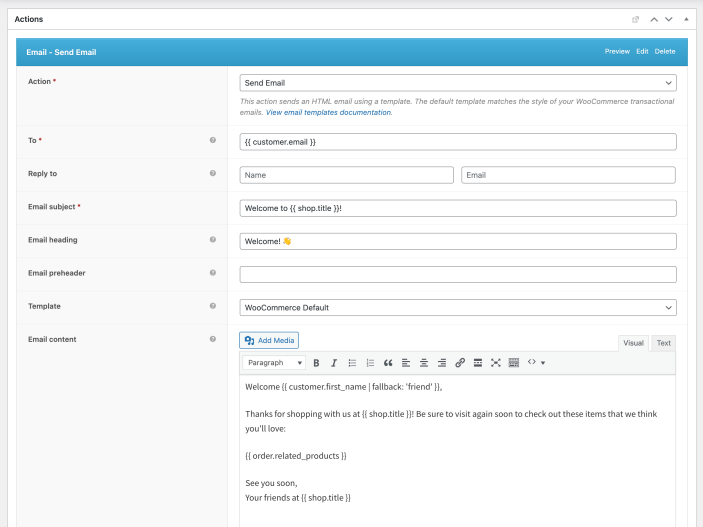
4. Choose an Action
↑ Back to topTo send a follow-up email, choose the action Send Email. In the “To” field, add the {{ customer.email }} variable to dynamically send the email to the customer’s email address. Next, add the email subject and your content. In addition, you can personalize the content of your follow-up email by using a variable such as {{ customer.first_name }} to dynamically display the customer’s first name in the email content and {{ order.related_products }} to upsell related products in your follow-up email.
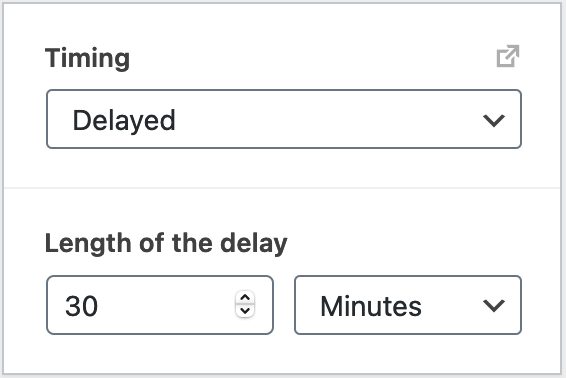
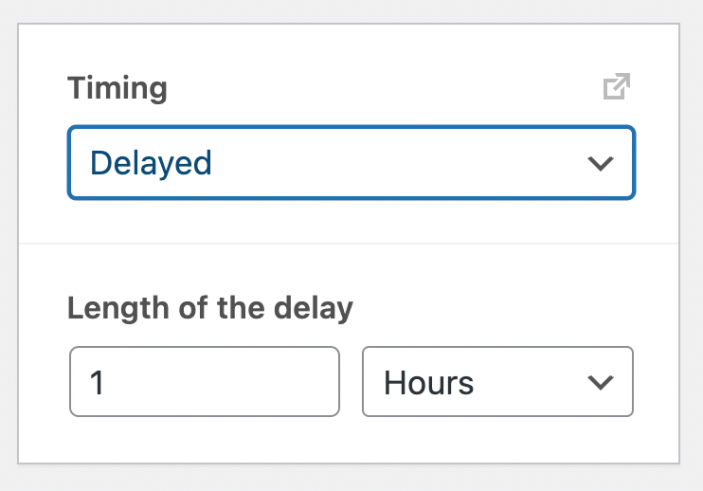
5. Choose your Timing
You can set your workflow to run at virtually any time using the timing options we’ve described above. For this example, you could use the “Delayed” timing and set the delay to 1 hour after the order has been assigned the completed order status.
Lastly, go ahead and save your workflow by clicking the “Save” button just above the top of the timing option.
Well done! You’ve just created your first AutomateWoo workflow and taken a great step towards growing your WooCommerce Store!
That was easy, right? it gets better! You can create a similar workflow faster using a preset workflow. On the Workflows tab, click Browse presets, locate the “New Customers: Welcome email” and click “Create workflow“. Next, modify the workflow content to tailor it to your needs and save it. Voila!


Note: If you want to save time in configuring the plugin on your website, our trusted partner, Codeable, can help. Check out their offer to configure one or more plugins on your site.