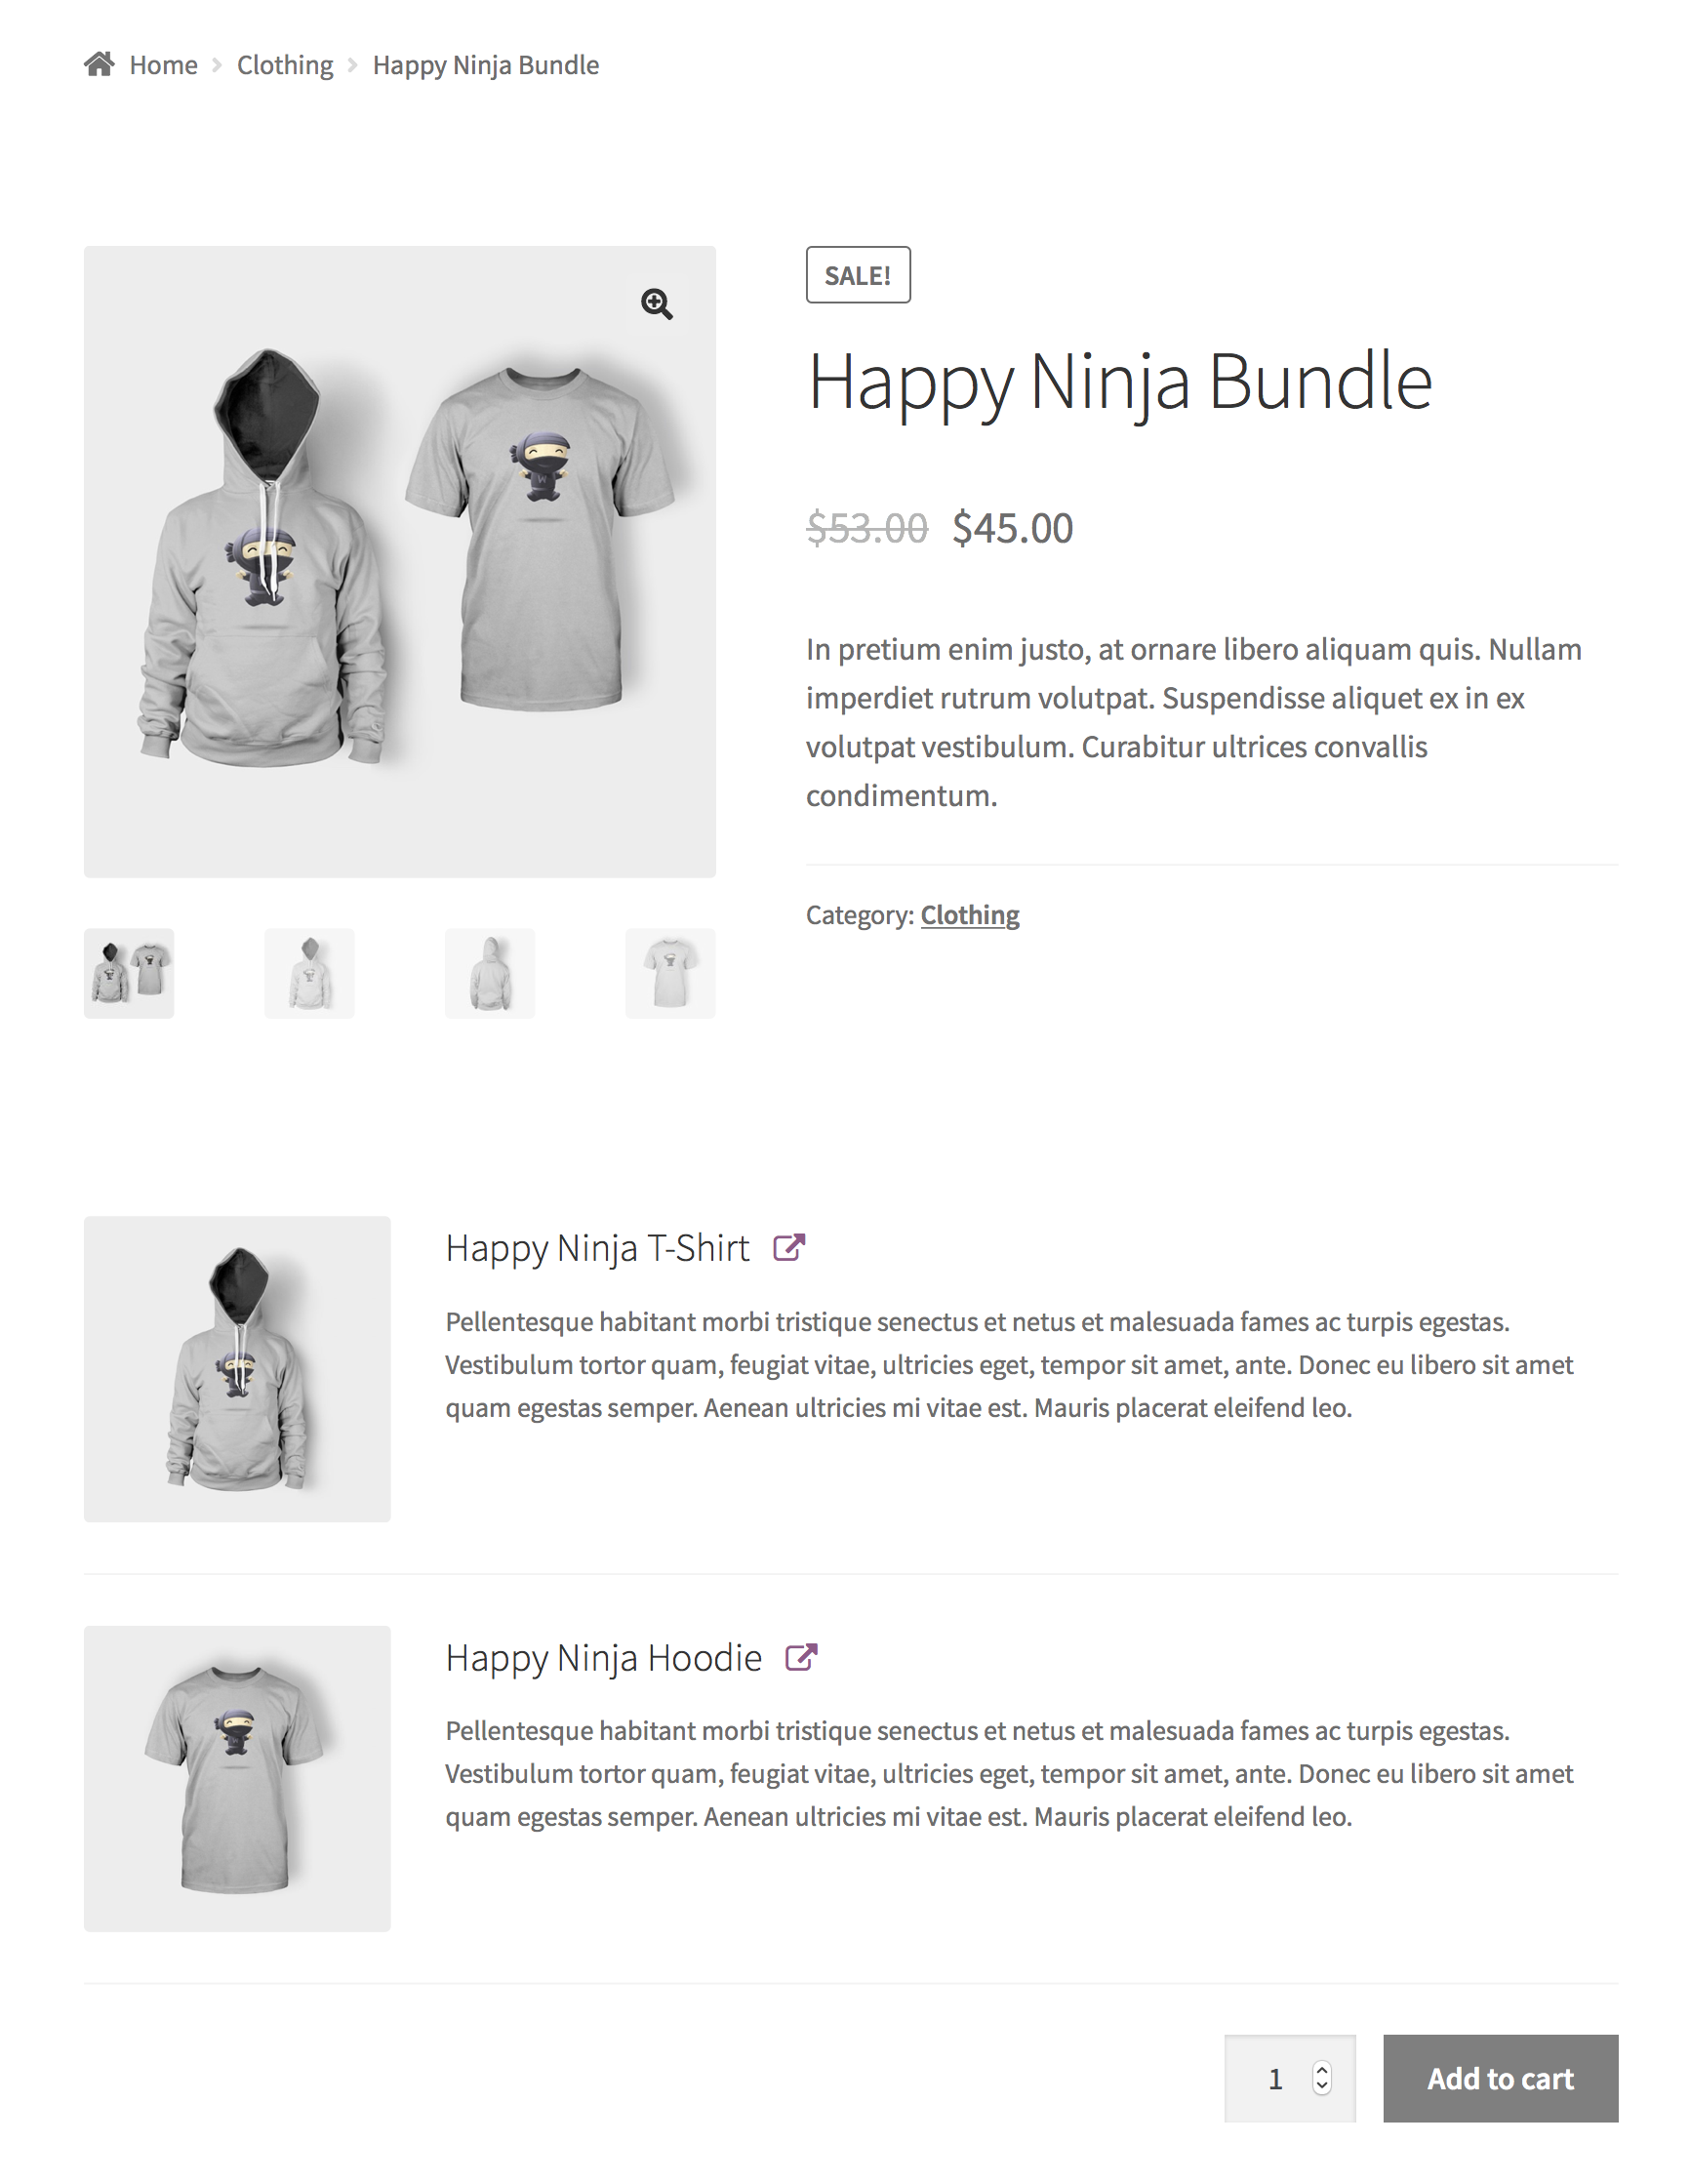
This guide shows you how to create the Happy Ninja bundle – a simple, pre-configured kit with two products from the Dummy Woo Store:
- The Happy Ninja T-Shirt and
- The Happy Ninja Hoodie.

Plugins/Extensions Used
↑ Back to topConfiguration
↑ Back to topTo configure the Happy Ninja bundle:
- Create a Bundle
- Go to WooCommerce > Products and click Add Product.
- Enter a Title, Description and Short Description.
- Locate the Product Data panel and select the Product bundle type.
- Add Bundled Products
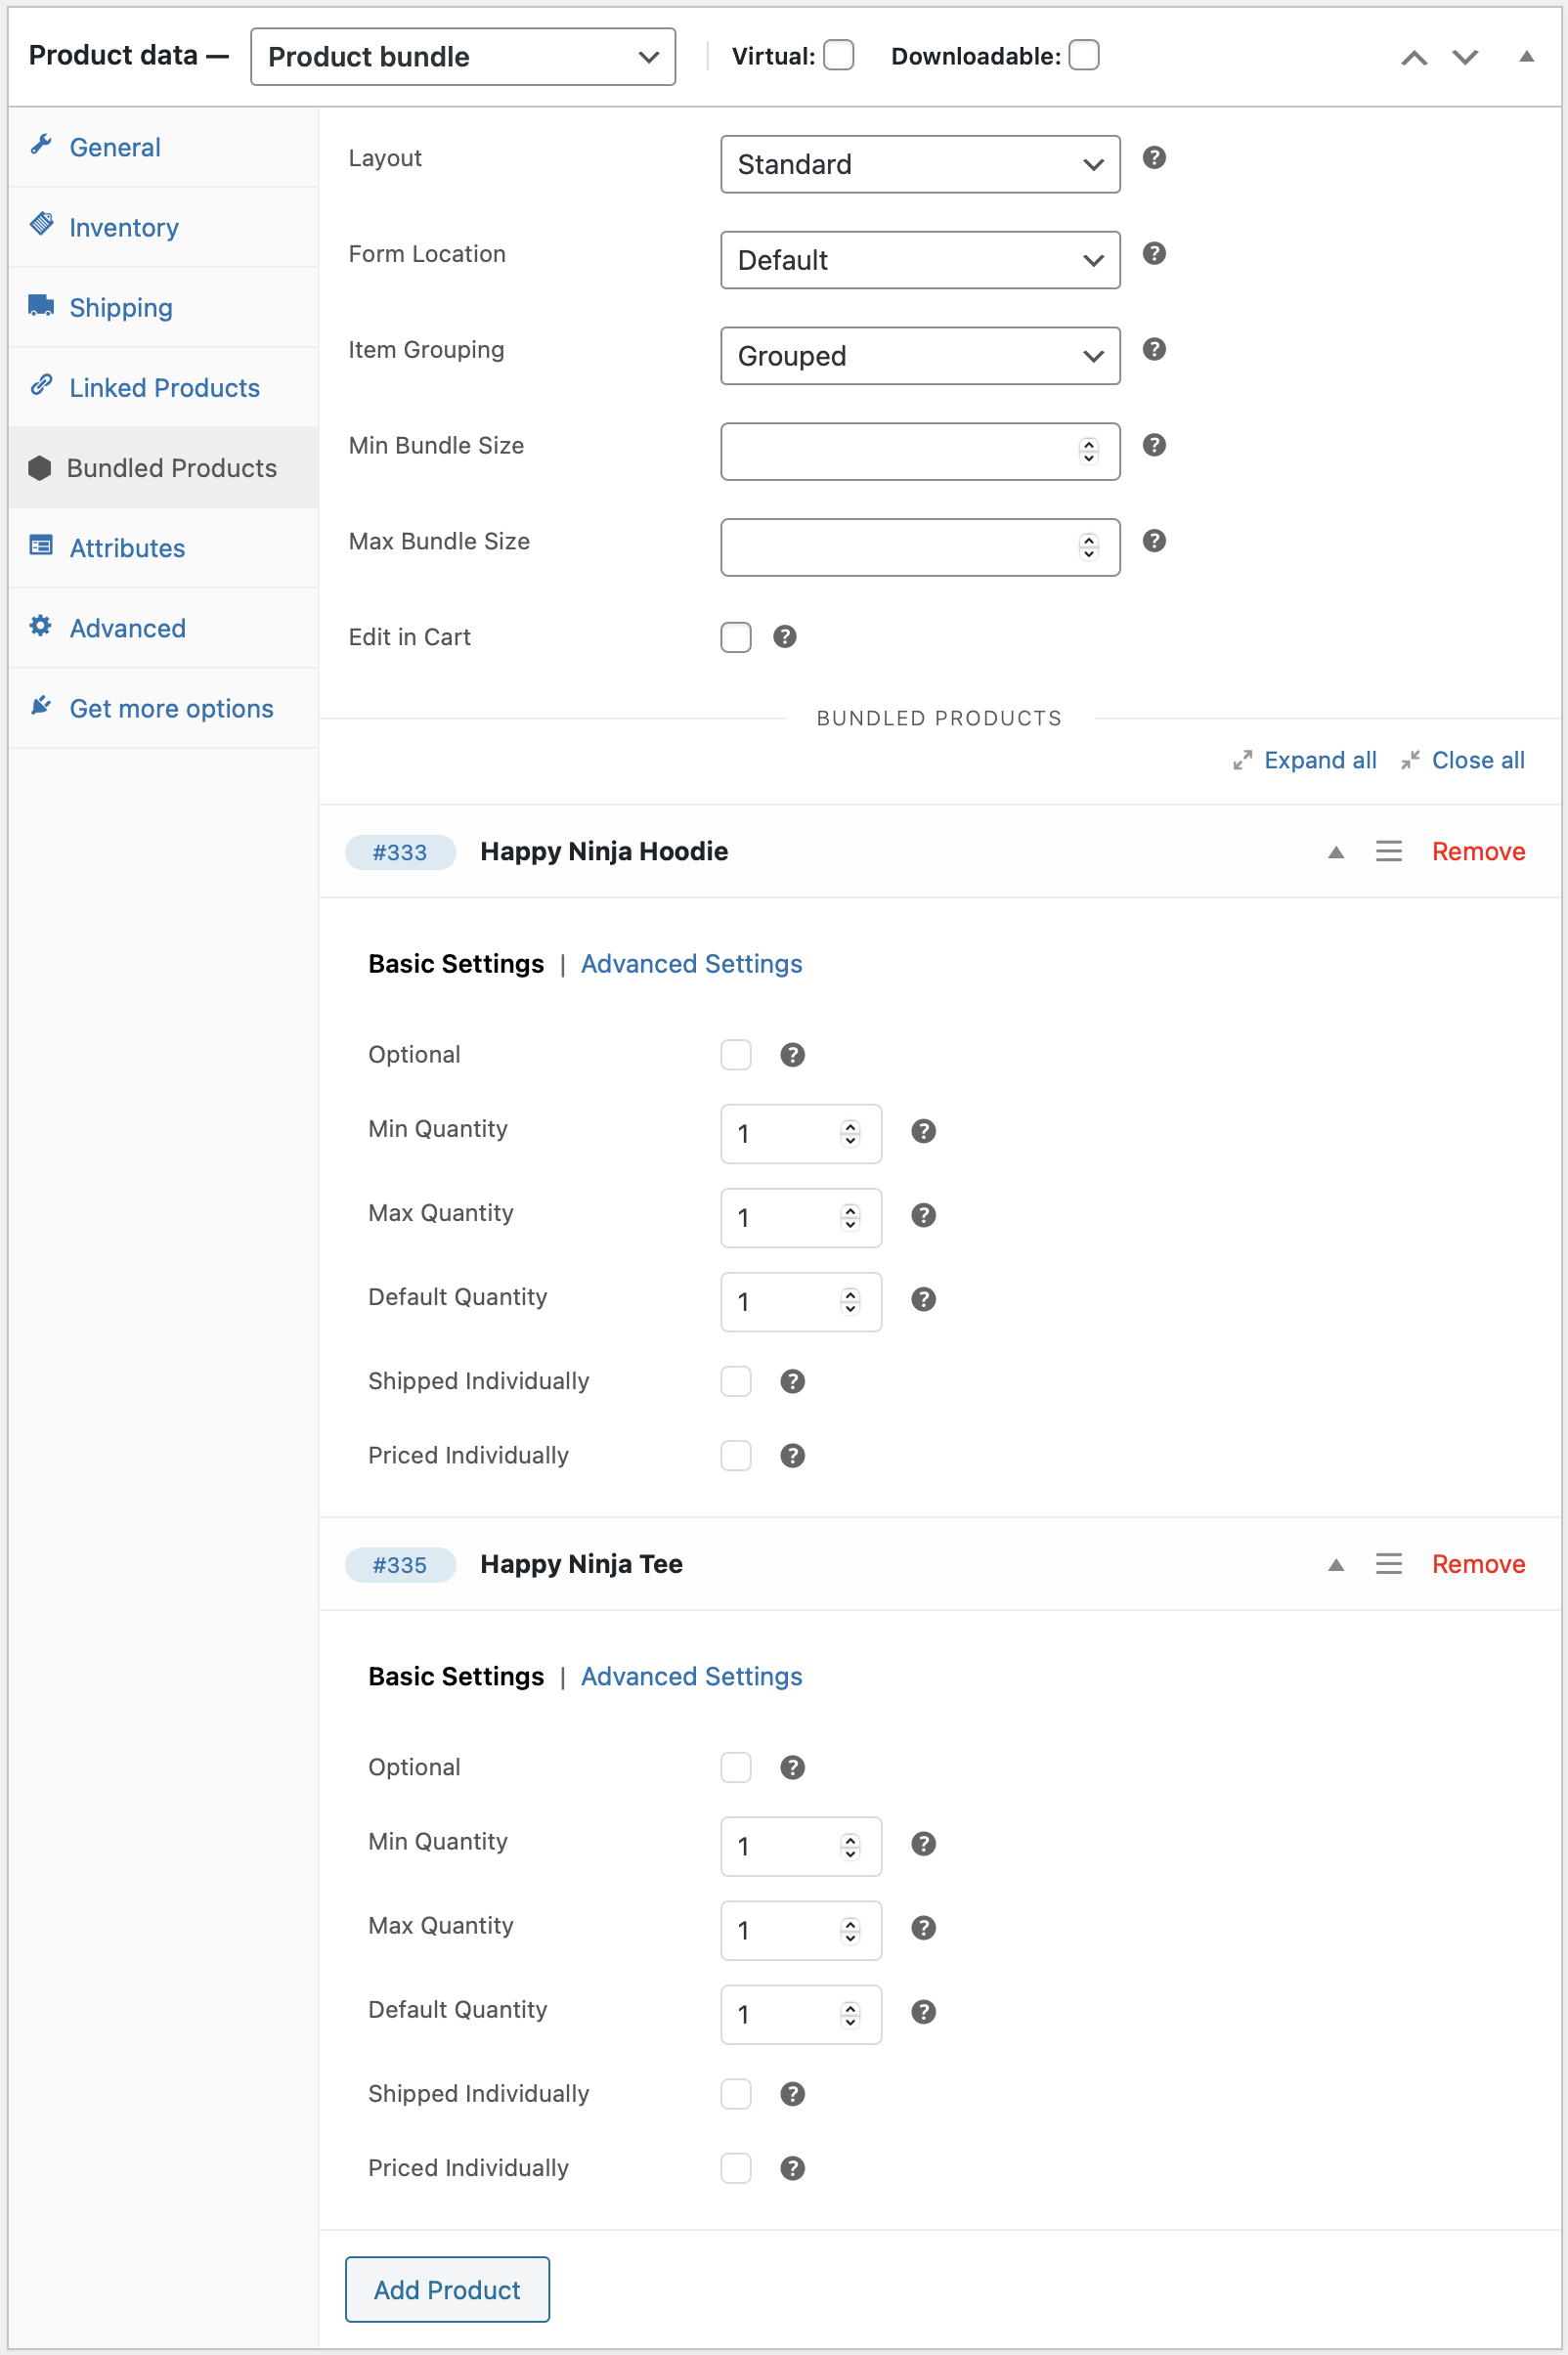
- Go to the Bundled Products tab on the left menu.
- Use the search field to find the Happy Ninja Hoodie and click its title in the results list to add it to the bundle.
- Repeat the process for the Happy Ninja T-Shirt.
This example assumes that the Happy Ninja Hoodie and Happy Ninja T-Shirt products already exist in your store’s catalog.

- Configure Pricing Options
To assign a price to the Happy Ninja bundle:
- Go to the General tab on the left menu.
- Enter a Regular Price and Sale Price.
With the Happy Ninja Hoodie priced at $35 and the Happy Ninja T-Shirt at $18, it makes sense to price the bundle a bit lower — set the Regular Price to $53 ($35 + $18), and the Sale Price to $45.
- Configure Shipping Options
Assuming that the contents of the Happy Ninja bundle are packaged and shipped together:
- Go to the Shipping tab on the left menu.
- Choose the Bundle Type > Assembled option.
- Enter Weight and Dimensions, and/or optionally assign a Shipping Class to the bundle.
- Since the contents of the bundle are static, its weight is known in advance: Use the Weight field to specify the total weight of the entire bundle, and then choose the Assembled Weight > Ignore option.
When a customer adds a Happy Ninja bundle to their cart, shipping costs are calculated for a single physical item: the Happy Ninja bundle.
- Configure Bundled Product Options
As you may have noticed, both bundled products are listed as Happy Ninja in the Dummy Woo Store catalog. To choose descriptive, unique names for bundled products:
- Go to the Bundled Products tab on the left menu.
- Open/expand both bundled products and in the Advanced Settings tab, tick the Override Title checkbox and define a custom title.
Feel free to experiment with the Visibility settings of the Happy Ninja Hoodie/T-Shirt: For example, if you don’t want to display any bundled product details above the add-to-cart button, untick the Visibility > Product Details checkbox and then add some details to the Short Description of the Happy Ninja bundle.
- Add Finishing Touches
Choose a Product Image, add some Gallery items and – finally – tweak the layout of the Happy Ninja bundle page.
Layout Tweaks
Most WooCommerce-compatible WordPress themes default to a two-column product page layout: The first column contains the main product image and gallery, while the second one is reserved for product details and options. This space-conserving approach works well for Simple and Variable products, which usually contain only a few form elements.
In contrast, Product Bundles tend to have longer forms requiring multiple interactions to complete. Sometimes you may find that your theme’s two-column layout makes Bundles look space-constrained and hard to interact with. Some themes allow you to modify the layout of individual product pages to display product details and options in a single column. For example, if you are using Storefront, the Storefront Powerpack plugin includes options for:
- allocating more width to product form content, or
- stacking product form content below the main product image and gallery.
If you are experiencing layout issues with a Product Bundle and your theme does not provide any per-product layout options:
- Navigate to Product Data > Bundled Products.
- Locate the Form Location option.
- Choose Before Tabs to stack form content after the product image and summary.
In most cases, choosing Before Tabs will allocate the entire page width to the form contents of your Bundle. However, note that the Before Tabs option is not guaranteed to work reliably with all themes!
A similar result can be achieved with the free WooCommerce Stacked Product Layout plugin.
- Save
Click Publish or Update to save your changes.
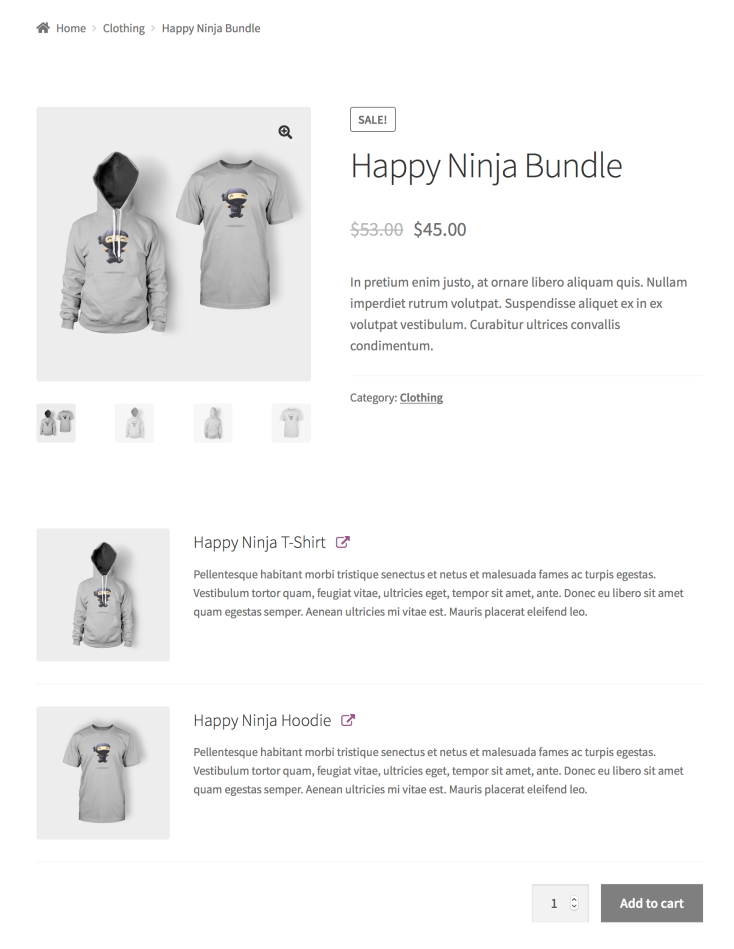
Result
↑ Back to top

Remarks
↑ Back to topIn the Cart
In the cart, the Happy Ninja bundle is displayed as a parent line item – named after the product bundle itself – followed by a child line item for each bundled product. Both bundled products are grouped under the bundle and their quantities are kept in sync with the quantity of their parent. This can be observed in order templates as well.
Note: In some use cases, displaying a parent item in cart/order templates might not be ideal. To make Bundles resemble Grouped Products in cart/order templates, choose None under Bundled Products > Item Grouping.
Static Bundle Pricing vs. Reporting Accuracy
Changing the Regular/Sale Price of the Happy Ninja bundle only affects the subtotal of its parent cart/order line item. The order item subtotals of both products included in it are zero — as a result, their earnings reporting accuracy will be gradually compromised. If reporting accuracy is important to you, avoid static bundle prices and only use them if a bundle is a service, process or physical item with a “base value” of its own.
In this case, it would have been possible to overcome this limitation by following these steps:
- Leave the Regular Price and Sale Price fields empty.
- Check the Priced Individually option under the Basic Settings tab of each bundled product.
- Define a % Discount for each bundled product.
- Optionally, use the Advanced Settings > Price Visibility option to hide bundled product prices.
Static Bundle Pricing vs. Tax
Be aware that a static bundle price limits you to a single tax rate.
Questions & Support
↑ Back to topHave a question before you buy? Please fill out this pre-sales form.
Already purchased and need assistance? Get in touch with us via the Help Desk!