WooCommerce Square offers SAQ-A PCI-compliant payment integration, including 3D Secure verification, and synchronized product inventory, enabling secure online sales across multiple channels.
This guide walks you through installing the WooCommerce Square extension, connecting your Square account, and completing initial configuration so you can start syncing products or accepting payments.
Before You Start
↑ Back to topRequirements: Check that your site meets all of the following before installing.
- PHP 7.4+
- WordPress 5.8+
- WooCommerce 9.4+
- An active Square account
- An SSL certificate (required for payment processing)
- Background processing enabled on your server (required for automatic product sync)
opcache.save_commentsmust be enabled on your server (required for the plugin and product sync to work correctly). Contact your hosting provider if you need help enabling this.
Step 1: Install the Extension
↑ Back to topTo get started with WooCommerce Square, the first step is ensuring that the extension is installed on your website and activated. If you haven’t done so yet, our installation section provides clear instructions for seamlessly integrating WooCommerce Square into your website.

Step 2: Connect Your Square Account
↑ Back to topAfter successfully installing the WooCommerce Square Extension, it’s crucial to configure it properly to enable your store to:
- Establish secure communication with Square’s servers.
- Accept live payments from customers.
- Sync products
Connect your Square account
↑ Back to top- Go to WooCommerce > Settings > Square
- Click
Connect to Squarenext to the Connection section.
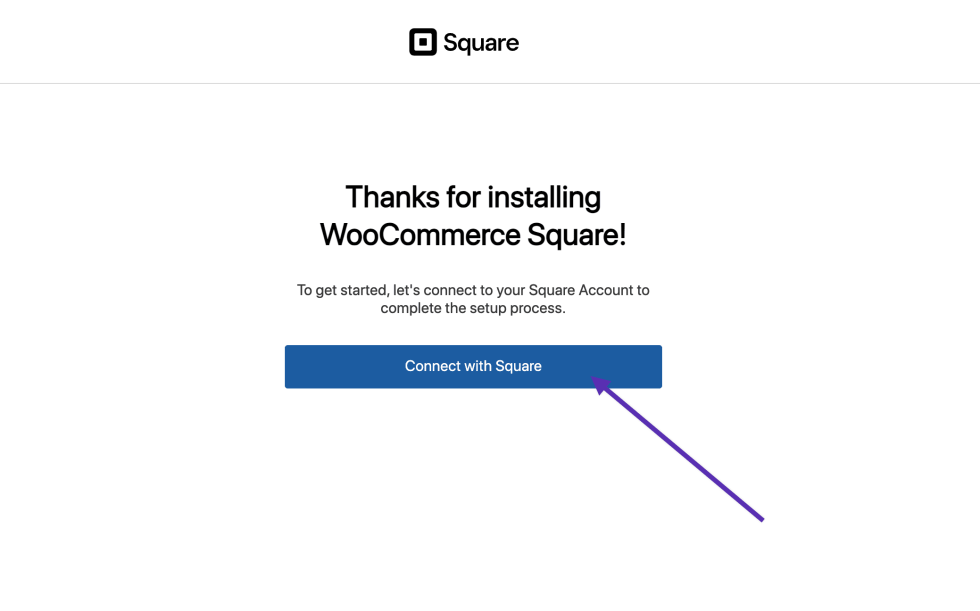
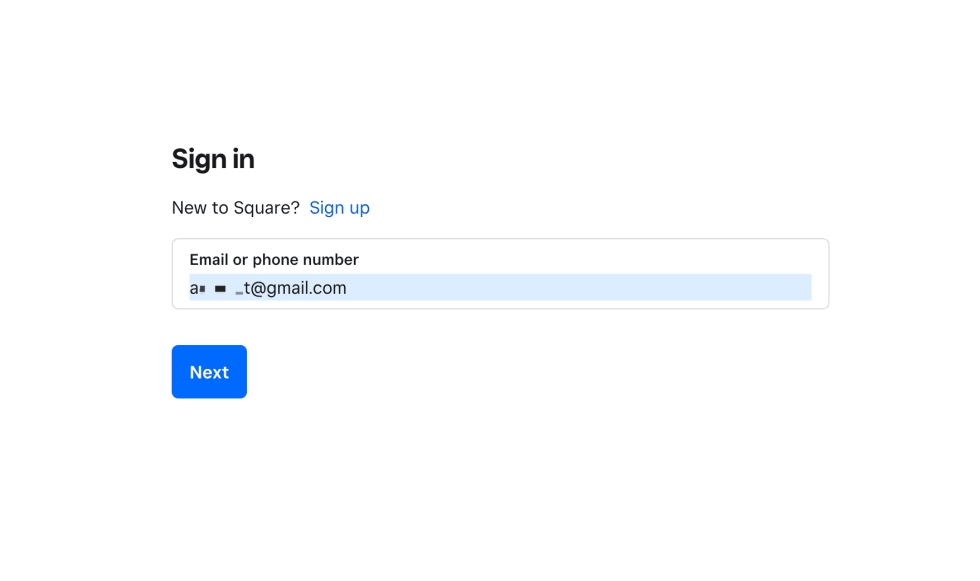
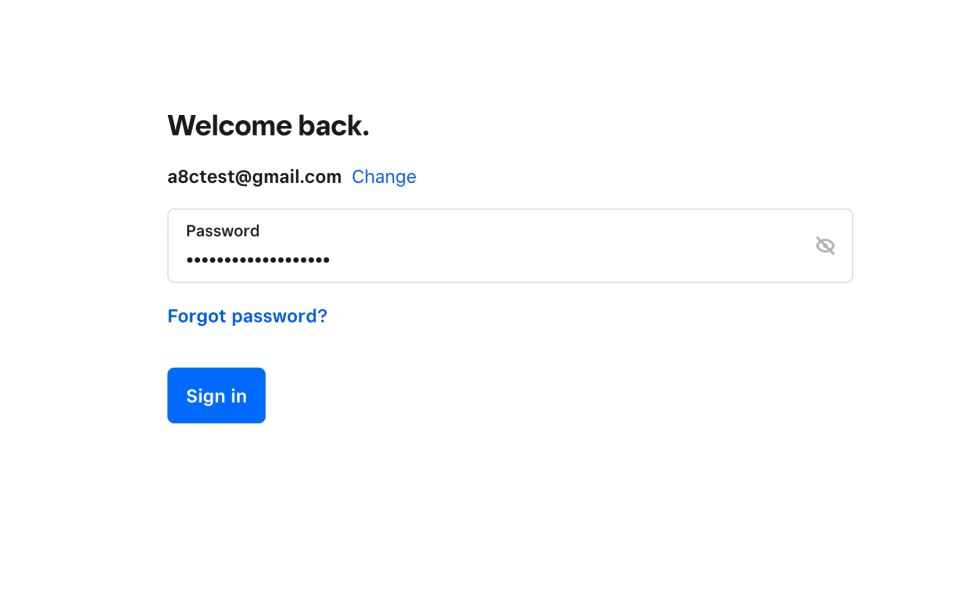

- You will be taken to Square’s authorization screen. Log in with your Square account. You must be the account owner to authorize this connection.
- Click Allow to grant WooCommerce access to your Square account.
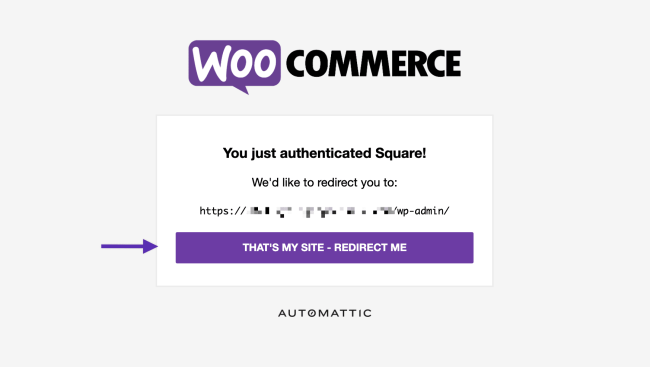
- You will be redirected back to your site. Verify the URL shown matches your site, then click
That's My Site — Redirect Me.
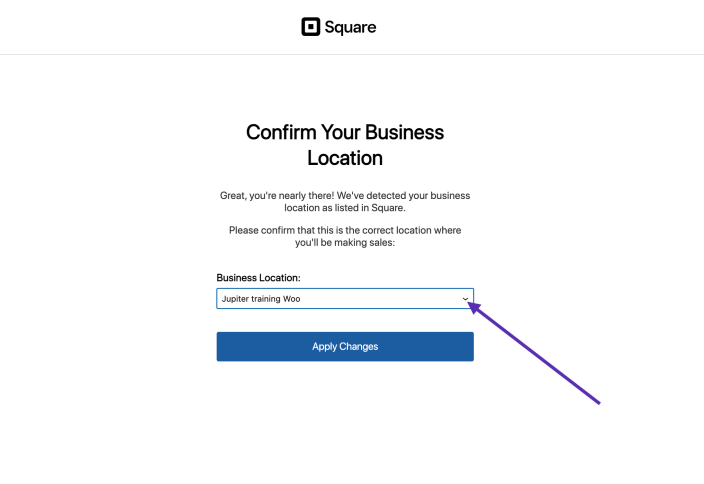
- Once connected, select your Business Location and configure your Sync Settings.
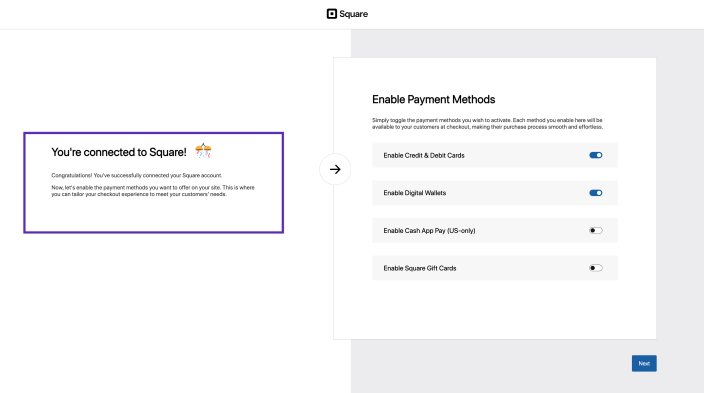
You’re now connected to Square! Now, you can start configuring the settings.
WooCommerce Square can be used for managing inventories and also as a payment gateway. You can configure the extension to use either of them or both.


Having trouble connecting to Square?
↑ Back to topNot able to connect your site to Square? You must be the owner of the Square account to do so. This integration needs access to much of the data in your Square account, and Square only grants these permissions to owners.
If you get an “Unauthorized” error when attempting to connect with Square, please check with Square if you are the owner of the account you’re connecting to.
See the Troubleshooting page for connection issues.
Step 3: Configure the Extension
↑ Back to topThe General settings appear in WooCommerce > Settings > Square > Settings tab.
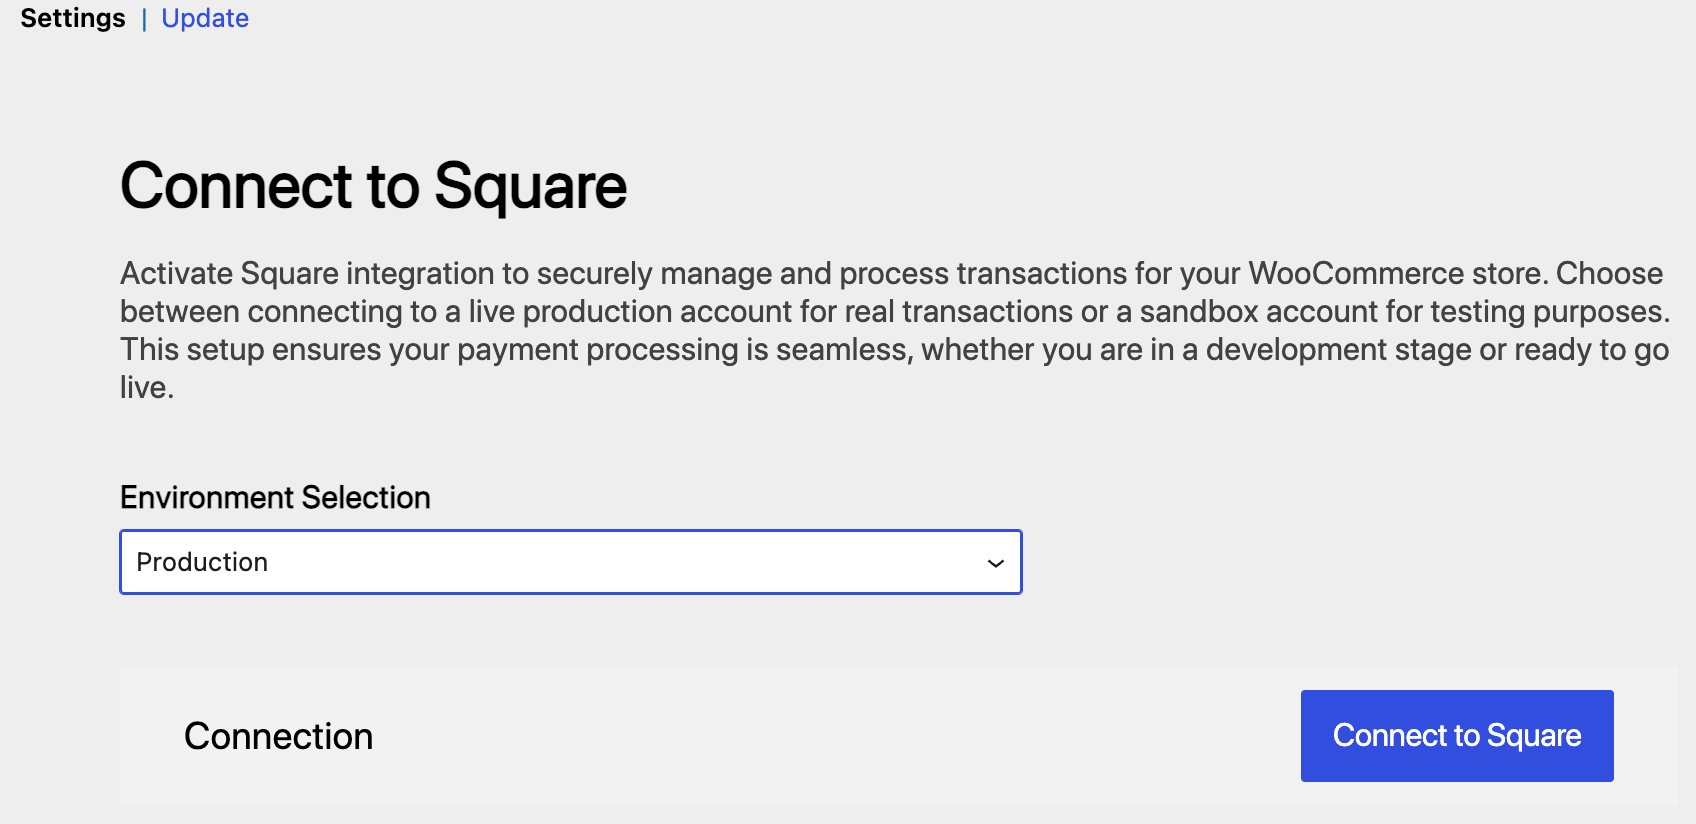
Connect to Square
Environment Selection: Use this section to link your WooCommerce store to a Square account. Choose the Square environment to connect to:
- Production: Use this for a live store processing real transactions. Click Connect with Square to authorize the plugin with your live Square account via OAuth.
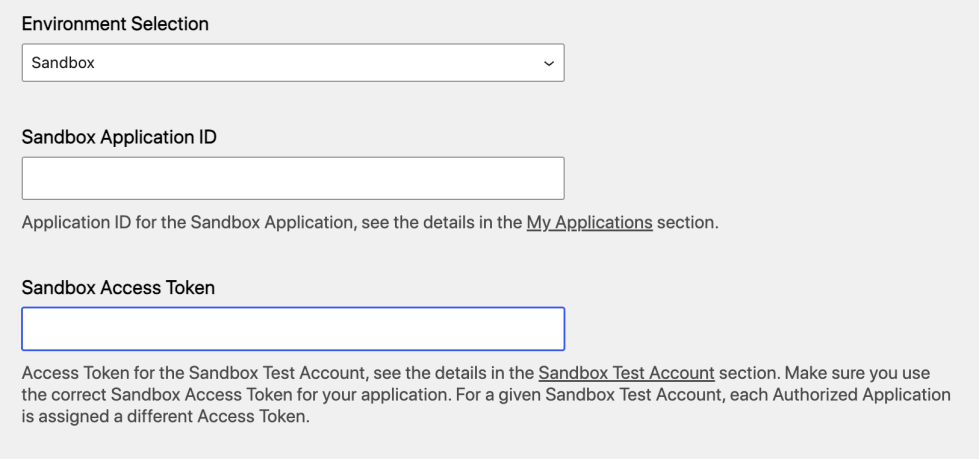
- Sandbox: Use this for testing without processing real payments. You’ll provide credentials from a Square sandbox test account.
When Sandbox is selected, two additional fields appear:
- Sandbox Application ID — The Application ID for your sandbox app. Find this in the My Applications section of the Square Developer Dashboard.
- Sandbox Access Token — The access token for your sandbox test account. Each authorized application has its own access token, so make sure to copy the one tied to the application you’re using.
See the full information on setting up sandbox mode with Square.
Select your business location
After connecting, choose which Square location to sync with your WooCommerce store. Only one location can be linked at a time.
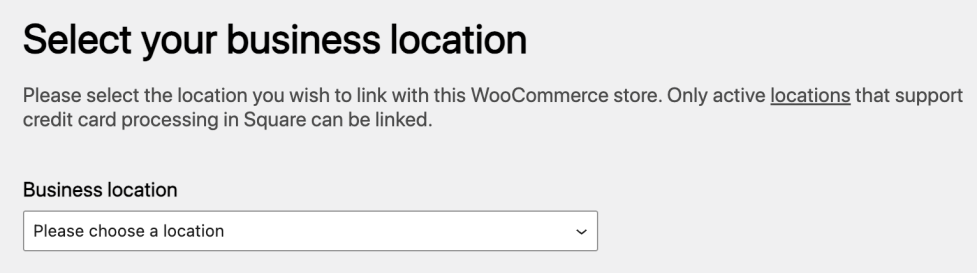
Business location: Lists every active location on your Square account that supports credit card processing. Locations without card processing enabled won’t appear in this dropdown.
Note: If you have multiple Square locations, only products and inventory tied to the selected location will sync.
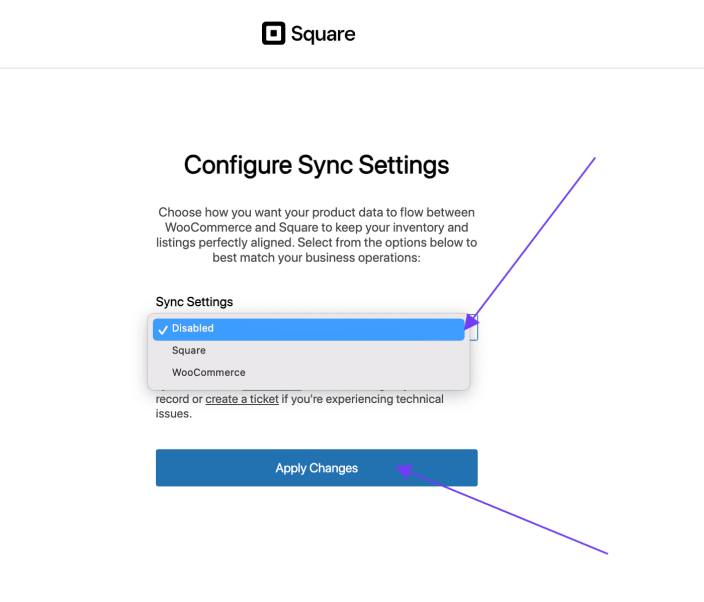
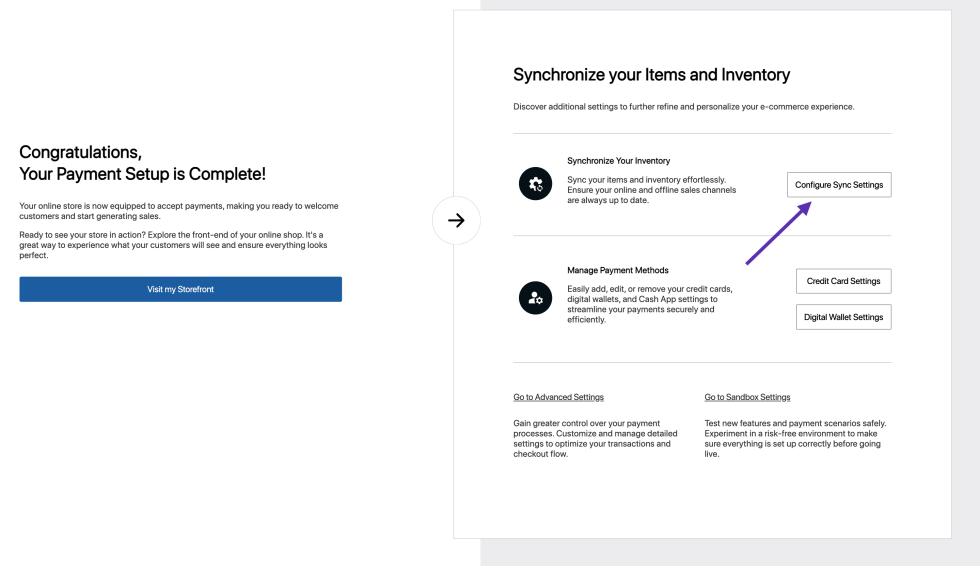
Configure Sync Settings
Control how product and inventory data moves between WooCommerce and Square. See the full information on how to configure these settings on the Sync Settings page.
Square Discount Codes
Let customers redeem discount codes created in your Square Dashboard at WooCommerce checkout.
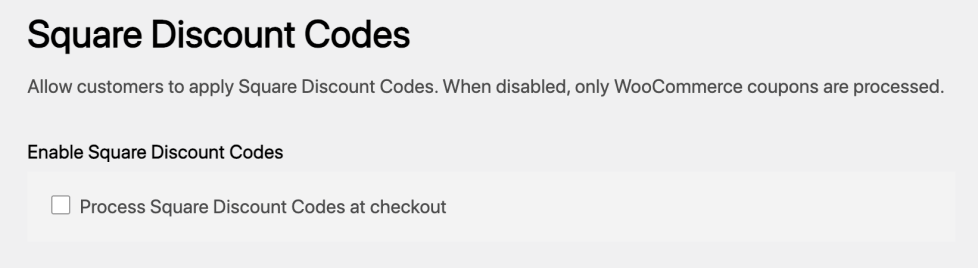
Process Square Discount Codes at checkout: When checked, customers can enter a Square discount code in the coupon field during checkout, and it will be validated against your Square account.
When unchecked, only standard WooCommerce coupons are processed. Square discount codes entered at checkout will be rejected.
Note: Square discount codes are managed in your Square Dashboard, not in WooCommerce. See the documentation on discount codes for how to create them.
Advanced Settings
Adjust these options to give customers better error messages and to help diagnose problems.
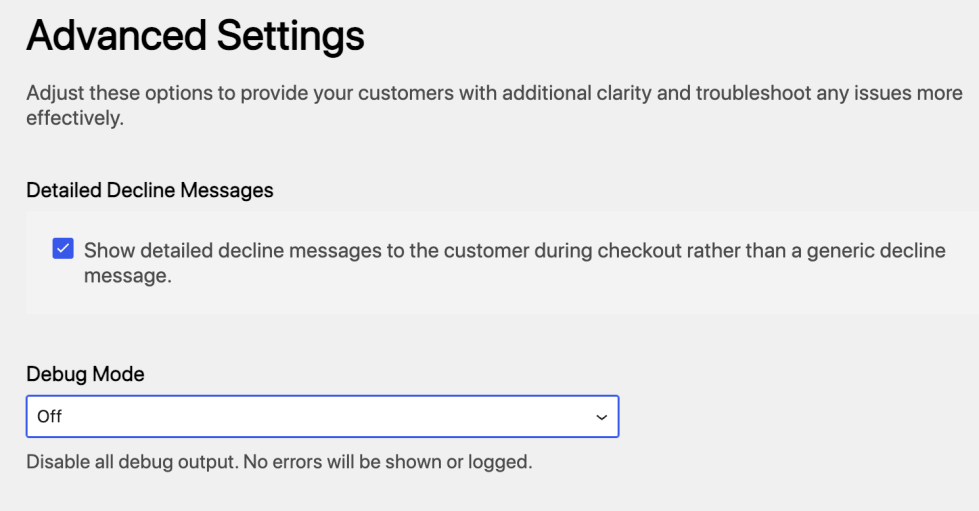
Detailed Decline Messages: Shows detailed decline messages to the customer during checkout. When checked, customers see the specific reason a card was declined (for example, “Insufficient funds” or “Incorrect CVV”) instead of a generic “Payment declined” message.
Detailed messages help customers fix the issue and retry without contacting support, but may reveal more information about the cardholder’s account than a generic message.
Debug Mode: Controls how the plugin logs requests and errors:
| Setting | Description |
|---|---|
| Off | Disables all Square logging. |
| Payment Errors — Show on Checkout Page | Displays payment errors directly on the checkout page. |
| Payment Errors — Save to Log | Saves payment errors to WooCommerce > Status > Logs. Log files start with square_credit_card. |
| Payment Errors — Show on Checkout and Save to Log | Displays payment errors directly on the checkout page and saves them to WooCommerce > Status > Logs. Log files start with square_credit_card. |
| Payment Errors — Show on Checkout, Non-payment errors — Save to Log | Displays payment errors directly on the checkout page and Saves sync errors to logs. Order sync logs start with sync; product sync logs start with square. |
| (Payment + Non-payment) Errors — Save to Log | Saves both payment and sync errors to logs. Order sync logs start with sync; product sync logs start with square. |
| Non-payment Errors — Save to Log | Saves sync errors to logs. Order sync logs start with sync; product sync logs start with square. |
Going further
↑ Back to topThe WooCommerce Square extension serves a dual purpose, functioning seamlessly as both a product inventory sync between Square and your WooCommerce website and a payment gateway for receiving payments from customers.
For detailed guidance on setup and configuration, please check the links below.