Overview
↑ Back to topThis document walks through the Intuit QBMS application creation process.
Please note that we highly recommend using the default application login and ID, as these are verified to work seamlessly with WooCommerce, and only require a connection ticket to be generated with just a few clicks.
If you choose to create your own application, please follow the steps below. You must have a valid payments account in order to create an app and generate a connection ticket. Log into your account using your Intuit QBMS credentials, then proceed.
Create a New App
↑ Back to topOnce your merchant account is created, you’ll need to register a developer account to create your own application at developer.intuit.com. You may do so by clicking “Sign In”, or “Join” if you don’t have an Intuit Partners account. Enter your login or personal information.
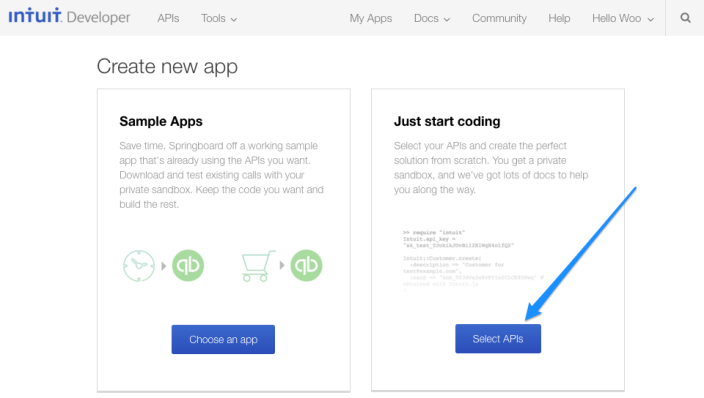
Once you’re logged in, you can create new app by going to My Apps > Create New App:

Click “Select APIs” to choose what kind of app to create.
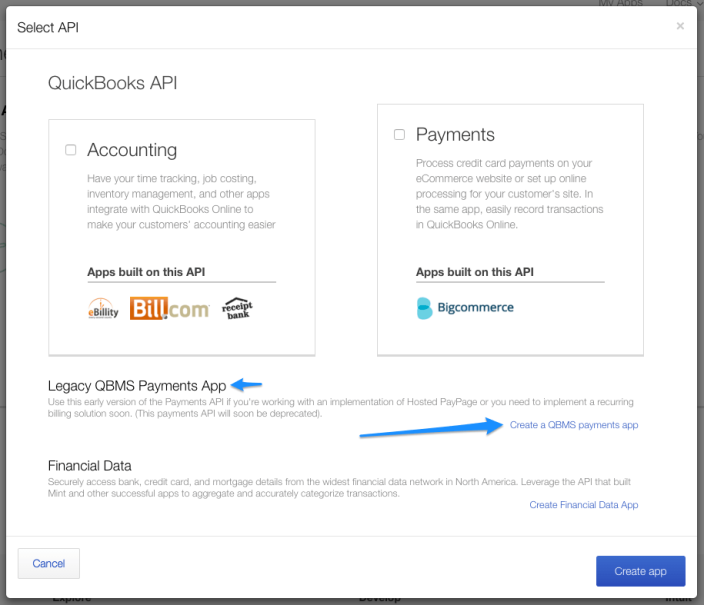
Choose “Create a QBMS Payments App” under Legacy QBMS Payments App. The plugin already has an update in progress to use the new Payments API, but the legacy API is used in the meantime and functions 100% without issues. The updated API will be in place long before the legacy API support is removed.
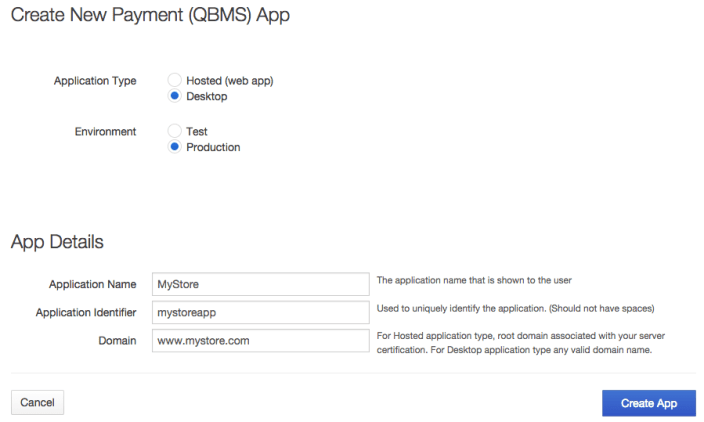
You can then enter the information for your app – be sure to select “Desktop” for type, and “Production” for environment.
This will now give you an application ID and application login, which can be saved in the plugin settings page to override the default App ID / Login information.
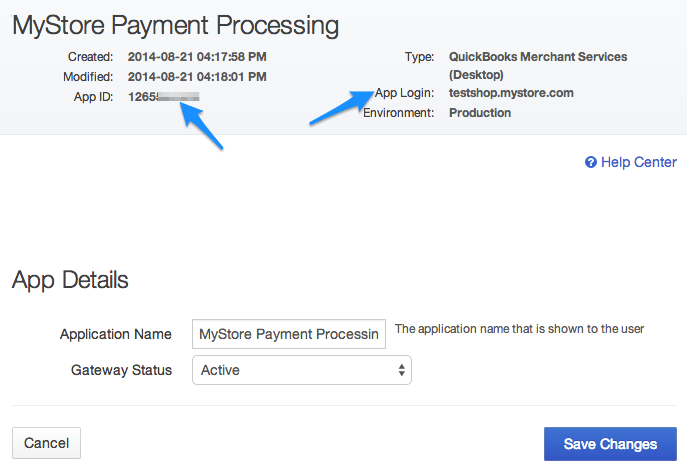
You can also access this information by going to My Apps > Manage My Apps.
Generate a New Connection Ticket
↑ Back to topYou will now have to visit this URL to generate a live connection ticket:
https://merchantaccount.quickbooks.com/j/sdkconnection?appid=ENTERYOURAPPID&sessionEnabled=false
Replace “ENTERYOURAPPID” with your app ID number.
If you go through this entire process a second time, you can create a “test” instead of a “production” app. If you do so, use this URL to generate the test connection ticket:
https://merchantaccount.ptc.quickbooks.com/j/sdkconnection?appid=ENTERYOURAPPID&sessionEnabled=false
Replace “ENTERYOURAPPID” with your test app ID number. Make sure that you’re using your test application ID rather than your production app ID.
You can now return to the user documentation and create a connection ticket using this app information instead of the default app information.