Smart Product Tags allows your WooCommerce store to create stunning custom badges and transform standard product tags into eye-catching visual elements with custom images, flexible positioning, and AI-powered assistance.
Installation
↑ Back to topTo start using a product from WooCommerce.com, you can use the “Add to store” functionality on the order confirmation page or the My subscriptions section in your account.
- Navigate to My subscriptions.
- Find the Add to store button next to the product you’re planning to install.
- Follow the instructions on the screen, and the product will be automatically added to your store.
Alternative options and more information at:
Managing WooCommerce.com subscriptions.

Setup and Configuration
↑ Back to topGetting started
↑ Back to topTo set up your store with Smart Product Tags for WooCommerce:
- Go to: Smart Tags > Settings to configure badge display options, positioning settings, and AI features.
- Create custom badges in Smart Tags > Badges with images, text, colors, and positioning options.
- Assign badges to products using the Product Badges metabox in the product editor or use bulk actions to assign multiple badges at once.
- On product edit pages, use the “Suggest Tags with AI” box to get relevant tag ideas.

- Badges and enhanced tags will display on your shop and product pages according to your positioning settings.
The main workflow involves configuring display settings, creating custom badges, and assigning them to products. You can also enhance existing product tags with visual elements.
1. Configure Global Settings
↑ Back to topGo to: Smart Tags > Settings. Here you can:
- General Tab: Enable/disable badges and product tags features.
- Product Tags Tab: Set display position, badge style (icon only, text only, or both), and image size for enhanced product tags.
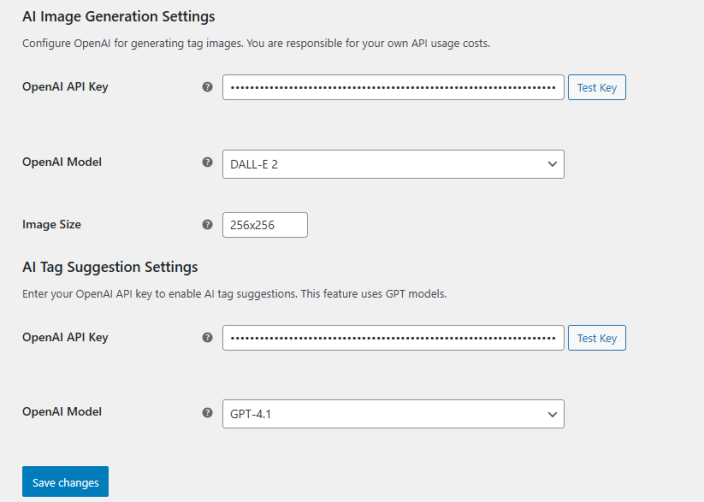
- AI Settings Tab: (Optional) Enter your OpenAI API key to enable AI image generation and tag suggestion features.
Note:
Open AI API key: If you don’t have one, you can obtain it here.
2. Create Custom Badges
↑ Back to top- Navigate to Smart Tags > Badges.
- Click Add New Badge to create a custom badge.
- Set badge title, add featured image, configure badge text, colors, and font size.
- Configure display position: choose between overlay on product images or inline positions (before/after title, price, cart button).
- Set separate positioning for shop pages and single product pages with priority ordering.
3. Enhance Product Tags (Optional)
↑ Back to top- Navigate to Products > Tags.
- Edit an existing tag or create a new one.
- You will see a new “Image” field. You can either upload your own image/icon or use the “Generate with AI” button to create one automatically.
- Enhanced tags will display alongside your custom badges according to your display settings.
Usage
↑ Back to topOnce configured, your custom badges and enhanced product tags create visually appealing elements that immediately draw customer attention to key product attributes like “New Arrival,” “Premium Quality,” “On Sale,” or custom promotional messages.
- Custom badges can be positioned as overlays on product images or inline before/after product elements.
- Enhanced product tags appear as visual badges alongside your custom badges.
- Bulk management tools allow you to assign/remove badges and tags to multiple products simultaneously.
- Priority system controls the display order when multiple badges are assigned to one product.
- Visual elements appear on both shop/category pages and individual product pages with separate positioning controls.
FAQs
↑ Back to topHelp customers by answering commonly asked questions.
Will this work with my existing product tags?
Yes, absolutely. The plugin enhances your existing tags. You can simply edit them to add an image.
Can I show multiple tag badges on one product?
Yes. If a product has multiple tags that you’ve configured with images, they will all be displayed.
Do I need an OpenAI account to use this plugin?
No. The core functionality of uploading your own images to tags and displaying them as badges works without an OpenAI account. An API key is only required for the optional “Image Generation” and “Tag Suggestion” features.