Snapchat for WooCommerce allows you to connect your store to Snapchat to reach more customers. Sync your product catalog and create ads to reach shoppers where they buy.
Once your account is set up, the extension will automatically configure Snap Pixel, Conversions API (CAPI) and sync your product catalog to Snapchat.
Installation
↑ Back to topTo start using a product from WooCommerce.com, you can use the “Add to store” functionality on the order confirmation page or the My subscriptions section in your account.
- Navigate to My subscriptions.
- Find the Add to store button next to the product you’re planning to install.
- Follow the instructions on the screen, and the product will be automatically added to your store.
Alternative options and more information at:
Managing WooCommerce.com subscriptions.

Connect to Snapchat via Business Extension Flow
↑ Back to topThe extension uses Snap Business Extension (SBE) to authenticate and connect to your Snapchat Business Manager account.
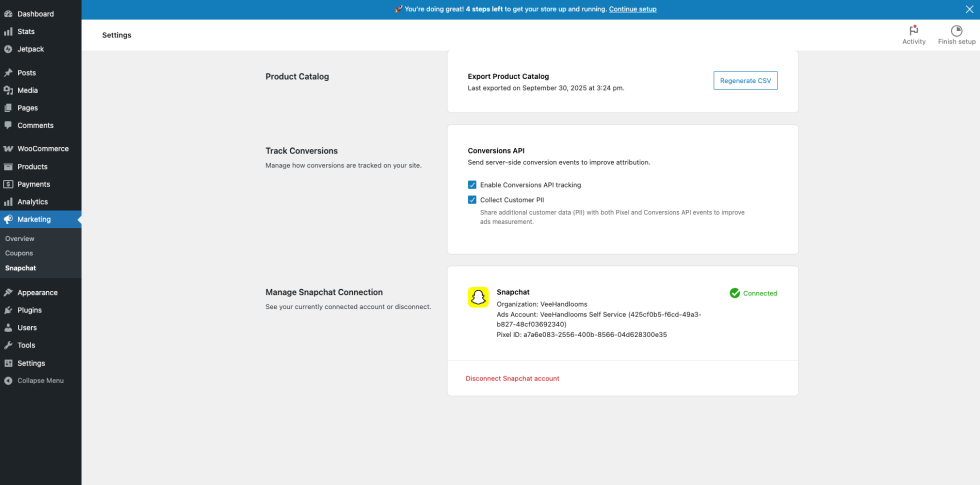
- In your store’s WP Admin dashboard, navigate to Marketing > Snapchat.
- Link your WordPress.com account (this is required to connect your store).
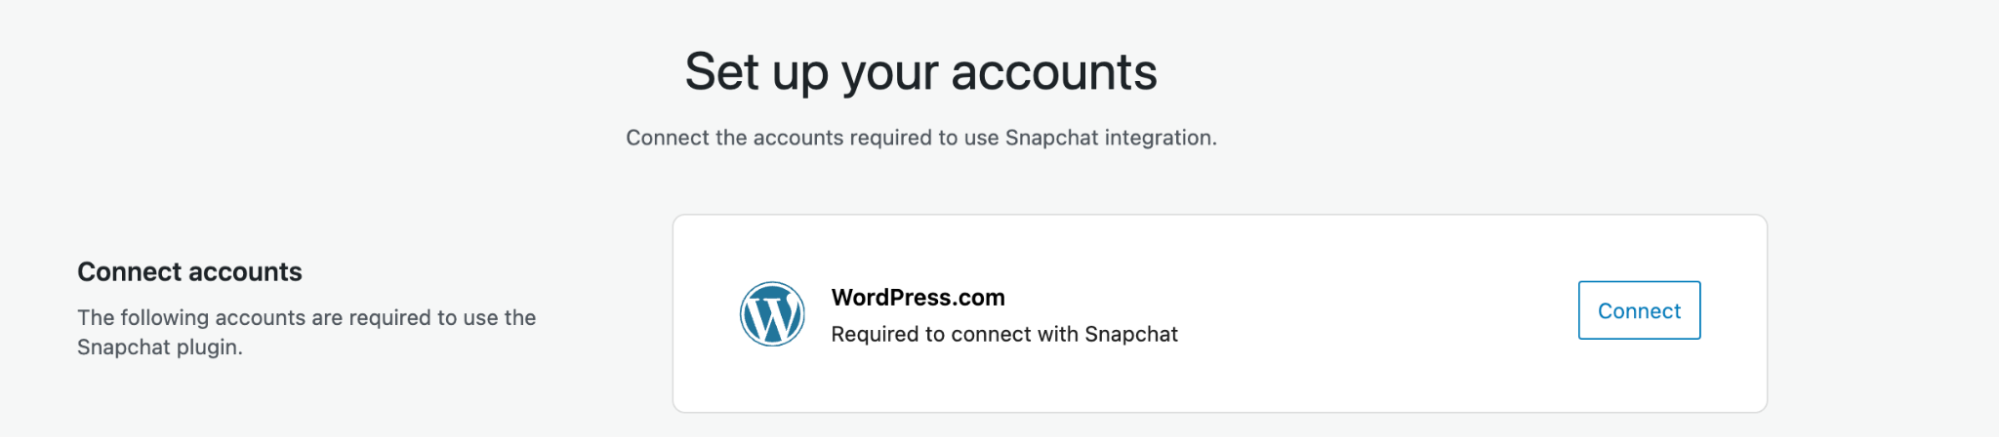
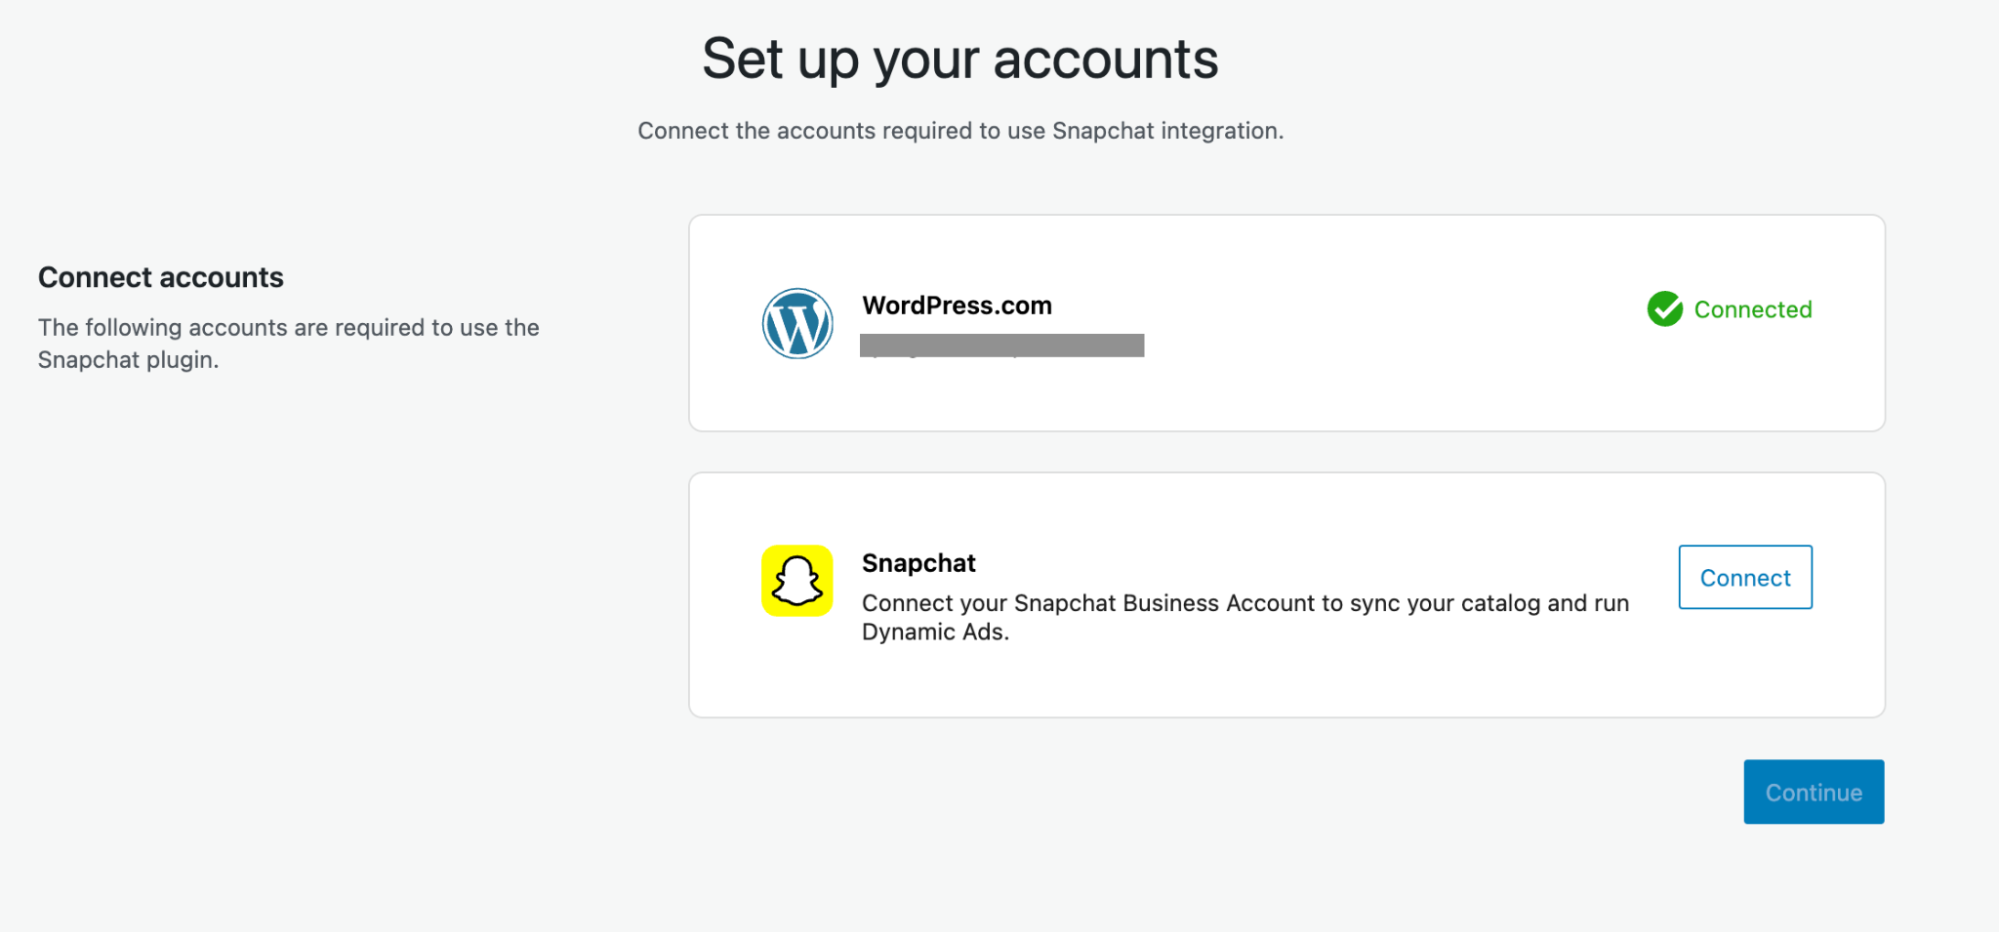
- Once that’s done, click Connect to link your Snapchat Business Account.
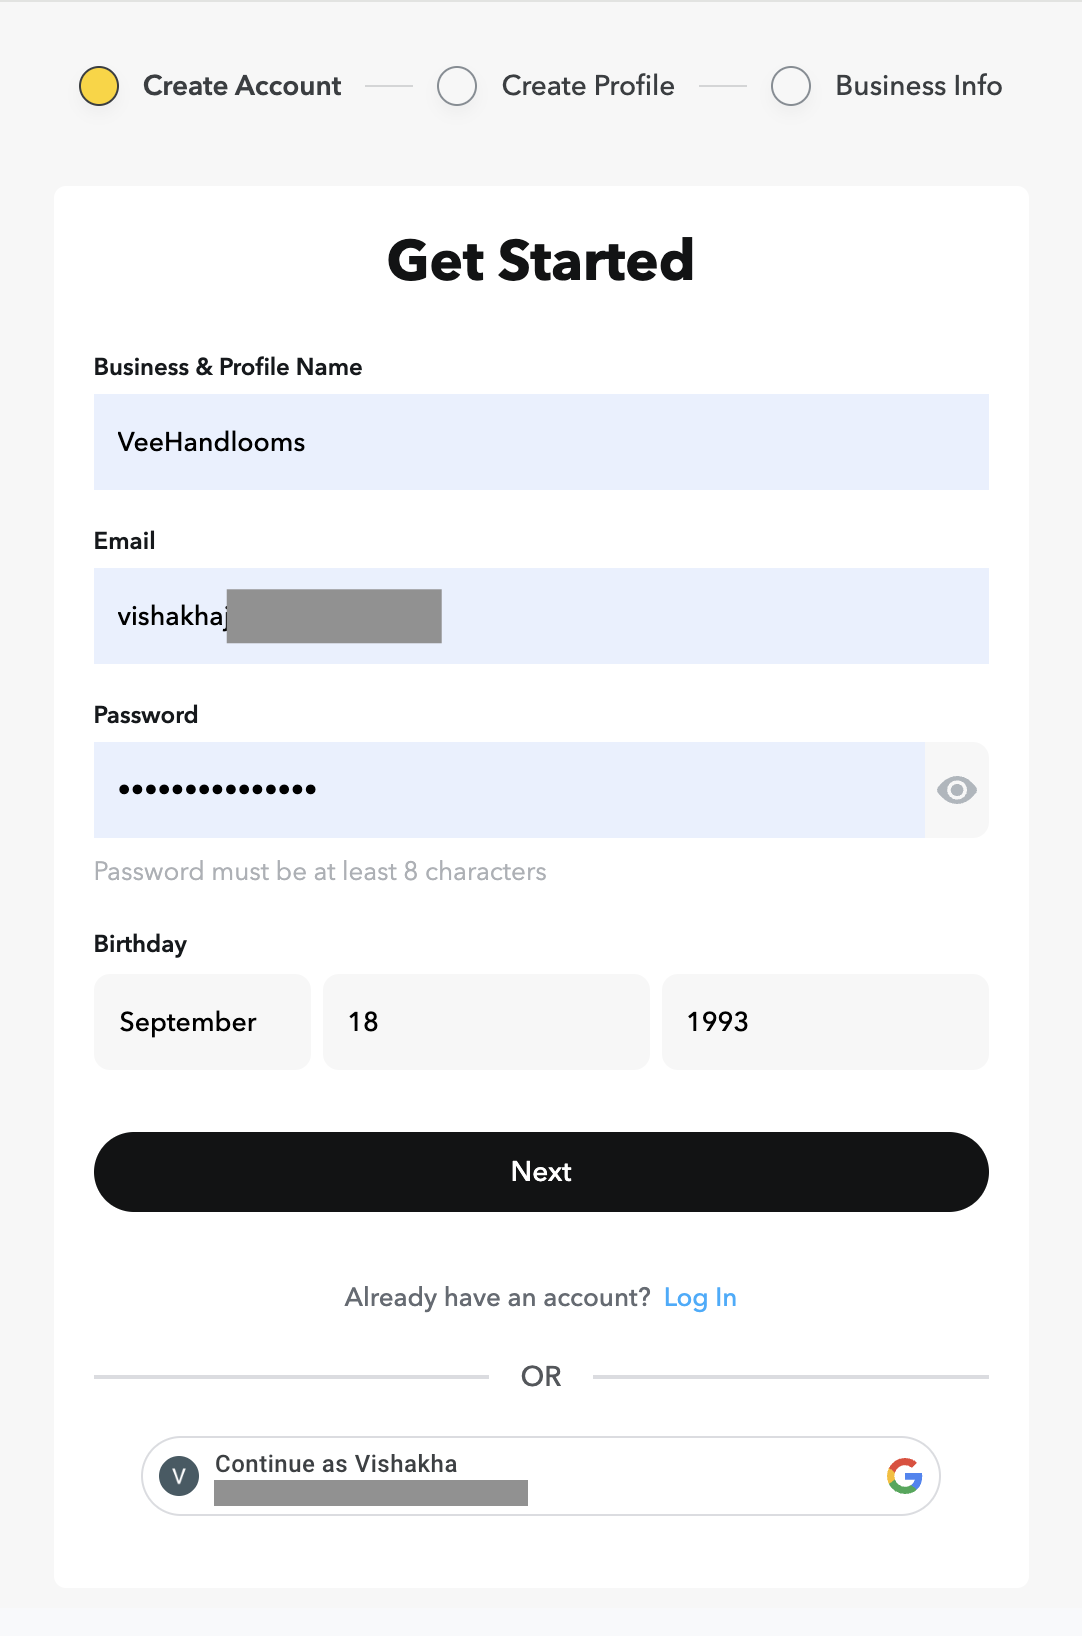
- You’ll be redirected to Snapchat’s Sign up/Login Page.
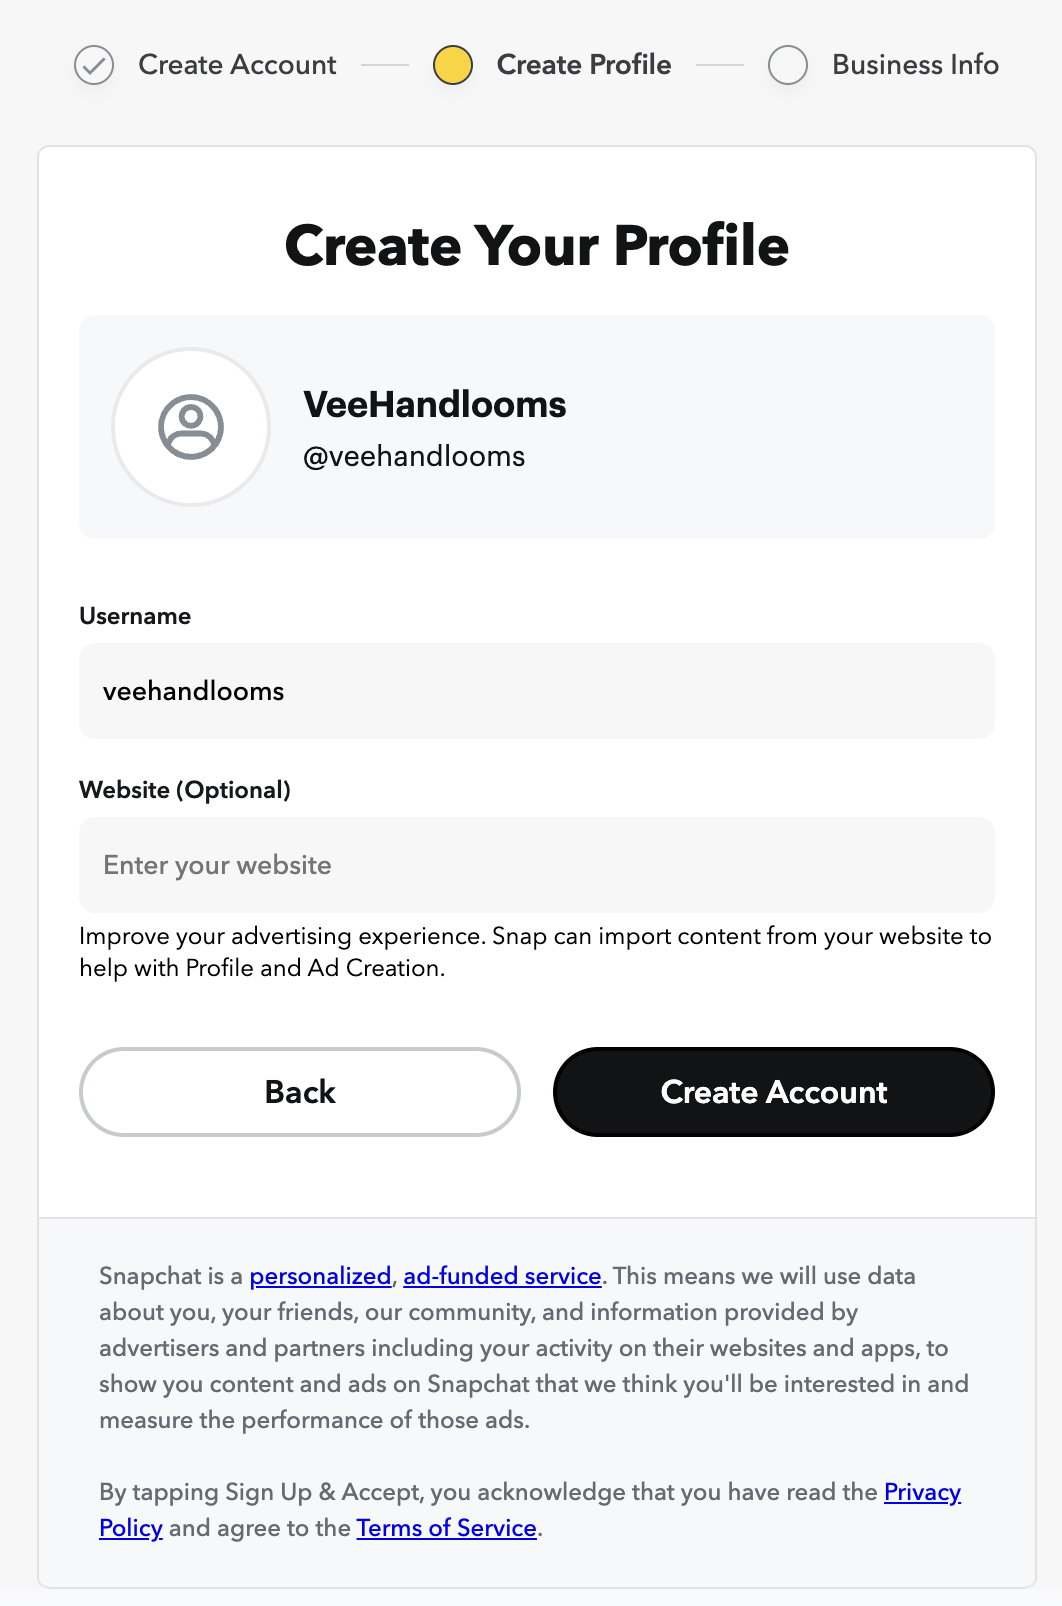
• New users (no Business Account yet): Follow the Sign Up flow to create a Snapchat Business Manager account

• Existing users (already have a Business Account): Follow the Login flow to connect to your existing Snapchat Business assets
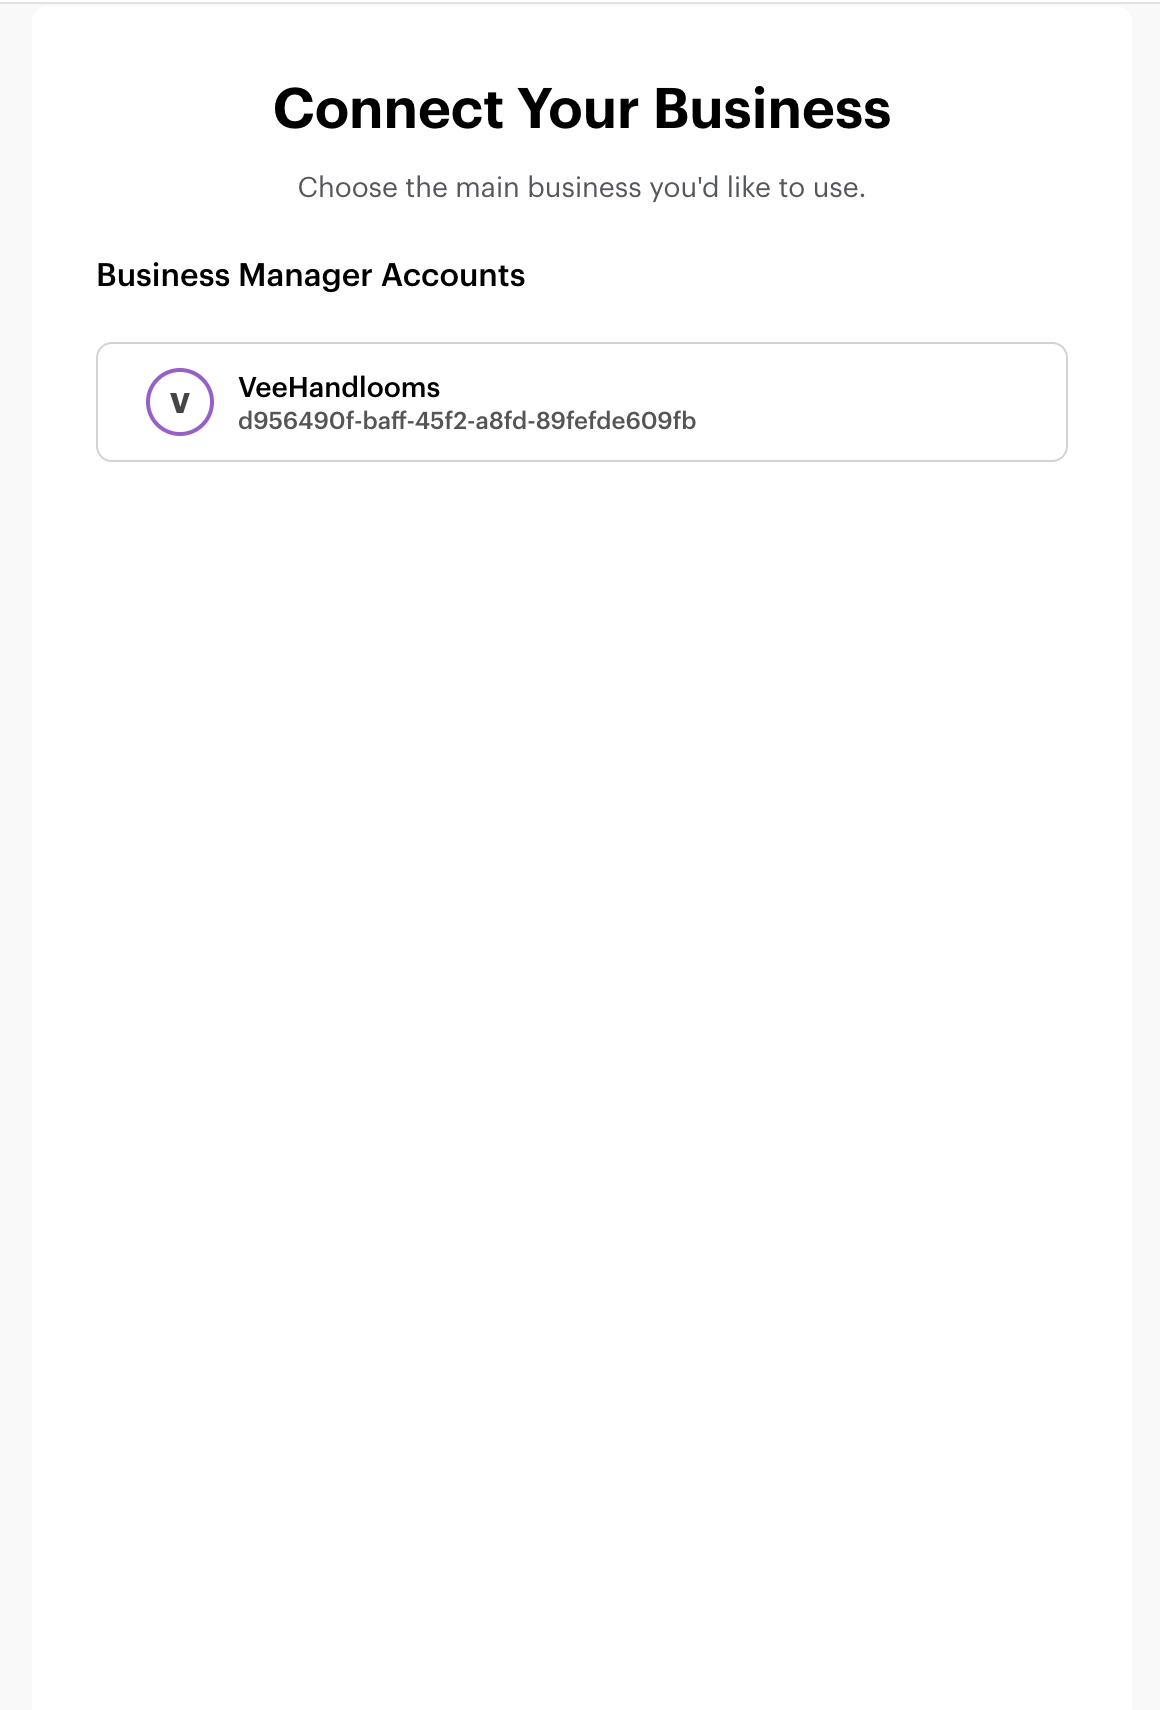
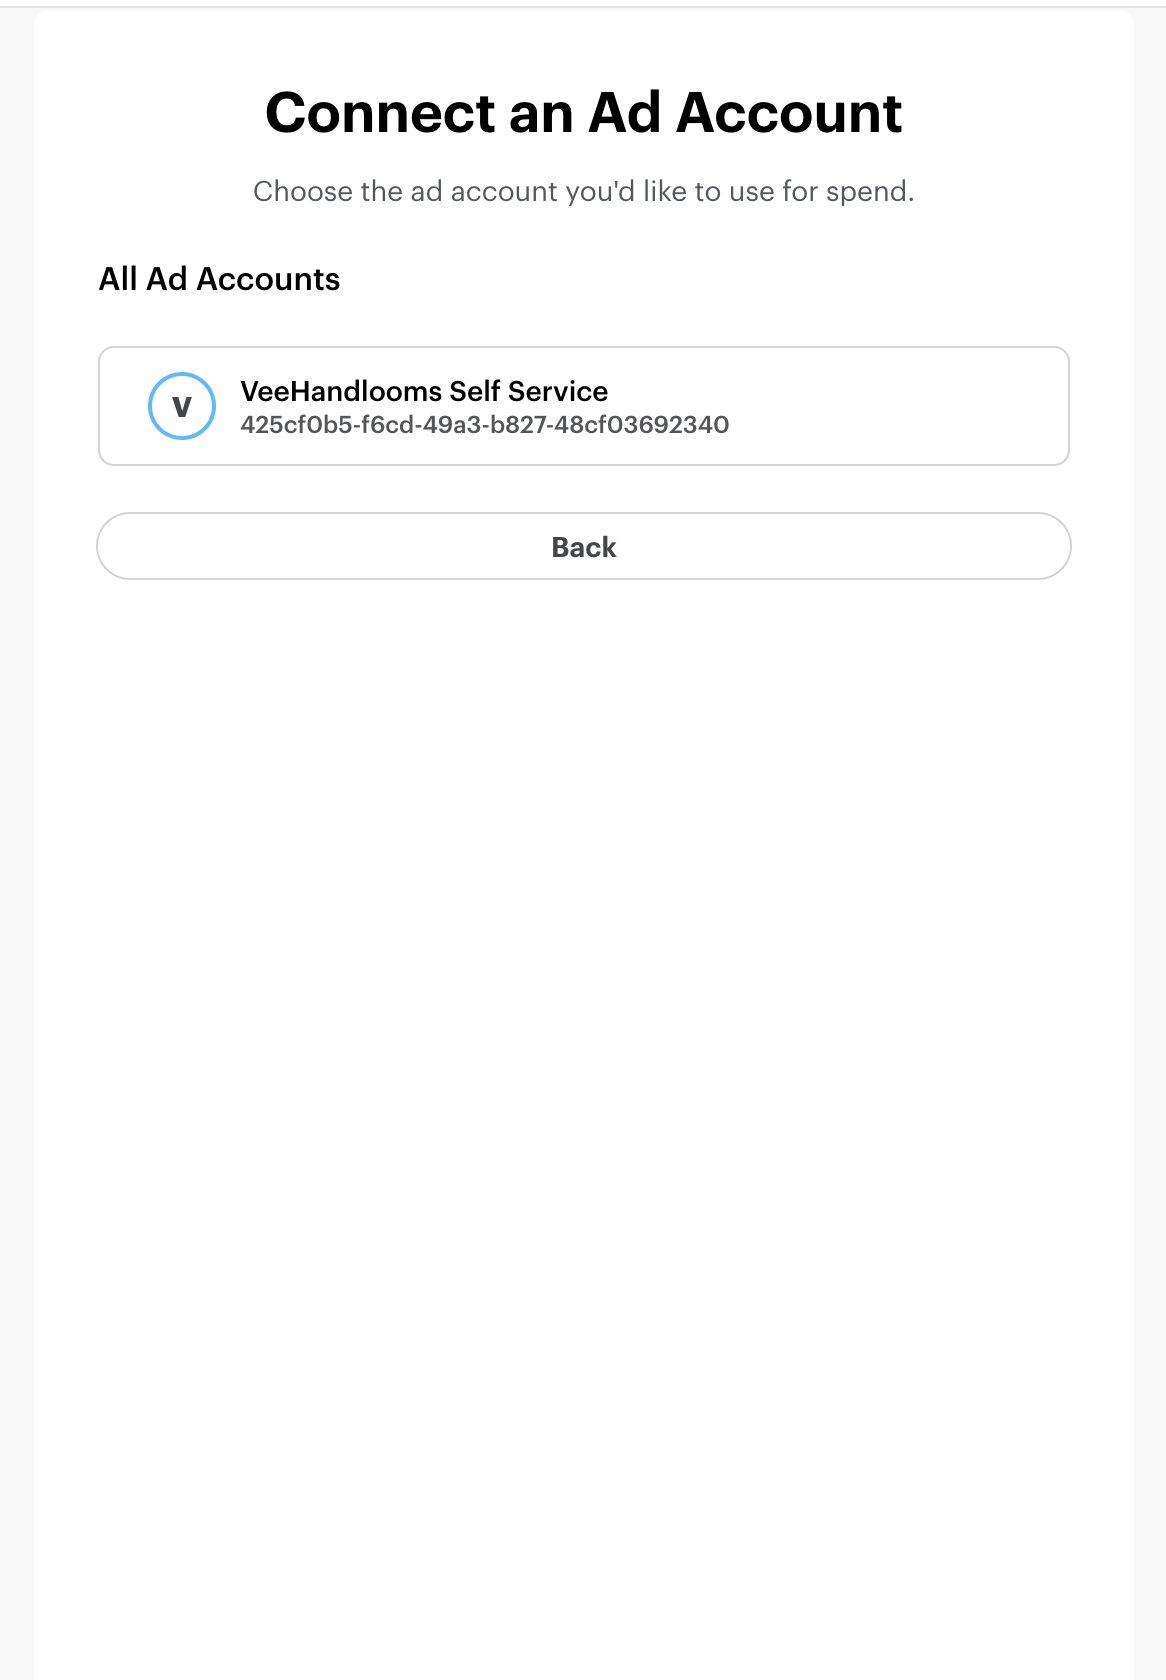
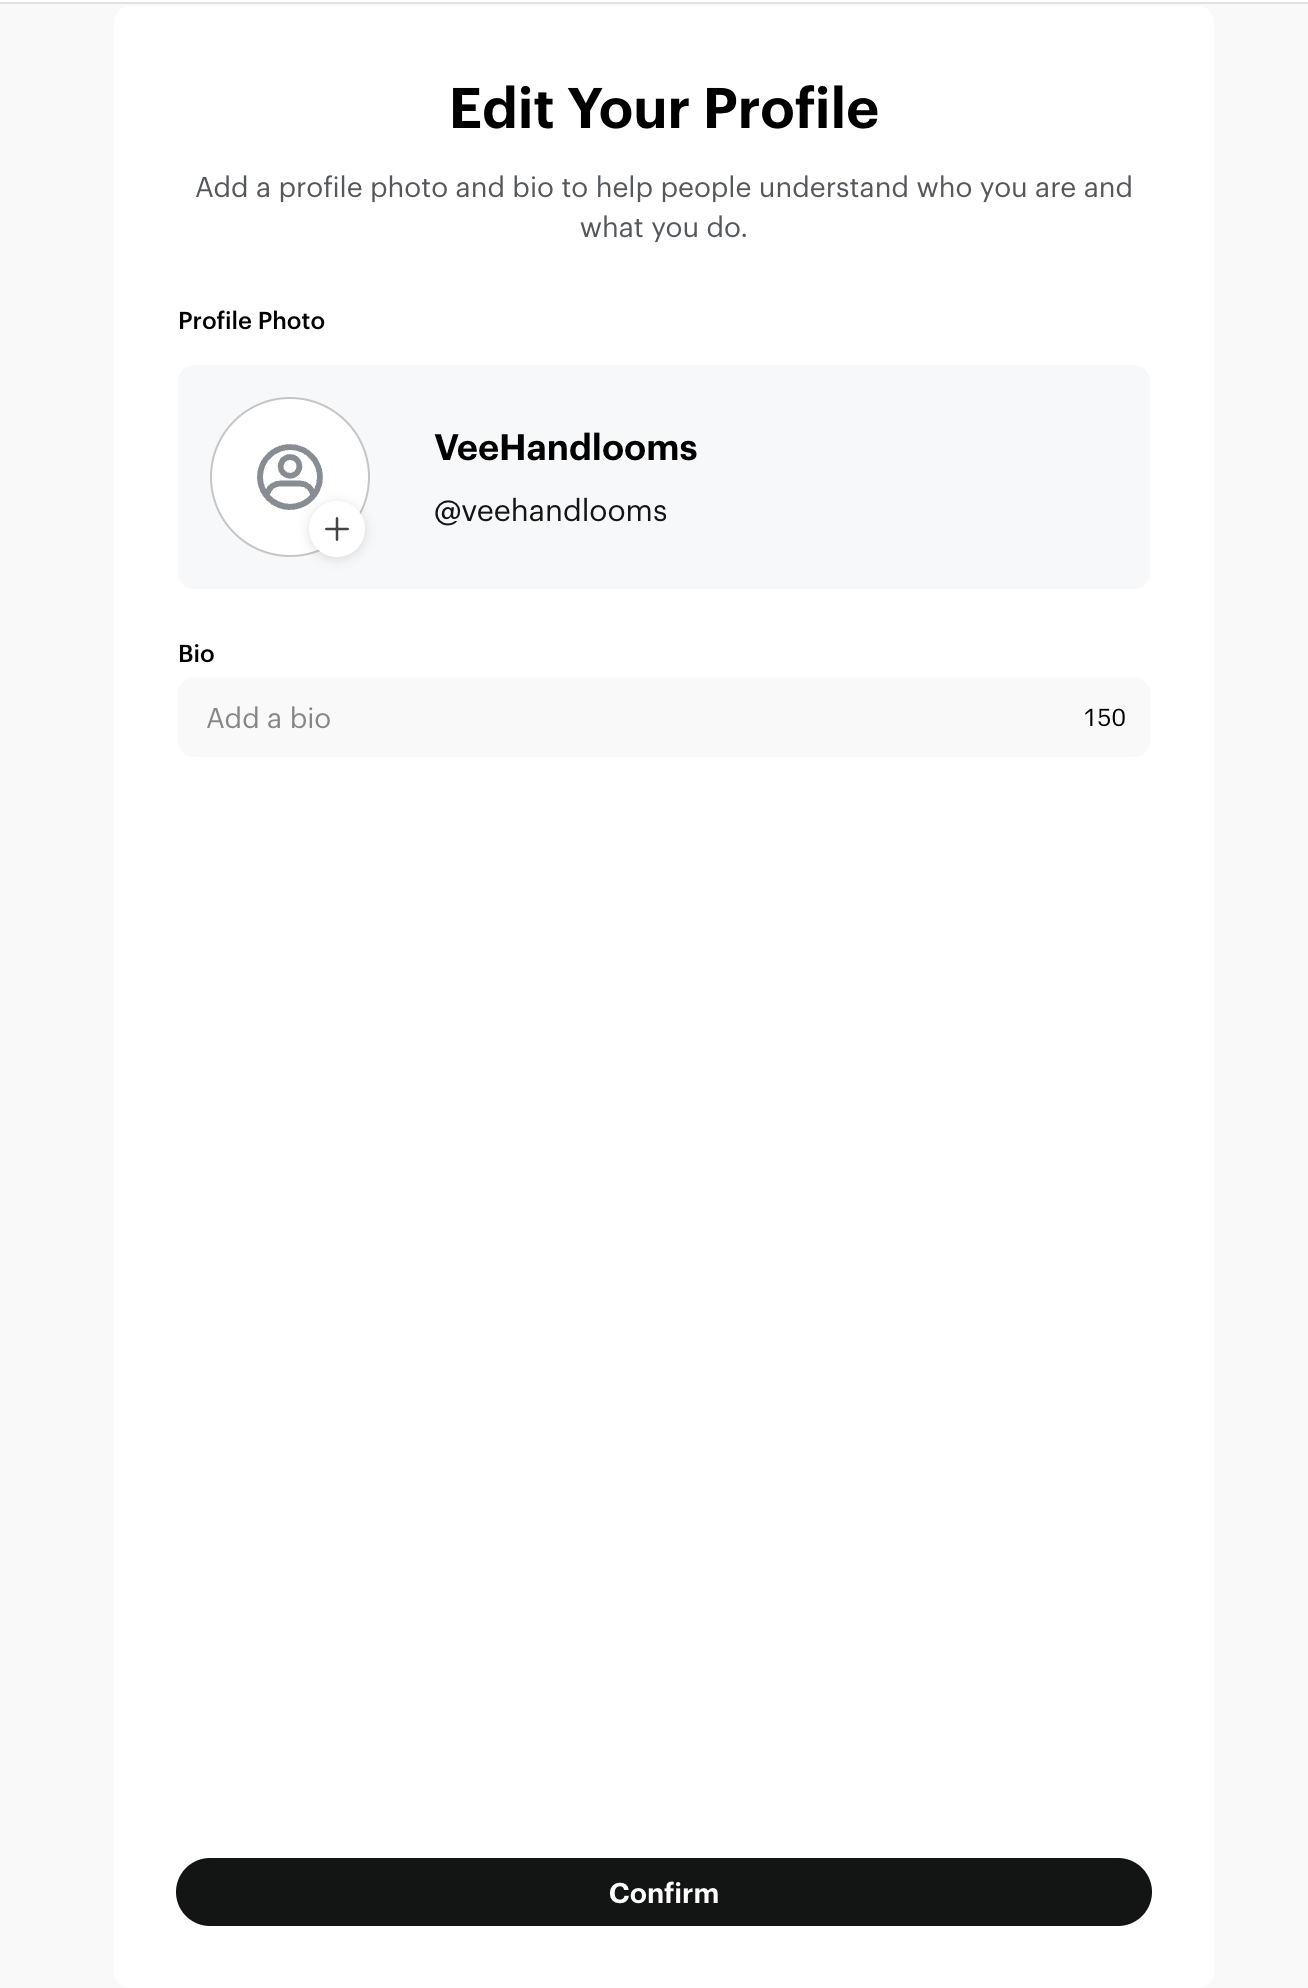
- During onboarding, you’ll be asked to either create new or select existing assets.
- Follow the steps to complete the onboarding flow, as shown in the screenshots above.
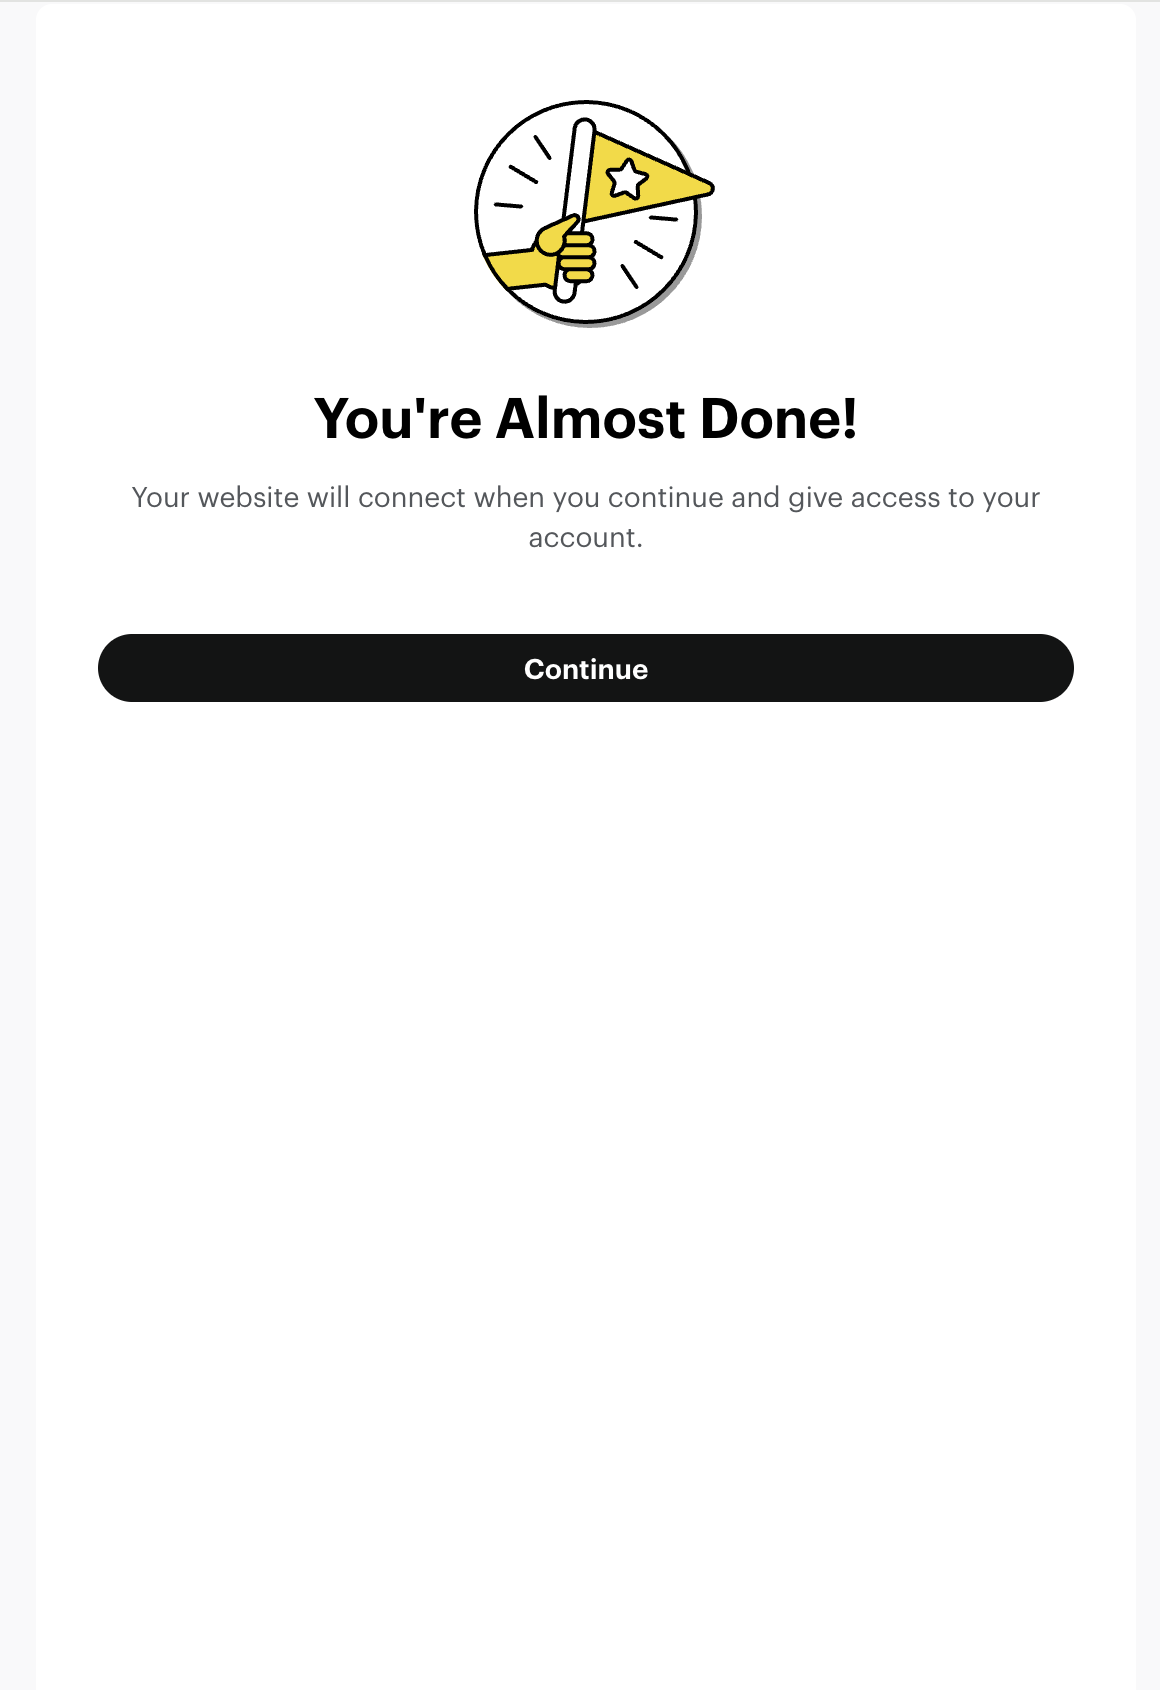
- At the final step, you will be prompted to grant access to your Snapchat Account. Click Continue.
- Once that’s done, you’ll be automatically redirected back to your store.
- Click Continue.
In the Snapchat for WooCommerce extension UI, you will now see the Organization, Ad account and Snap Pixel you selected during the SBE onboarding process.
Once connected, the extension automatically installs the Snap Pixel on your website, generates a CAPI token in Business Manager, and enables it to start sending server-to-server data.
Sync your product catalog
↑ Back to topSnapchat uses your product catalog to run Dynamic Ads.
Once you’ve successfully connected your Snapchat Business account, the extension will automatically start syncing the products from your WooCommerce store to Snapchat.
Note: A new catalog will be created on Snapchat — the catalog name will begin with WooCommerce imported catalog. Please ensure you use this catalog for your DPA campaigns. Product sync may take a few minutes to complete.

To verify your product sync:
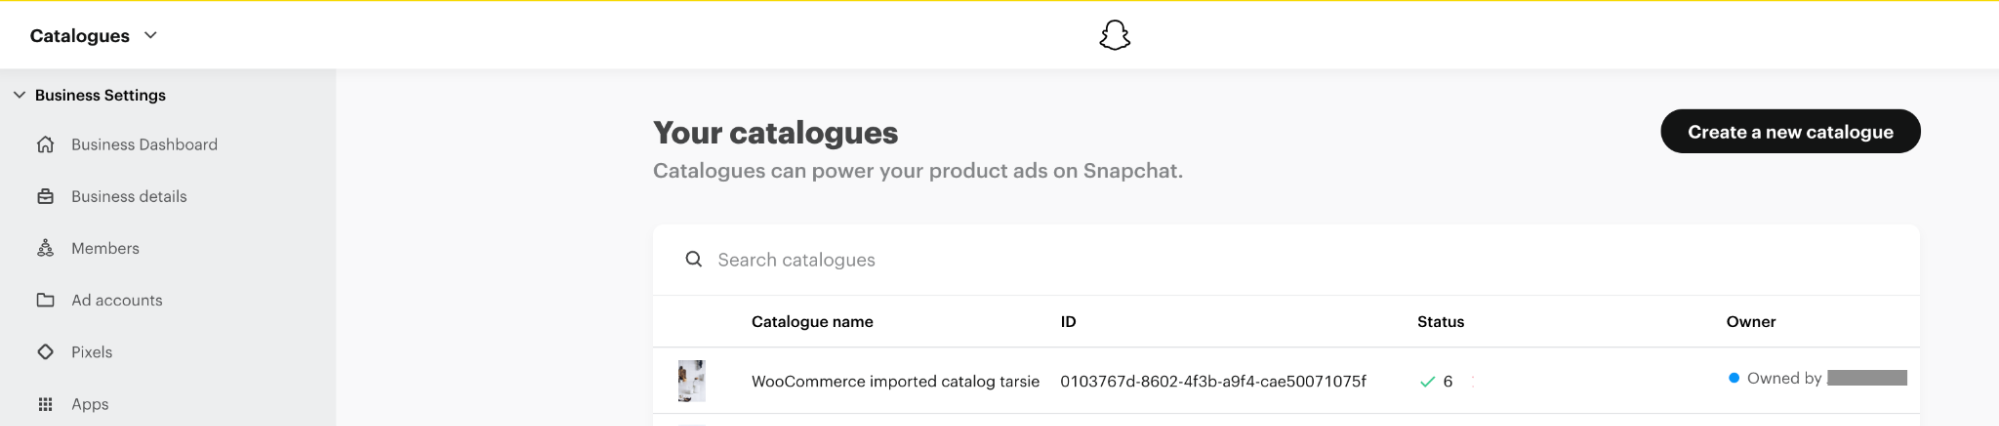
- Log in to Snapchat Business Manager. Navigate to Catalogs.
- Click on the catalog linked to your WooCommerce store; the catalog name will begin with WooCommerce imported catalog.
- Go to Diagnostics and review any listed errors. Return to your store’s WP Admin dashboard to fix any product errors in your store.
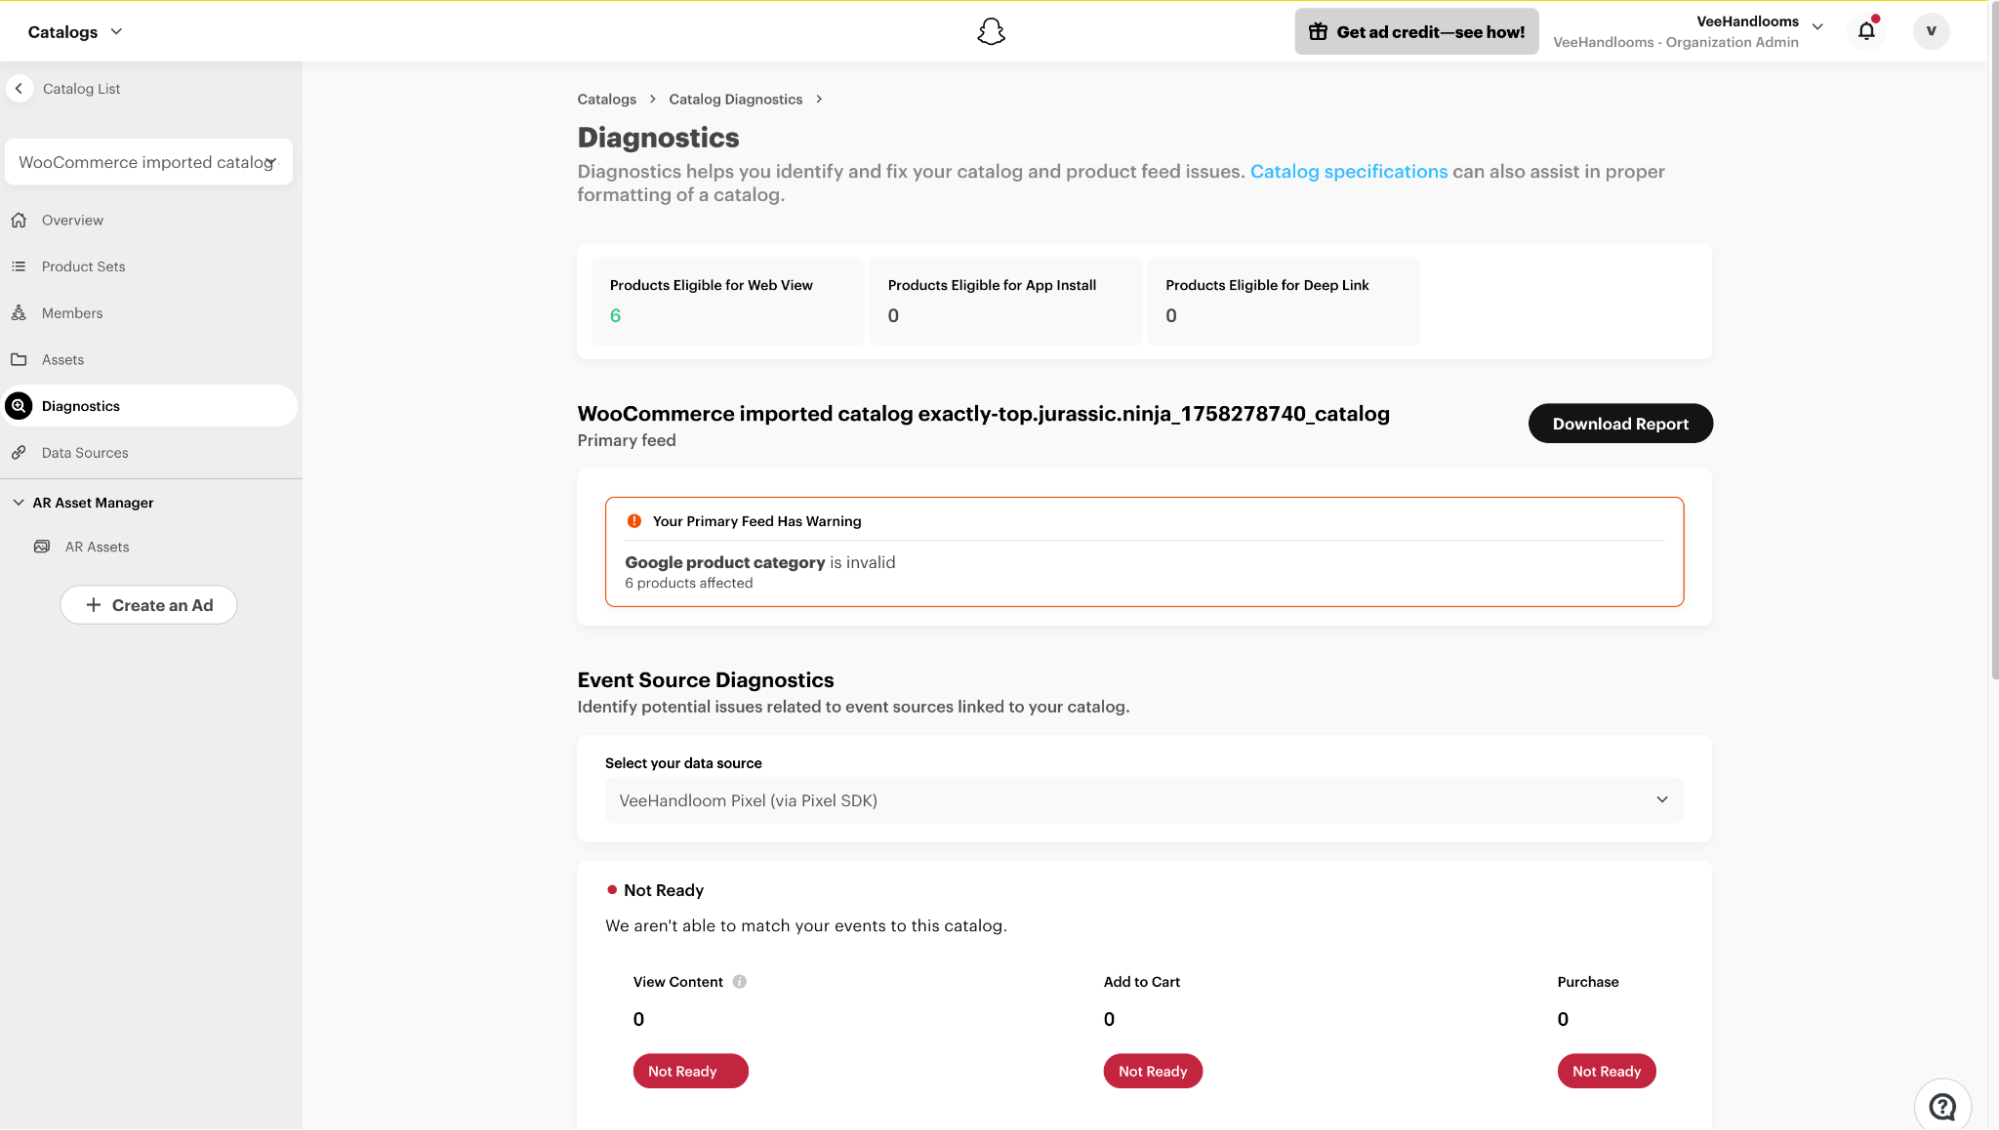
- Once corrected, click Regenerate CSV. This will update the CSV, and products will be synced on the next upload schedule.

Setup is now complete!
You can now validate your Snap Pixel installation by visiting your website and using the Snap Pixel Helper Chrome extension. For detailed instructions on using the Chrome extension, check Snap’s Business Help Center.
For advertisers using the legacy Snapchat integration (old plugin)
↑ Back to topNote: If you do not have the legacy Snapchat integration installed, you can skip the steps below.
To uninstall the legacy extension:
- In your store’s WP Admin dashboard, navigate to Plugins > Installed Plugins.
- Locate the old Snapchat extension: Snapchat Pixel for WooCommerce.
- Click Deactivate.
- Then, click Delete.
Need support?
↑ Back to topIf you still have questions or need assistance, support is available.
- Use the Contact Us page to access general resources and available support.
- Get in touch directly (requires login for WooCommerce.com customers).