Replace the Add to Cart button using Request a Quote for WooCommerce and let customers easily submit their pricing requests.
Installation
↑ Back to top- Download the WooCommerce request a quote from your WooCommerce dashboard
- Go to Plugins > Add New > Upload and select the ZIP file you just downloaded.
- Click Install Now and then Activate.
- Read more to learn how to set up and configure the product.
Configuration
↑ Back to topAfter you have installed and activated the WooCommerce request a quote. Go to WooCommerce > Request a Quote. Here, you can see four tabs, which are Quote Requests, Quote Rules, Quote Form, and Settings.
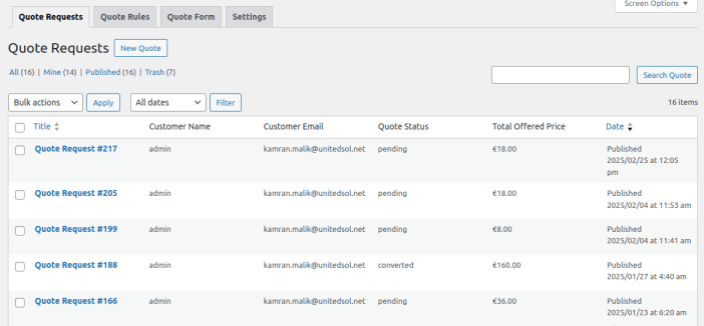
Quote Requests
↑ Back to topIn this section, the admin can receive all quote requests from customers, and the Admin can respond to customers’ quotes by editing the specific request.
Quote Rules
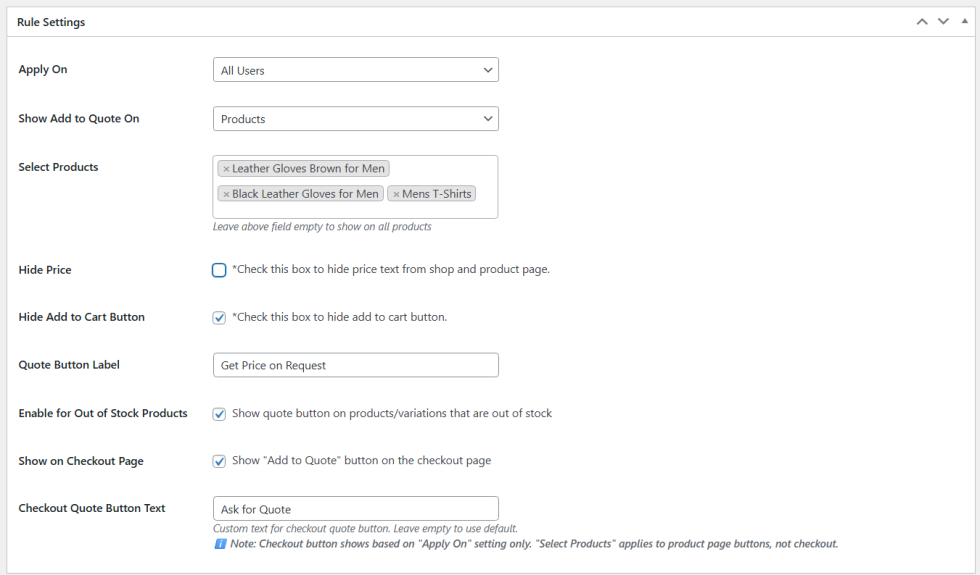
↑ Back to topAdmin can create multiple rules for quote requests. For a new rule, click on the Add New Rule button and configure the following.
- Add Title: Set the Title of the new rule.
- Apply on: You can apply this rule to all users, Specific User Roles, Login Users, or only guest users.
- Show Add to Quote on: Show add to quote on specific products or categories.
- Select Products / Categories: This option will be displayed depending on your selection in the above option. Select the products or categories on which you want to apply this rule, or leave empty.
- Hide Price: Checkbox option to hide price text.
- Hide Add to Cart Button: Checkbox option to hide the add to cart button.
- Quote Button Label: Set label for the Add to Quote button.
- On Out of Stock: Select to show or hide the Add to Quote button on out-of-stock products.
- Show on Checkout Page: Checkbox to show quote button on checkout page.
Note: The Checkout button is displayed based on the “Apply On” setting. The “Select Products” option applies only to product page buttons.
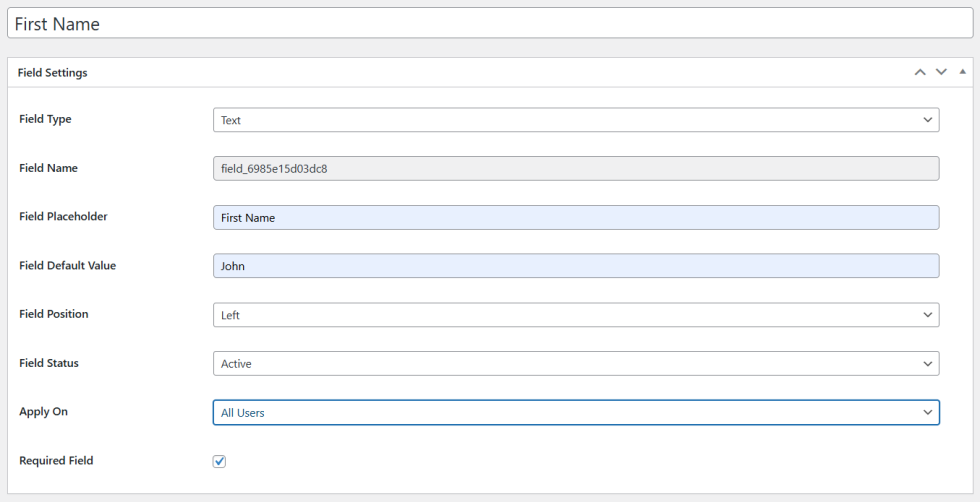
Quote Form
↑ Back to top- Add Title: Write the title of the field.
- Field Type: Select field type from the given 13 field type options.
- Field Name: The field name will be automatically generated
- Field Placeholder: Write the placeholder of the field.
- Field Default Value: Set default values for the field. The default value you set will be filled in the form.
- Field Position: Set the position of the fields, First, Last, or Wide.
- Field Status: Set the status of the field as active or inactive.
- Apply on: Display this field for all user roles, Specific User roles, Login users, or only guest users.
- Required Field: Checkbox option to make this field mandatory.
Settings
↑ Back to topIn this tab of the WooCommerce request for quote plugin, you can configure General Settings, Emails, Attribute Settings, reCAPTCHA Configuration, and PDF layout.
General
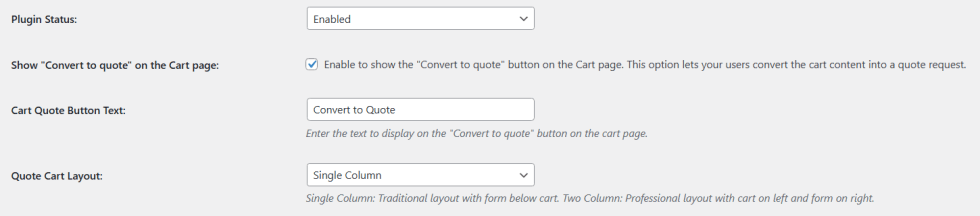
- Plugin Status: Set the status of the plugin to enable or disable.
- Show “Convert to quote” on the Cart page: Click on the checkbox to enable the convert to quote button on the cart page.
- Cart Quote Button Text: Set custom text for cart page quote button.
- Quote Cart Layout: Choose the preferred layout for the quote page. Select between a 1-column and 2-column layout.
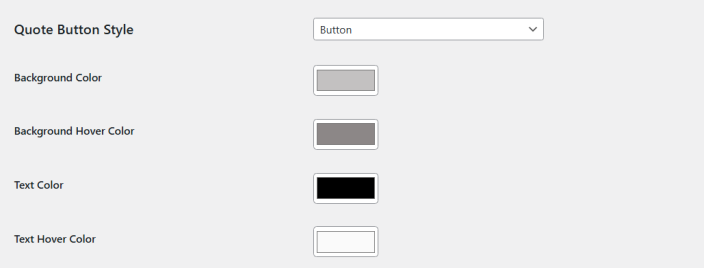
- Quote Button Style: Select a button or Text link as a quote button style.
- Background Color: Choose the background color of the button.
- Background Hover Color: Select the hover background color of the quote button.
- Text Color: Set the text color of the Quote button.
- Text Hover Color: Select the text hover color of the quote button.
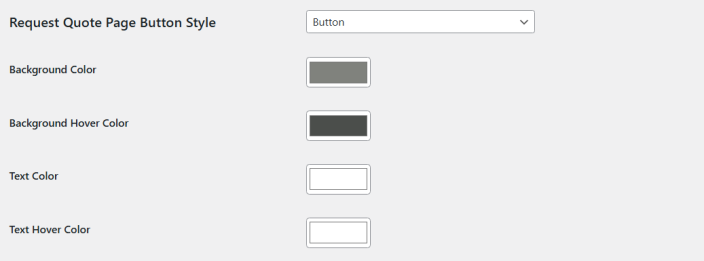
- Request Quote Page Button Style: Select a button or Text link as a request quote button style. This button is displayed on the dedicated Request a quote page.
- Background Color: Choose the background color of the request quote button.
- Background Hover Color: Select the hover background color of the request quote button.
- Text Color: Set the text color of the request quote button.
- Text Hover Color: Set the text hover color of the request quote button.
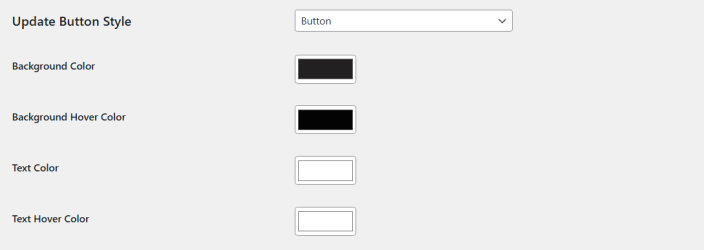
- Update Button Style: Select a button or Text link as an update button style.
- Background Color: Choose the background color of the update button.
- Background Hover Color: Choose the hover background color of the update button.
- Text Color: Set the text color of the update button.
- Text Hover Color: Set the text hover color of the update button.
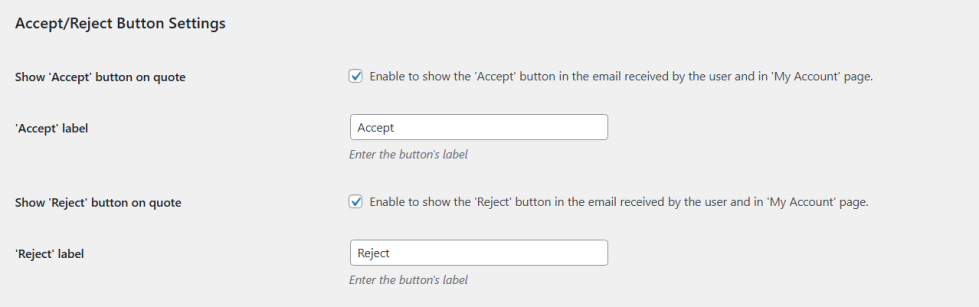
Accept/Reject Button Settings
- Show ‘Accept’ button on quote: Checkbox to display the accept button in the email and the My account page.
- ‘Accept’ label: Customize the label of the accept button.
- Show ‘Reject’ button on quote: Click on the checkbox to display the reject button in email and My account page.
- ‘Reject’ label: Personalize the text of the reject button.
Redirect After Accept Quote
Select from the options to redirect customers to a specific page to complete their order or display the ‘Convert to Order’ button.
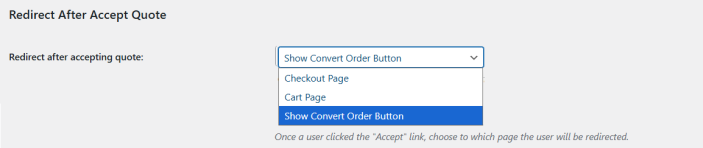
Redirect After Accept Quote
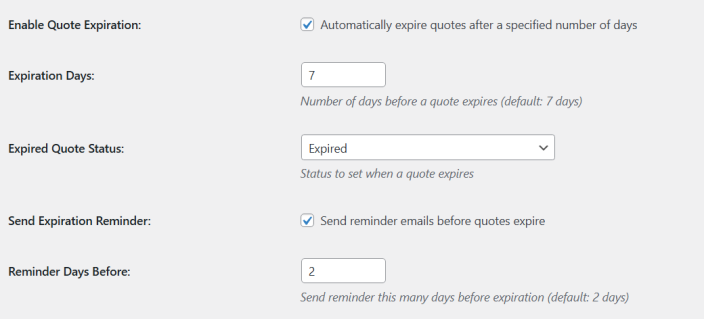
- Enable Quote Expiration: Checkbox to enable the quote expiration.
- Expiration Days: Set the number of days after which the quote will expire.
- Expired Quote Status: Choose the status of the quote when it has reached expiry.
- Send Expiration Reminder: Click the checkbox to send a quote expiration reminder.
- Reminder Days Before: Set days for the quote expiration reminder.
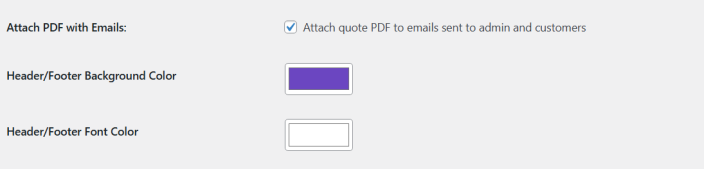
Email Template Settings
- Attach PDF with Emails: Checkbox to attach quote PDF in emails.
- Header/Footer Background Color: Set the background color of header and footer of email.
- Header/Footer Font Color: Choose the text color of emails header and footer.
Emails
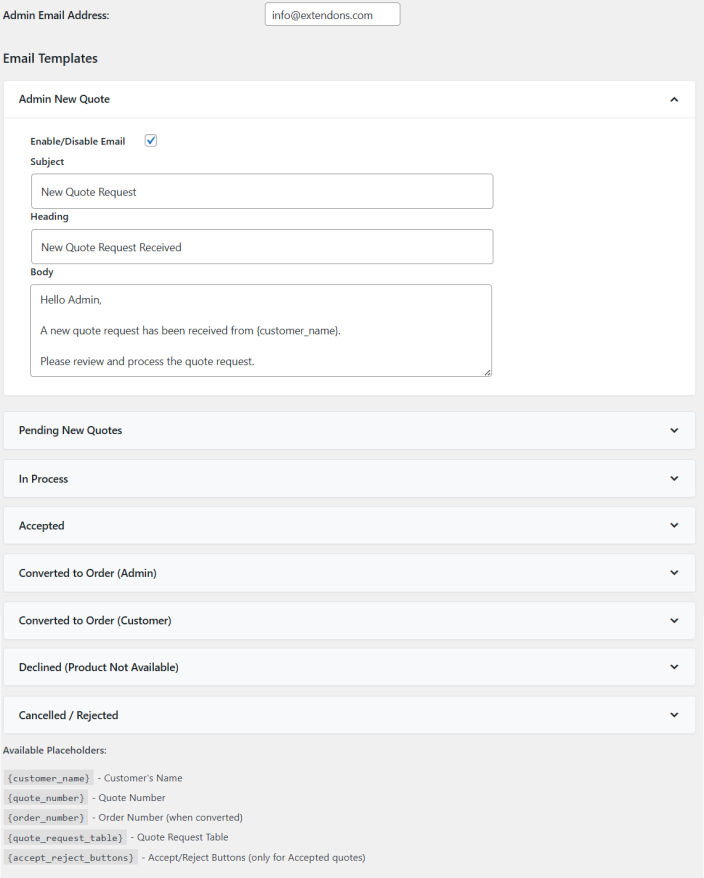
- Admin Email Address: Set the admin email address for receiving quote requests.
- Admin New Quote: Set the template for admin new quote mails. Each option has the same email settings.
- Enable/Disable Email: Check the box to enable or disable emails.
- Subject: Set a personal email subject for each option
- Heading: Create a personalized heading for the email for better understanding.
- Body: Personalize the content of the email. You can also add the shortcode.
- Pending New Quotes: Set the template for pending new quotes emails.
- In Process: Set the template for in-process mails
- Accepted: Set the template for accepted quotes.
- Convert to Order (Admin): Set the template for converting to order forthe admin.
- Convert to Order (Customers): Set the template for converting to order for customers.
- Declined (Product not available): Set the template for declined quotes.
- Canceled / Rejected: Set the template for canceled and rejected quotes.
- Available Placeholders: You can use placeholders in the mail template body for the Customer name, Quote Number, and Order Number (when converted).
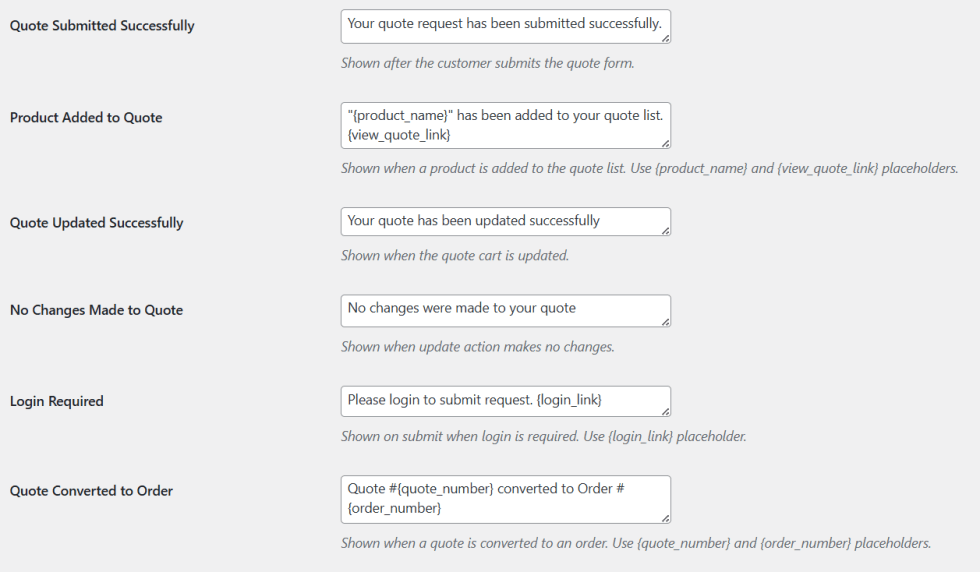
Custom Messages
- Quote Submitted Successfully: Personalize the message shown after a customer submits a quote request.
- Product Added to Quote: Customize the notification displayed when a product is added to the quote list, using {product_name} and {view_quote_link} placeholders.
- Quote Updated Successfully: Configure the message shown when the quote cart is updated.
- No Changes Made to Quote: Set the message displayed when an update is made with no changes.
- Login Required: Customize the prompt shown when users must log in to submit a quote, using the {login_link} placeholder.
- Quote Converted to Order: Personalize the confirmation message shown when a quote is converted into an order, using {quote_number} and {order_number} placeholders.
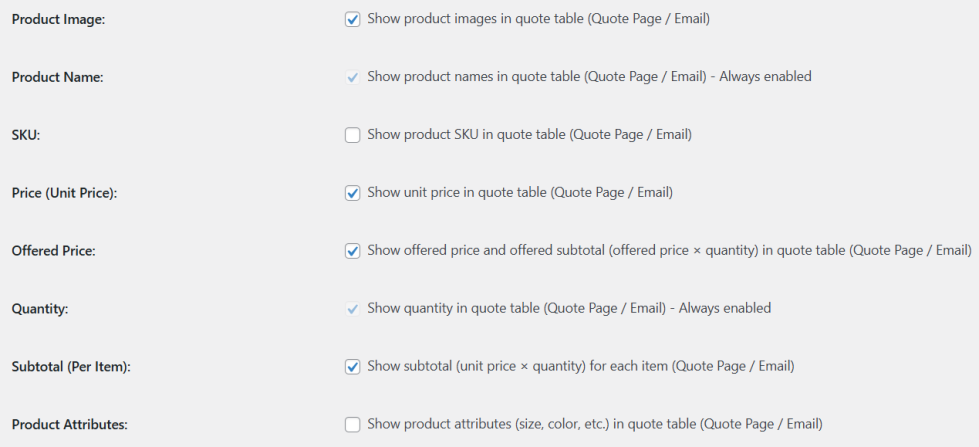
Attributes Settings
- Product Image: Enable this checkbox to show product images in the quote table on the Quote Page and in emails.
- Product Name: This field is displayed by default and cannot be disabled in the quote table on the Quote Page and in emails.
- SKU: Activate this checkbox to display the product SKU in the quote table on the Quote Page and in emails.
- Price (Unit Price): Check this option to show the unit price of each product in the quote table on the Quote Page and in emails.
- Offered Price: Enable this option to display the offered price and offered subtotal (offered price × quantity) in the quote table on the Quote Page and in emails.
- Quantity: This field is always shown to ensure quantity details are visible in the quote table on the Quote Page and in emails.
- Subtotal (Per Item): Activate this checkbox to display the subtotal for each item (unit price × quantity) in the quote table on the Quote Page and in emails.
- Product Attributes: Enable this checkbox to show product attributes such as size, color, and other variations in the quote table on the Quote Page and in emails.
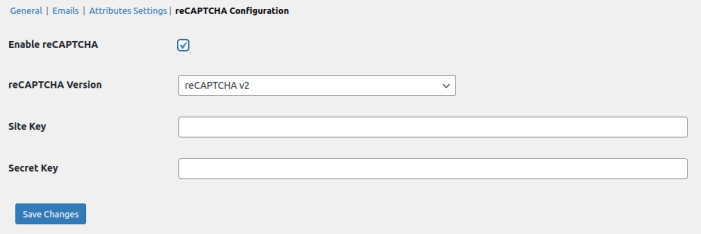
reCAPTCHA Configuration
- Enable reCAPTCHA: Checkbox to enable reCAPTCHA.
- reCAPTCHA Version: Option to select V2 or V3 reCAPTCHA version.
- Site Key: Add the site key for the reCAPTCHA.
- Secret Key: Add the secret key for the reCAPTCHA.
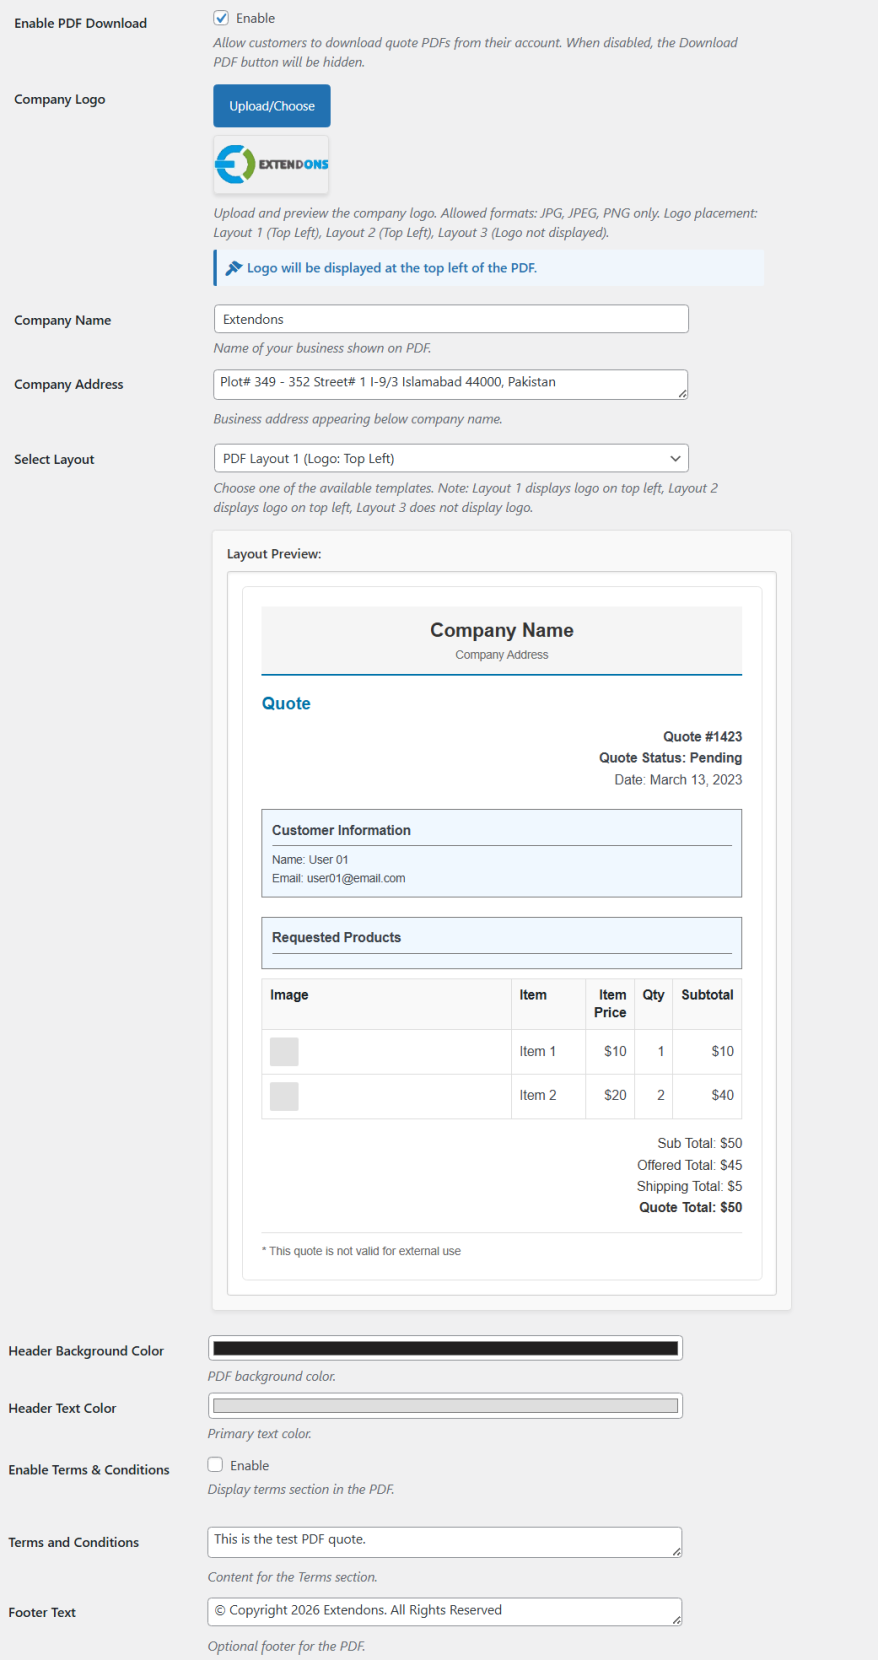
PDF Layout
- Enable PDF Download: Allow customers to download quote PDFs from their My Account page. Disabling this hides the Download PDF button.
- Company Logo: Upload a logo (JPG, JPEG, PNG) to display on the quote PDF. Logo placement depends on the selected layout.
- Company Name: Show your business name on the quote PDF.
- Company Address: Display your business address below the company name on the PDF.
- Select Layout: Choose a PDF template for your quotes. Layouts 1 and 2 display the logo, while Layout 3 excludes the logo.
- Header Background Color: Set the background color for the PDF header.
- Header Text Color: Choose the primary text color for the PDF header.
- Enable Terms & Conditions: Checkbox to display a Terms & Conditions section in the PDF.
- Terms and Conditions: Add the content that will appear in the Terms section of the PDF.
- Footer Text: Add optional text to display in the PDF footer.