Thank you for choosing Restoration and WooCommerce to power your E-Commerce store.
Installation
↑ Back to topThe fastest way to install Restoration is through the WordPress administration dashboard.

- Go to: Appearance > Themes > Add New / Upload Theme
- Upload the restoration.zip file you have downloaded from WooCommerce.com
- Activate as you would any other WordPress theme then proceed with the Setup and Configuration.
To install Restoration manually:
- Download the latest version of Restoration from WooCommerce.com
- Upload the extracted folder to the
/wp-content/themes/dir on your server via FTP. - Activate Restoration from the Appearance > Themes screen in your dashboard.
More info at Using Themes.
Setup And Configuration
↑ Back to topBefore proceeding with the install process, please make sure that the WooCommerce is installed.
After activating your theme, please navigate to Appearance > Restoration:
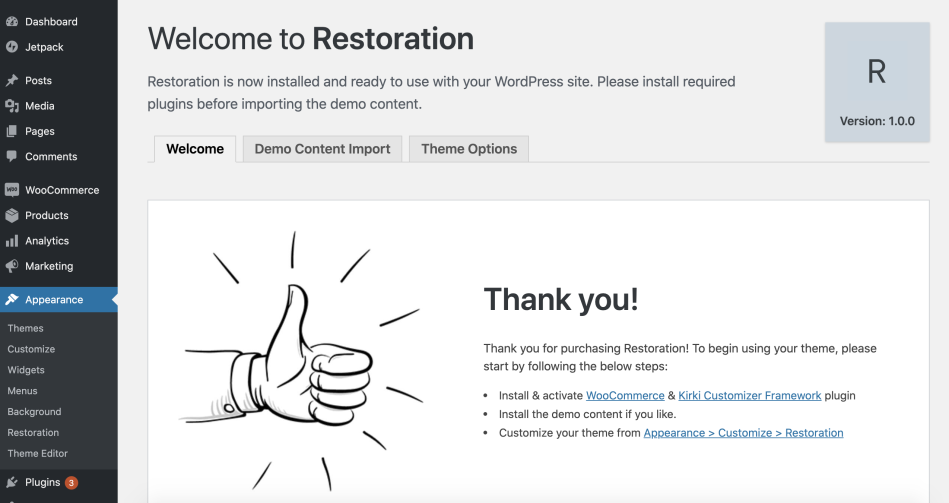
Afterward, please click on the Demo Content Import tab. Clicking on the “Import Options” will bring the import panel.

Customization
↑ Back to topYour customization settings are inside Appearance > Customize > Restoration.

Logo & Favicon
↑ Back to topYou can change your logo from Appearance > Customize > Site Identity
Menus
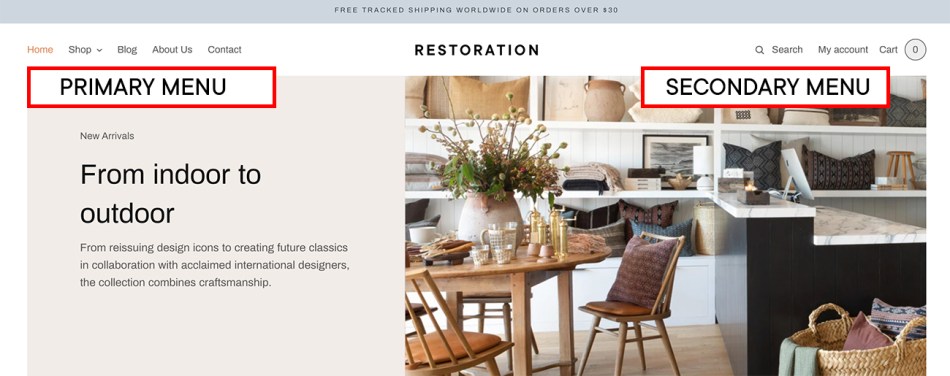
↑ Back to topThere are 2 menu areas on Restoration. You can assign your menu from Appearance > Menus
Shop Filters & Sidebar
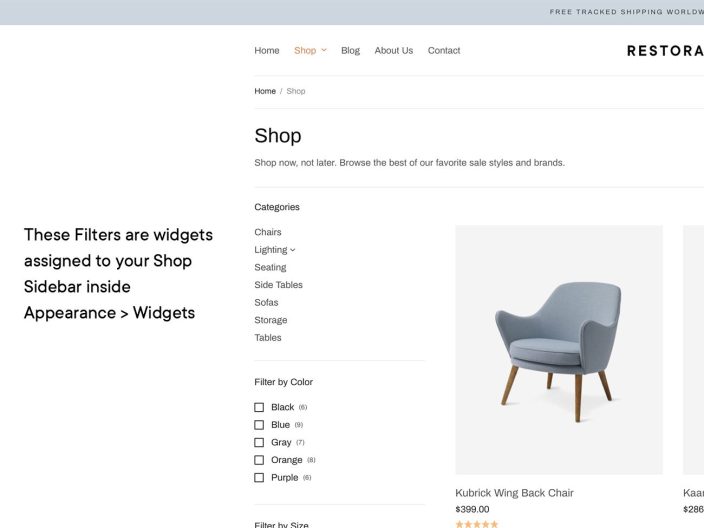
↑ Back to topThe shop sidebar uses widgets assigned to the Shop Sidebar inside Appearance > Widgets.
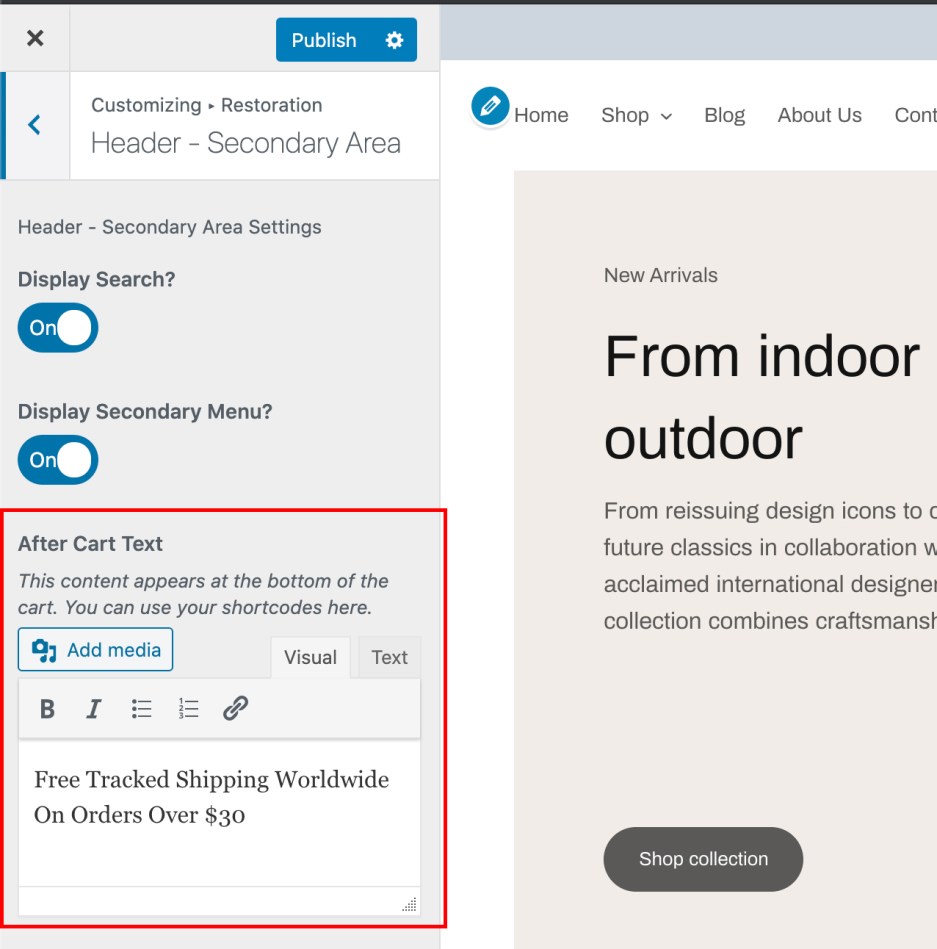
After Quick Cart Text
Restoration comes with a smart little feature that lets you add a small text at the end of your Quick Cart:
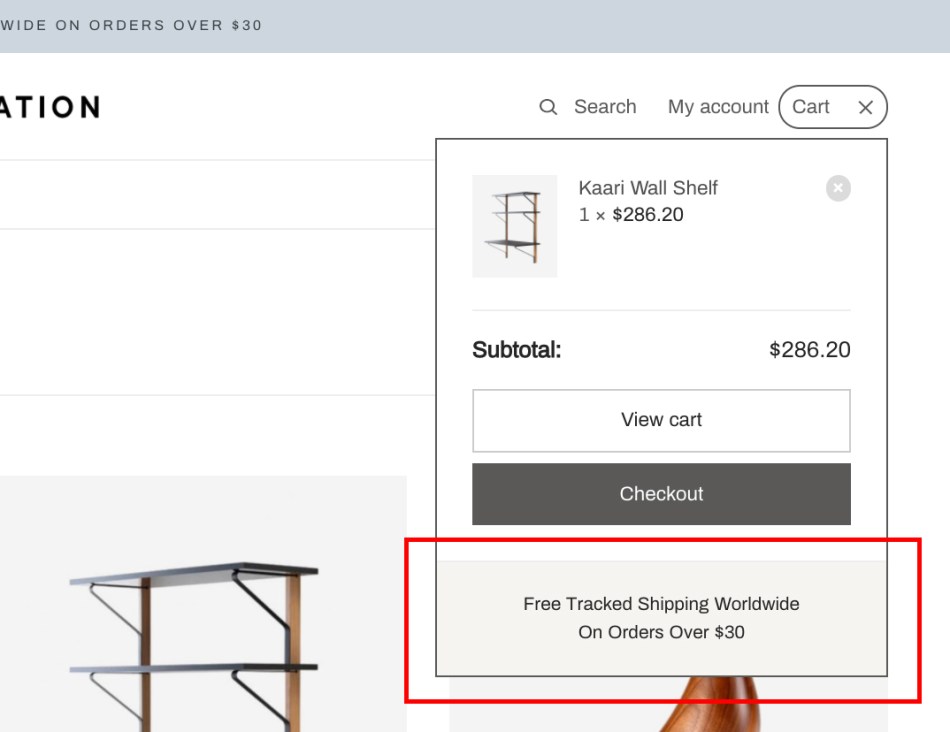
This text can be changed from Appearance > Customize > Restoration > Header – Secondary Area: and among other settings.
Footer
↑ Back to topYour footer is divided into columns. The number of columns can be adjusted from Appearance > Customize > Restoration >Footer:
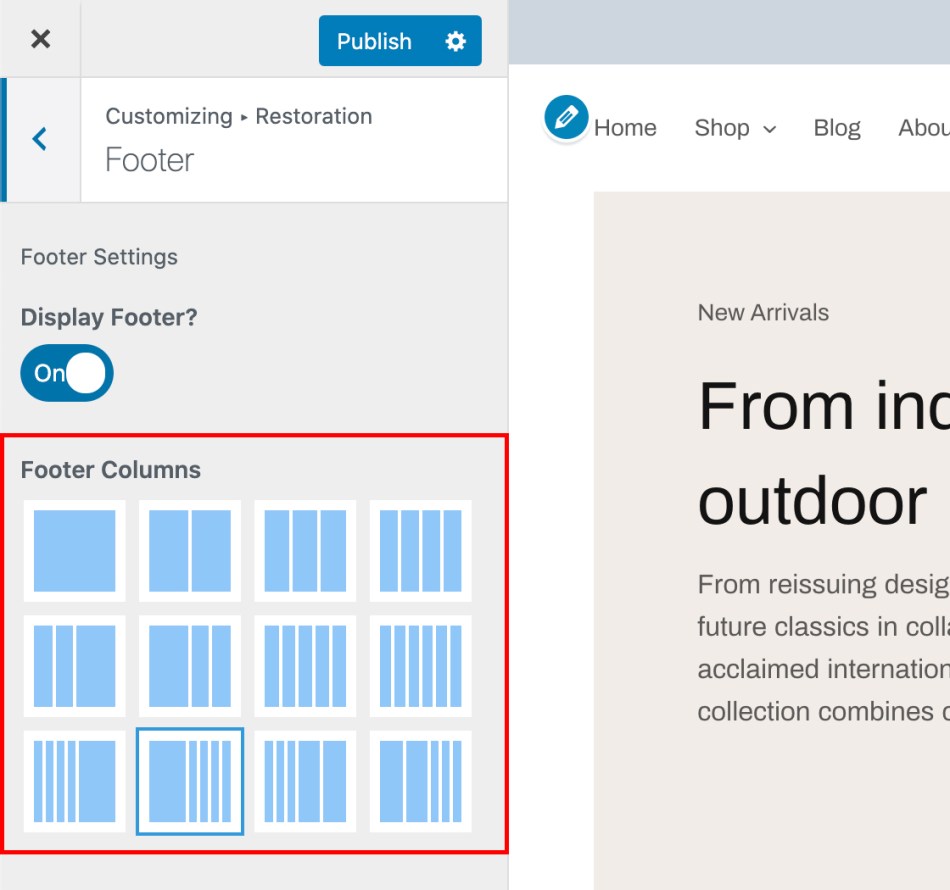
Each column gets its content from the same Footer Sidebars inside Appearance > Widgets:

Sub-Footer
↑ Back to topSub-Footer can be toggled and it’s content modified from Appearance > Customize > Restoration > Sub-Footer:

Social Sharing in Blog Posts and Products
↑ Back to topSocial sharing in Restoration uses the JetPack plugin’s sharing features, which can be configured from the below screen:

Thank you for using Premium WooCommerce Themes by Fuel Themes.