WooCommerce Donation allows store owners to collect donations directly through their store. You can enable donations on products, cart, and checkout pages, set fundraising goals, display causes, and allow customers to contribute fixed or custom amounts without leaving the shopping experience.
This plugin is ideal for nonprofits, crowdfunding campaigns, cause-based products, and community fundraising initiatives.
Installation
↑ Back to top- Download the plugin
.zipfile from your WooCommerce account. - Log in to your WordPress Admin dashboard.
- Navigate to Plugins → Add New → Upload Plugin.
- Choose the downloaded
.zipfile and click Install Now. - Once installation is complete, click Activate to enable the plugin.
For detailed guidance, refer to the official WooCommerce documentation on Installing and Activating Plugins and Extensions.
Setup and Configuration
↑ Back to topOnce the WooCommerce Donation extension is activated, the settings are available in two locations:
Product-level settings:
Go to Products → Add New (or edit an existing product), then scroll to the Donations & Fundraising tab in the Product Data panel.
Global settings:
Go to WooCommerce → Settings → Donations & Fundraising
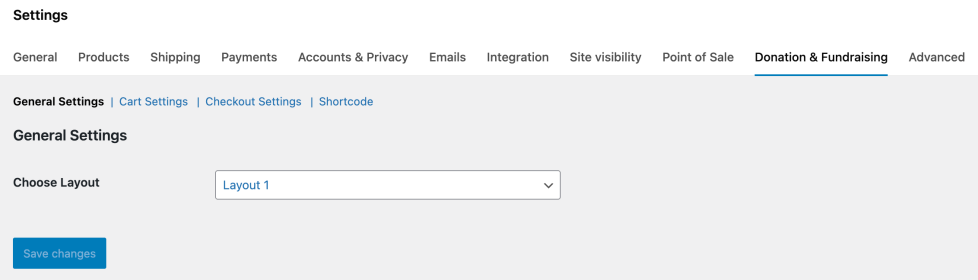
Global Settings
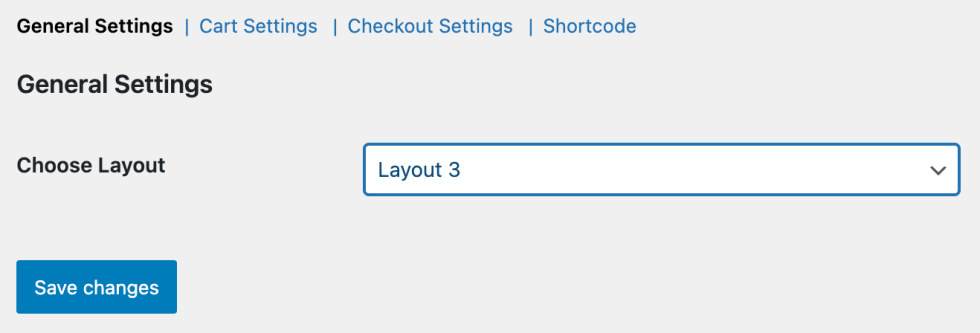
↑ Back to top1. General Settings
↑ Back to top- Choose Layout – Select one of the 3 available donation form layouts
- Click Save Changes to apply settings
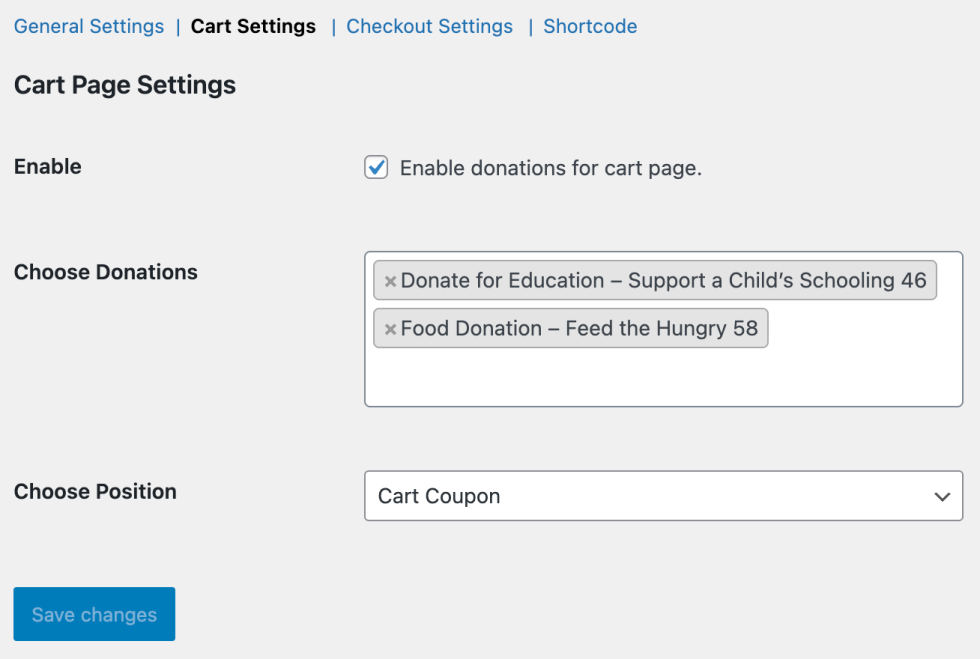
2. Cart Page Donations
↑ Back to top- Enable Donations for Cart Page
- Choose Donation – Select which donations to display
- Choose Position – Select from 12 available positions
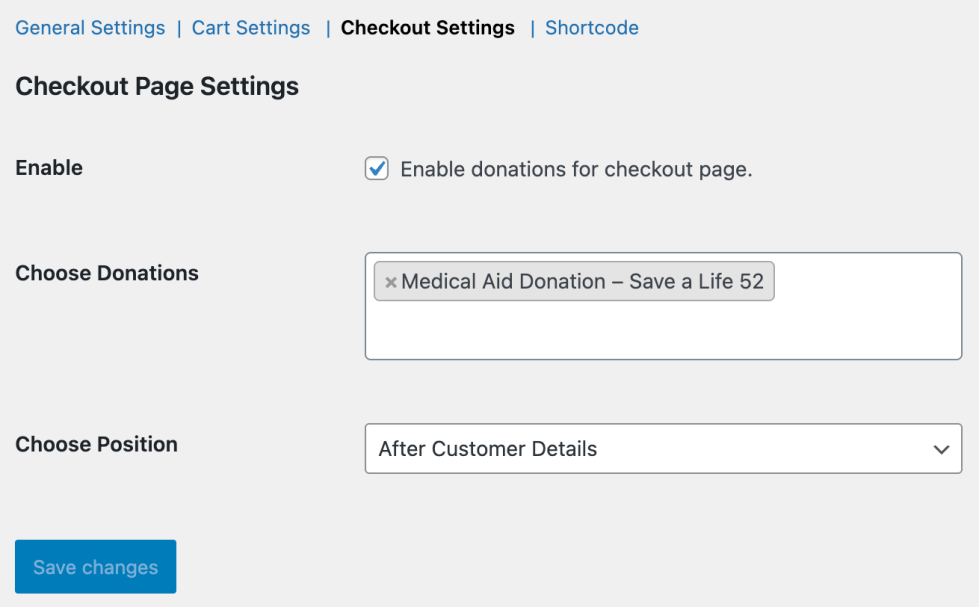
3. Checkout Page Donations
↑ Back to top- Enable Donations for the Checkout Page
- Choose Donation – Select which donations to display
- Choose Position – Select from 12 available positions
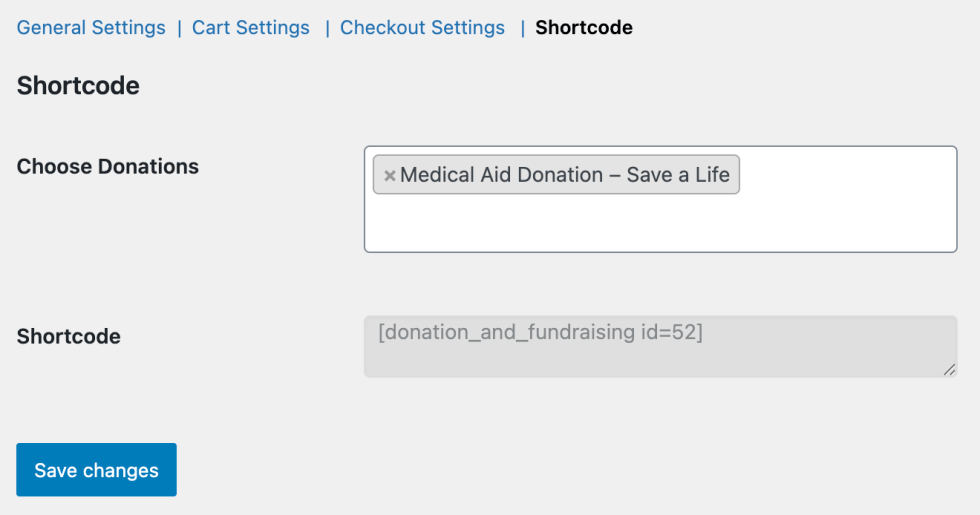
4. Shortcode Generator
↑ Back to top- Choose Donation – Select donation to embed
- Generated Shortcode – Copy and paste the shortcode anywhere on your site
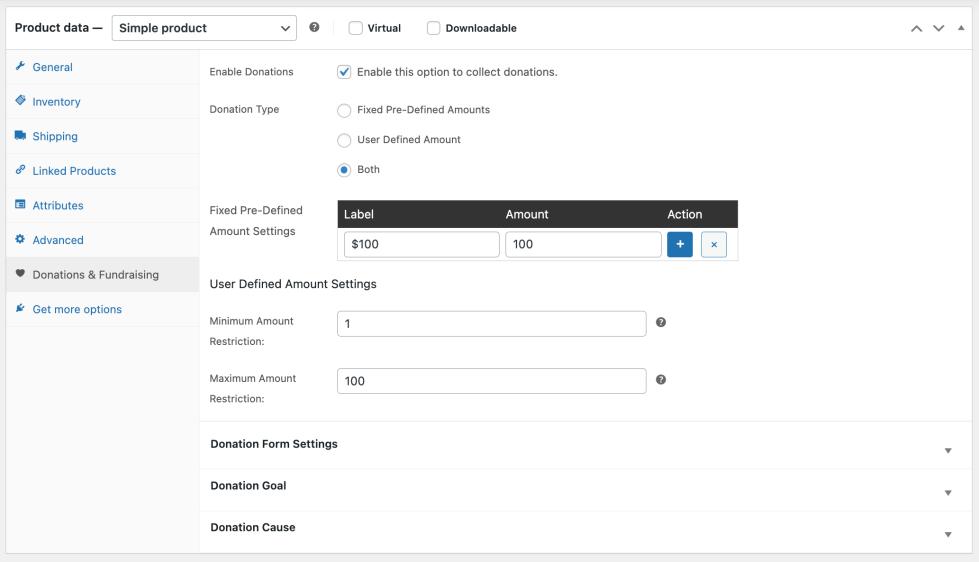
Product-Level Settings
↑ Back to topWhen editing a product, a new Donations & Fundraising tab appears in the Product Data section.
1. Donation Type
↑ Back to topChoose how customers can contribute:
- Fixed Pre-Defined Amounts – Customers select from preset donation values
- User-Defined Amount – Customers enter their own donation amount
- Both – Enable preset options and custom input together
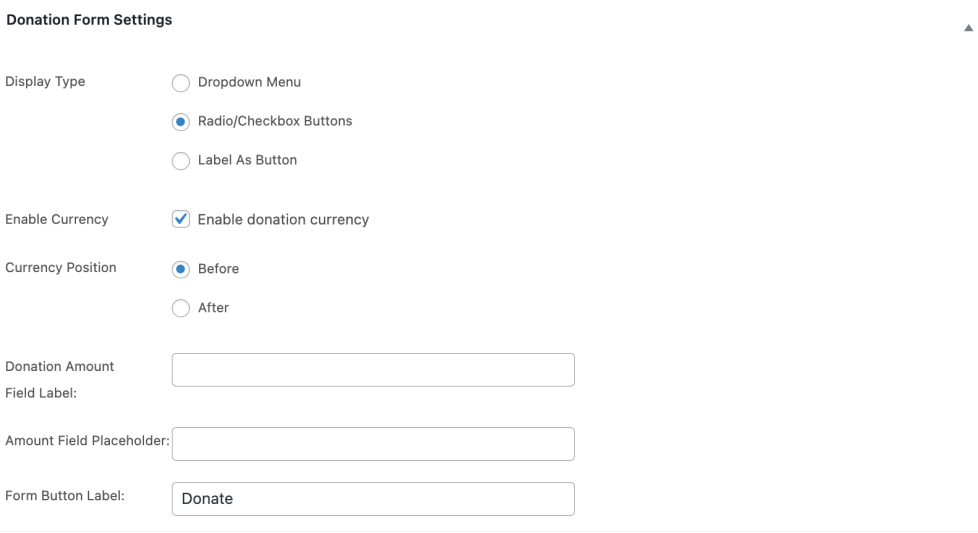
2. Donation Form Settings
↑ Back to topCustomize the appearance and behavior of the donation form:
- Display Type – Dropdown, Radio Buttons / Checkboxes, or Label as Button
- Enable Currency – Show or hide currency symbol
- Currency Position – Before or after the amount
- Donation Amount Field Label – Label text for the donation field
- Amount Field Placeholder – Placeholder text for user input
- Form Button Label – Text displayed on the donation button
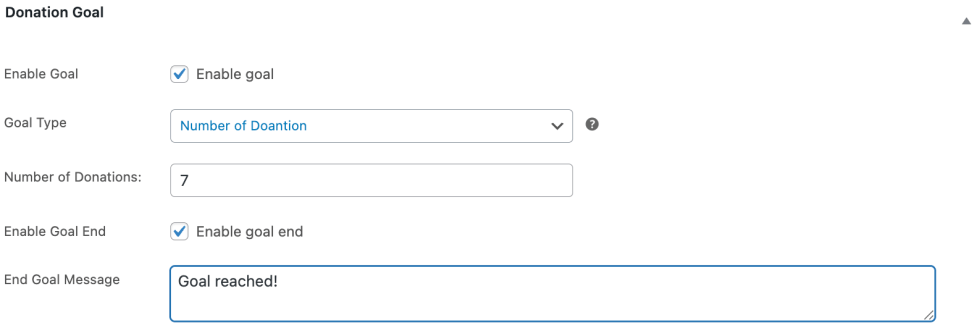
3. Donation Goals
↑ Back to topTrack fundraising progress by enabling goals:
- Enable Goal – Activate goal tracking
Goal Types:
- Amount of Donation – Monetary target
- Percentage of Donation – Percentage-based goal
- Number of Donations – Target number of contributions
- Number of Days – Campaign duration
Additional settings:
- Goal Amount – Define the target value
- Initial Goal Amount – Set starting progress
- Enable Goal End – Set an end condition
- End Goal Message – Message shown when the goal ends or is reached
4. Donation Causes
↑ Back to topDisplay causes alongside donation forms:
- Enable Cause – Activate cause display
Each cause includes:
- Image – Representative image
- Title – Cause name
- Description – Short explanation of the cause

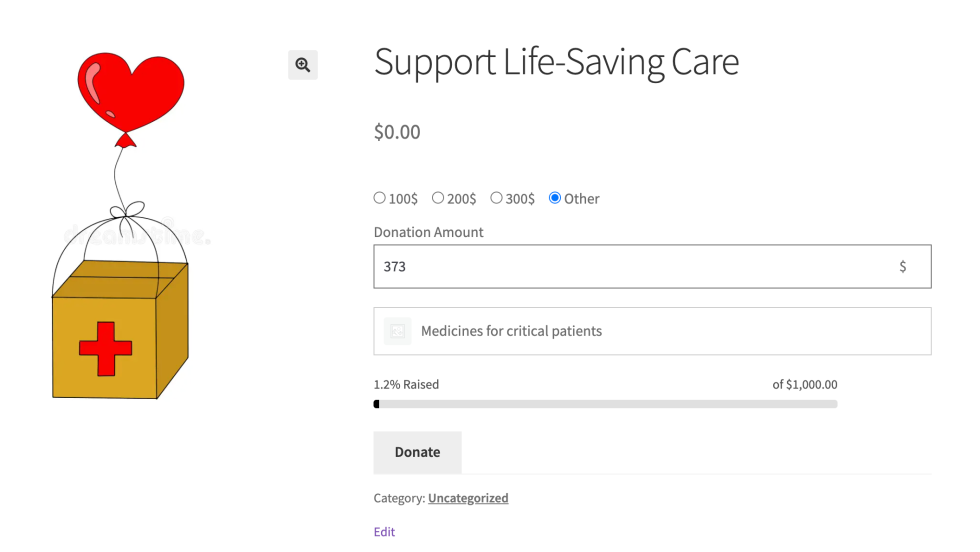
Donation Form Behavior
↑ Back to top- Donations can appear on product pages, cart, checkout, or via shortcode
- Fundraising goals update in real time
- Custom messages can be displayed when goals are reached or ended