Installation
↑ Back to top- Download Make an Offer for WooCommerce .zip file from your WooCommerce account.
- At the Admin Panel, go to Plugins > Add New and Upload Plugin with the file you downloaded after purchase.
- Install and Activate the extension.
How to Configure?
↑ Back to topManage Rules
↑ Back to top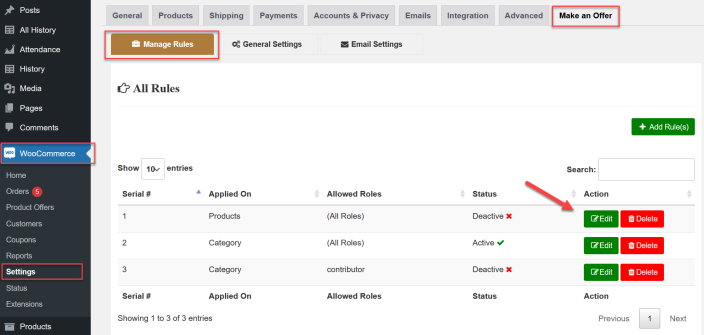
Add the Rule
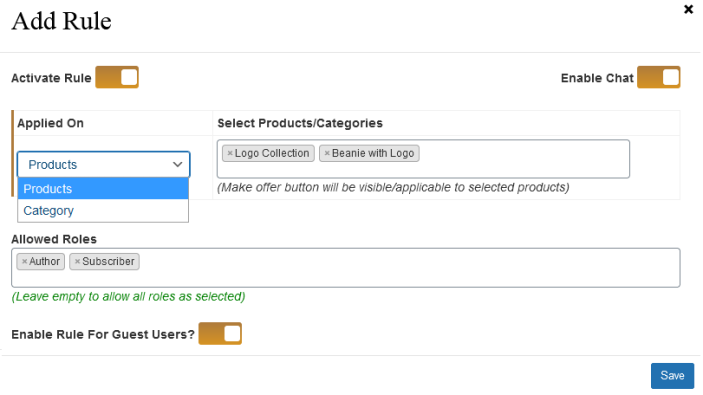
↑ Back to top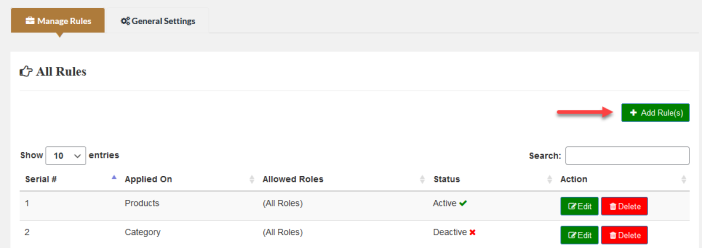 In each rule, you have the “Activate Rule” button to toggle on/off this rule. You can Enable Chat to allow customers to chat with you about their offer after submitting their offer. You can apply this rule to specific products or categories. You can restrict this rule to specific user roles and guest users as well.
General Settings
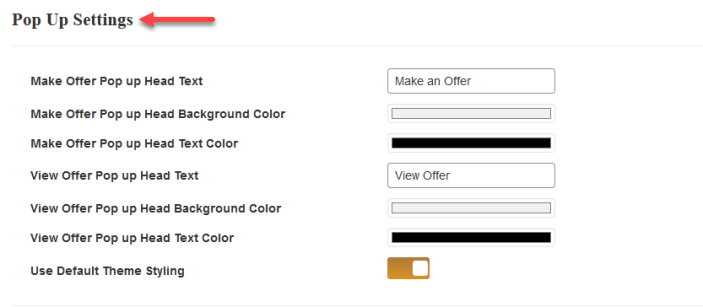
↑ Back to top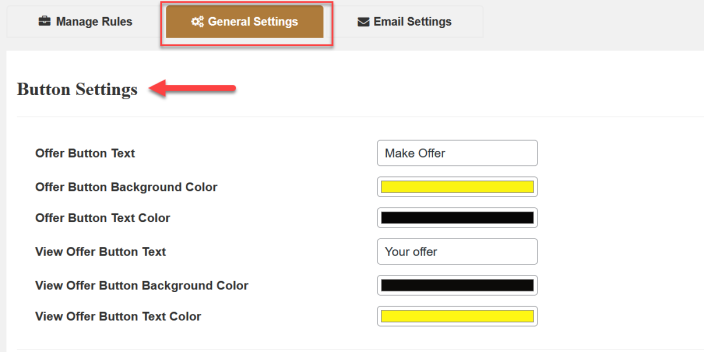 You can customize the layout of the make an offer form that appears in a popup to the customer or use the default theme style of your store.
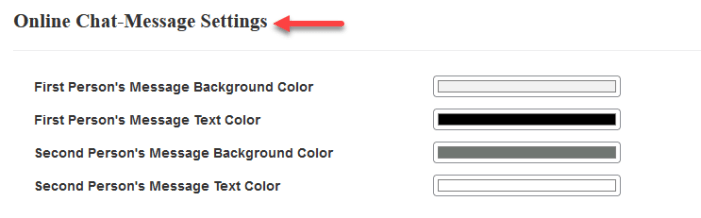
 You can also configure the chat settings such as first and second-person message background and text color.
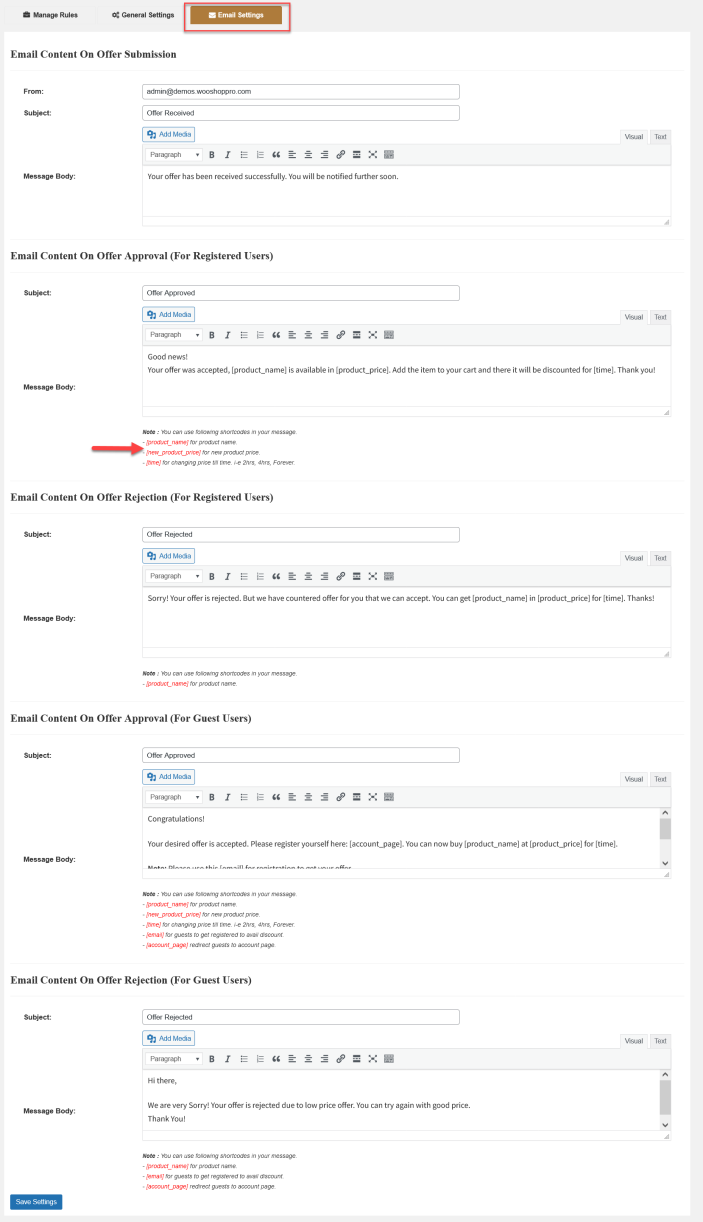
Email Settings
↑ Back to top- Offer submitted email
- For registered users on offer acceptance and rejection
- For guest user on offer acceptance and rejection
How to Approve/Reject the Offers?
↑ Back to top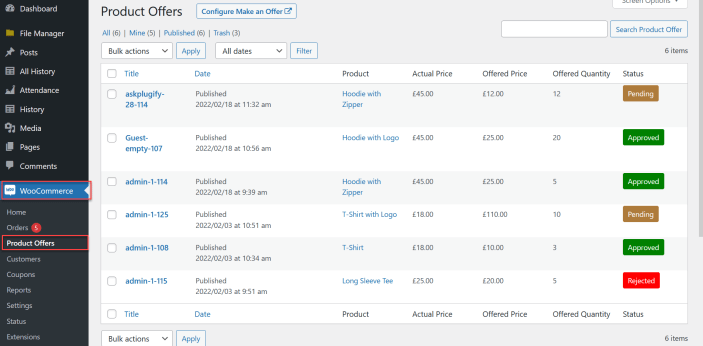 In each offer, you can see the product, customer, and offer details.
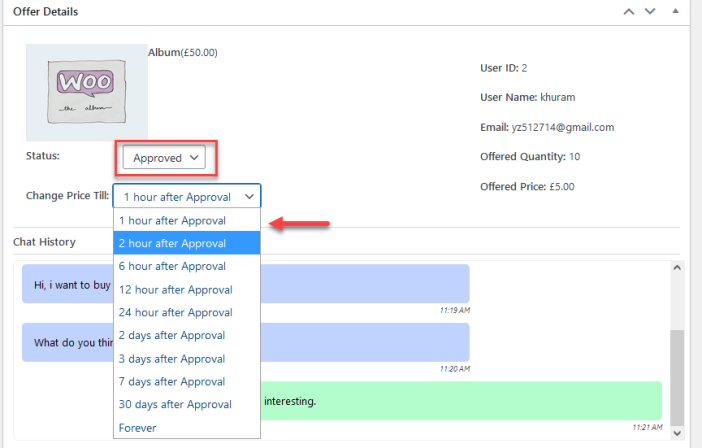
 You can approve or reject the offer by changing its status. If you approve their offer, the price will be automatically changed according to the offer for that customer and you can also select the time to make it a limited time offer for them. Product price will come back to original price after that time.
Chat with Customers
↑ Back to top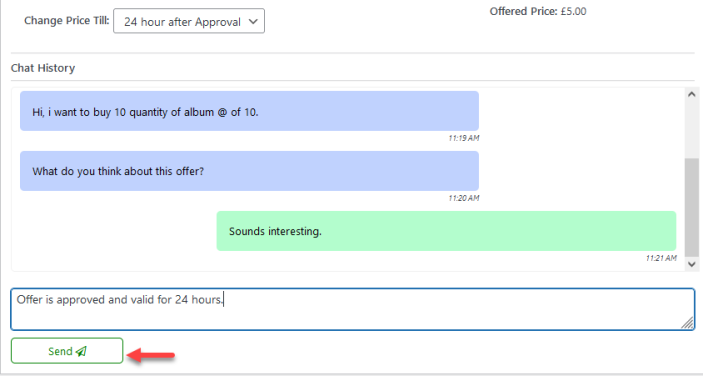
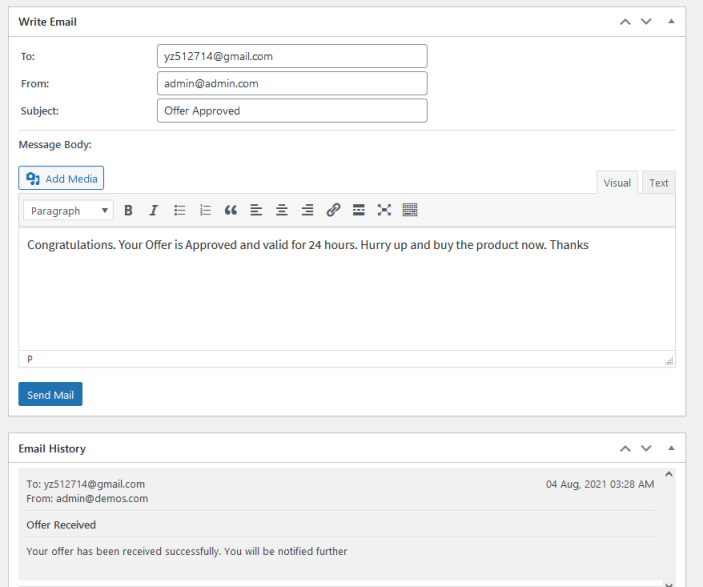
Send Email to Customers
↑ Back to top