Installation
↑ Back to topTo start using a product from WooCommerce.com, you can use the “Add to store” functionality on the order confirmation page or the My subscriptions section in your account.
- Navigate to My subscriptions.
- Find the Add to store button next to the product you’re planning to install.
- Follow the instructions on the screen, and the product will be automatically added to your store.
Alternative options and more information at:
Managing WooCommerce.com subscriptions.

Import Starter Site
Libreria comes with a pre-built Starter site which you can import into your site and start editing content. To import the Starter, you need to install the Starter Templates & Sites Pack by ThemeGrill plugin and follow these few steps:
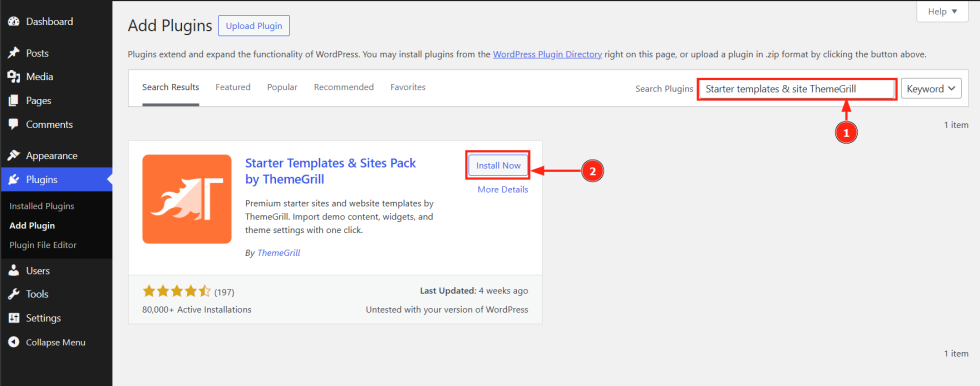
- Go to Plugins > Add New
- Search for the “Starter Templates & Sites Pack by ThemeGrill” plugin
- Once the plugin appears on the search result, click on the Install Now button
- Click on the Activate Now button
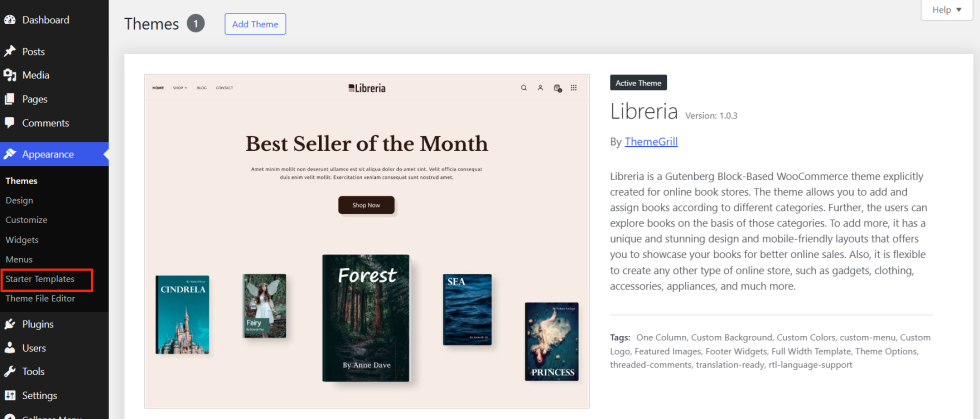
- Go to Appearance > Starter Templates
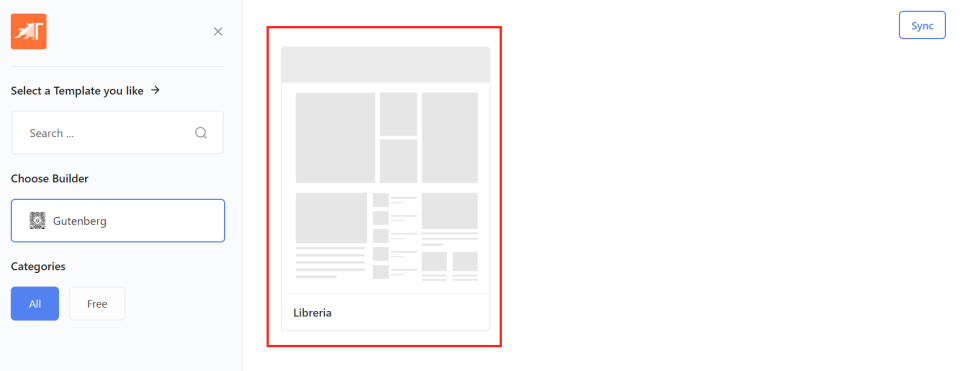
- Select Libreria.
- On the next screen, select the logo and click Continue.
- At last, click Start Import to import the starter site.
- Wait until the importing process is complete. After successful completion, you can view your site or go to the dashboard to continue customizing.
- Your site should now look like the Libreria Starter Site
Now, it’s time to edit the content of your site like posts, pages, products, images, etc. Go through the documentation below for detailed information
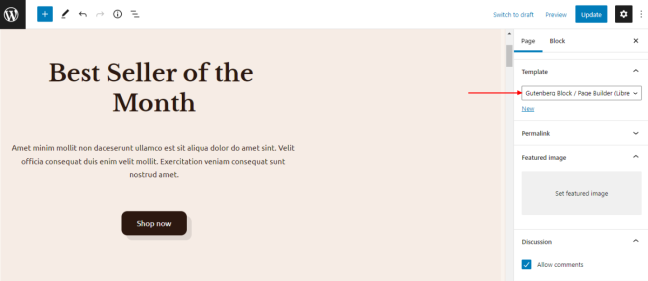
Set Page Template for Gutenberg Page
- Go to the edit screen of the page
- On the right side, click on the Template.
- Choose Gutenberg Block / Page Builder (Libreria) from the dropdown.
- Click the Update button at the top right.
Customization
↑ Back to topThe overall customizations of the site’s design can be done via options available in WordPress Dashboard > Appearance > Customize. Basically, options are arranged in the following ways:
- Global: Affects globally throughout the site. For example, primary colors, heading color, container width, etc.
- Section-wise: Options for website components like header, footer, and content area
- WooCommerce: Customize the WooCommerce page, products, and design
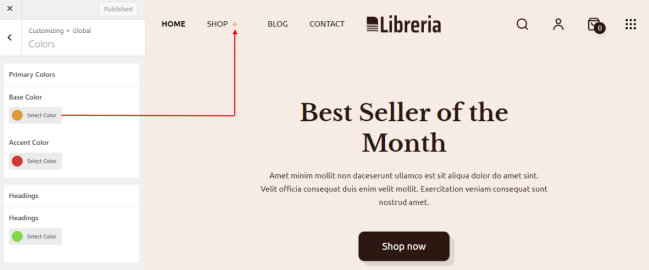
Global Colors
↑ Back to topFrom Appearance > Customize > Global > Colors, change the primary color, base color, link color, and heading colors throughout the site.
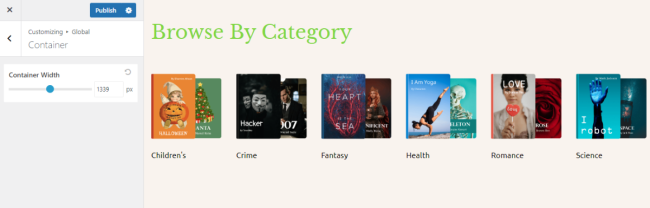
Container Width
From Appearance > Customize > Global > Layout > Container, you can adjust overall site width.
Site Logo
↑ Back to topFrom Appearance > Customize > Header > Site Identity, you can
- Upload the logo and change its size
- Plus, it supports the retina logo
- Upload site icon
- Add site title and tagline
- Change site title color
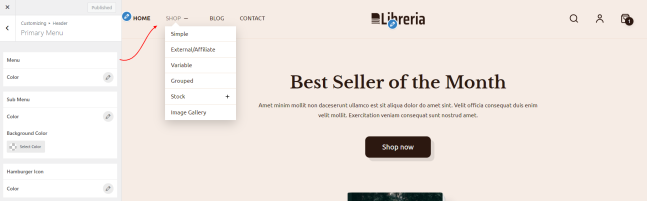
Site Header
↑ Back to topFrom Appearance > Customize > Header > Primary Header, you can
- Make header full width expanding it to the edges
- Change header background-color
- Add border-bottom and change its color
- Customize text and background colors of the menu, submenu, and mobile hamburger icon
- Enable/disable header search and change its placeholder text
- Enable/disable the WooCommerce account icon in the header
- Enable/disable WooCommerce mini cart in the header
- Show/hide the number of products added to the cart on the header mini cart icon.
- Add an icon in the header to open a sliding box where you can add logo and Gutenberg blocks


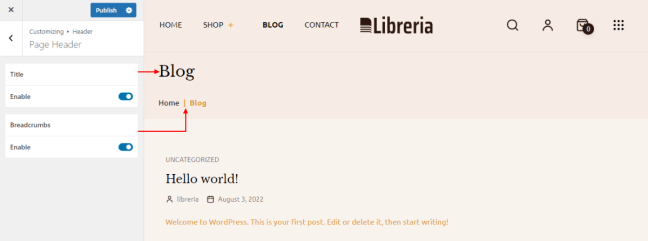
Page Title and Breadcrumbs
↑ Back to topFrom Appearance > Customize > Header > Page Header, you can enable/disable page title and breadcrumbs.
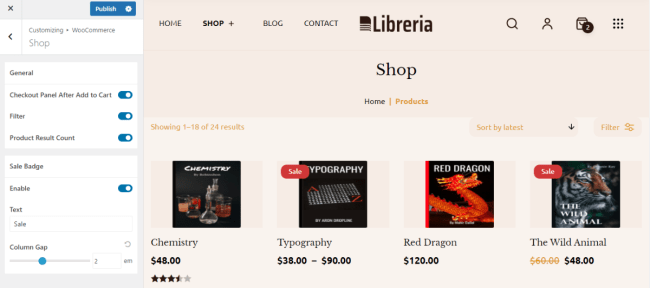
WooCommerce Shop
↑ Back to topFrom Appearance > Customize > WooCommerce > Shop, you can
- Show checkout panel after clicking add to cart button
- Enable/disable shop filters
- Enable/disable product result count
- Enable/disable the sales badge and change its text
- Show hide product elements like product title, ratings, price, add to cart button
- Adjust horizontal and vertical spacing among products
- Change product image and content alignment
- Change the color and background color of the product title, price, sale badge
- Set pagination to be either numbered or infinite load. In the infinite load option, you can either load posts by scrolling or by clicking a button
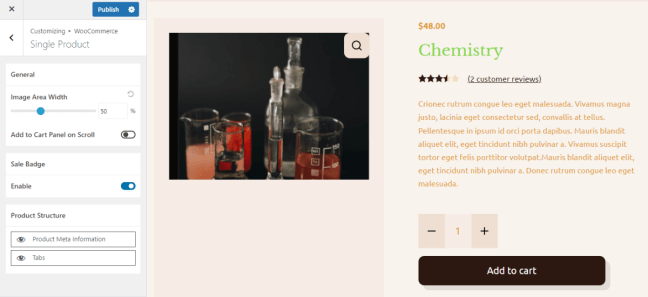
WooCommerce Single Product
↑ Back to topFrom Appearance > Customize > WooCommerce > Single Product, you can
- Adjust the width of the product image area
- Enable add to cart button on scrolling down the single product page
- Enable/disable the sale badge
- Show/hide product meta information and tabs
- Enable/disable related products to be displayed
- Enable/disable related and upsell products area
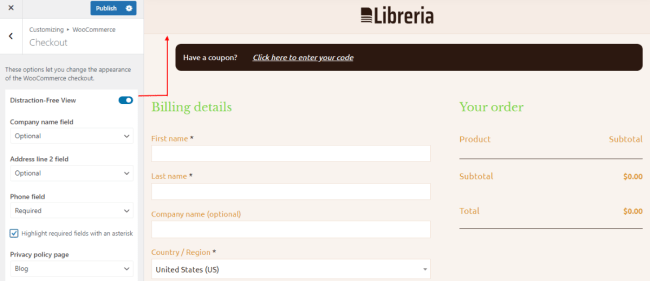
Distraction-Free Checkout
↑ Back to topFrom Appearance > Customize > WooCommerce > Checkout, you can enable distraction-free view on the checkout pages. It’ll remove the primary menu, header actions, footer, etc. so that customers can focus on the checkout process.
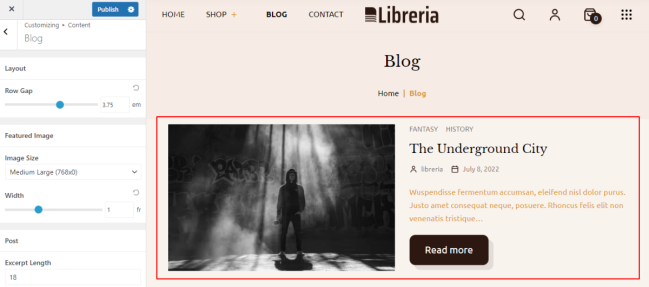
Blog
From Appearance > Customize > Content > Blog, you can
- Set the row gap of each post
- Choose from image sizes to load in the post thumbnail
- Adjust excerpt length (summary text)
- Change CTA button text (Read More)
- Show/hide post elements like post title, featured image, meta tags, excerpt, and CTA button
- Enable/disable blog pagination
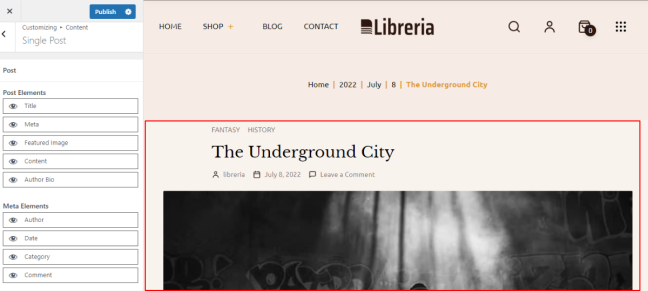
Single Post
From Appearance > Customize > Content > Single Post, you can
- Show/hide post elements like post title, featured image, meta tags, and excerpt
- Enable/disable related posts and choose to show in 1 or 2 columns
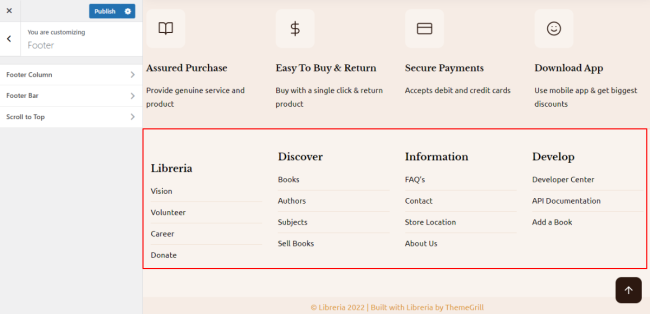
Footer
The Footer area has 2 parts: Footer Columns, and Footer Bar.
From Appearance > Customize > Footer, you can
- Customize footer background, heading, text, link, link list color
- Add border top size and change color
- Enable/Disable list separator
- Edit footer copyright text and its color
- Enable scroll to the top button and customize its sizes, icon size, and colors
Edit Footer Copyright
From Appearance > Customize > Footer > Footer Bar, you can customize footer copyright text. You can use the string mentioned below in the copyright text editor to generate dynamic strings like the current year, your site’s link, etc.
- {copyright}: Generates copyright icon
- {site-title}: Generates site title text
- {year}: Generates the current year
- {theme-credit}: Generate Credit text to the theme author, ThemeGrill
Now, you can customize the way the copyright text appears by editing the content in the text editor. For example, if you want to remove the theme credit, you can remove the {theme-credit} text from the editor.
Child Theme
↑ Back to topIf you want to add your own custom code to the Libreria theme, then the best way is to use a child theme. Read the article below and use the ready-made child theme for Libreria:
A child theme allows you to change small aspects of your site’s appearance yet still preserve your theme’s look and functionality. It inherits the look and feel of the parent theme and all of its functions, but can be used to make modifications to any part of the theme.
Child Theme: WordPress Theme Developer Handbook