Welcome to the Auto-X Theme Documentation!
Thank you for choosing Auto-X for your WooCommerce store. This guide will walk you through the installation and customization process, helping you launch a fast, professional, and fully responsive online shop with ease.
Installation
↑ Back to topTo start using a product from WooCommerce.com, you can use the “Add to store” functionality on the order confirmation page or the My subscriptions section in your account.
- Navigate to My subscriptions.
- Find the Add to store button next to the product you’re planning to install.
- Follow the instructions on the screen, and the product will be automatically added to your store.
Alternative options and more information at:
Managing WooCommerce.com subscriptions.

Install and Activate WooCommerce
↑ Back to topSince Auto-X is designed specifically for WooCommerce, you need to install and activate the WooCommerce plugin for your store to function properly.
For detailed instructions, please refer to the official WooCommerce documentation:
WooCommerce Installation Documentation
Importing Demo Content
↑ Back to topIf you prefer to manually customize your site, you can skip this step. However, if you want your website to look like the demo, you should first install the One-Click Demo Import plugin before proceeding with importing the demo content.
Note: We recommend using a fresh WordPress installation for importing demo content. This import process will not remove or overwrite any of your existing content.
To speed up your site building process, you can start with pre-built demo layouts and pages. Here are the step-by-step instructions to import demo content:
- Go to Appearance > Demo Import in your WordPress dashboard.
- Select the demo you want to import and click the Import button.
- A popup will appear with important information—please read carefully, then click Yes, Import Demo to continue.
- The import process will begin, installing required plugins (such as WooCommerce) and importing demo data (posts, pages, settings, images).
- You can monitor the progress at the bottom right of the page. (Do not refresh or close the page during this process.)
- Once the import is complete, a popup will appear. Click Visit My Site to explore your newly imported demo site.
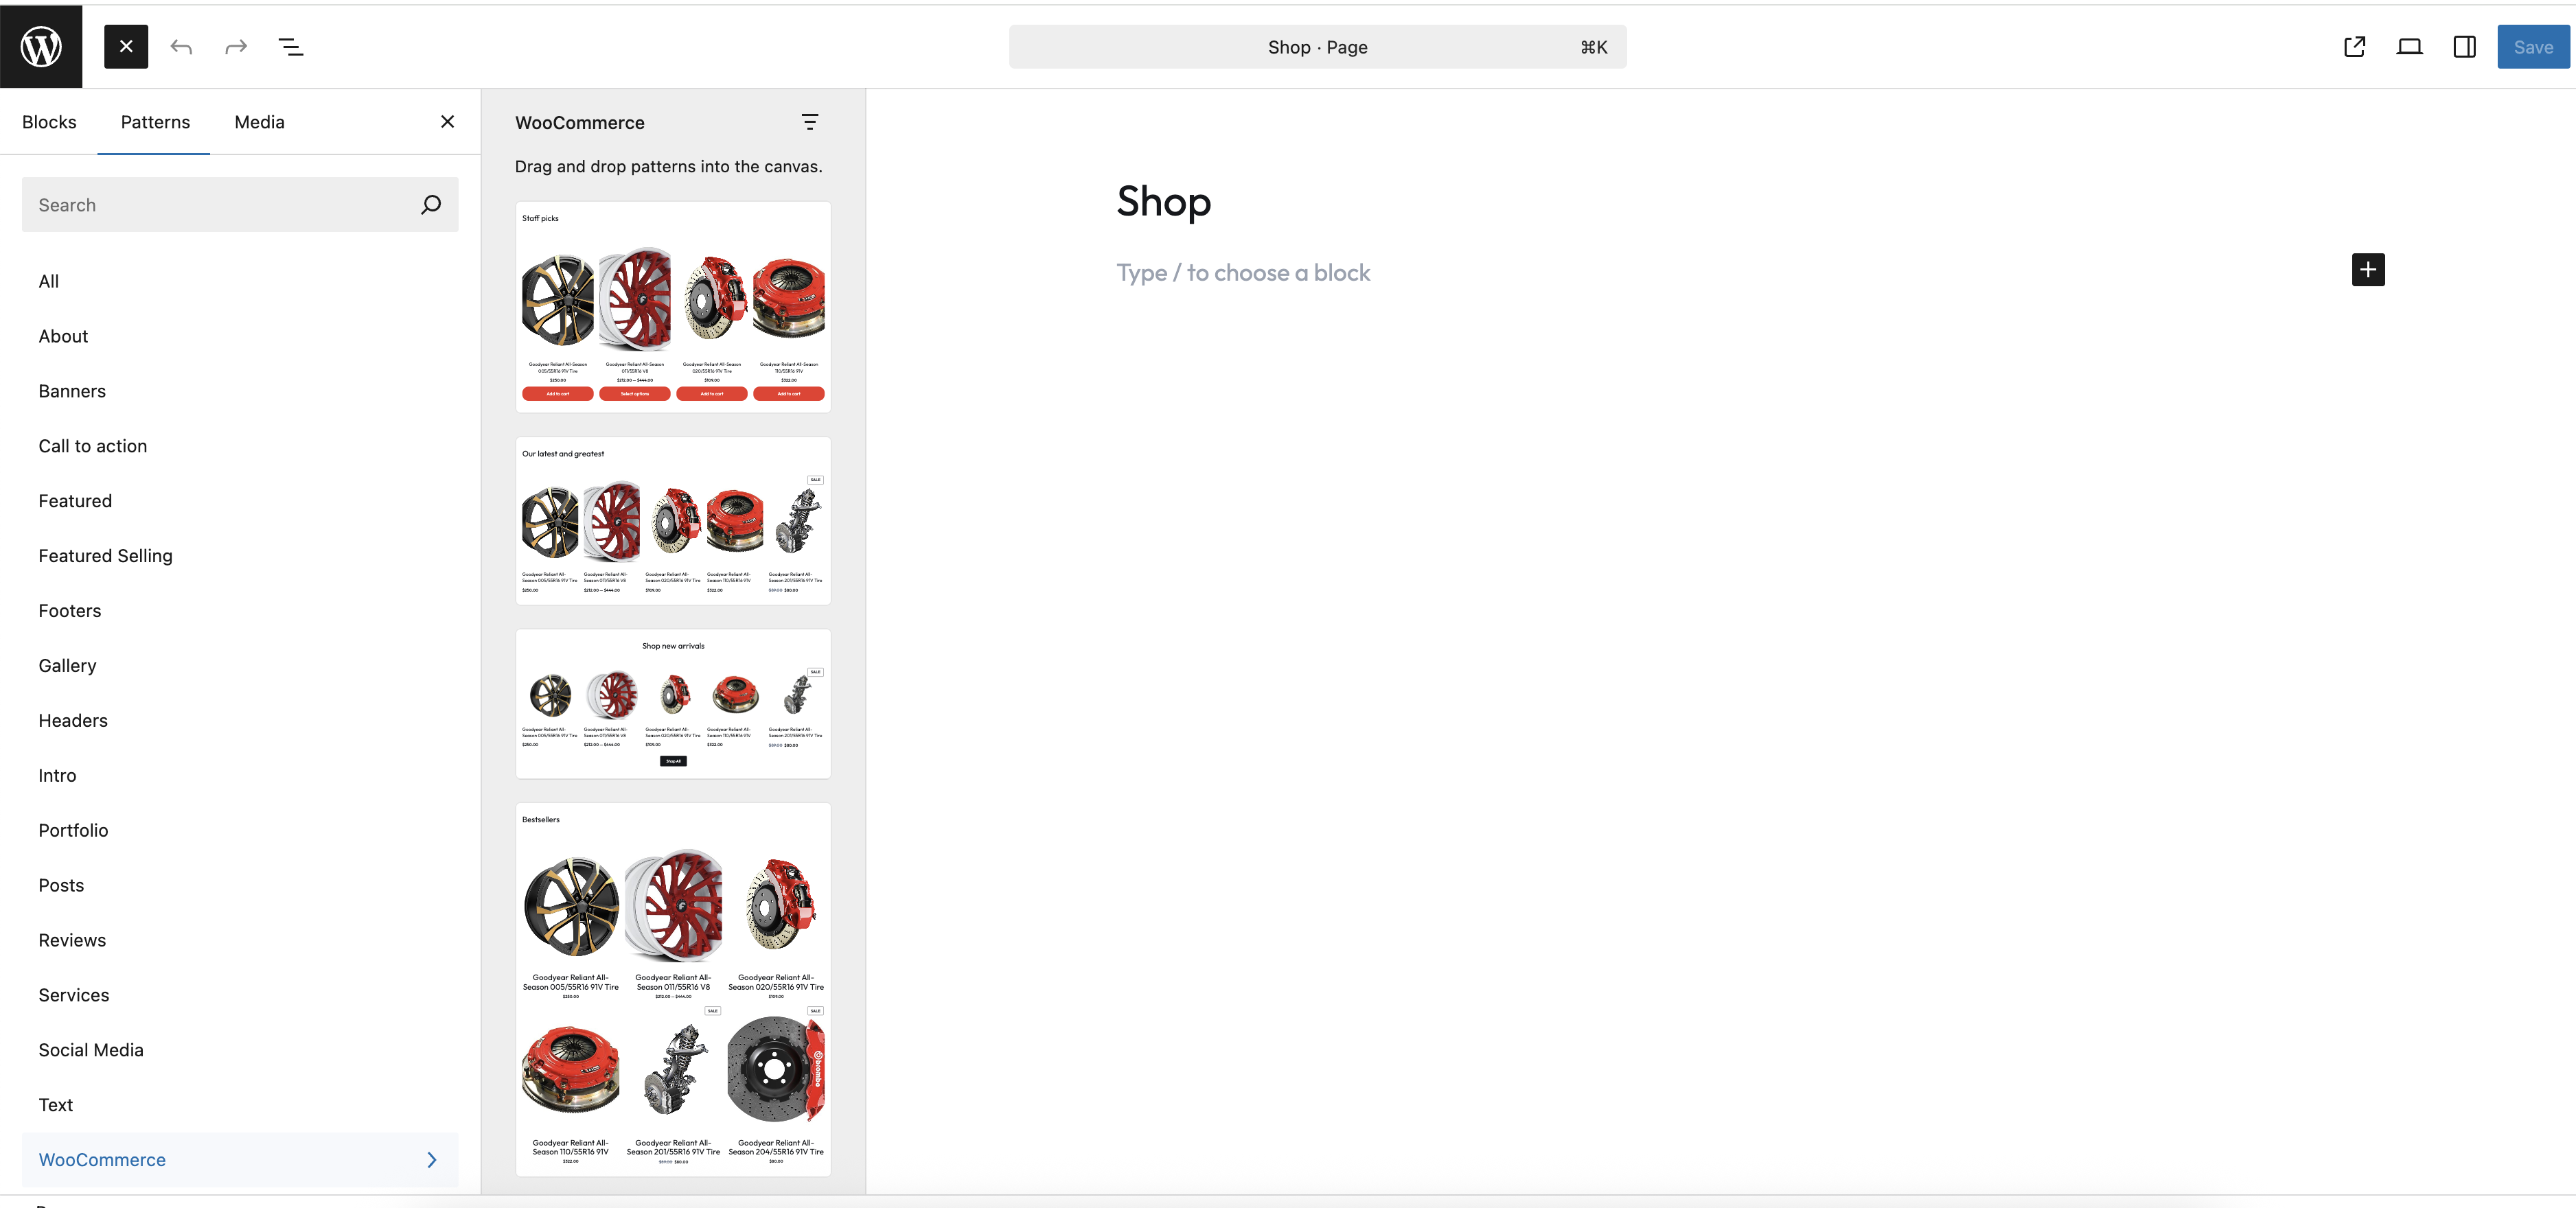
Block Patterns
Auto-X includes a variety of pre-designed block patterns to help you quickly build beautiful, professional layouts for your WooCommerce store.
To add a block pattern, follow these steps:
- Open the page, post, or product you want to edit.
- Click the + Block Inserter in the top left corner of the editor.
- Go to the Patterns tab to browse all available block patterns.
- Explore collections like, and more to find a layout that suits your needs.
- To view all patterns at once, click the Explore all patterns button at the bottom of the Patterns tab. This opens a larger window with the full selection.
- Click on any pattern to insert it into your content.
- Once inserted, you can easily customize the pattern by editing any block—change text, images, or other elements to fit your brand.
Note: You can use block patterns not only in pages, but also in posts and product descriptions, following the same steps.
Block
↑ Back to topThe block editor in WordPress offers a modular and flexible approach to building pages, posts, and product layouts. Each piece of content—such as text, images, galleries, or headlines—is its own block. You can easily add, arrange, and rearrange these blocks to create visually rich layouts, all without using shortcodes or custom HTML.
To insert blocks:
- Go to Pages and select the page you want to edit.
- Click the + icon in the top-left toolbar to browse and insert blocks.
- Alternatively, you can type the / prefix directly in the editor, followed by the block name, to quickly search and insert any available block. For example, typing /woo will list all WooCommerce-specific blocks.
Note: Blocks can be used in posts and product pages as well, following the same steps as you would for pages.
Useful Links:
- All available WordPress blocks Explore the full list of default WordPress blocks and their usage.
- All WooCommerce blocks Discover all blocks provided by WooCommerce for building your online store.
Full Site Editing (FSE)
↑ Back to topThe Site Editor empowers you to control the overall layout and structure of your website through the use of Templates.
You can access the Site Editor by going to Appearance > Editor in your WordPress dashboard, or by clicking the WordPress icon (or your custom site icon) in the top left corner of your dashboard.
Within the Site Editor, the Templates area allows you to:
- Define the structure and layout for different sections of your site, such as product archives, single posts, pages, 404 error pages, search results, and more.
- View all available templates, including those provided by Auto-X and any custom templates you have created.
- Edit any template by clicking on it. You can then use blocks to rearrange, add, or remove elements, fully customizing the layout and content for that specific template.
How to access and edit templates:
- In your WordPress dashboard, navigate to Appearance > Editor to open the Site Editor.
- Click the WordPress logo (or your site icon) in the top left to open the Site Editor navigation menu.
- Select Templates to view a list of all available templates.
- Click on any template in the list to open it for editing.
- Use blocks to customize the layout as you wish—add, remove, or rearrange content to suit your needs.

Update Theme
↑ Back to topWe recommend always keeping your Auto-X theme up to date. Updates may include important improvements, bug fixes, new features, and layout enhancements.
Before you update, please consider:
- If you have renamed your theme folder, the update will be treated as a fresh installation and you may lose any custom changes.
- Always back up your WordPress installation directory and database before updating, so you can restore your site if anything goes wrong.
How to update the Auto-X theme:
- In your WordPress dashboard, go to Appearance > Themes.
- If an update is available, you’ll see an update icon on the Auto-X theme. Click it to update to the latest version.
- Alternatively, you can manually download the latest theme package from your WooCommerce account downloads page.
- Install the new version over your existing one by following the standard theme installation process.
Keeping your theme updated ensures you have the latest features, improvements, and security fixes for your site.
Frequently Asked Questions
↑ Back to topWhere can I edit the Header?
Both the header and menus can be managed in Appearance > Editor > Patterns > Headers
Where can I edit the Footer?
Footer customization is available at Appearance > Editor > Patterns > Footer, allowing you to set up widgets and layout to match your preferences.