Installation
↑ Back to topTo start using a product from WooCommerce.com, you can use the “Add to store” functionality on the order confirmation page or the My subscriptions section in your account.
- Navigate to My subscriptions.
- Find the Add to store button next to the product you’re planning to install.
- Follow the instructions on the screen, and the product will be automatically added to your store.
Alternative options and more information at:
Managing WooCommerce.com subscriptions.

Setup and Configuration
↑ Back to topAfter installing, navigate to the WordPress admin menu bar, where you will find the installed plugin, the ‘PDF Invoice’.
Please click on it and it will redirect to a page like the one in the below image.
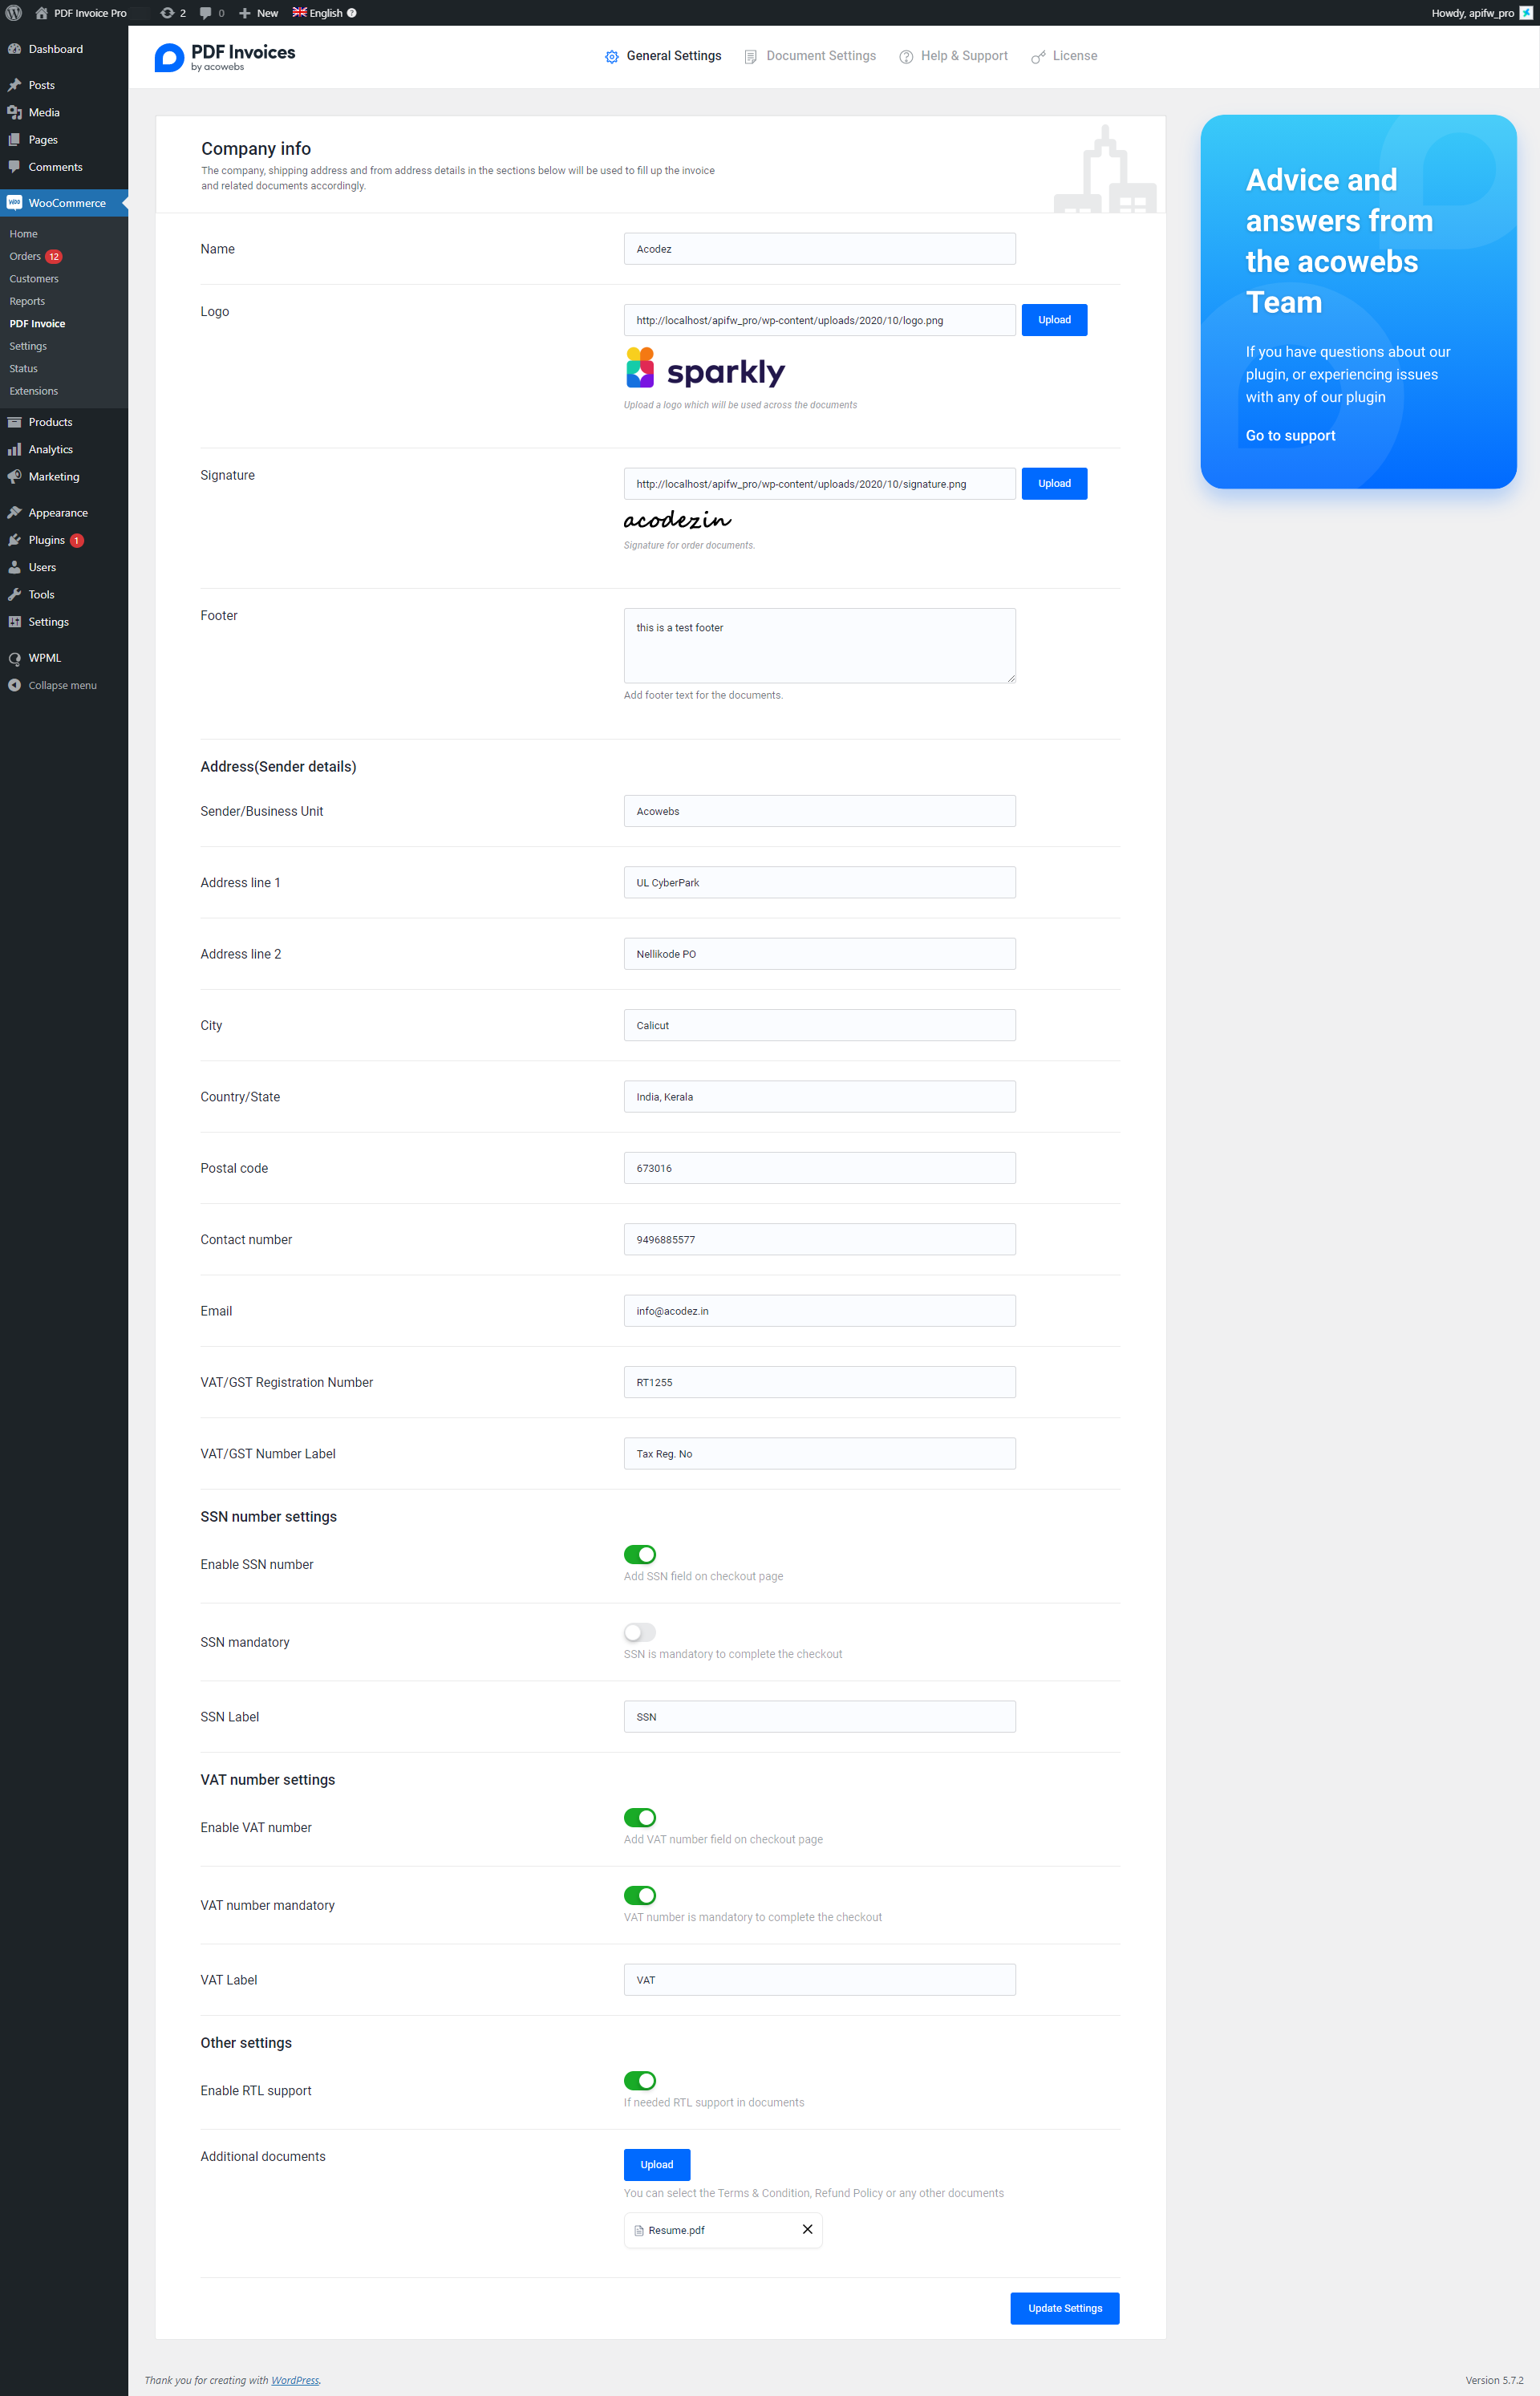
General Settings
Here you can add company details and Sender details(from address) in respective fields. Also, you can enable SSN and VAT on the checkout page. There exist options for enabling RTL support and selecting additional documents that need to attach in invoice emails.
Invoice Settings
Click on the document settings tab then you will re-direct to different document settings tab section. There invoice settings tab will be auto selected. Else you can click the corresponding tab.
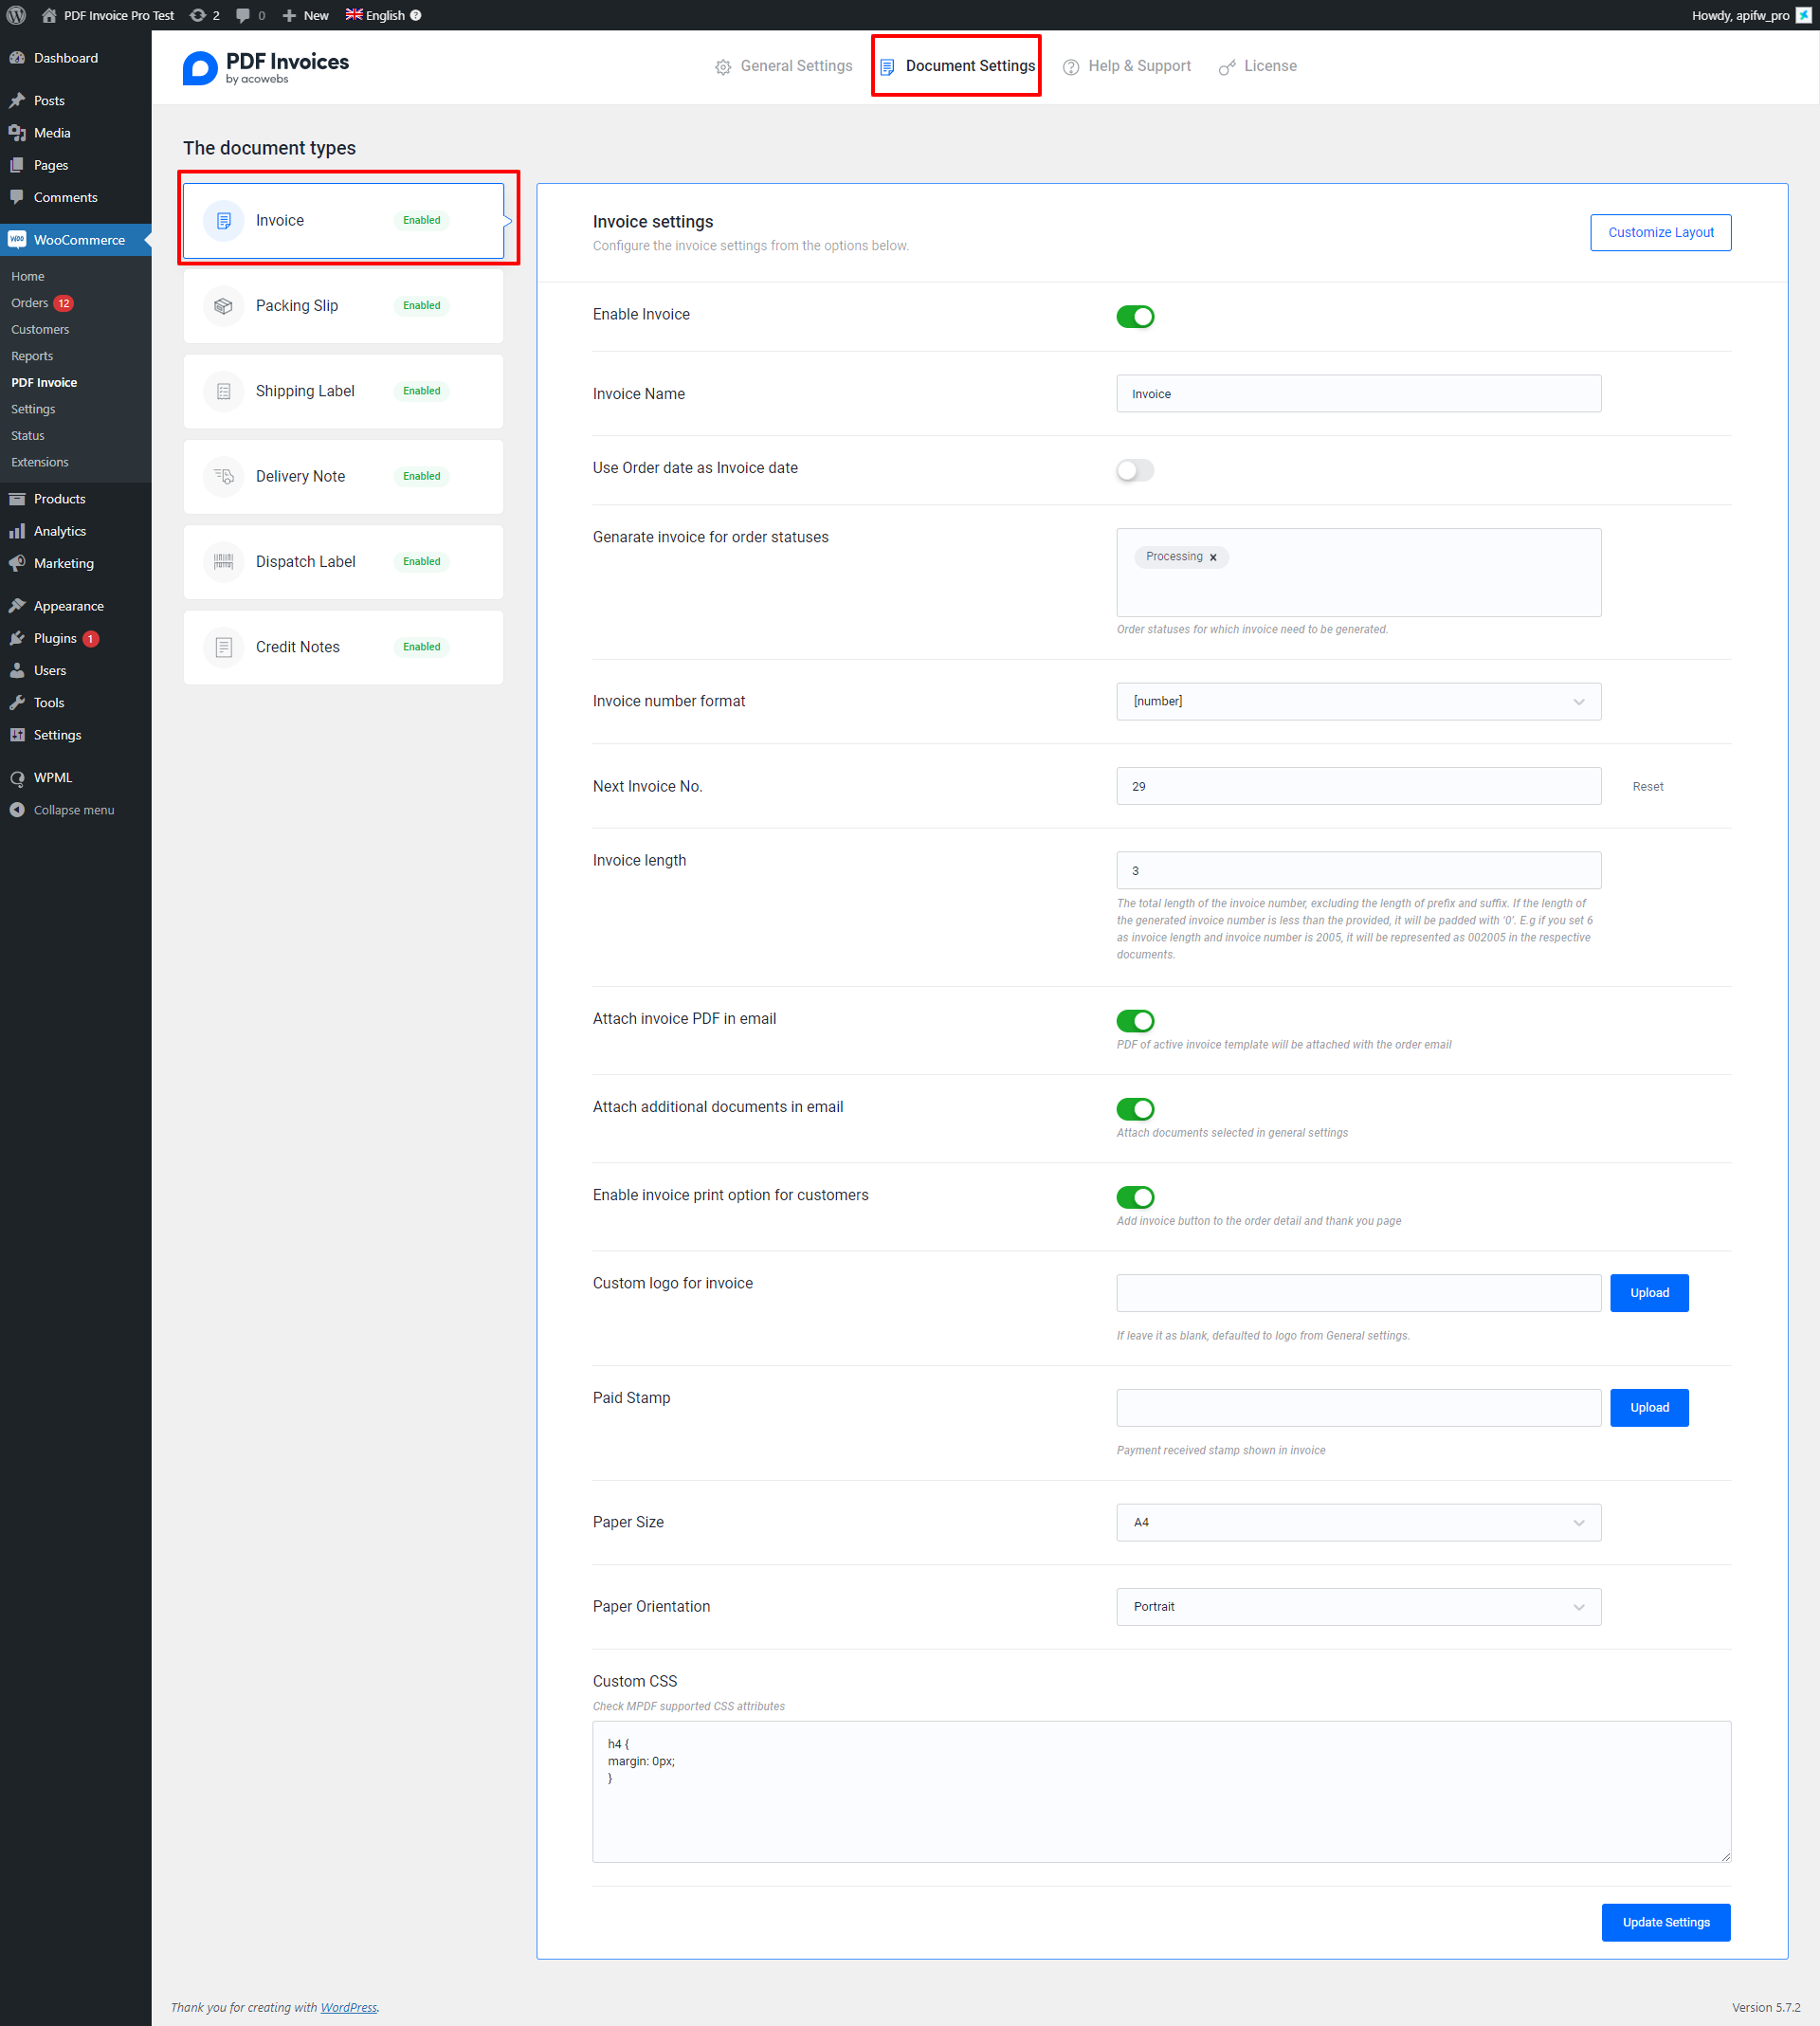
Here you can adjust invoice settings such as invoice number format and order status for which invoice to be generated. Also you can enable or disable attachment of invoice documents and other documents in order emails. There also exist option for adding custom CSS and choosing invoice paper size & orientation.
Invoice Template
Click on the ‘customize layout’ button in the invoice settings page then you will re-direct to template choosing page.
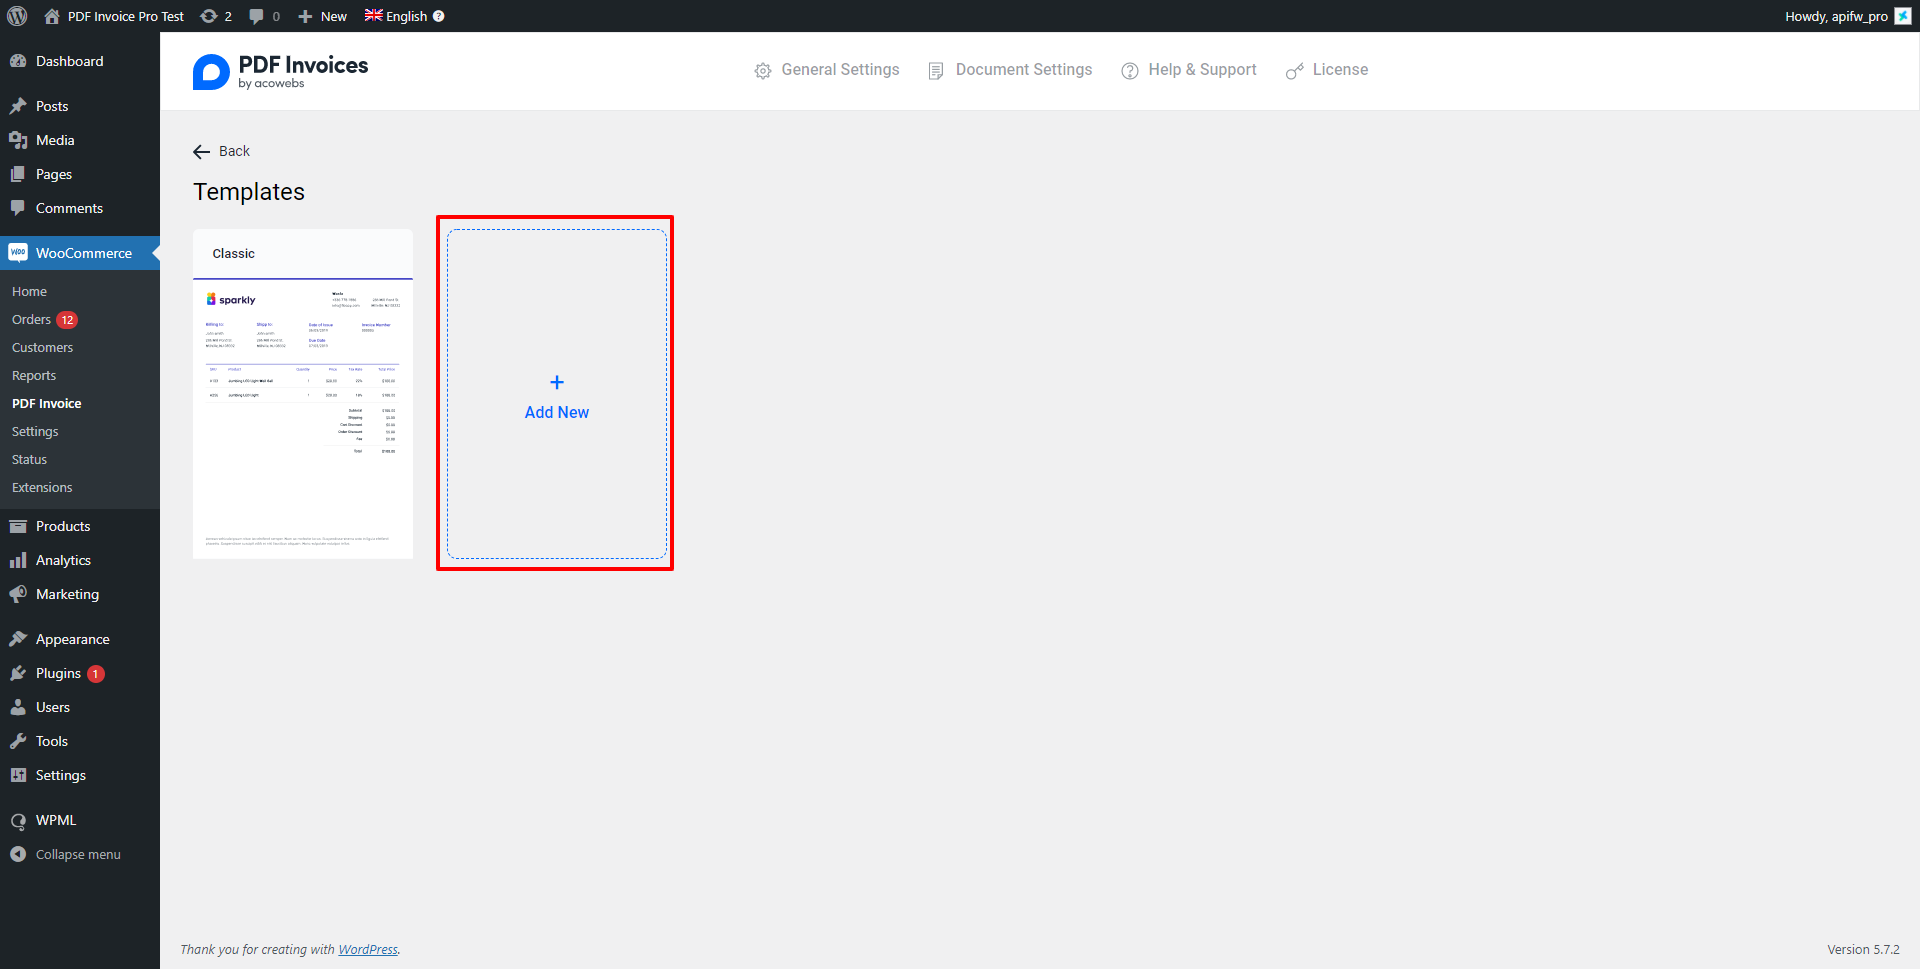
Click on the add new box for adding new template then a popup will appear and you can choose the layout.
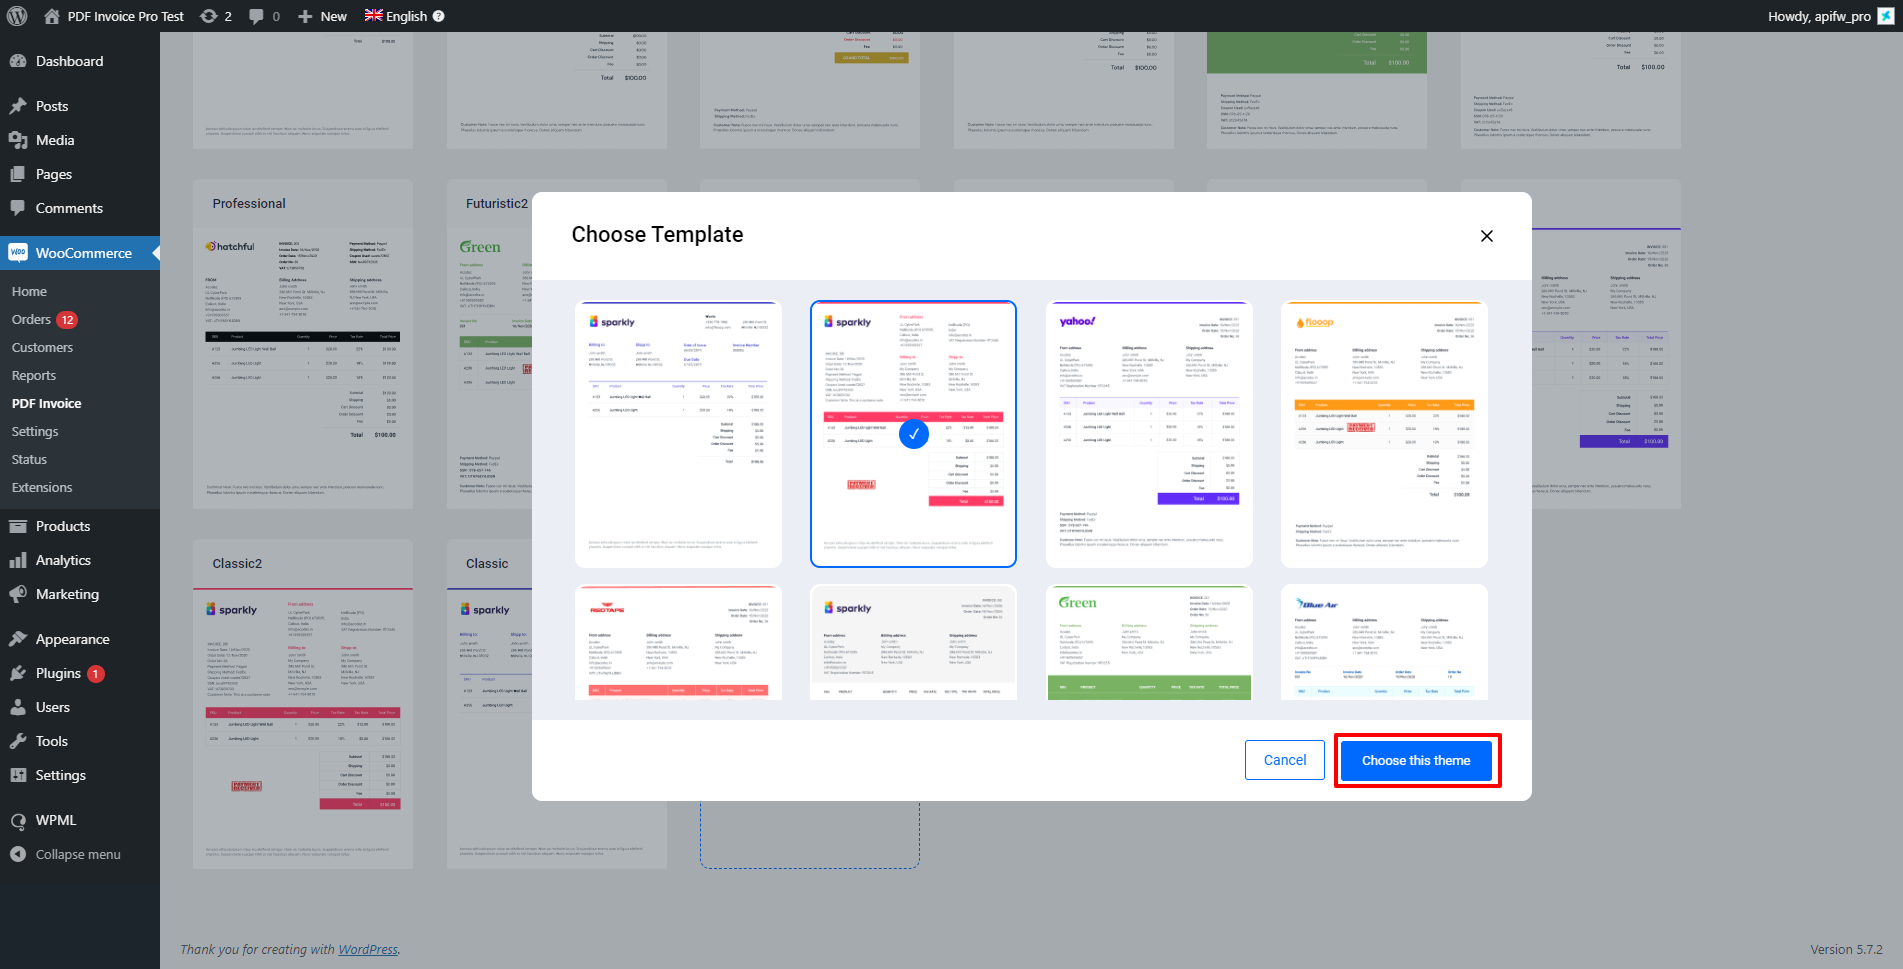
Select the layout and click the ‘choose the theme’ button. Then template will be created on template page. Then you can further customize it.
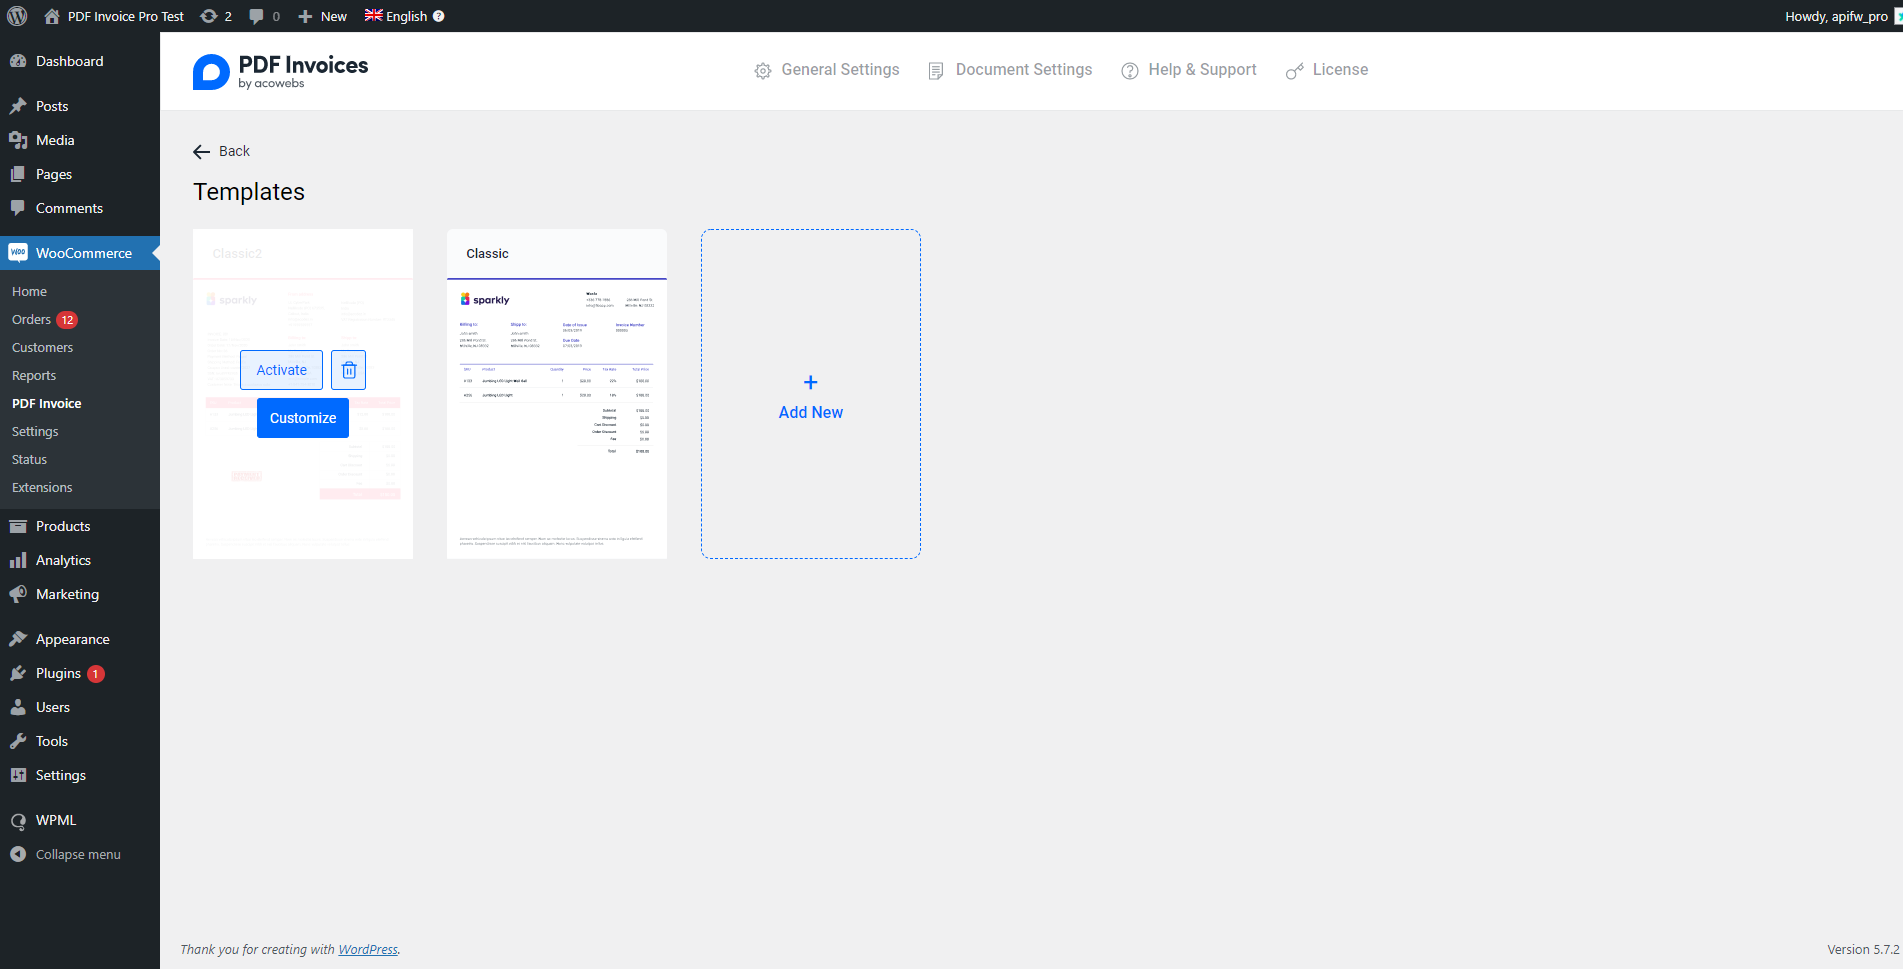
You can activate it by clicking activate button or delete it by clicking delete button. For further customization click on the customize button. Then you will redirect to template customizer.

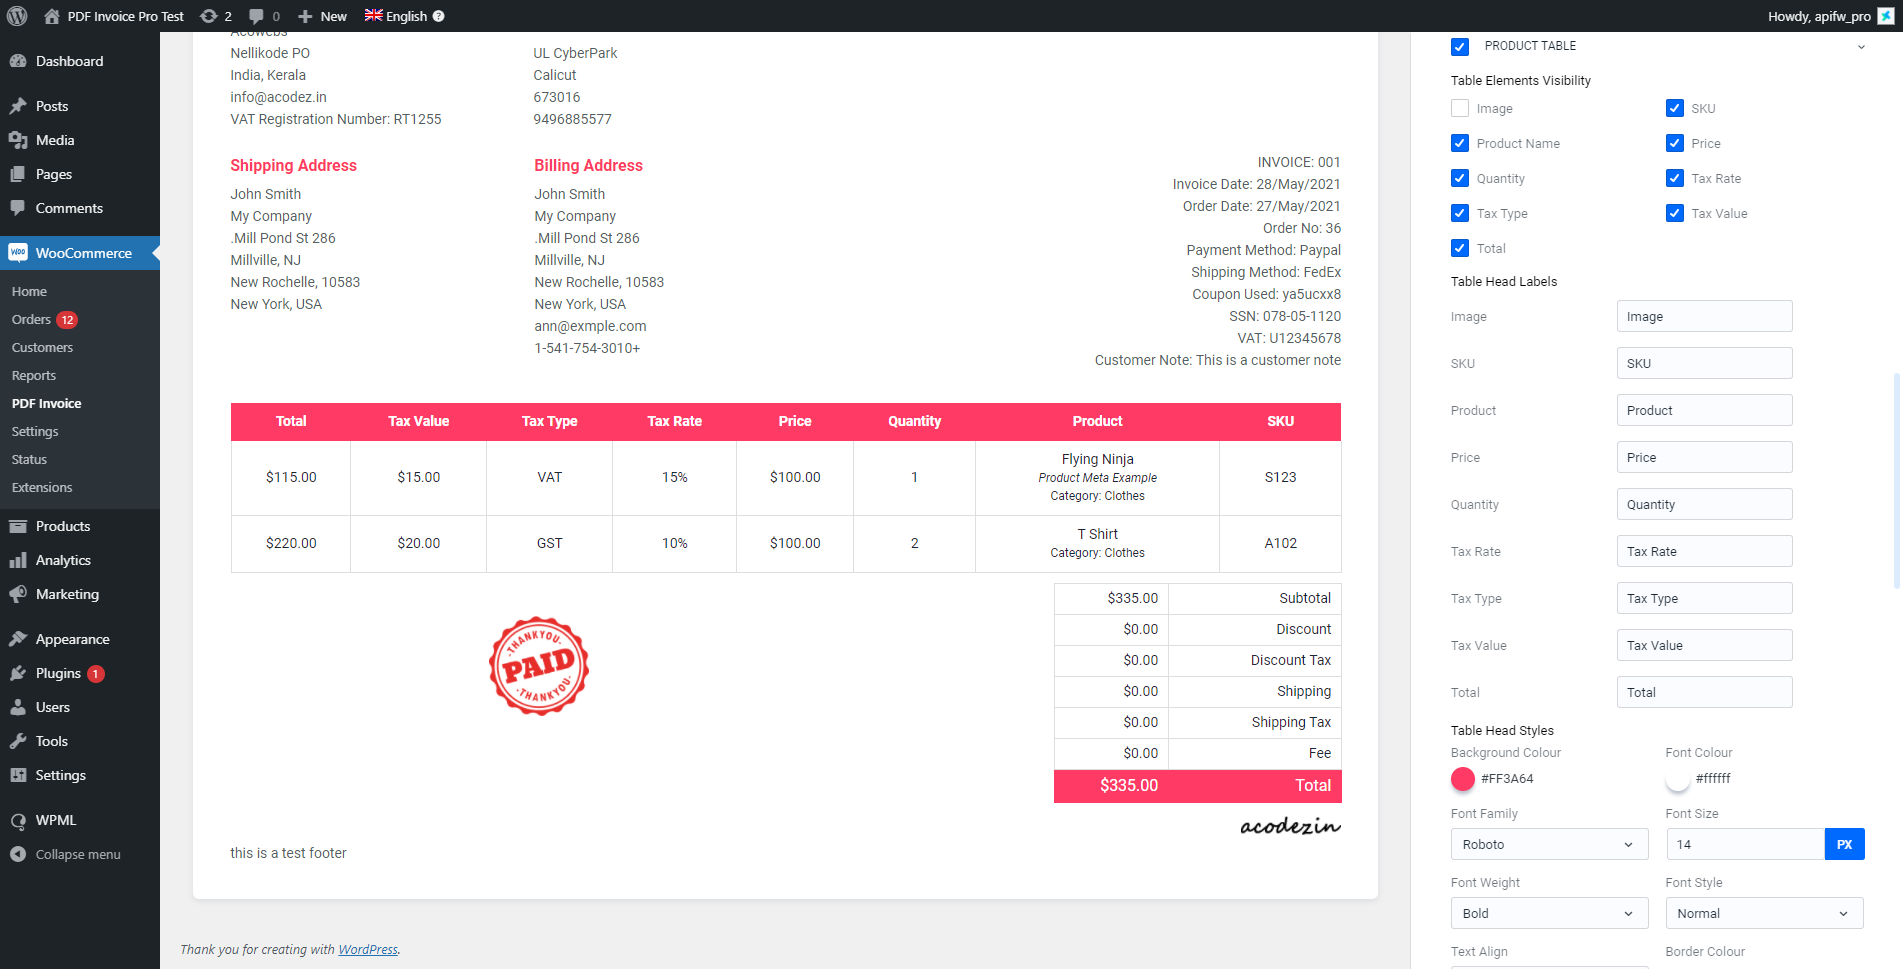
You can make the changes and click the ‘save changes’ button to save the changes made to template.
In the right-side panel, you can adjust element visibility and its properties like color, font, and sub-elements visibilities. Also, you can preview the pdf version, and the option for template activation exist.
Packing Slip
Click the packing slip tab on the document settings page. Then you can see the corresponding settings.
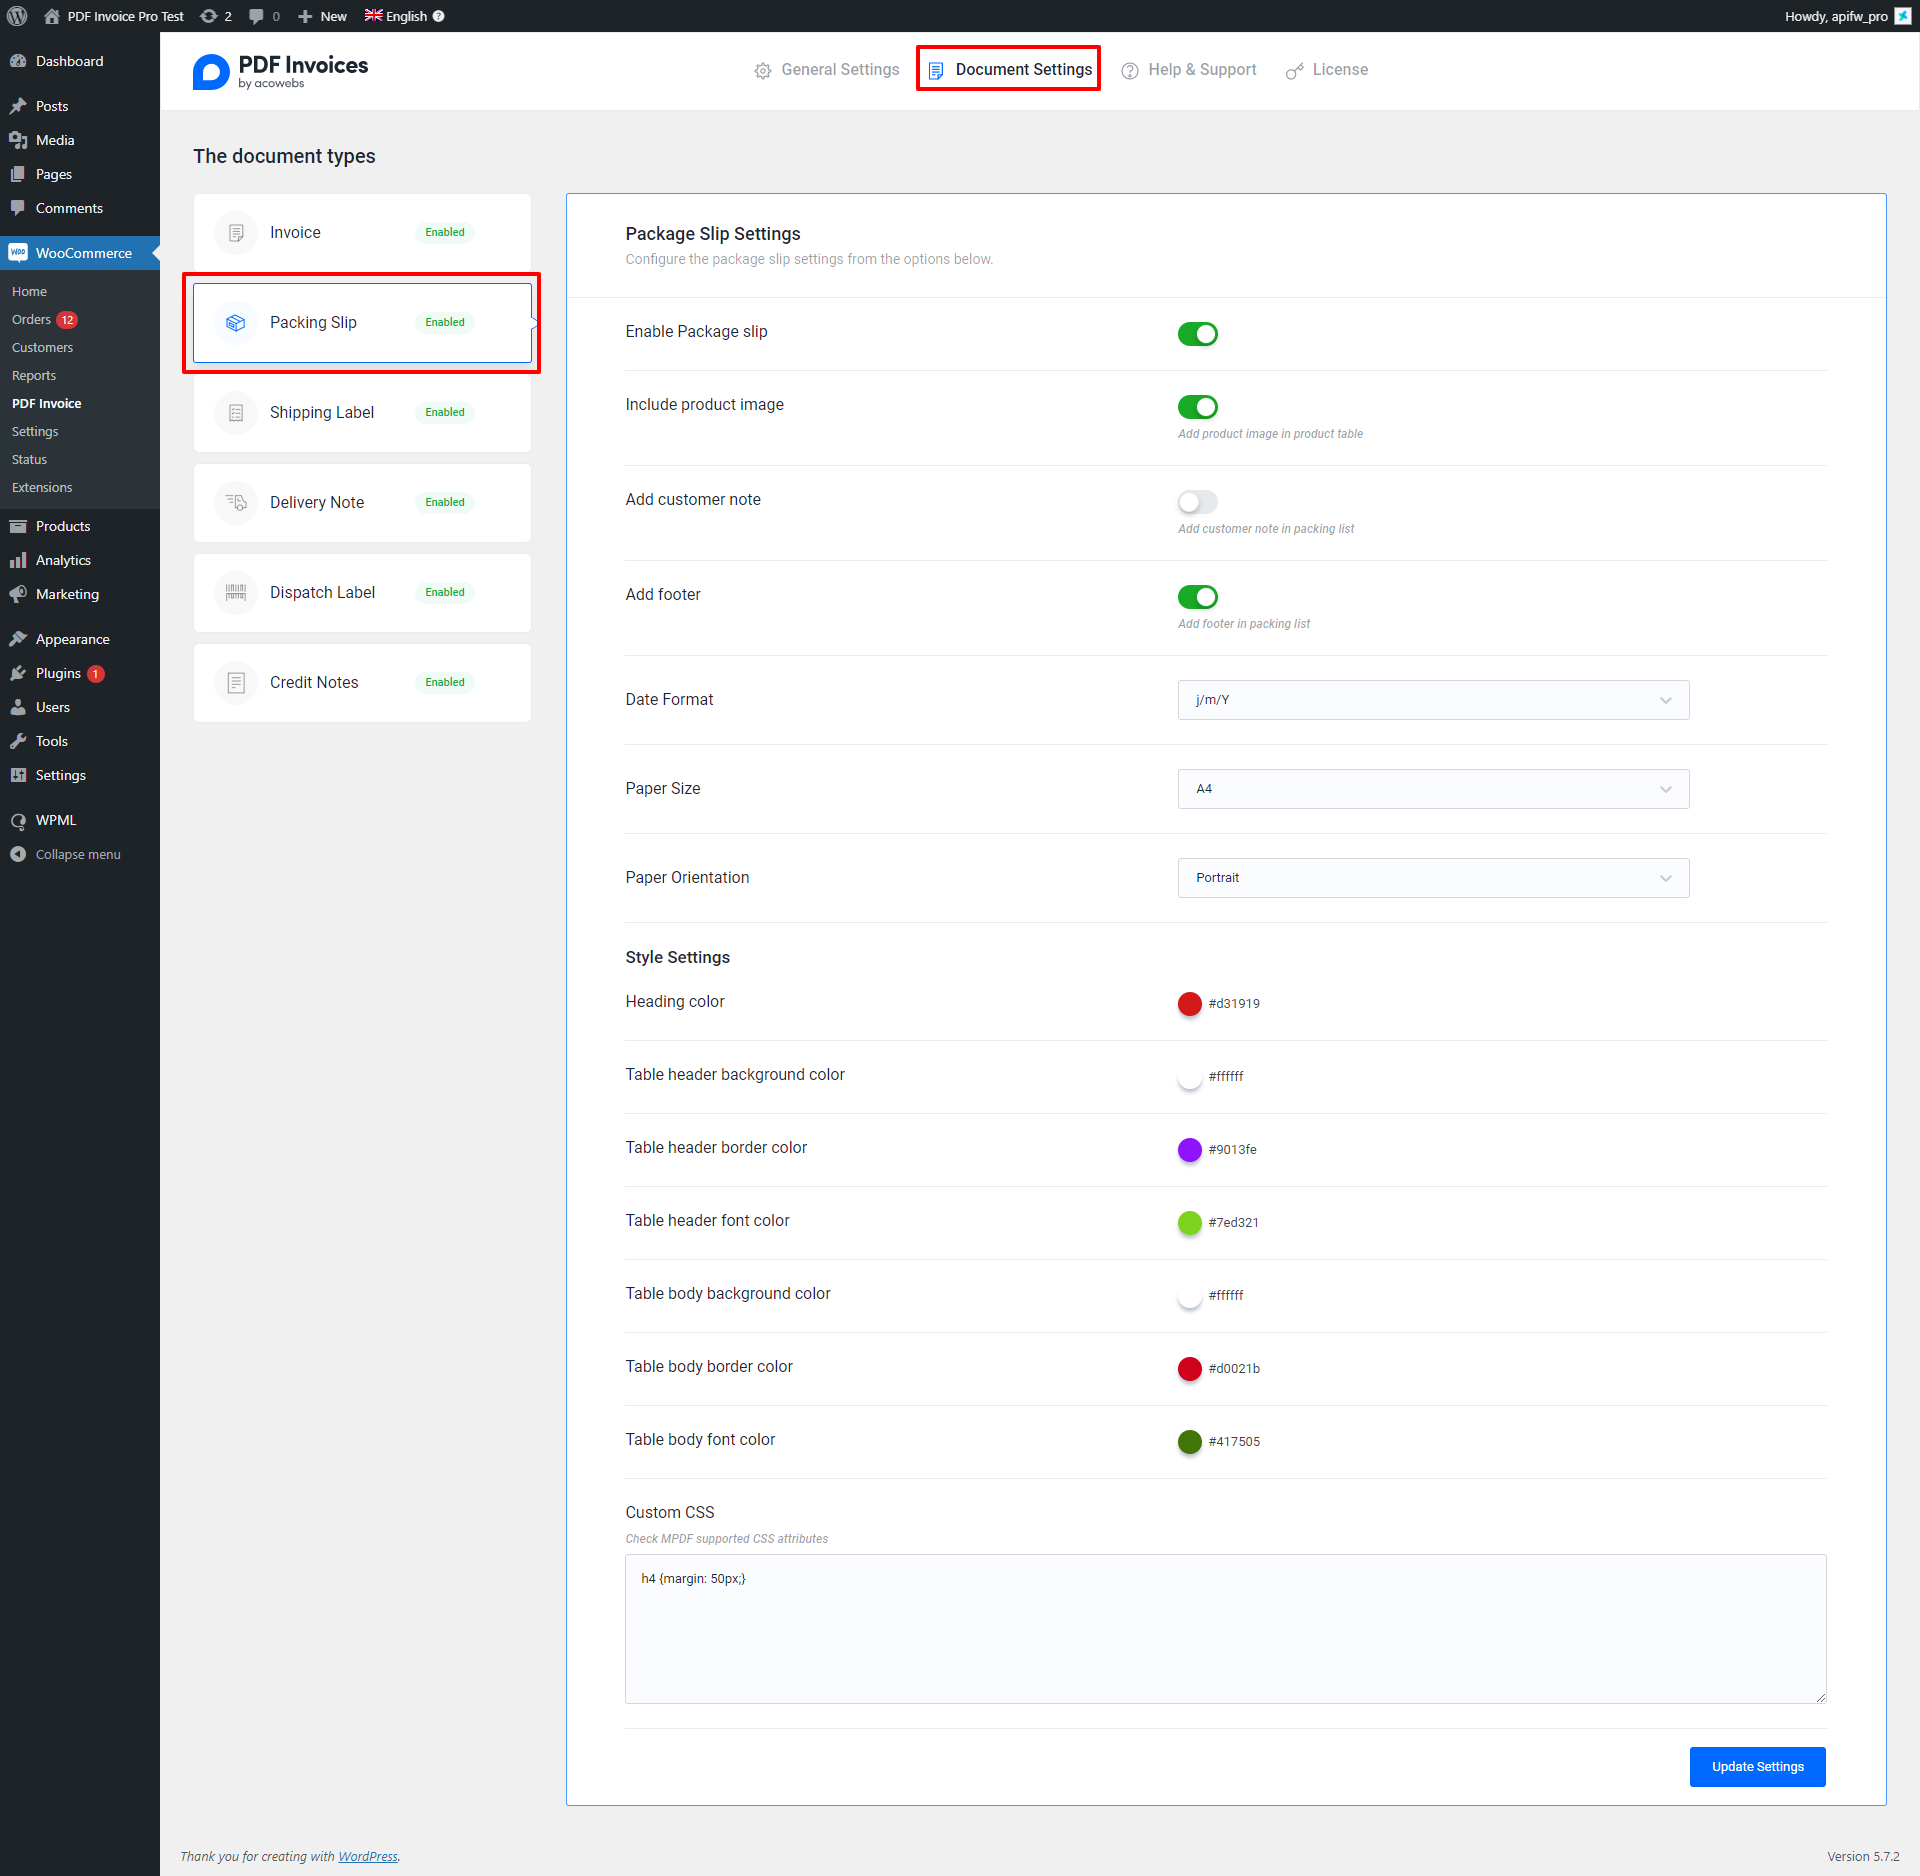
You can adjust document styles, paper size and other settings here. After making changes click the update settings button for saving it.
Shipping Label
Click the shipping label tab on the document settings page. Then you can see the corresponding settings.
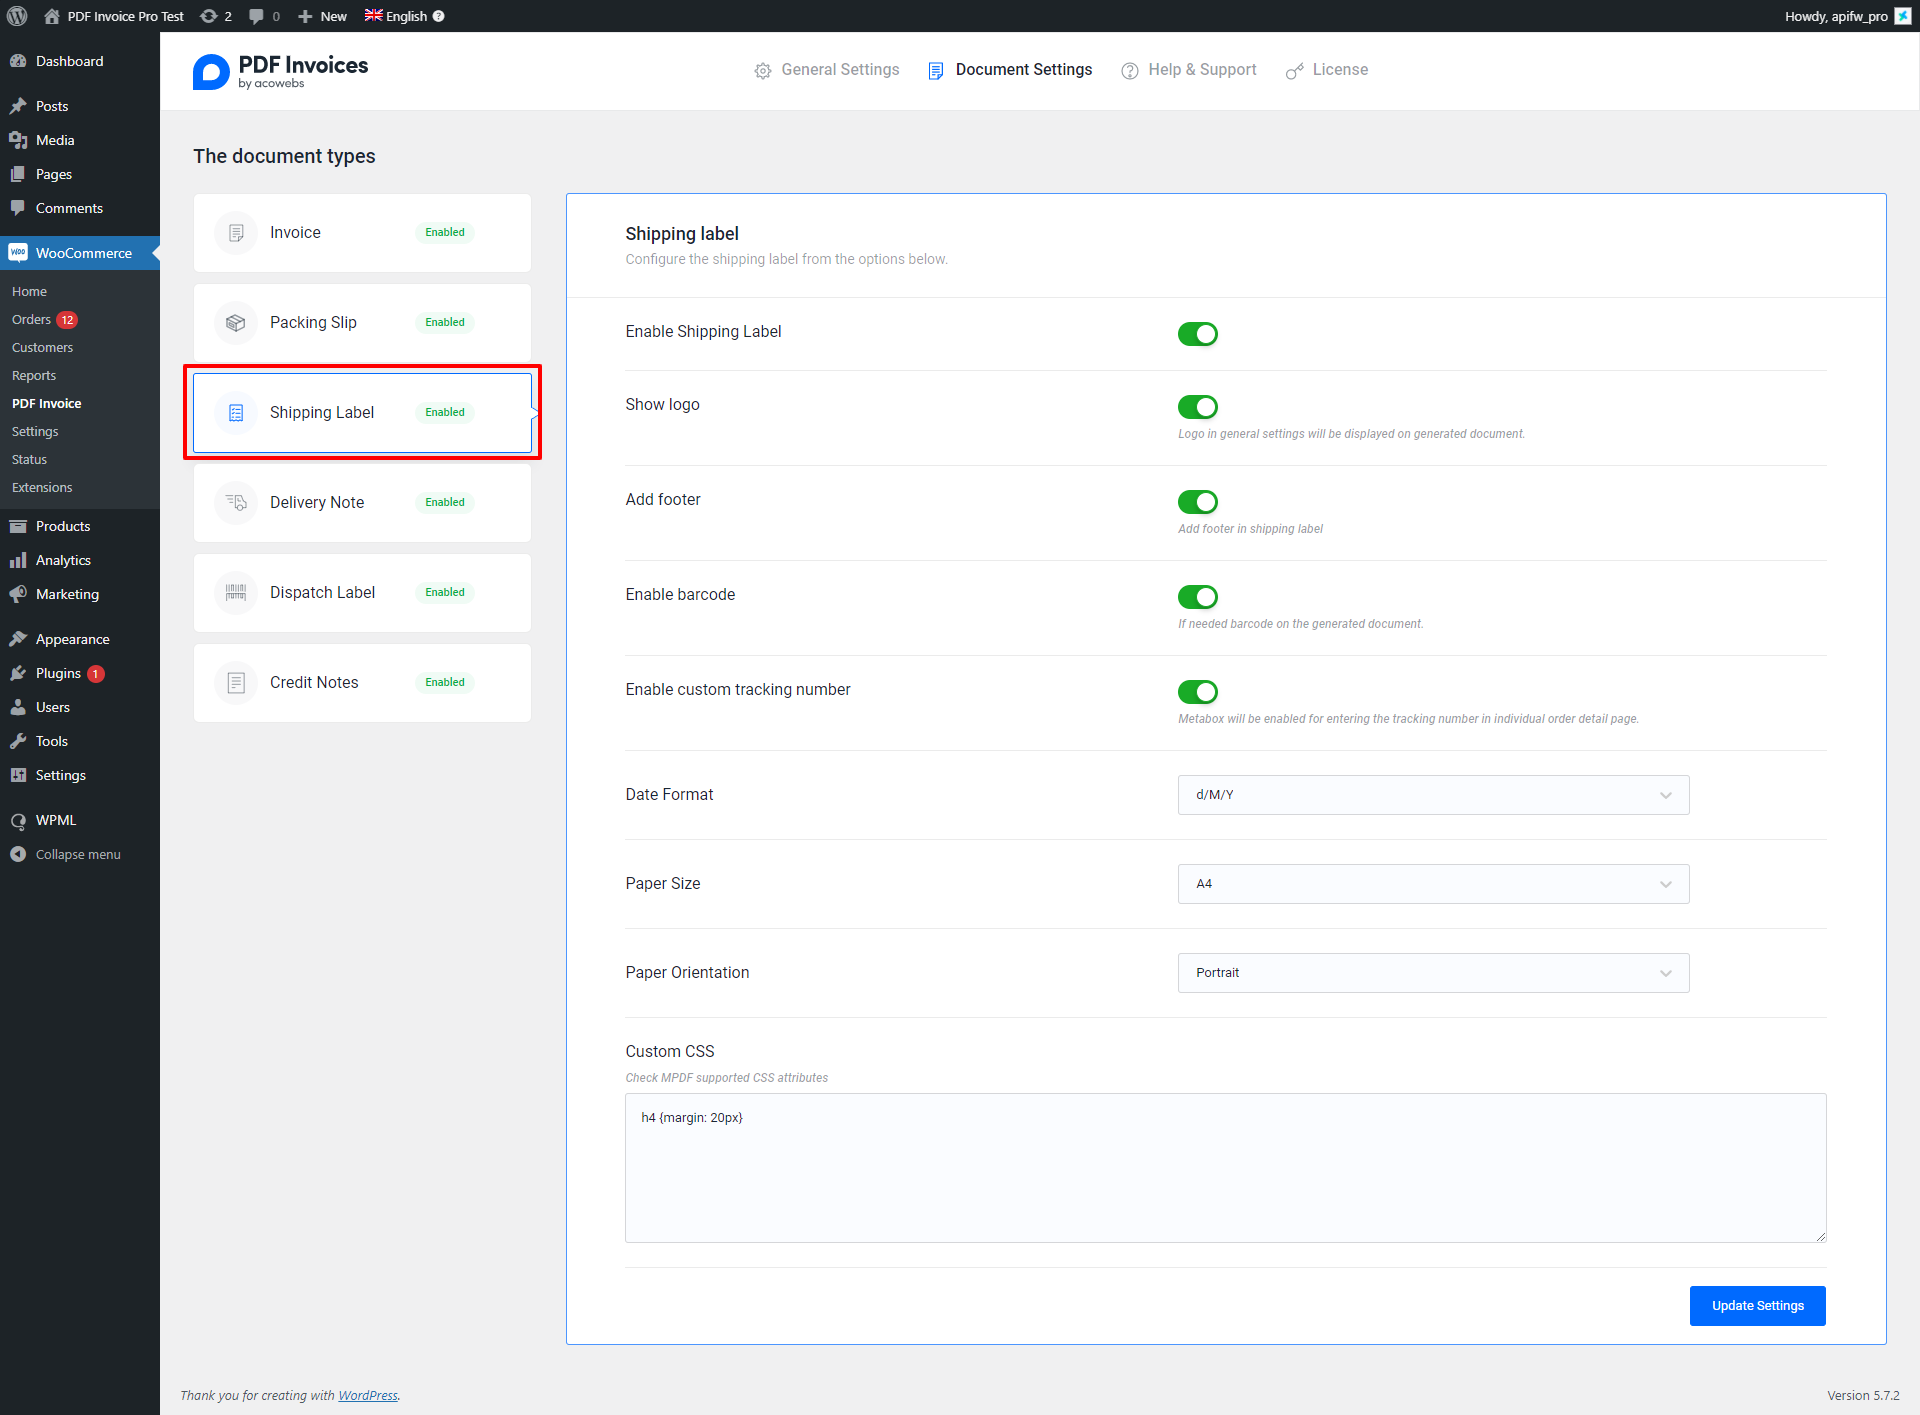
You can adjust custom order tracking number, custom CSS, document styles, paper size, logo option and other settings here. After making changes click the update settings button for saving it.
Delivery Note
Click the Delivery note tab on the document settings page. Then you can see the corresponding settings.
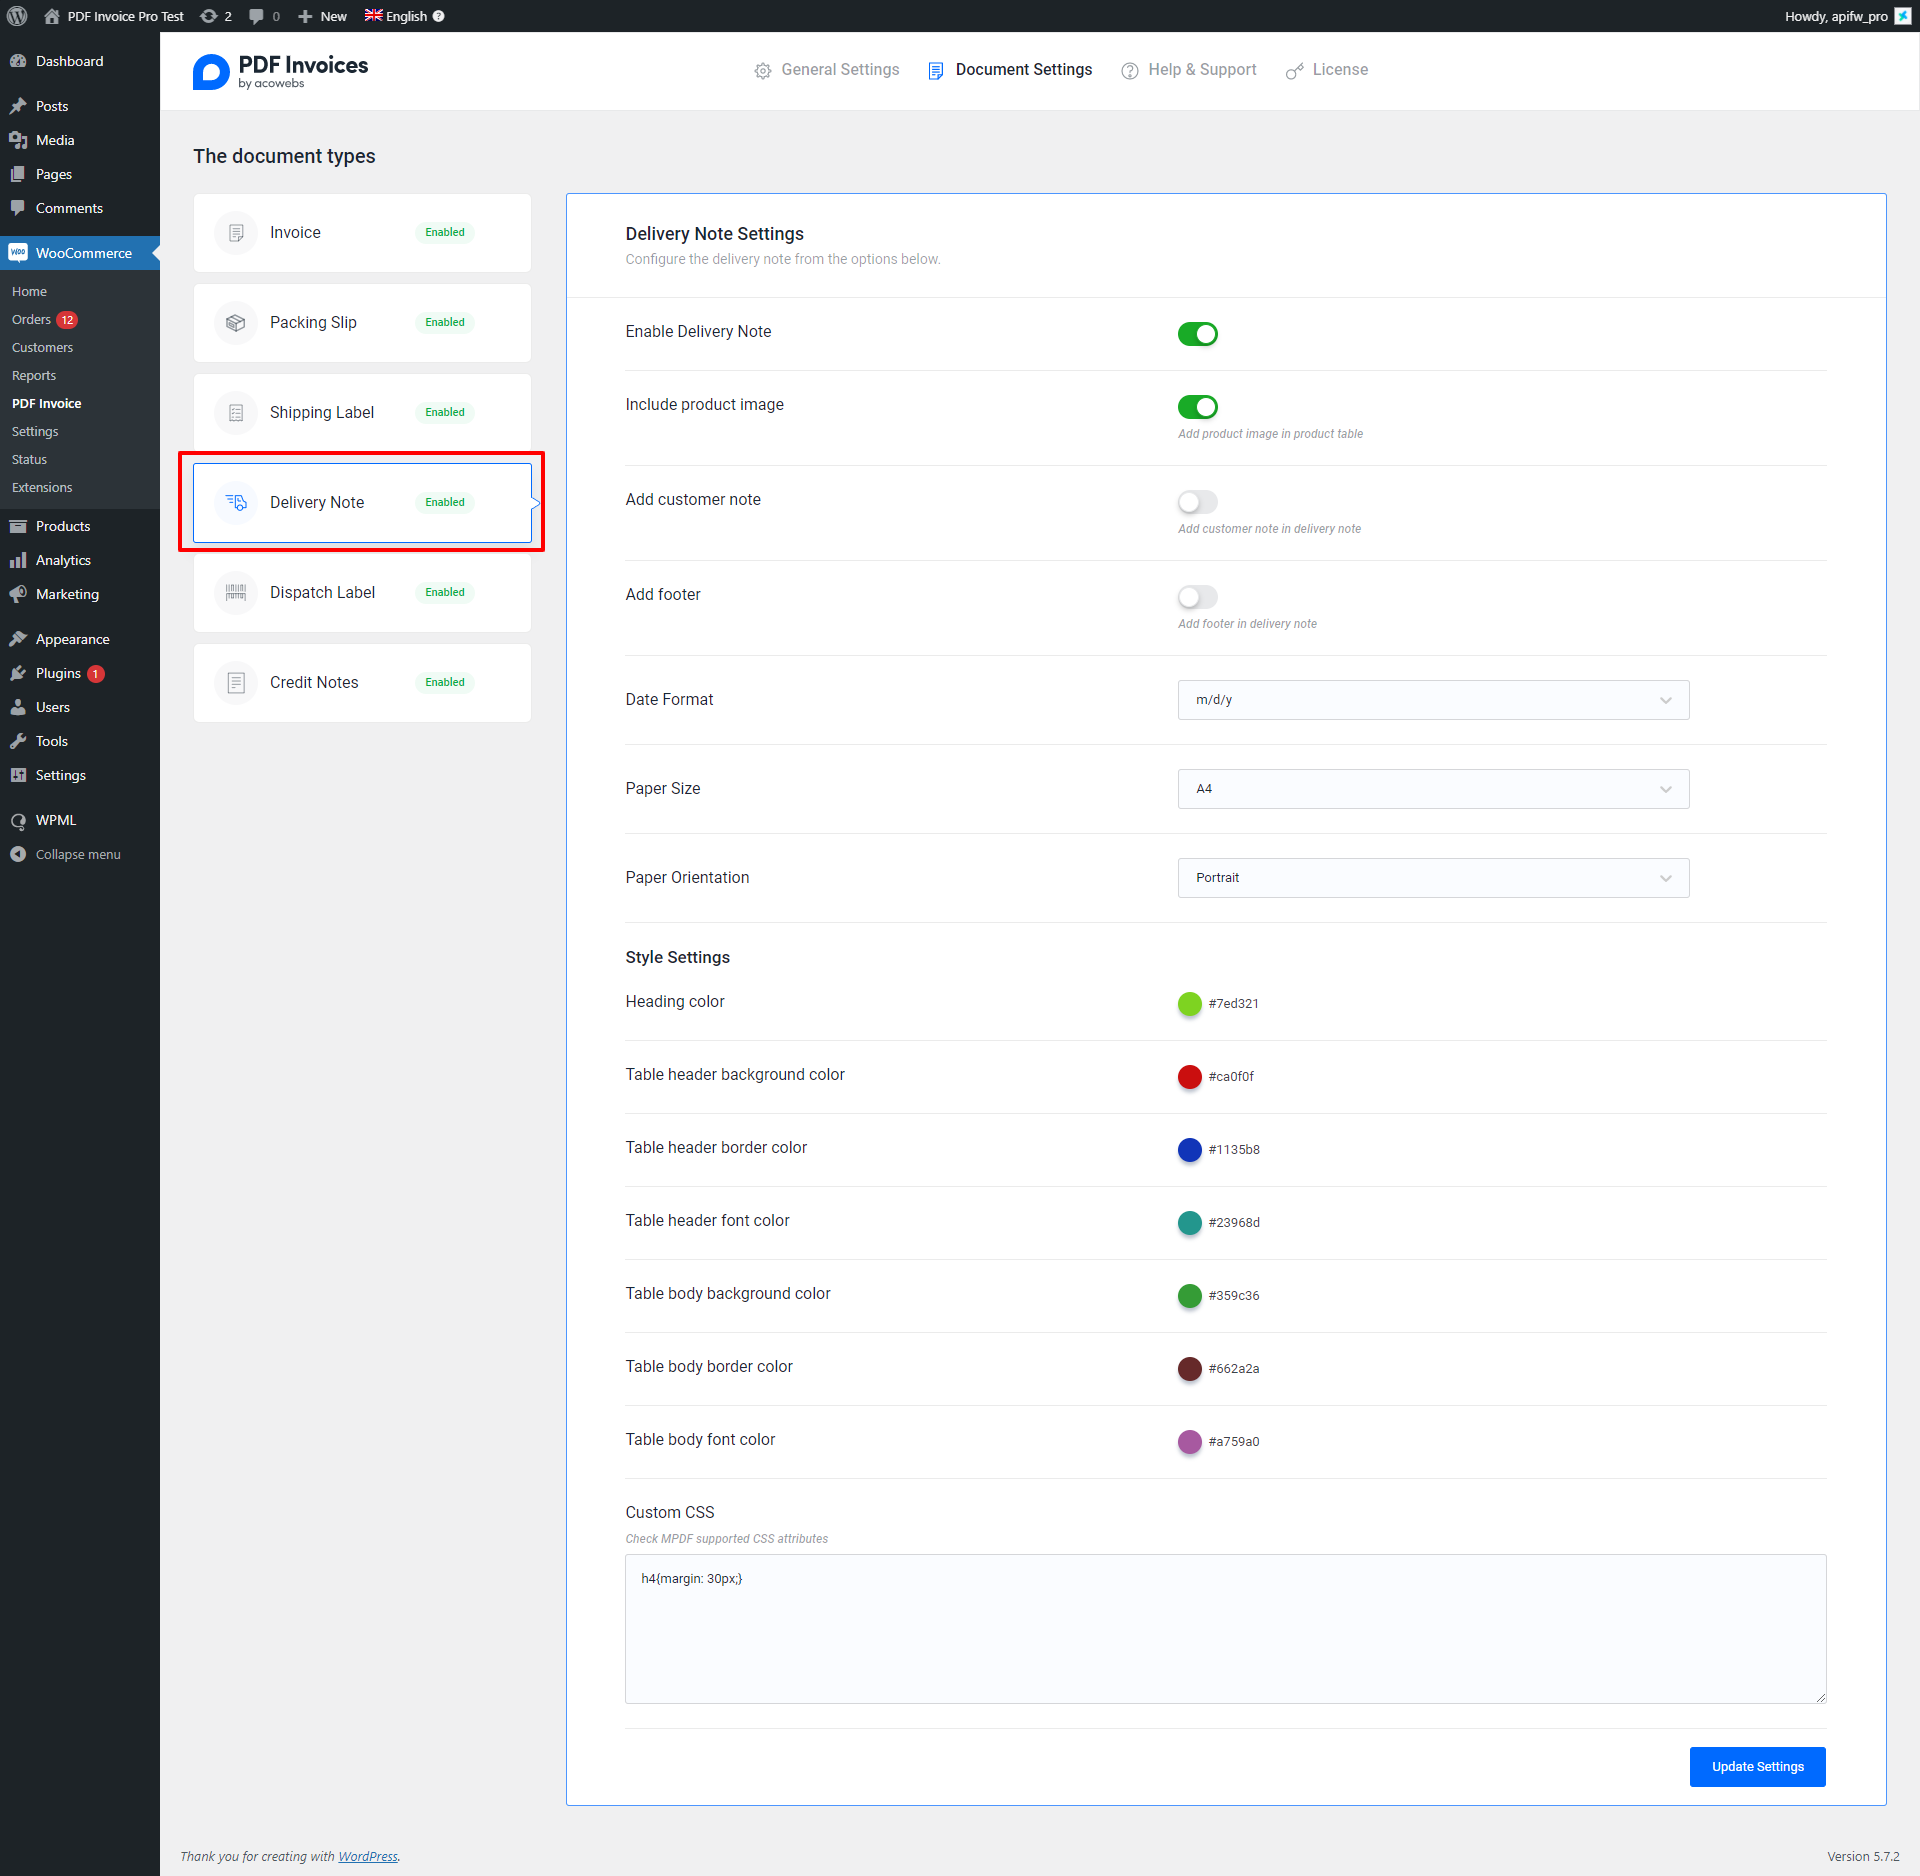
You can adjust date format, custom CSS, document styles, paper size and other settings here. After making changes click the update settings button for saving it.
Credit Notes
Click the Credit Notes tab on the document settings page. Then you can see the corresponding settings.
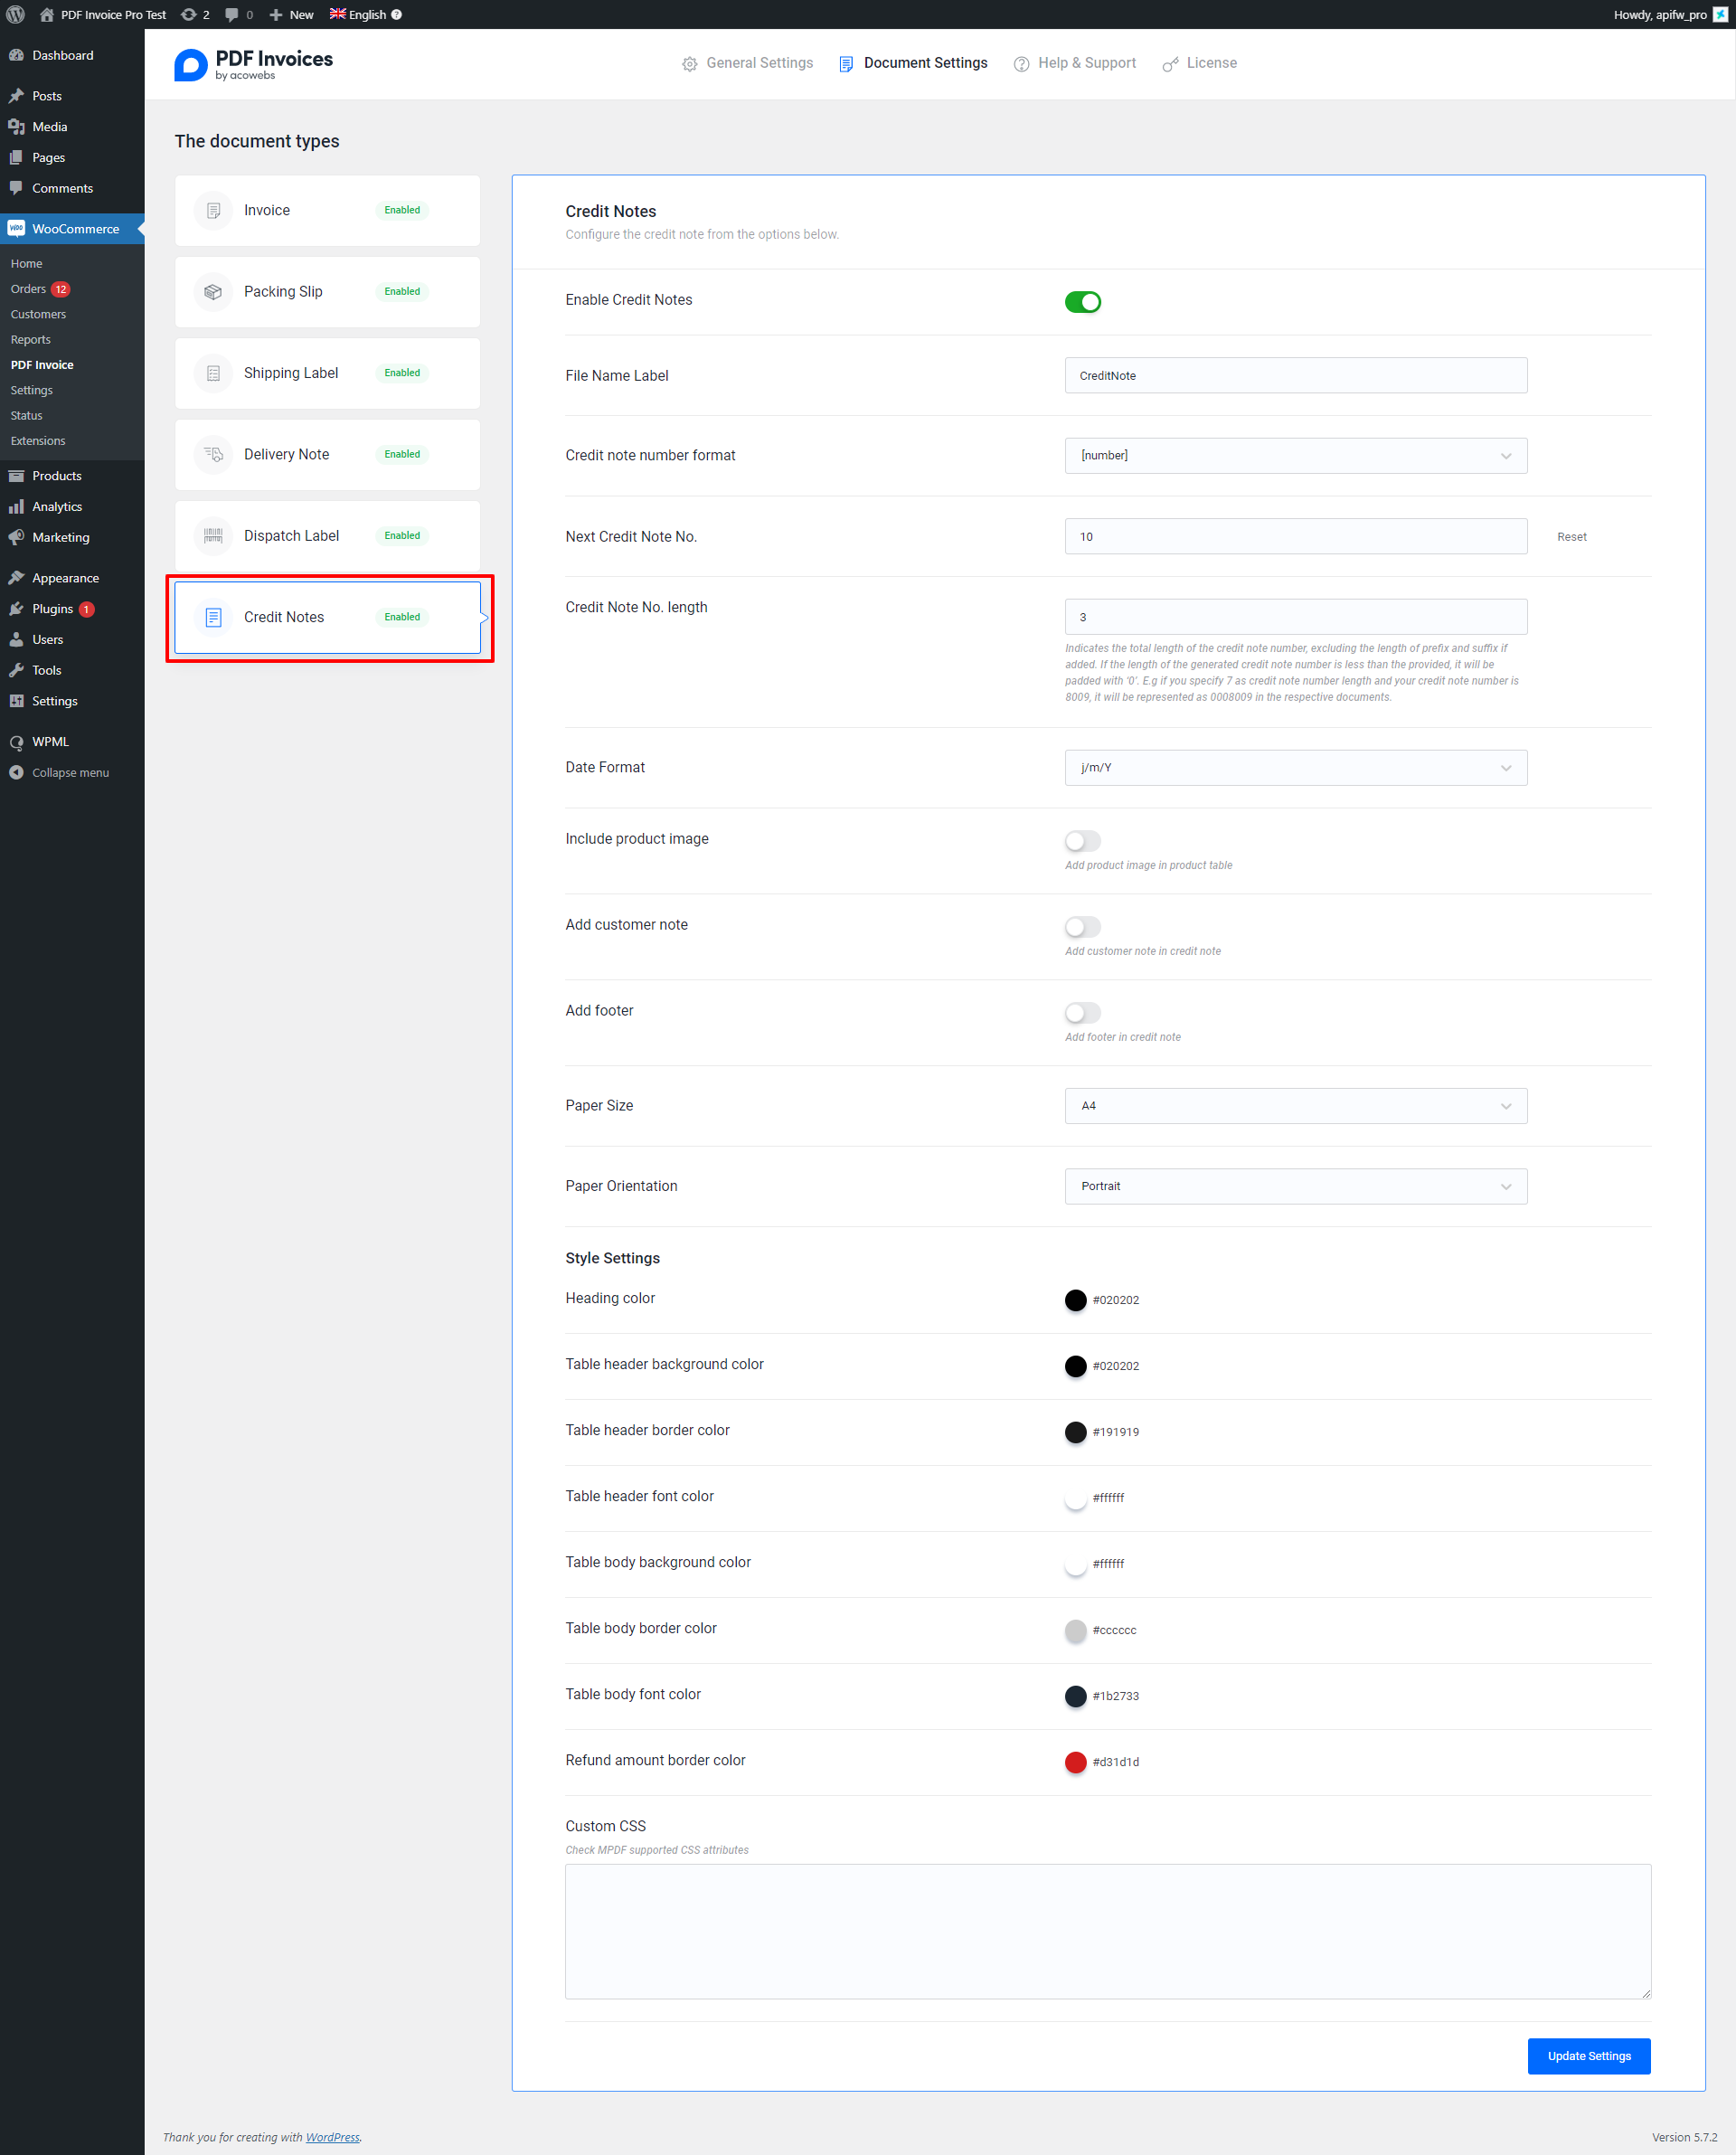
You can adjust date format, custom CSS, document styles, paper size, and other settings here. After making changes click the update settings button for saving it.