↑ Back to topCreate a registration form with the help of the Gutenberg block editor. You just need to follow some easy steps below:
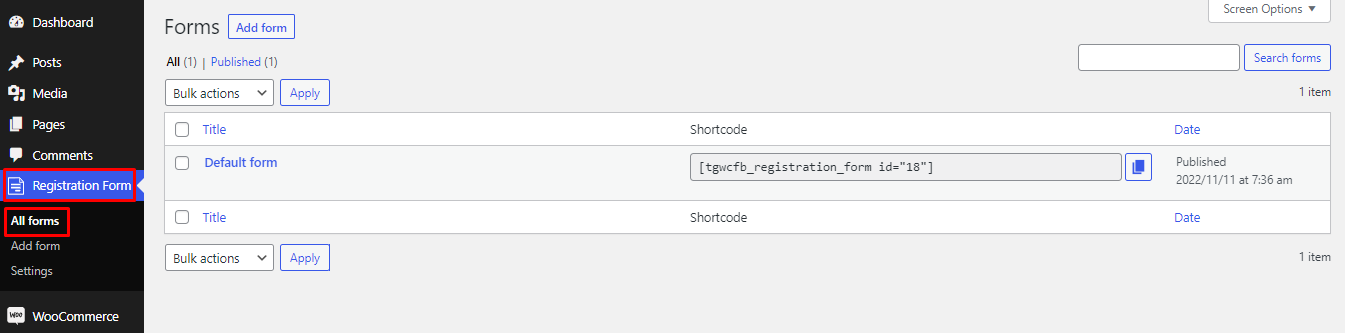
Go to the Registration Form menu and click All Form.
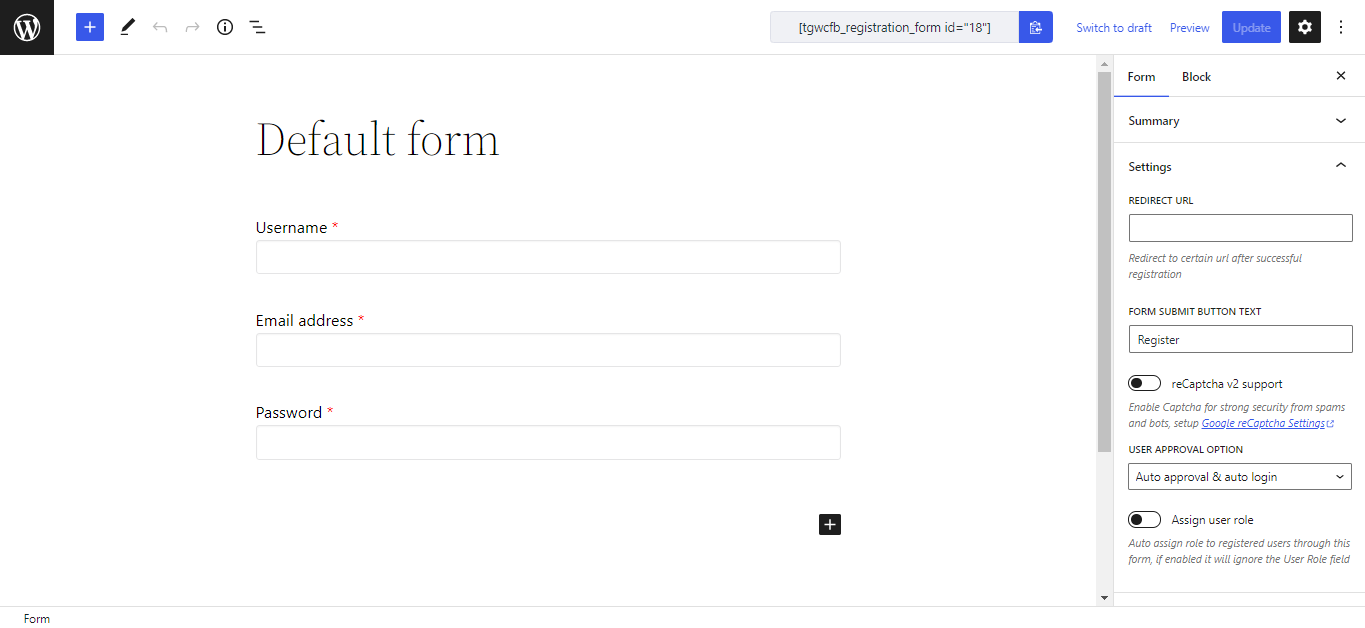
One default form will be listed with a Username, Email Address, and Password as default.
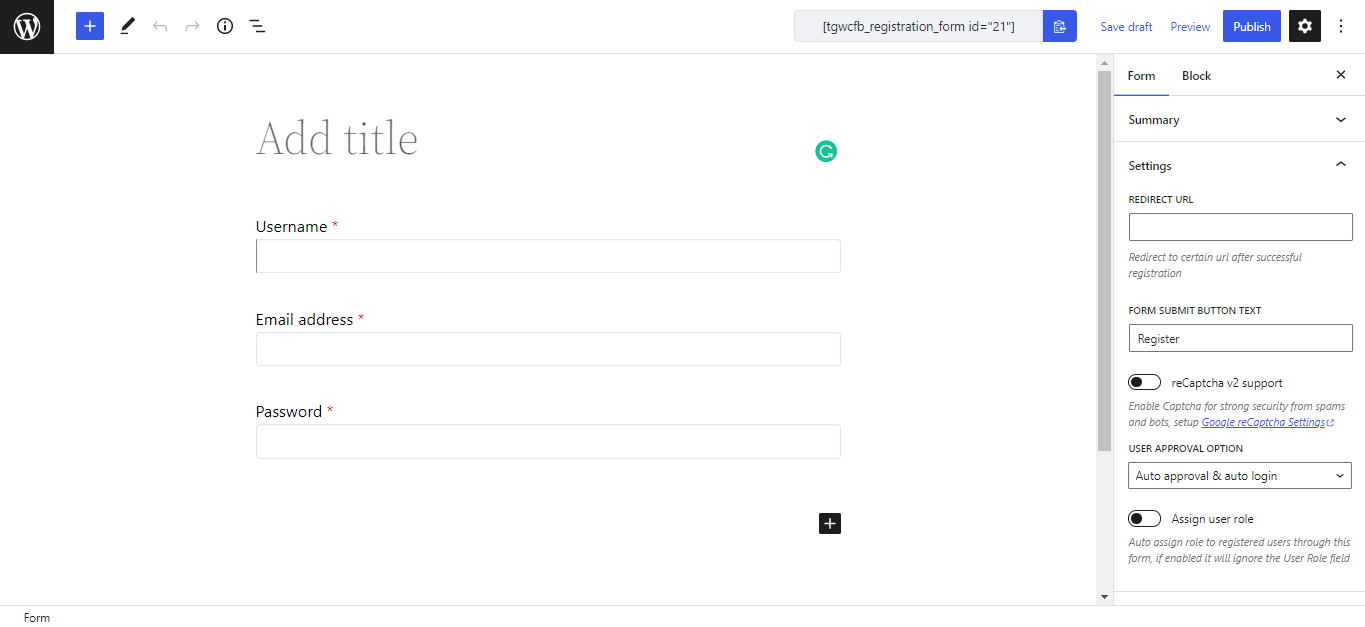
To create a new registration form, go to Registration Form > Add form.
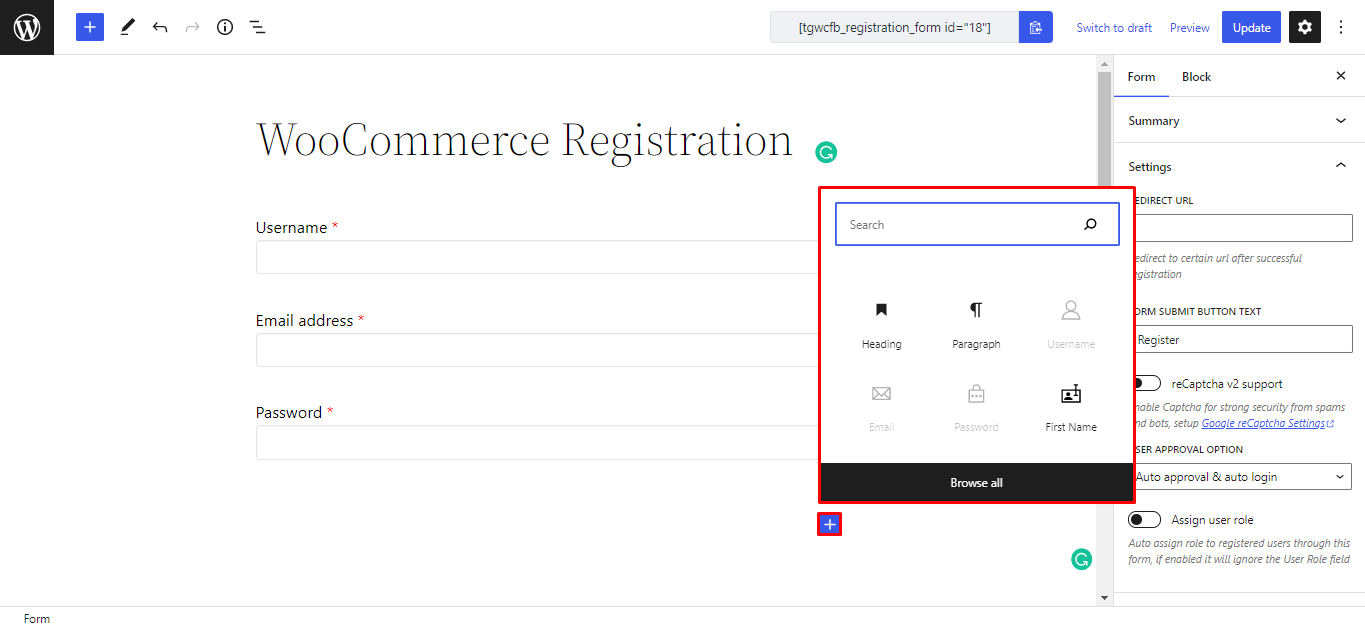
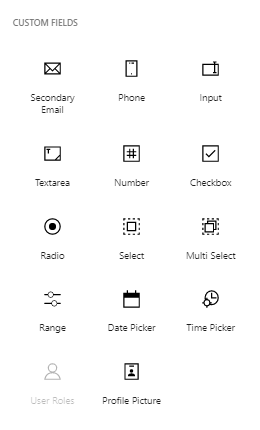
Give the title to your form and add the desired form fields from the ‘+’ button on the bottom of the form.
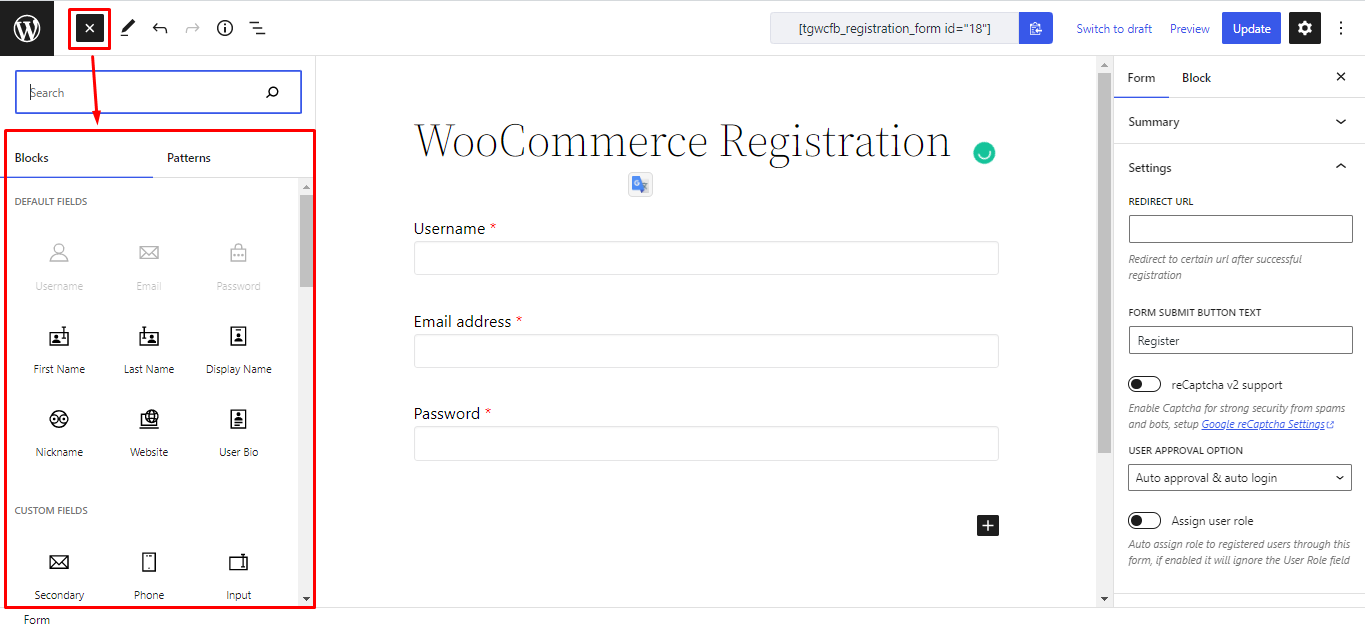
To find all the available form fields, either click on the Browse all button or click on the ‘+’ sign on the top left.
For each field, you will find options to set the field label, placeholder text, enable the required field, etc by clicking the respective field. Check the ‘Settings’ on the Right Sidebar under ‘Block’.
Username: This field allows the users to enter their desired username for registration at the frontend of the form. In the Field options, you’ll find the field settings such as field label, placeholder, and toggle button to hide the label, enable description, required, etc.
Email Address: This field allows users to enter their email addresses. And, checks if the user has entered a valid email address on the frontend. In the Field options, you’ll find the field settings such as field label, placeholder, and toggle button to hide the label, enable description, required, etc.
Password:This field allows users to enter their desired password for user registration. The user can use this password for the login process after the registration is completed. In the Field options, you’ll find the field settings such as field label, placeholder, and toggle button to hide the label, enable description, required, etc.
First Name: This field allows the users to enter their First Name for registration at the frontend of the form. In the Field options, you’ll find the field settings such as field label, placeholder, and toggle button to hide the label, enable description, required, show in order, etc.
Last Name: This field allows the users to enter their Last Name for registration at the frontend of the form. In the Field options, you’ll find the field settings such as field label, placeholder, and toggle button to hide the label, enable description, required, show in order, etc.
Display Name: This field allows the users to enter their Display Name for registration at the frontend of the form. In the Field options, you’ll find the field settings such as field label, placeholder, and toggle button to hide the label, enable description, required, show in order, etc.
Nickname: This field allows the users to enter their desired Nickname for registration at the frontend of the form. In the Field options, you’ll find the field settings such as field label, placeholder, and toggle button to hide the label, enable description, required, show in order, etc.
Website: This field allows the users to enter their Website URL for registration at the frontend of the form. In the Field options, you’ll find the field settings such as field label, placeholder, and toggle button to hide the label, enable description, required, show in order, etc.
User Bio: This field allows the users to write the bio or introduction for themselves when registering at the frontend of the form. In the Field options, you’ll find the field settings such as field label, placeholder, and toggle button to hide the label, enable description, required, show in order, etc.
Secondary Email: This field allows the users to enter a secondary email address. In the Field options, you’ll find the field settings such as field label, placeholder, and toggle button to hide label, enable description, required, show in order, etc
Phone: This field allows users to enter phone numbers specifically. In the Field options, you’ll find the field settings such as field label, placeholder, and toggle button to hide label, enable description, required, show in order, etc.
Input: This field allows you to retrieve any user input that you require. You can customize the label name according to your needs. In the Field options, you’ll find the field settings such as field label, placeholder, and toggle button to hide label, enable description, read-only in account page, required, show in order, etc.
Text Area: This form field allows you to retrieve any type of information (usually a paragraph) from the user. You can use this field to get descriptive and lengthy responses from your users. In the Field options, you’ll find the field settings such as field label, placeholder, and toggle button to hide label, enable description, read-only in account page, required, show in order, etc.
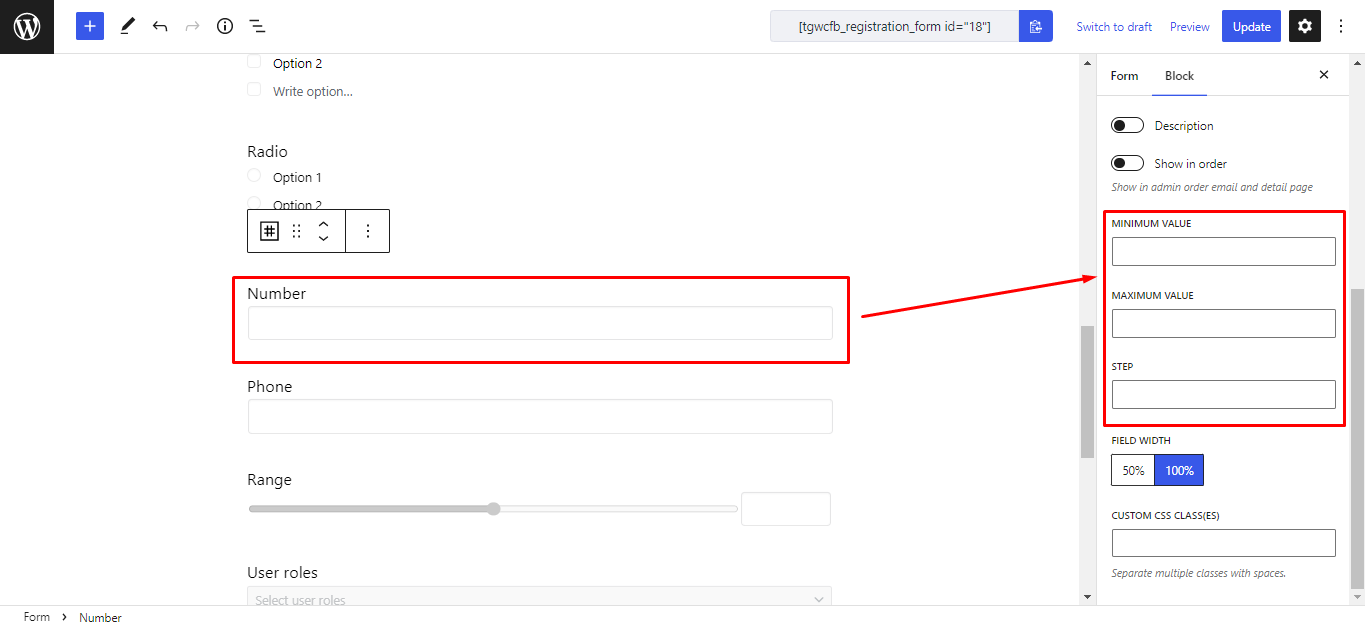
Number: This field allows you to receive any numerical information in your forms. You can use this field for accepting users’ contact numbers or any other numerical values. In the Field options, you’ll find the field settings such as field label, placeholder, and toggle button to hide label, enable description, read-only in account page, required, show in order, etc. Furthermore, you can change the following additional settings for this field.
Min Value: The minimum numerical value users are allowed to enter.
Max Value: The maximum numerical value users are allowed to enter.
Step: Allows the users to enter specific legal number intervals.
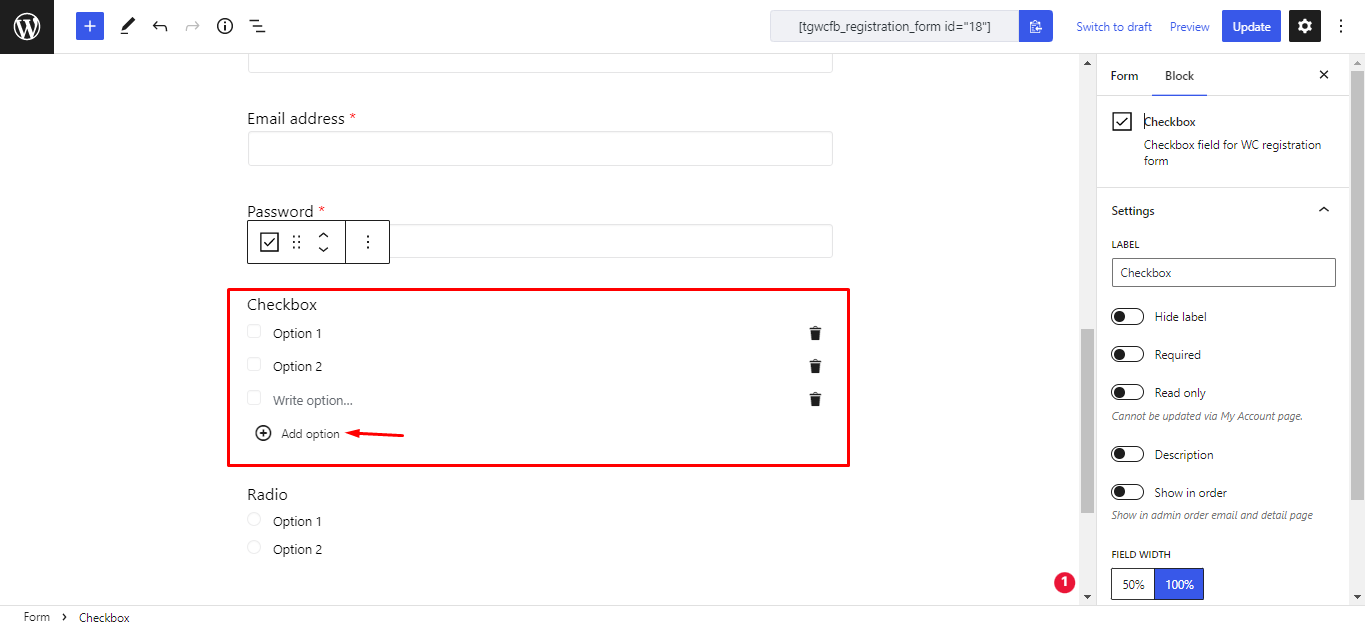
Checkbox: This field allows you to add multiple choices that are displayed by checkboxes. In the Field options, you’ll find the field settings such as field label, placeholder, and toggle button to hide label, enable description, read-only in account page, required, show in order, etc. Click on Add option to add new options.
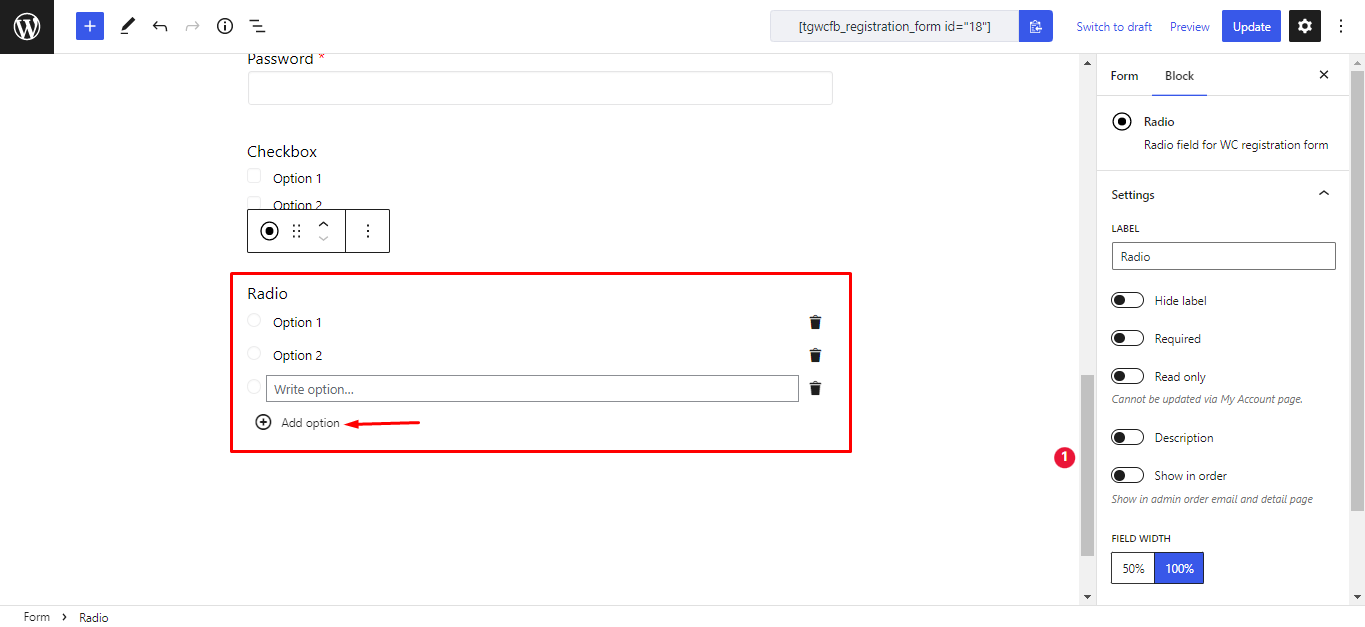
Radio: This field allows you to add multiple choices that are displayed by radio buttons. In the Field options, you’ll find the field settings such as field label, placeholder, and toggle button to hide label, enable description, read-only in account page, required, show in order, etc.
Select: This field allows you to add multiple choices for the users to choose from. The choices are displayed in a drop-down option and the user can only choose one of the choices. In the Field options, you’ll find the field settings such as field label, placeholder, and toggle button to hide label, enable description, read-only in account page, required, show in order, etc. Click on ‘Add option’ to add new options.
Multi-select: The Multi Select form field allows users to select multiple options and all of these choices will be displayed in the form field in the frontend. In the Field options, you’ll find the field settings such as field label, placeholder, and toggle button to hide label, enable description, read-only in account page, required, show in order, etc.
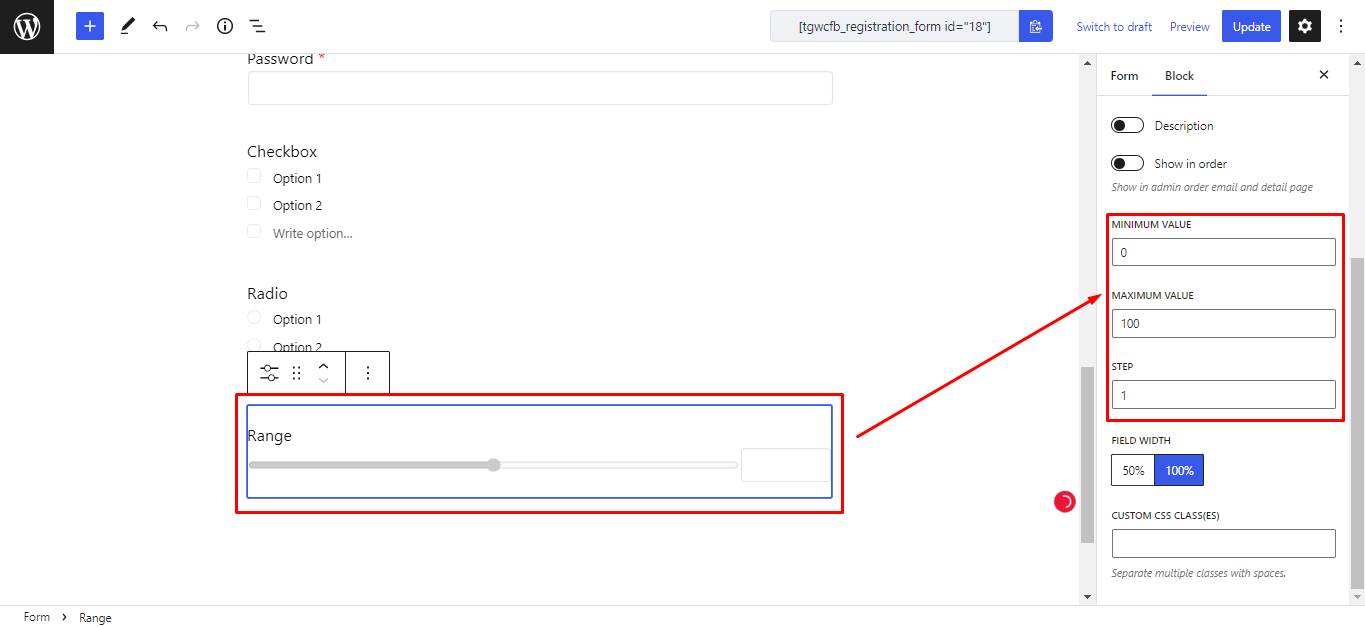
Range: The range field allows you to display a beautiful user-friendly bar slider in the frontend of the form, where users can select a value from the provided data by dragging the Handle. In the Field options, you’ll find the field settings such as field label, placeholder, and toggle button to hide label, enable description, read-only in account page, required, show in order, etc.
Furthermore, you can change the following additional settings for this field.
Min Value: The minimum numerical value users are allowed to enter.
Max Value: The maximum numerical value users are allowed to enter.
Step: Allows the users to enter specific legal number intervals.
Date Picker: The Date field allows users to select a date when registering on your website. In the Field options, you’ll find the field settings such as field label, placeholder, and toggle button to hide label, enable description, read-only in account page, required, show in order, etc.
Time Picker: The Time field allows users to enter time during registration. In the Field options, you’ll find the field settings such as field label, placeholder, and toggle button to hide label, enable description, read-only in account page, required, show in order, etc.
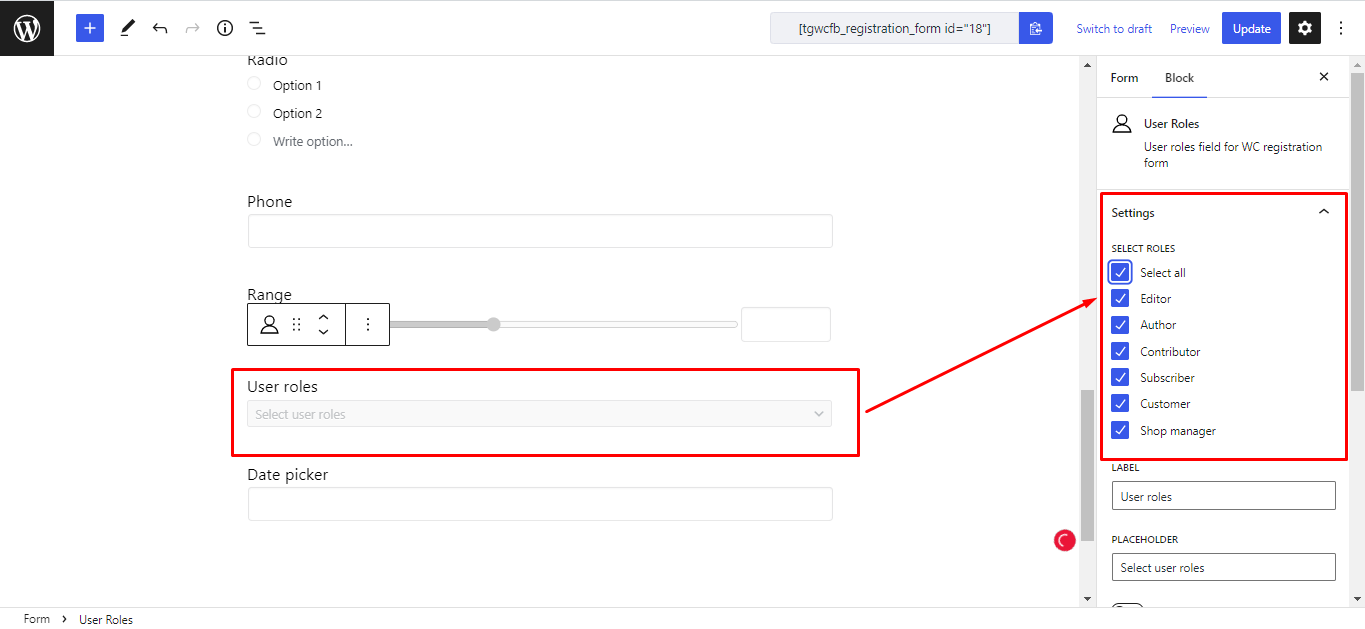
User Roles: The user roles field allows users to select the role during registration. In the Field options, you’ll find the field settings such as field label, placeholder, and toggle button to hide label, enable description, read-only in account page, required, show in order, etc. At the same time, you have the flexibility to display the number of roles on the frontend.
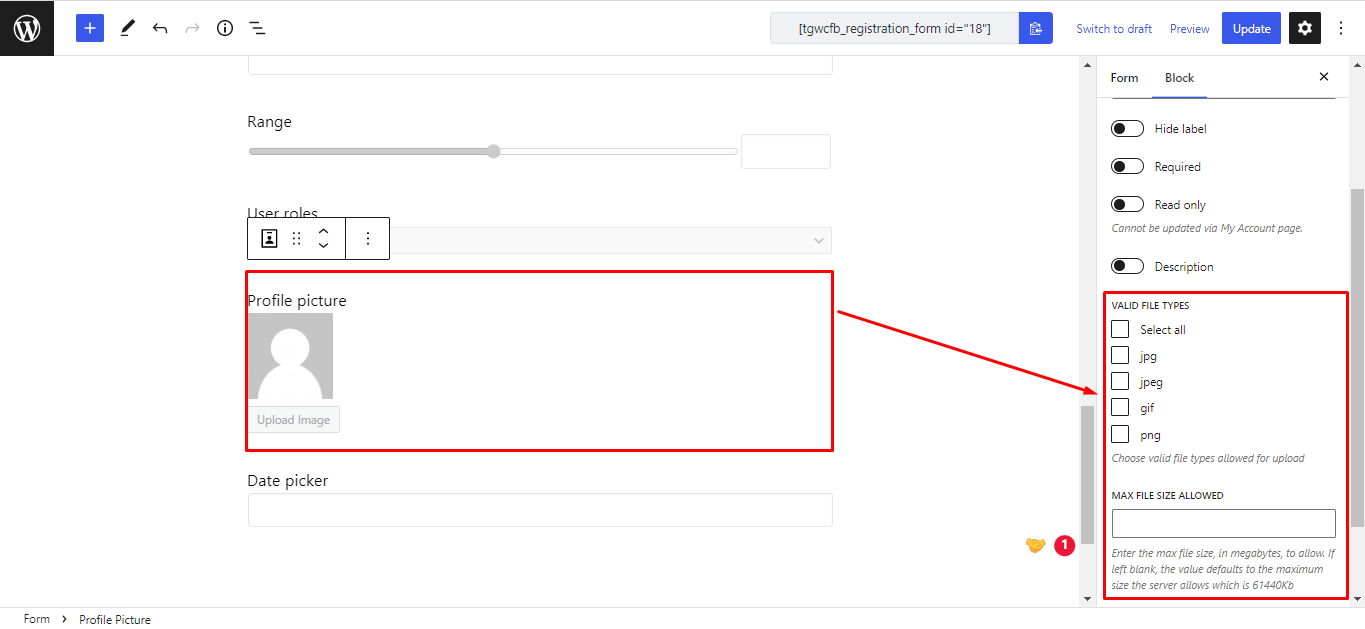
Profile picture: The profile Picture field is a highly intuitive field that allows users to upload a profile picture from their computer. In the Field options, you’ll find the field settings such as field label, placeholder, and toggle button to hide label, enable description, read-only in account page, required, show in order, choose valid type, etc.
Heading: Heading fields allows you to add a heading or divide certain fields. In the Field options, you’ll find the field settings to insert the color, topography, Size default, Appearance, dimension, etc.
Paragraph: Paragraph field allows you to add a short description to the form. In the Field options, you’ll find the field settings to insert the color, topography, Size default, Appearance, dimension, etc.
Note: The option ‘Show in Order’ is available in most of the fields. Enabling this option will show the respective field values on the Order Details.
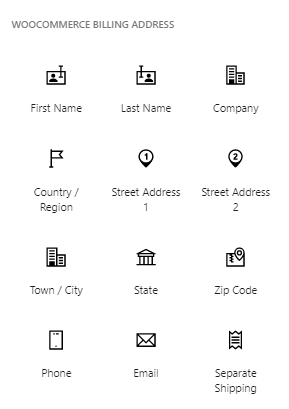
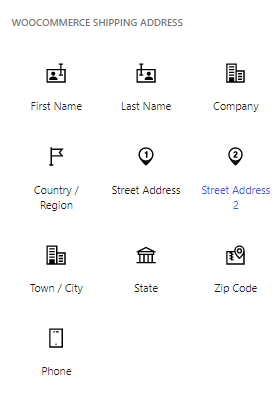
↑ Back to topThis category consists of the default billing and shipping address fields provided by WooCommerce. You can add these fields on the registration form just like other default/custom fields.
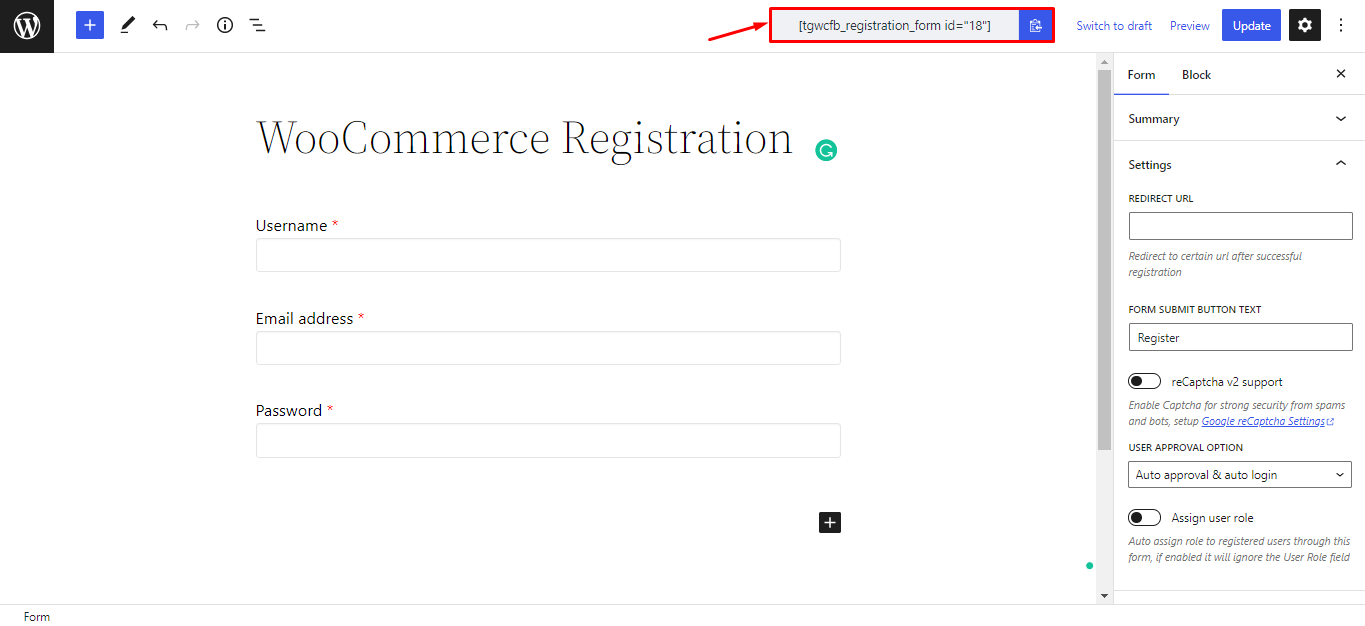
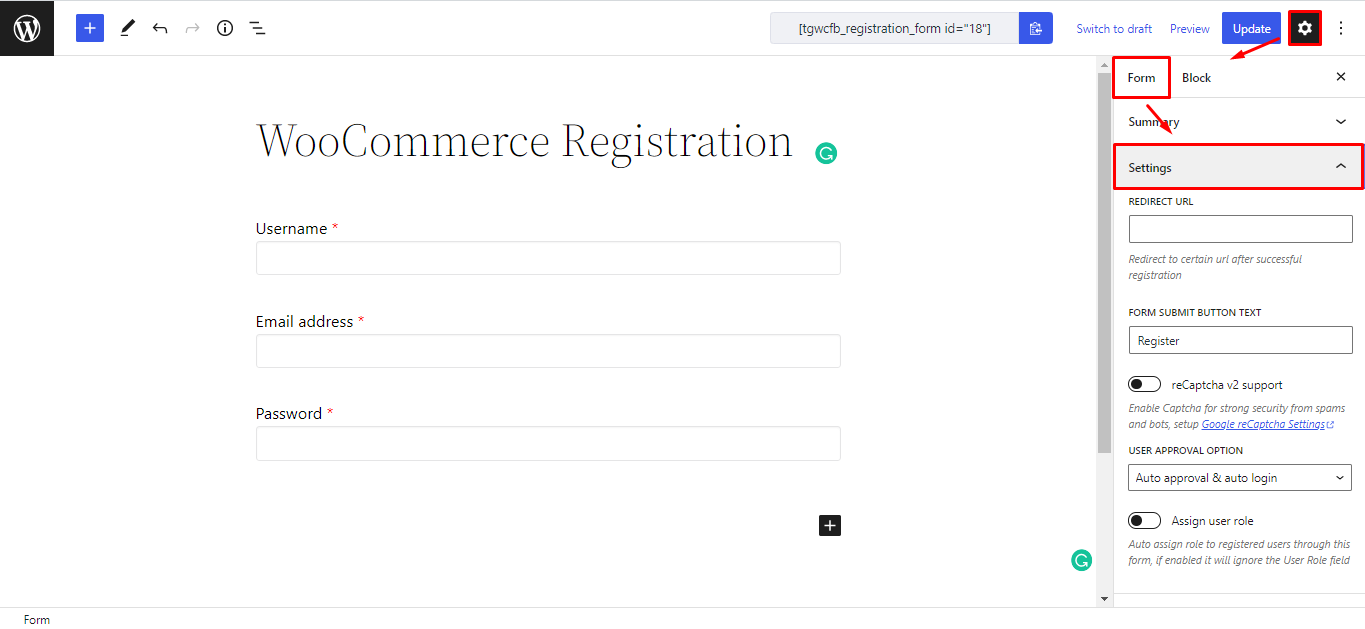
↑ Back to topFor each registration form, you create, you will find individual form settings to define the following aspects of the form.
Redirect URL: Add an URL to redirect the users after successful form submission.
Form Submit Button Text: Custom text to replace the submit button text.
reCaptcha v2 support: Enable this option to secure the registration form with the help of Google reCaptcha v2. Please make sure the required keys have been set on the Global Settings of this plugin.
User Approval Option: Set the action for approving the users after registration. It consists of:
Auto approval & auto-login: Once the registration form is submitted, the users will automatically be approved and logged in to the site.
Admin approval after registration: Once the registration form is submitted, the admin will have to review the registration and approve it from the backend.
Email confirmation after registration: Once the registration form is submitted, an email confirmation is sent to the user’s email. The user needs to click on the link in the email to confirm the registration.
Assign User Roles: Select a user role to assign to the users registered via the form. When enabling this, the user role field will be overridden.
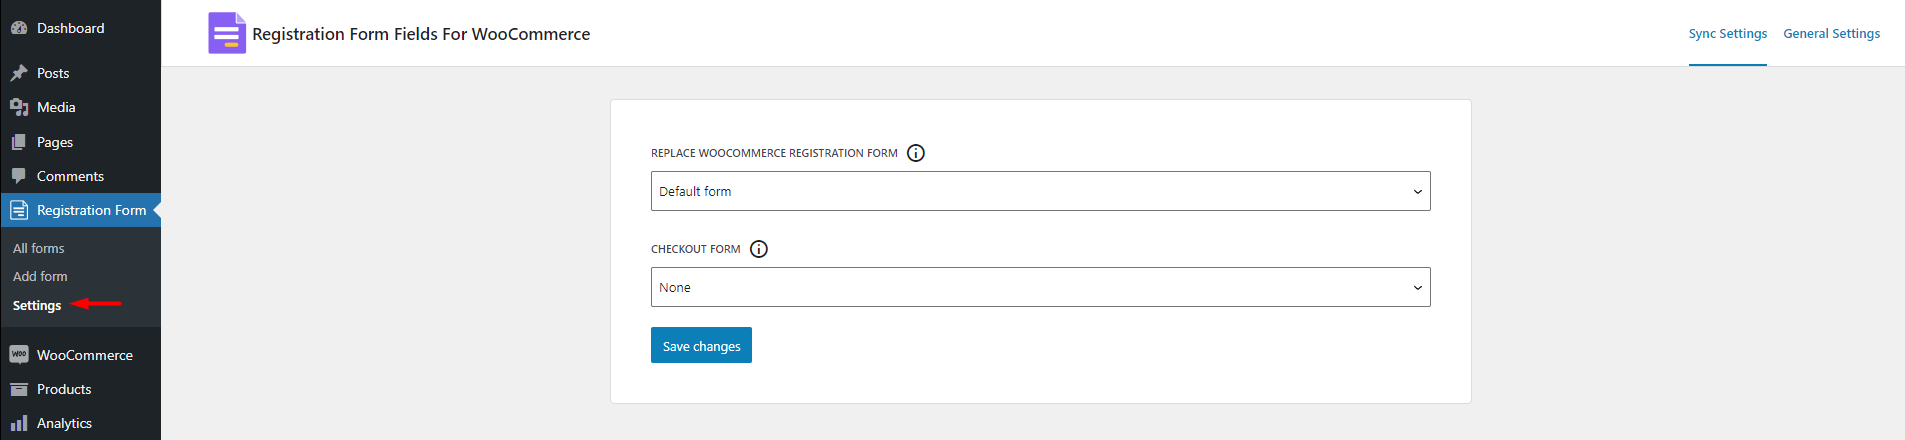
↑ Back to topThis is the setting that applies to all the forms at once. For this, go to Registration Forms > Settings.
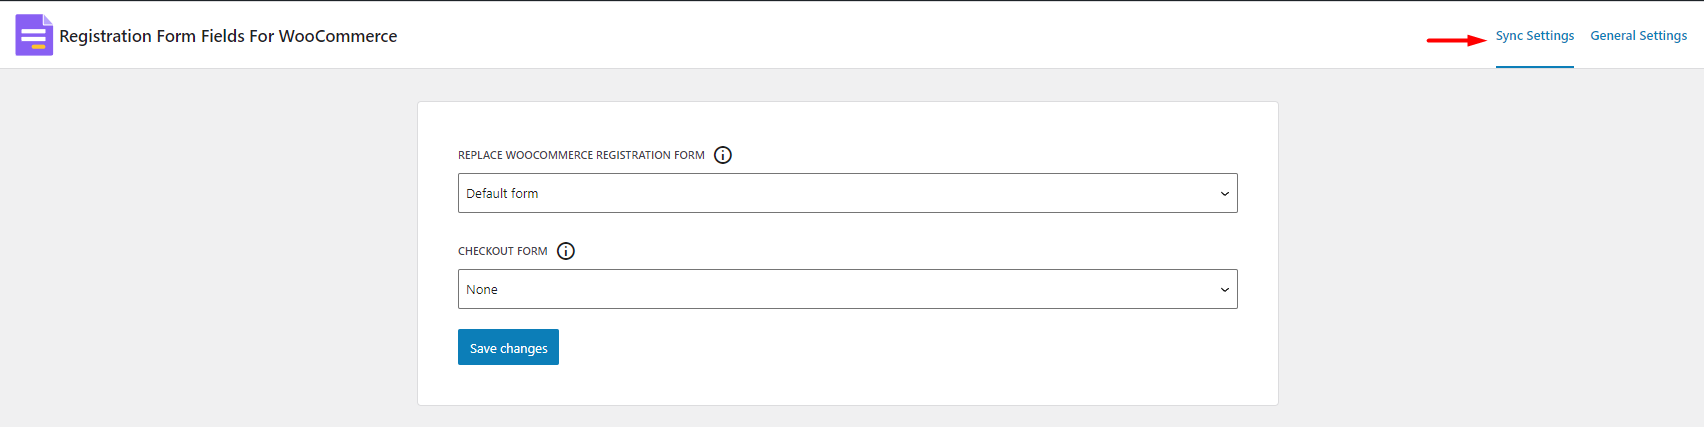
Sync Settings: This tab consists of two options to sync the custom registration form with WooCommerce.
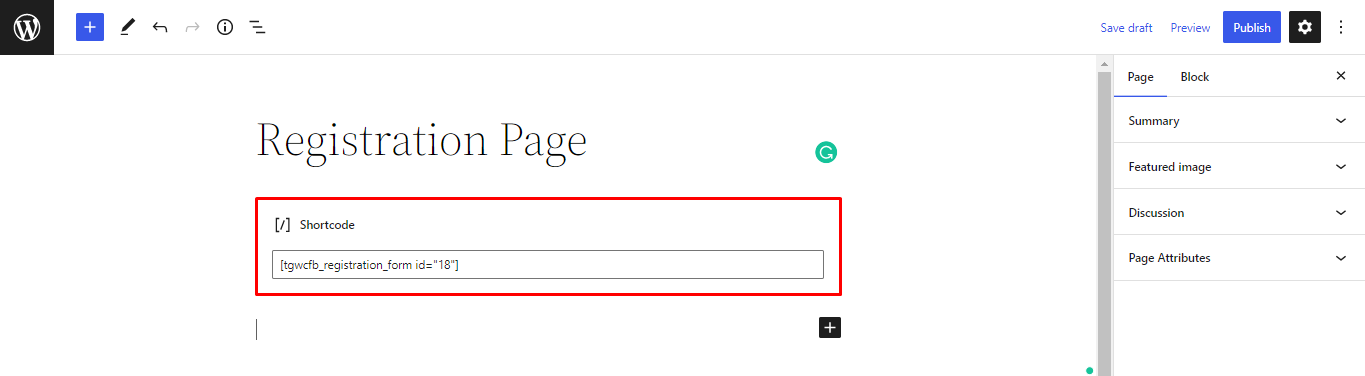
Replace WooCommerce Registration Form: Select the desired registration form that you have built to replace the default WooCommerce registration form. To replace the default form of WooCommerce, enable “Allow customers to create an account on the “My Account” page” under WooCommerce > Settings > Accounts & Privacy.
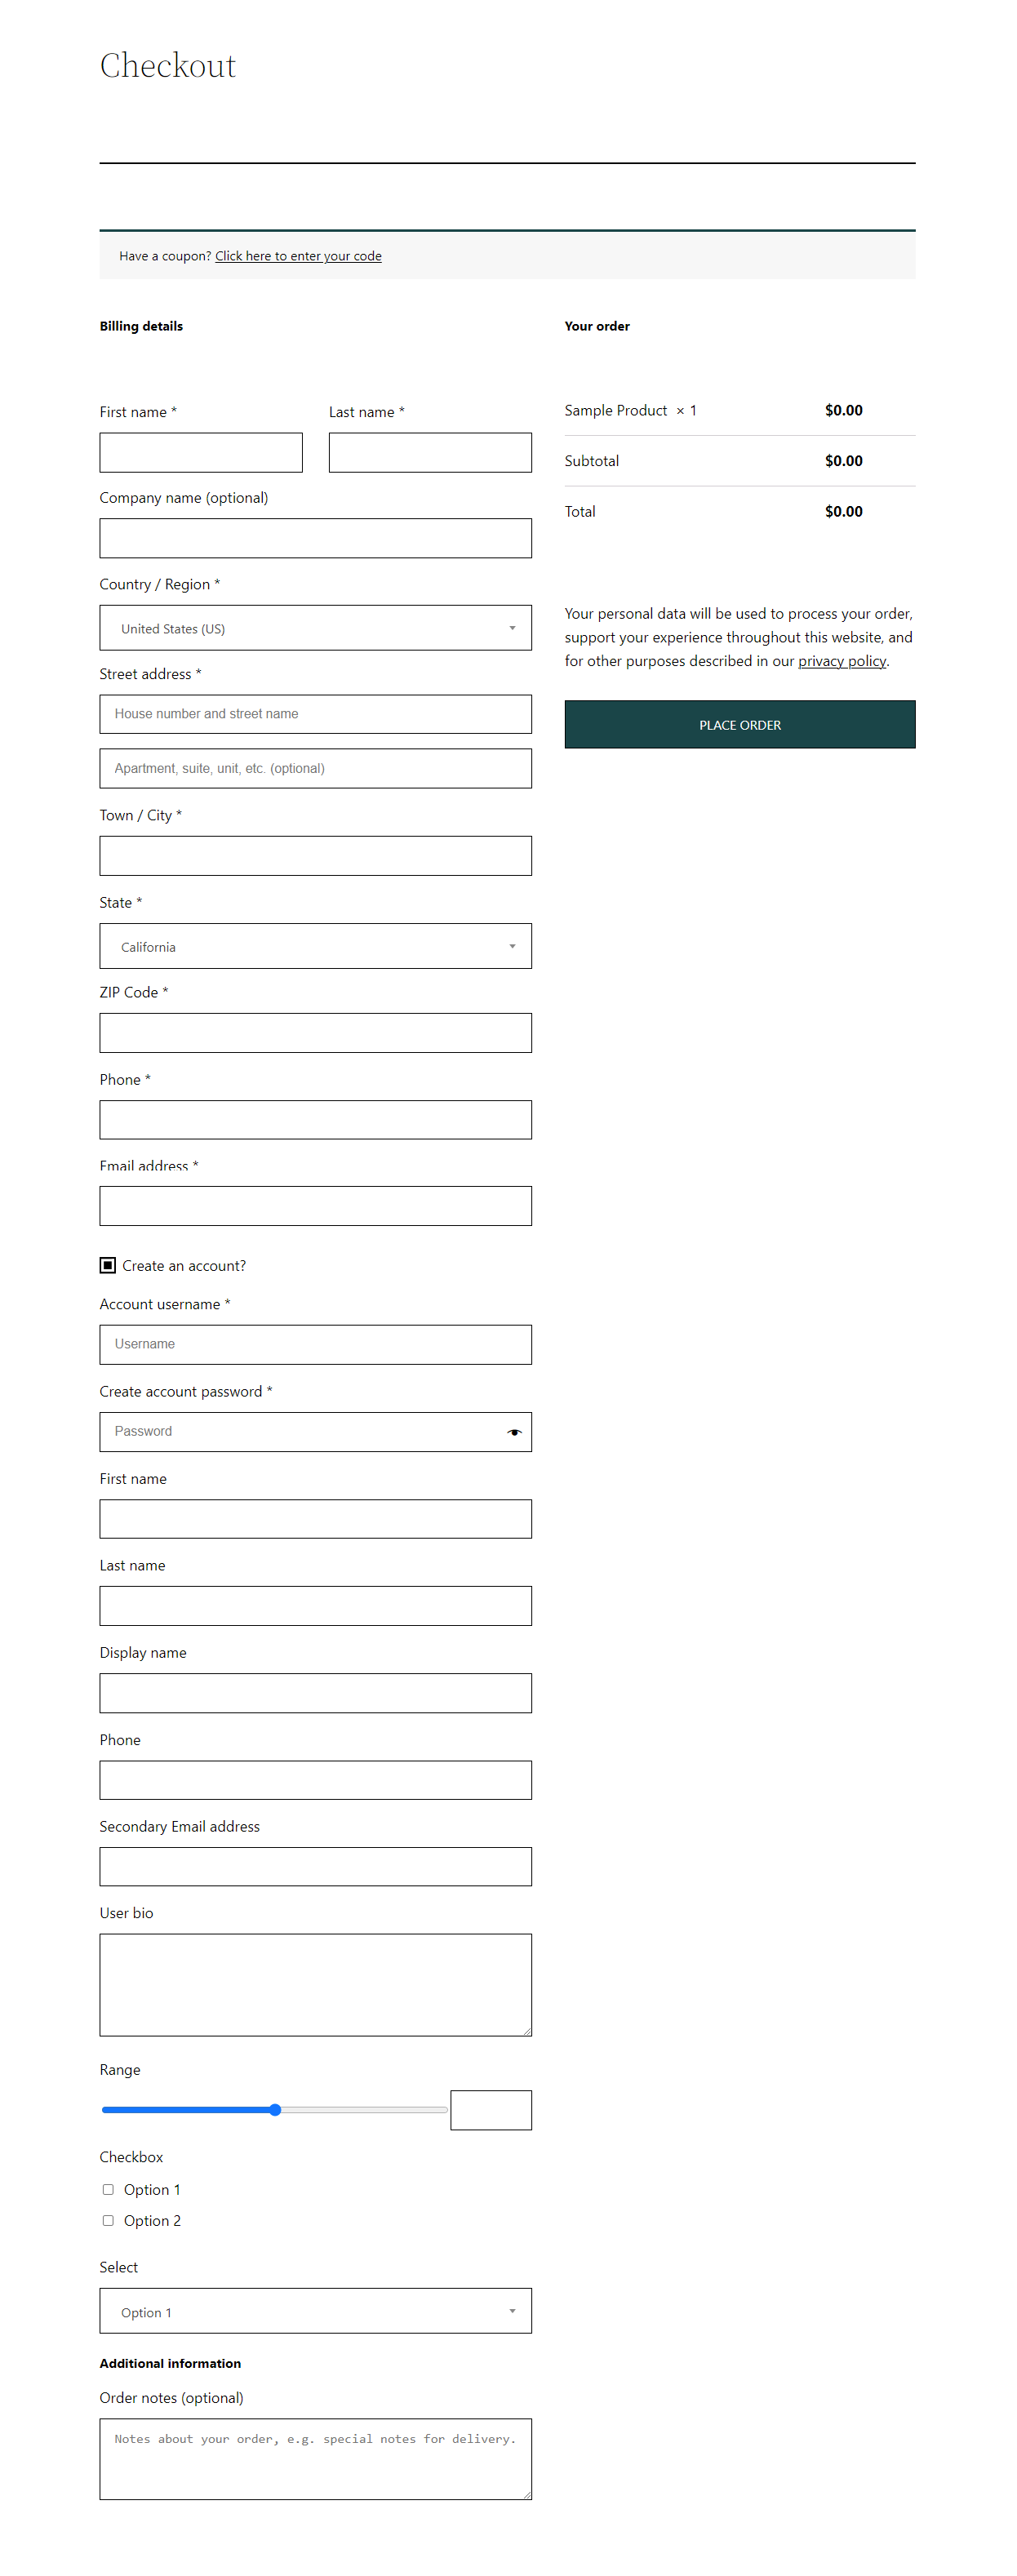
Checkout Form: Select a form to sync the custom fields with the checkout registration form. It is recommended to disable these settings via WooCommerce > Settings > Accounts & Privacy
When creating an account, automatically generate an account username for the customer based on their name, surname, or email.
When creating an account, send the new user a link to set their password.
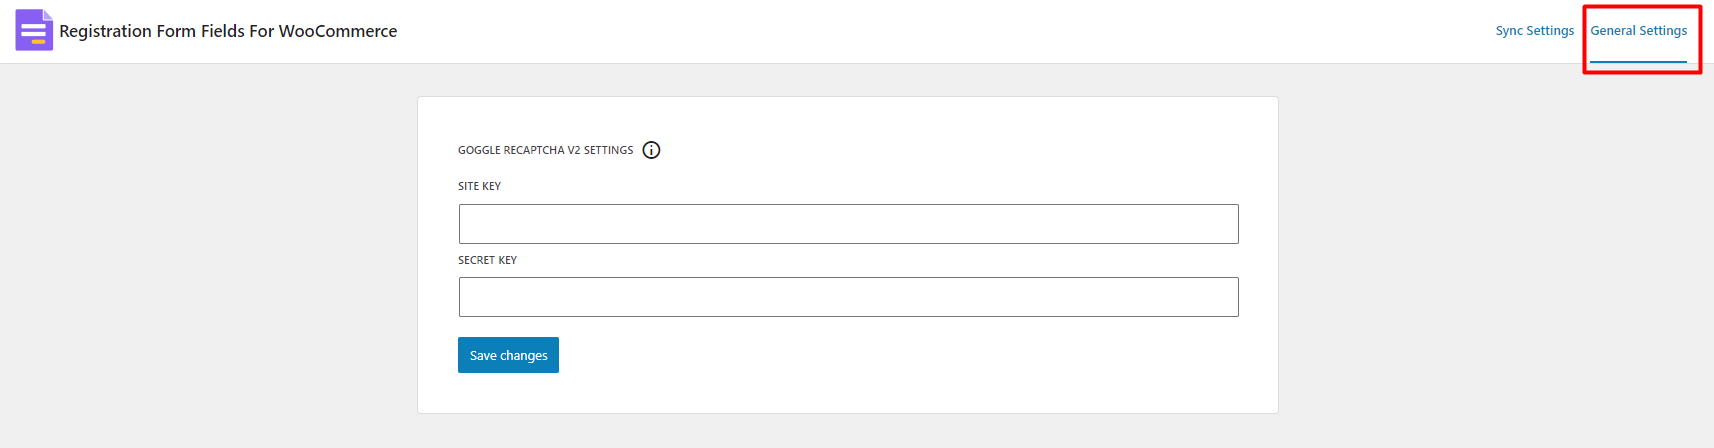
General Settings: Here, you can verify the necessary keys for activating the Google reCaptcha v2.
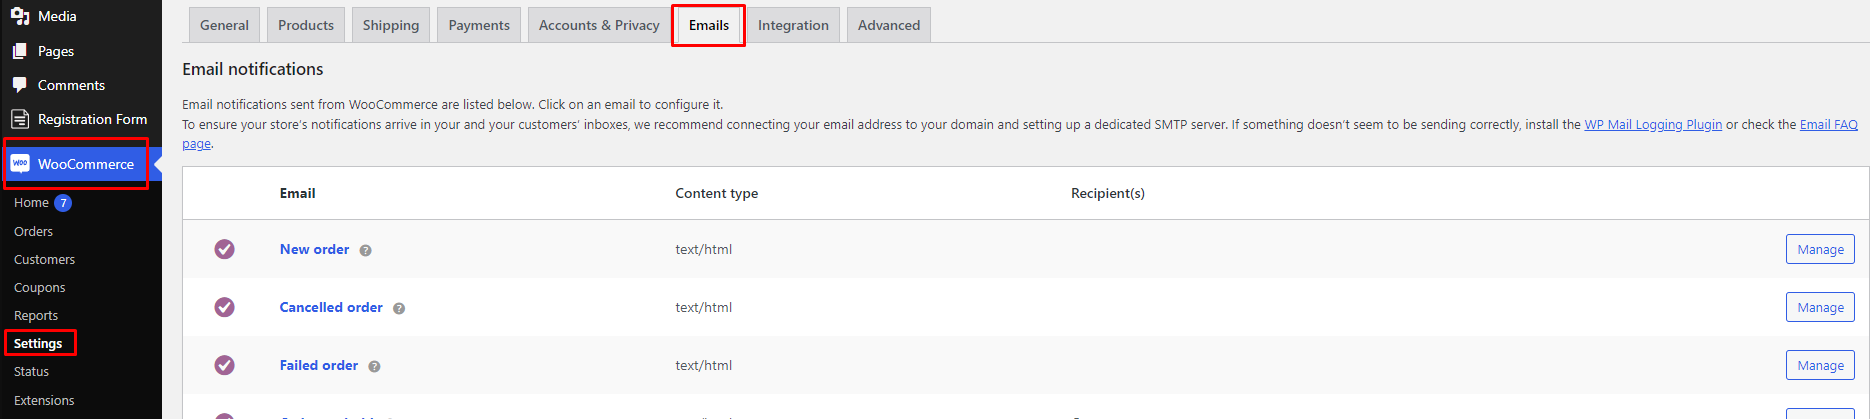
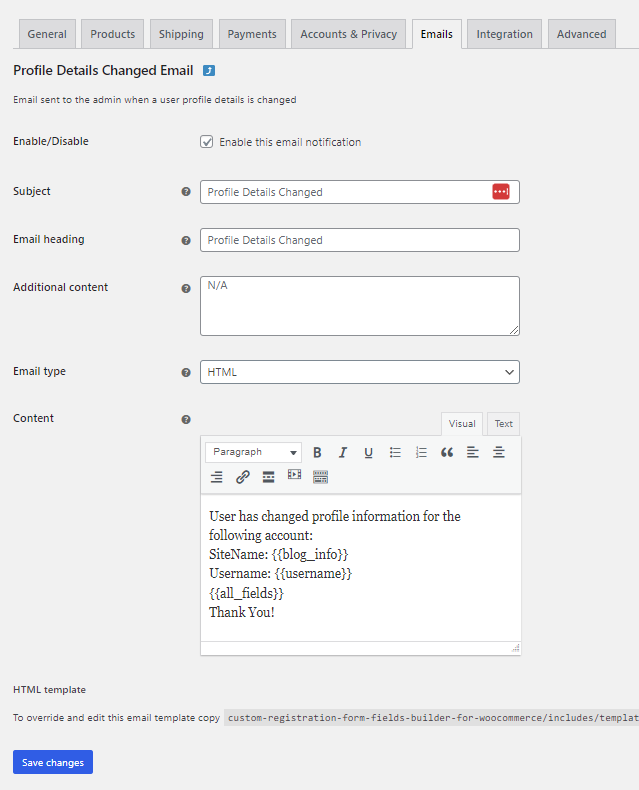
Email Settings: Edit/modify the email contents for various available email notifications via WooCommerce > Settings > Emails.


 This category consists of the default billing and shipping address fields provided by WooCommerce. You can add these fields on the registration form just like other default/custom fields.
 For each registration form, you create, you will find individual form settings to define the following aspects of the form.