Theme Installation
↑ Back to topThere are two ways to follow when installing the Copenhagen theme: either through the WordPress admin dashboard or by manually uploading files via FTP.
Installing through the WordPress admin dashboard:
- Log in to the WordPress admin dashboard.
- Head to Appearance > Themes.
- Click on the “Add New” button located at the top of the screen.
- In the “Add Themes” page, select “Upload Theme”.
- Upload the copenhagen.zip file you have downloaded from WooCommerce.com.
- Click “Install Now” and “Activate Theme”.

Installing manually using FTP:
- Download the latest version of Copenhagen from WooCommerce.com
- Connect to your website using an FTP client (such as FileZilla).
- Upload the theme folder that you have downloaded to the “wp-content/themes” folder.
- Navigate to the WordPress dashboard.
- Go to Appearance > Themes and “Activate” the newly uploaded theme.
More info on Adding Themes.
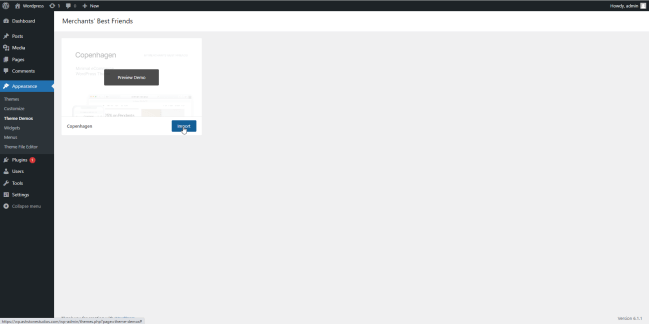
Demo Content Import
↑ Back to topAfter activating the theme, please navigate to Appearance > Theme Demos and click on the “Import” button on the Copenhagen Theme to start importing the demo content.
Theme Customization
↑ Back to topYour customization settings are within Appearance > Customize > Copenhagen.

Setting up Menus
↑ Back to topYou can assign your menus from Appearance > Menus.
There are 2 menu areas in Copenhagen.
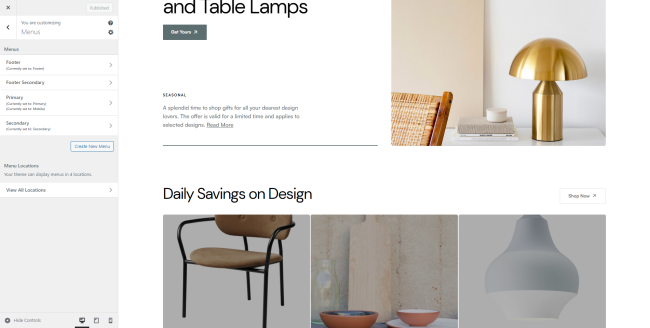
- Primary Menu: Next to the logo and inside the mobile menu
- Secondary menu: Located inside the mobile menu.
Setting up Site Logo
↑ Back to topYou can change your logo from within Appearance > Customize > Site Identity.
Changing Site Color and Fonts
↑ Back to topChanging Color
To site colors head to Appearance > Customize > Color.
You can choose from ready color schemes: light and dark. And you can customize the website and layout background colors. As well as the primary color and accent color of the website.
Changing Fonts
To proceed with changing the font go to Appearance > Customize > Typography.

After clicking on “Typography,” you will find four distinct sections: Texts, Links, Headings, and Buttons. These sections allow you to configure typographical settings for each of these elements. For example, when you click on “Texts,” you will have the option to select a font, text size, style, and line height. There is a wide range of fonts to choose from.
Customizing WooCommerce Store
↑ Back to topIn order to get started with configuring and adjusting the theme for your WooCommerce store simply head to Appearance > Customize > WooCommerce.
You can customize the product pages, catalogs, product images, and many more.

CSS Customization
↑ Back to topFor taking your theme customization further and making it more personalized you can make use of CSS code. Add your own CSS code to customize the appearance and layout of your site.
For it, you simply need to navigate to “Additional CSS” from inside the Copenhagen theme customization dashboard.