Installation
↑ Back to top- Download the zip file from your WooCommerce account.
- Log in to WordPress admin and Go to Plugins > Add New.
- Click Upload Plugin at the top.
- Click on the “Choose File” button and select enhanced-cloudflare-turnstile.zip.
- Click Install Now and Activate the extension.
Setup and Configuration
↑ Back to topAfter you activate the plugin, go to WooCommerce >> Settings. You will find a tab called “Enhanced Cloudflare Turnstile” as shown below, click on it.
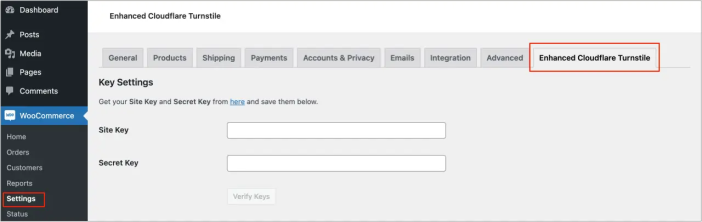
Verify Keys
↑ Back to topGet your Site Key and Secret Key from here. The steps to get keys are explained below. Once you enter the correct keys, click on Verify Keys as shown below.
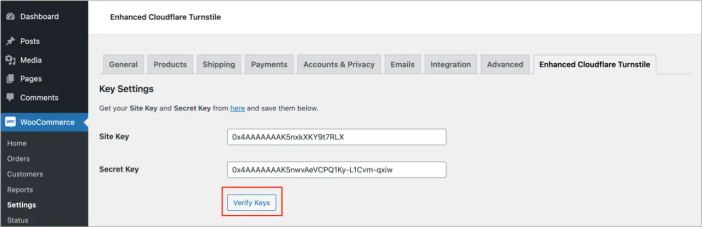
If your Site Key and Secret Key are correct and verified successfully, you will see the Cloudflare Turnstile preview as shown below.
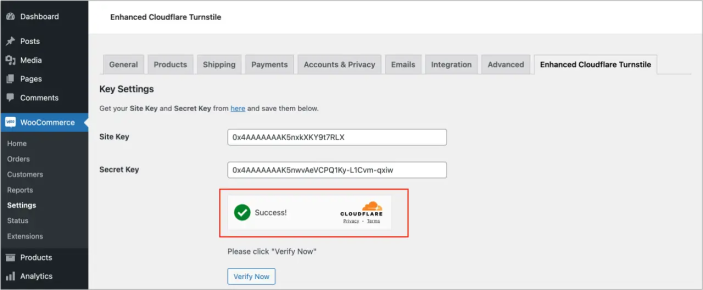
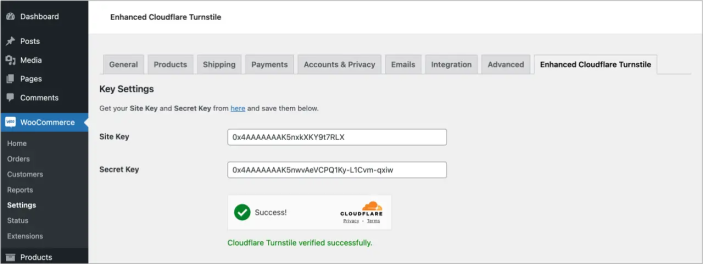
Click on the Verify Now button for final verification. Upon successful verification, you will see a message as shown below.
Enable Settings
↑ Back to topAfter you verify the keys explained above, you can enable or disable it for different forms which are listed below.
- WooCommerce Login and Registration Forms
- WooCommerce Checkout Form
- WooCommerce Review Form
- Default WordPress Login and Registration Forms
- Lost Password Form
- Default Comment Form
Language
↑ Back to topYou can select the language of the Cloudflare Turnstile on your site or allow it to use the language from the Browser’s Language.
Appearance Mode
↑ Back to topOption to select Cloudflare Turnstile mode. It supports both Always and Interaction Only modes.
Validation Error Message
↑ Back to topOption to overwrite error message.
White-list IP Addresses
↑ Back to topIf you like to skip/disable Cloudflare Turnstile on trusted IP addresses, you can whitelist them. You can add multiple IP addresses to whitelist them. Please enter one IP address per row.
Getting Cloudflare Turnstile Keys
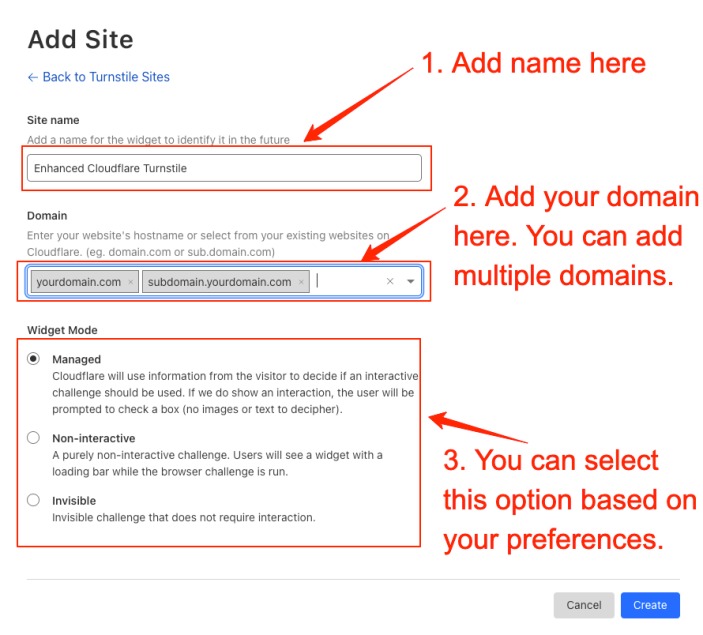
↑ Back to topYou can register your domain to get your Site Key and Secret Key from here. Click on the Add site button to proceed further.

Follow the instructions provided below and click on the Create button after you provide all necessary information.
After you submit the form, you will get your keys as shown below.