NOTE
This product is no longer available on WooCommerce.com. This document has been left available for existing users, but will no longer be updated.
Getting started: How to Install Flux Checkout for WooCommerce
↑ Back to topOnce you’ve purchased Flux Checkout for WooCommerce, you can download the plugin from your confirmation email or WooCommerce account.
To install Flux Checkout for WooCommerce, follow these steps:
- From your WordPress dashboard sidebar, go to Plugins > Add New.
- Then, click Upload Plugin.
- Next, click Choose File and select the ZIP file you downloaded.
- Click Install Now and then Activate Plugin.
After you’ve installed Flux Checkout for WooCommerce, you can change your checkout style and customize it.
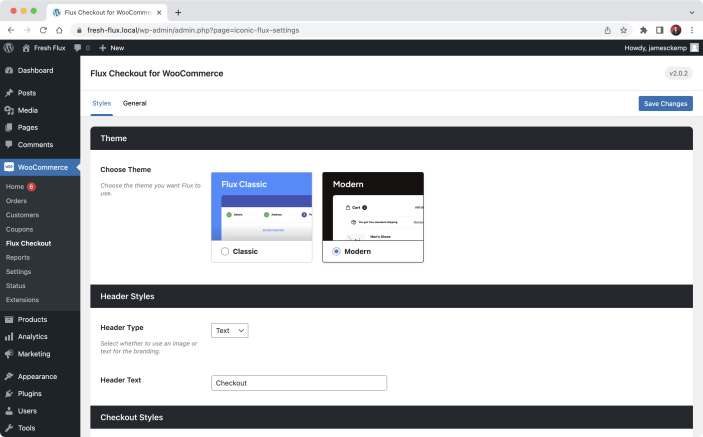
How to Customize the Flux Checkout for WooCommerce Design
↑ Back to topCustomizing Flux Checkout for WooCommerce can be done on the settings page. To do this, take the following steps:
- From your WordPress dashboard, go to WooCommerce > Flux Checkout.
- Click the Styles tab at the top of the page.
- Here, you’ll be able to select the checkout theme you want. We recommend the Modern theme.
- Once selected, scroll down the page, and you’ll see additional design options you can customize depending on your selected theme.
- When you’re ready, click Save Changes.
How to Enable Address AutoComplete
↑ Back to topIf you’re looking to set up the address autocomplete feature in Flux, you’ll first need to get your Google API Key.
In this guide, we’ll show you how:
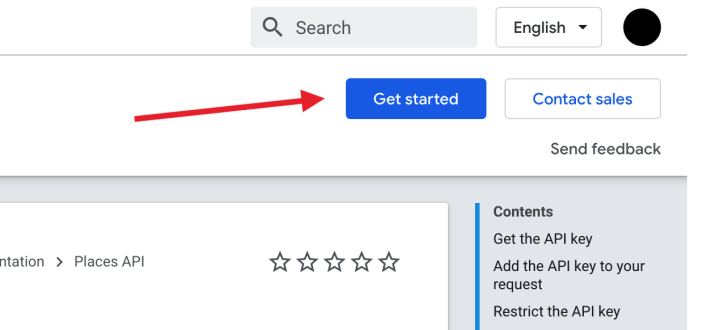
- Visit the Google API website, make sure you’re logged in (or create an account), then click the Get Started button.
Make sure you have set up billing information for your Google account. It’s unlikely to be used, but Google requires it now in order for the APIs to work. You can do this by clicking the menu icon and then Billing.
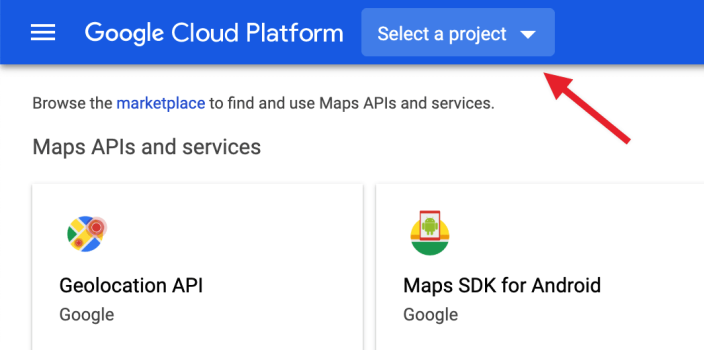
- Click the Select a project dropdown and then New Project.
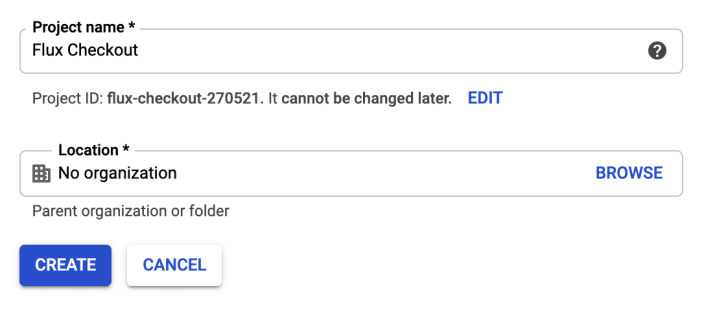
- Give the project a name and organization (or leave it as “No Organization”), and then click Create.
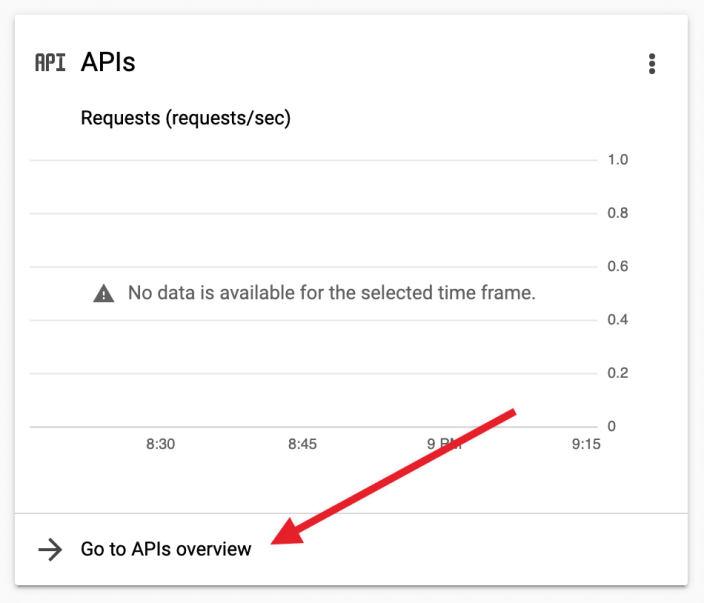
- Once the project has been created, make sure it’s selected from the project dropdown. Find the ‘APIs’ module and click Go to APIs Overview.
- Click Enable APIs and Services at the top of the page.

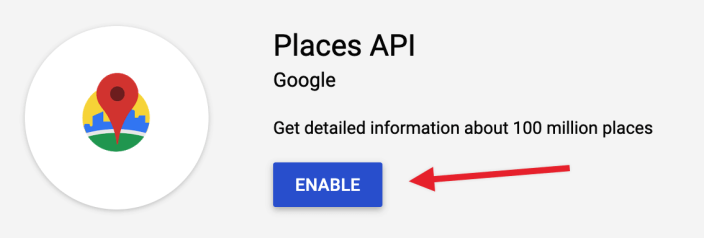
- Search for Places API and click the matching result. Then click Enable.
- Click the arrow to go back to the API Library. Then search for Maps JavaScript API, click the matching result, and then Enable.

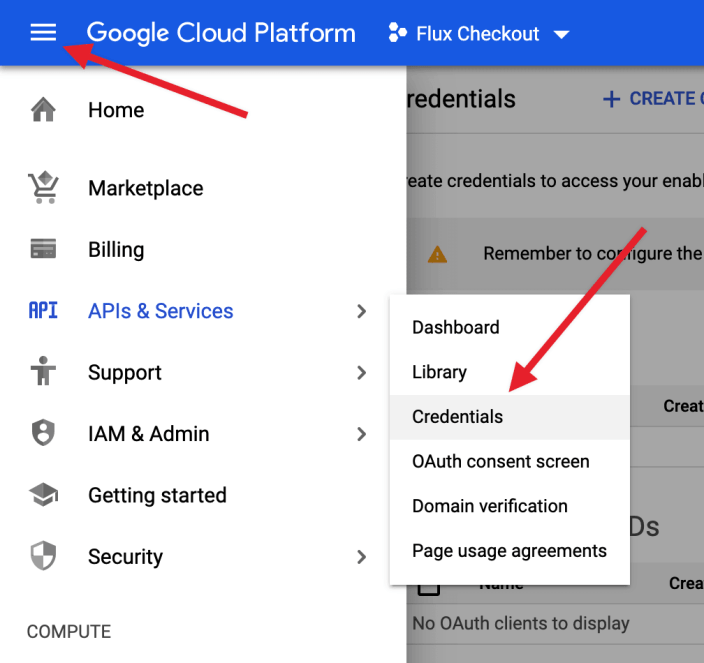
- Click the menu icon, then go to APIs & Services > Credentials.
- Click Create Credentials, then API Key. Copy the key and then click Close.

- Go to your WordPress admin area, then WooCommerce > Flux Checkout from your WordPress dashboard sidebar.
- Then, paste the API key into the Google API Key field and click Save Changes.
That’s it! Address autocompletion should now be working on your checkout page.
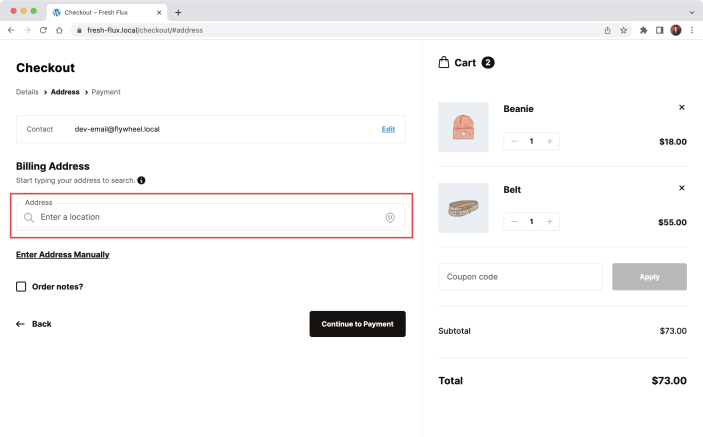
Note: Address autocompletion is disabled when an address is already filled in.
Address translation
↑ Back to topDo you need your address to show up in a different language? You can add a language identifier to your Google Places API key.
In the plugin settings, where your Google API Key is saved, add: YOURAPIKEY?language=ja