Fruugo, a global marketplace founded in 2006, sells in countries around the world, including the US, the UK, France and many more. The platform offers a wide variety of products spanning thousands of brands in 28 languages, 46 countries and 31 currencies. The marketplace offers foreign market insights to its sellers.
With Fruugo Integration for WooCommerce, you can easily integrate your WooCommerce store with the Fruugo marketplace. The extension allows you to bulk upload products and includes a feed generation process. You can set cron and fetch orders automatically as well as sync inventories at a specific time interval. The bulk feature (which can update more than 10k products at a time) allows you to assign profiles to products, upload products based on categories, and update product data with the use of.CSV file.

Key Features
↑ Back to top- Upload products in bulk by using a bulk action feature and start the feed generation process for all products.
- Save products automatically to a .CSV file for product counts less than or equal to 200.
- Set a cron for feed generation on product counts more than 200. If you select and upload all products, products are divided into groups and presented in multiple files. After all products are processed, one final feed is generated.
- The order import process works with an API call. To fetch orders automatically from Fruugo, you will need to set cron. Or you can fetch orders manually.
- Synchronize inventories on the backend with the help of cron. The cron will continue the feed generation process and Fruugo will read that feed at a specific time.
- Upload products by assigning profiles based on categories. You can also update product data by uploading a .CSV file.
How to get started on the Fruugo seller account?
↑ Back to topTo get started with the seller account on the Fruugo marketplace, click here.

Click on Account. Click on Join now if you are a new customer, otherwise fill in the existing customer details and login.
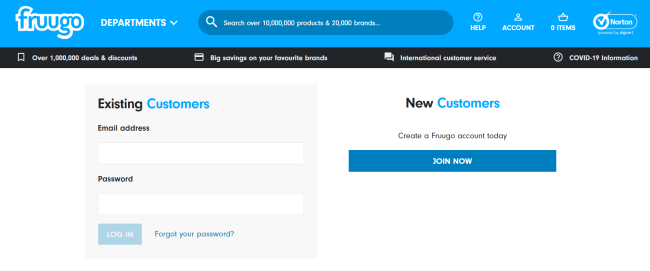
Create a new account by clicking on Join now. A page will appear as shown below – fill in the required details and click Join Now.
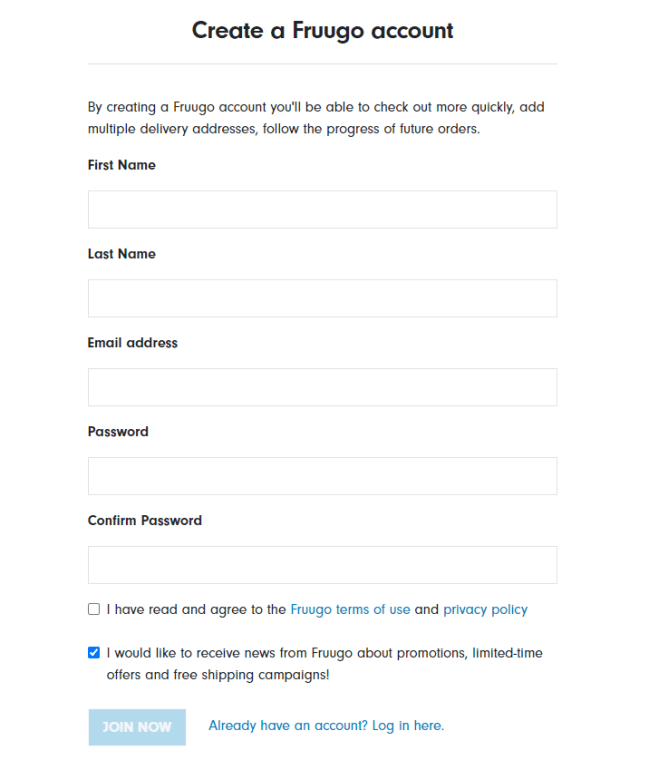
Once the account is created, you are all set to configure the product.
Fruugo WooCommerce Configuration
↑ Back to top- Within the the WordPress admin panel, click on Fruugo as shown.
2. Enter your username and password, then save the credentials.

Category Mapping
↑ Back to topThe Category Mapping tab allows you to map the WooCommerce store categories to Fruugo categories.
Select the WooCommerce store categories by clicking on the root categories and listing them to the Fruugo level categories. Select the Fruugo categories for each WooCommerce category and map them as shown below.
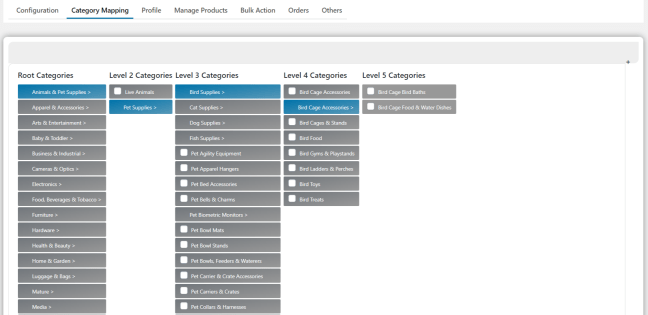
Once the categories are mapped, you can choose the categories within the profile section and assign profiles to the products based on categories.
Profiles
↑ Back to topTo create profiles for mapped products, go to Fruugo > Profiles and click on Add Profile.
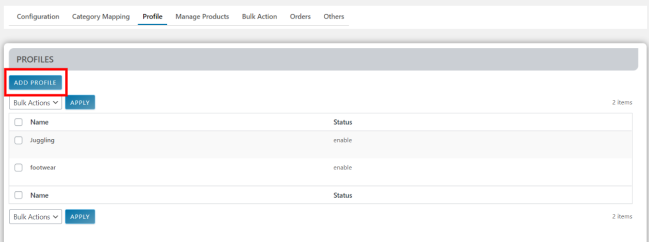
A page will appear with further instructions on how to add a profile.
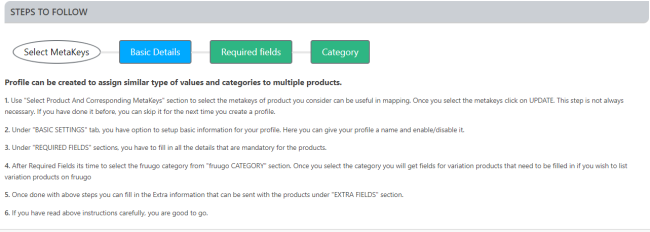
Select the Product Meta keys
Within this section, enter the product name, the number of entries to display, and the meta key to include in your search.
Selecting the Meta Field Key will provide the Meta Field Value. After selecting the profiles, click Save Profile.

These values will automatically show up in the required fields. You just have to go to the drop-down and select the meta field value from there.
Basic Settings
Fill in the basic settings by entering the profile name and enabling the profile.

Required Fields
Fill in all of the required fields, Identifier type, Identifier value, Product brand, Product VAT, Document price, and Increase By Price (in percentage).

Category
Select the Fruugo category from the dropdown menu.

Extra Fields
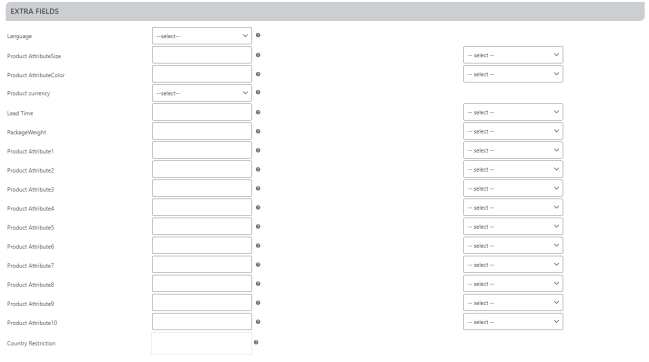
The extra fields are not required fields and are optional to fill in.
Manage Products
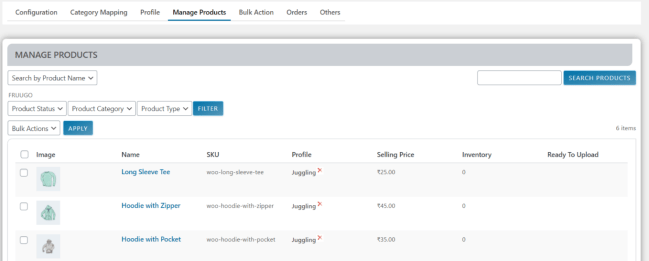
↑ Back to topIn the manage product section, you can search products either by product name or SKU.
You can upload products both manually and automatically from the bulk action section. Once you click on the upload tab, the process of feed generation will begin.
You can choose the product status as uploaded or not uploaded. Select the product category and product type as simple or variable from the dropdown menu.
Select the products by selecting the checkboxes and from the dropdown bulk action, select upload. Hit on the apply button.
Feed Generation
↑ Back to top
Clients can download their feed by clicking on the URL given on the Configuration page. Once the feed is generated, download the feed by using this URL: http://demo.cedcommerce.com/woocommerce/woocommerce-fruugo-integration/wp-content/uploads/cedcommerce_fruugouploads/Merchant.csv
If the product count is less than or equal to 200, save the products automatically in the CSV file. If the product count is more than 200, upload the products by setting the cron. The products get divided into groups and create multiple files. When the products are processed, only one feed gets generated.
Bulk Actions
↑ Back to top
With this feature, you can upload hundreds of products on Fruugo in just a few clicks. This section is further divided into three subsections.
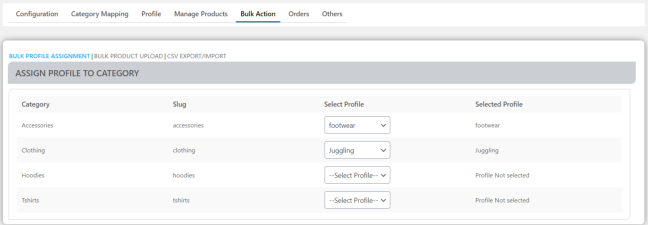
Bulk Profile Assignment – Based on the categories, you can assign profiles to the products from the dropdown, and then the selected profile will appear on the screen.
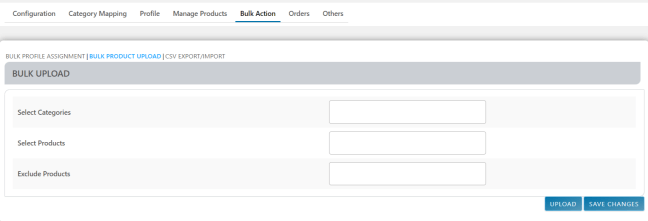
Bulk Product Upload – You can select categories and products that you want to upload and exclude the ones you don’t want to upload.
Click on upload and save the changes.
CSV Export/ Import – Update the data of products by CSV file. You can update more than 10K products at one time.

Orders
↑ Back to top
You can fetch orders by the API call. Set a cron in order to fetch orders from Fruugo automatically. All of your fetched orders will appear in the manage order section.
Others
↑ Back to top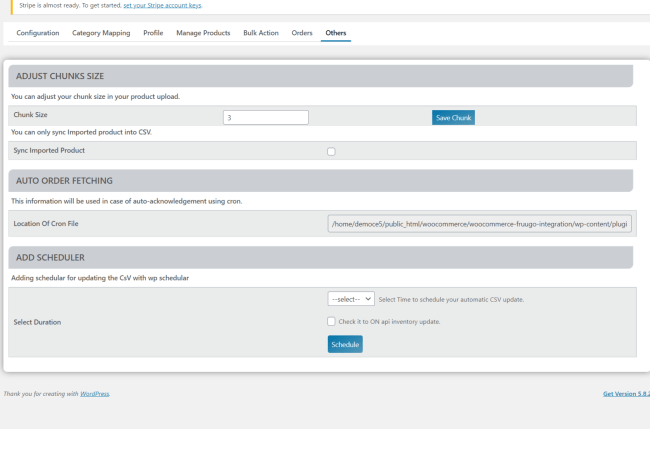
Under this section, you can adjust chunks size in your product upload. Simply, select save after setting your chunk size.
Fetch orders automatically by providing the location of the cron file. The same cron is used for feed generation.
Add schedulers to upload the CSV file with the WP scheduler. From the dropdown, select the time interval to schedule your automatic CSV update. Enable the “ON API inventory update” checkbox and click Schedule.