NOTE
This product is no longer available on WooCommerce.com. This document has been left available for existing users, but will no longer be updated.
This technical documentation provides instructions and guidelines for using the Goodcom Printer for WooCommerce extension. It explains how to install, configure, and use the plugin to enable seamless printing of WooCommerce orders on Goodcom printers.
Table of Contents
↑ Back to top- Installation and Configuration
1.1 System Requirements
1.2 Plugin Installation
1.3 Activation and License
1.4 Configuring the Plugin - Features and Options
2.1 Automatic Order Printing
2.2 Customizable Print Templates - User Guide
3.1 Setting Up Printers
3.2 Troubleshooting - Frequently Asked Questions
- Appendix
1. Installation and Configuration
↑ Back to top1.1 System Requirements
↑ Back to top- WooCommerce Version: 5.2.0 or higher
- PHP Version: 5.2 or higher
- WordPress Version: 4.6 or higher
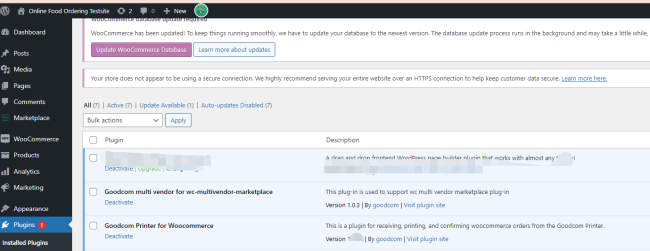
1.2 Plugin Installation
↑ Back to top- Navigate to the WordPress admin dashboard
- Go to Plugins > Add New
- Search for Goodcom Printer for WooCommerce and click Install Now
- Once installed, click Activate Plugin
1.3 Activation
↑ Back to top- After activation, go to WooCommerce > Settings > Integration > Goodcom Printer Integration
- Change settings if necessary
- Save Changes
1.4 Configuring the Plugin
- In the plugin settings, specify the printer connection details i, such as Printer User Name and Password.
- Select the desired format for time & date printing, etc.
- Save the settings.
2. Features and Options
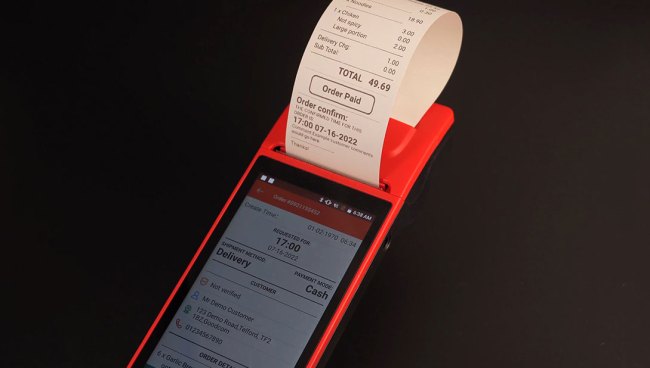
2.1 Automatic Order Printing
- The plugin automatically receives new orders as they are placed in WooCommerce.
- Configure the print settings to determine whether to print the received orders automatically.
2.2 Customizable Print Templates
- Customize the print templates to include store branding, order options, customer information, etc.
- Use HTML to modify the templates according to your requirements.
3. User Guide
3.1 Setting Up Printers
- Access the plugin settings from WooCommerce > Settings > Integration > Goodcom Printer Integration.
- Check or change the printer username & password.
- Set up the printer connection through remote settings.
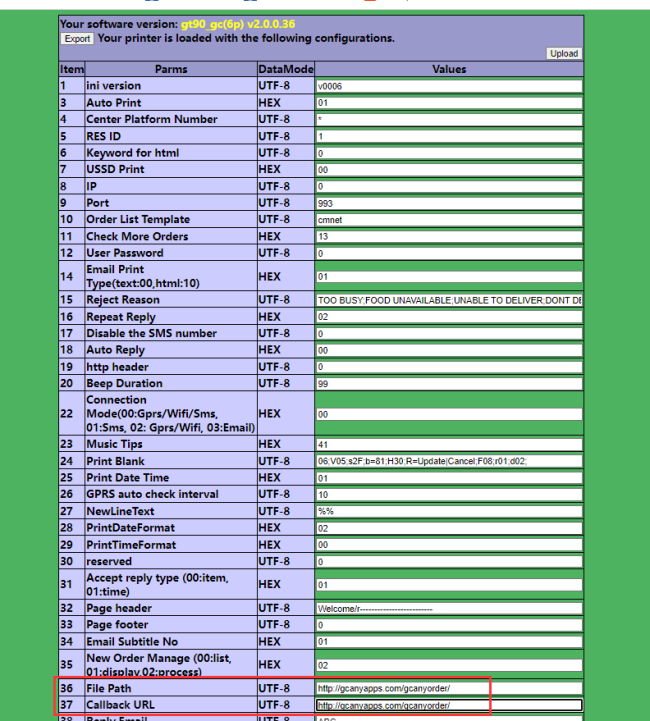
For Android POS – GcAnyOrder App, go through App Menu – General Settings – Remote setting – Terminal ID.
Then login to http://gcanyapps.com/dl/login.php with the given terminal ID, and upload the settings for Items as below:
[36]/[37] file path: [your WooCommerce website url].
[58] Printer User Name
[59] Printer password
3.2 Troubleshooting
- If the orders are not printing, ensure the printer is properly connected and configured.
- Verify the printer settings in the plugin and check for any error messages.
- Refer to the FAQ section or contact support for further assistance.
4. Frequently Asked Questions
↑ Back to top4.1 What are the statuses of WooCommerce orders will the Goodcom Printer plugin receive and print?
Answer: Goodcom Printer plugin will auto-receive the WooCommerce orders under “processing” status. After confirmed by the Goodcom printer, the status will be updated to “Completed”
4.2 Is the Goodcom Printer for WooCommerce extension compatible with all the Goodcom printer equipment?
Answer: Yes
4.3 How do I connect the Goodcom printer to the plugin?
Answer: Change settings to the Goodcom printer in accordance with the plugin settings in WooCommerce > Settings > Integration > Goodcom Printer Integration
5. Appendix
5.1 Support and Contact Information
For any questions or support, please contact our support team here