Note: The Hosted Payments API is no longer actively supported by Paysafe. Although it is still functional, we recommend that all new and existing customers integrate into the new Paysafe Checkout integration option.
The Hosted Payments API uses a “Full redirect” or Iframe payment process. You can choose which process you want to use in the plugin settings
- “Full redirect“, your customers will be transferred to a Paysafe hosted payment page which handles the collection of sensitive payment data and then they will be returned to your store.
- “Iframe” process will display the same Paysafe hosted payment page, but it will be displayed in an iframe within your online store, on the Pay page. This way your customers will never have to leave your store to pay for an order.
- Sale and Authorization Only payments
- WooCommerce Subscriptions product payments (requires separate plugin “WooCommerce Subscriptions“)
- Important: WooCommerce Subscriptions version 2.0 and higher are supported only
- WooCommerce Pre-Orders product payments (requires separate plugin “WooCommerce Pre-Orders“)
- Process refunds directly from the Edit Order screen.
- Capture payments directly from the Edit Order screen.
Installation
↑ Back to top- Download the .zip file from your WooCommerce account.
- Go to: WordPress Admin > Plugins > Add New and Upload Plugin with the file you downloaded with Choose File.
- Install Now and Activate the extension.
Setup and Configuration
↑ Back to top
- Log in to your WooCommerce store.
- Go to: WooCommerce > Settings > Payments > Paysafe Hosted Payments API.
- Enter Method Title and Method Description
- Enter your API Key User Name and API Key Password
- Leave everything else as default.
- Start accepting payments
Settings
↑ Back to topIntegration Type Section
↑ Back to top- Choose one of the options from the Integration Type selection setting

- After you change your selection you will see a notice under it prompting you to save the change before you continue.

- Click the “Save changes” button, and the page will refresh. You are ready to set up your gateway.


General Section
↑ Back to top- Method Title:
- This controls the title which the user sees during checkout. Also, it is displayed whenever the gateway is referenced.
- Description:
- This controls the description which the user sees during checkout.
Credentials Section
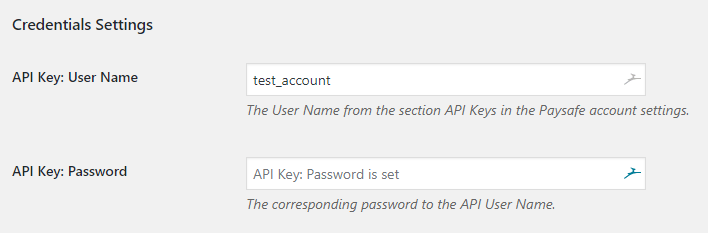
↑ Back to top- API Key: User Name:
- This is the API Key User Name found in your Paysafe Dashboard > Settings > API Key.

- This is the API Key User Name found in your Paysafe Dashboard > Settings > API Key.
- API Key: Password:
- This is the API Key Password found in your Paysafe Dashboard > Settings > API Key.
- Note: The Password will not appear in the text field, but a placeholder will let you know if it is set or not.


Transaction Settings Section
↑ Back to top- Payment Pages Language:
- Controls the language of the Paysafe payment page. You can choose from four languages British English, US English, French and French Canadian.
- Authorization Type:
- “Authorization and Capture“, will capture the funds at the same time.
- “Authorization Only“, will only perform authorization and let you capture the funds at a later date.
- Send Order Details:
- Enable, if you want to send a breakdown of all order details (items, taxes, shipping costs) to Paysafe.
Note: When sending the order details we break the order into its parts and send each part total to Paysafe. Paysafe then sums all parts and compares it to the order grand total. There are cases where the two totals do not match by a cent or two. In those cases, the transaction will be refused by Paysafe. We recommend disabling this option if you see errors.
- Disable, if you want to just send the Order Total for the customer to pay.
- Enable, if you want to send a breakdown of all order details (items, taxes, shipping costs) to Paysafe.
- Send Customer IP:
- This option will allow the plugin to send the customer IP with the payment request.
- This option will allow the plugin to send the customer IP with the payment request.
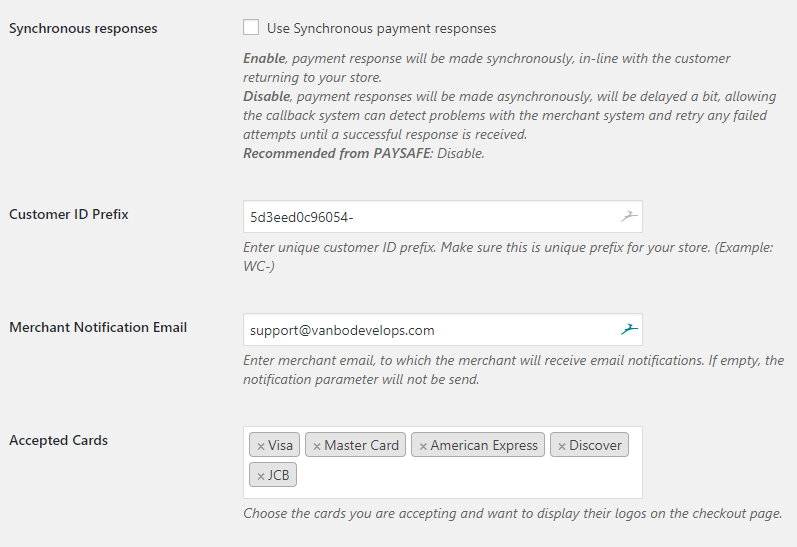
- Synchronous responses:
- Enable, payment response will be made synchronously, in-line with the customer returning to your store.
- Disable, payment responses will be made asynchronously, will be delayed a bit, allowing the callback system can detect problems with the merchant system and retry any failed attempts until a successful response is received.
- Recommended from Paysafe: Disable.
- Customer ID Prefix:
- The customer prefix ensures that there won’t be any customer duplicates between merchant stores. If you operate multiple stores, the prefix will be the one that differentiates between stored.
- Merchant Notification Email
- If you want to receive email payment notifications, you should enter an email here. Paysafe will send you an email, whenever you receive a payment. Note: This setting does not automatically enable the dispatch of merchant notification emails, it tells Paysafe where to send the emails to. To enable the email notifications, please contact Paysafe for help.
- Accepted Cards
- This setting will allow you to easily display your accepted payment methods on the checkout page payment option. It will not control the actual payment cards accepted on the Paysafe payment page, it is just an easy way to show the correct card icons on the checkout page.
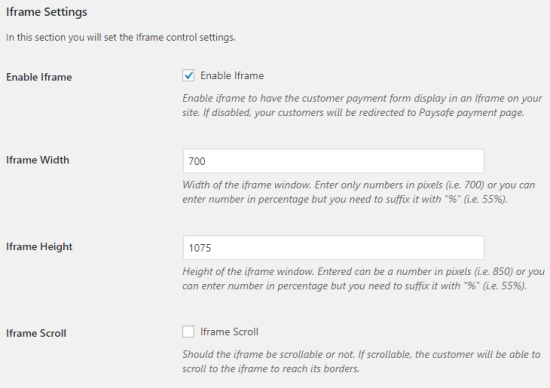
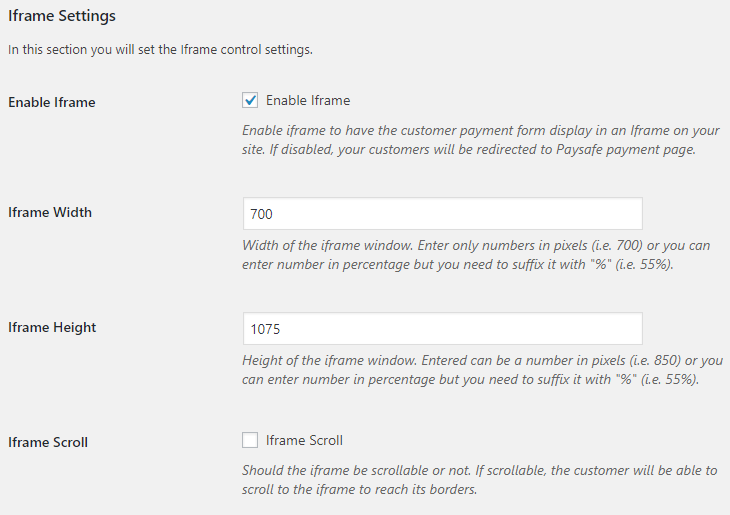
Iframe Settings
↑ Back to top- Enable Iframe:
- When enabled, the payment form will be displayed in an iframe on your store, instead of directing the customers to an off-site payment form page.
- Iframe Width:
- The width of the iframe window. Enter only numbers in pixels (i.e. 700) or you can enter a number in percentage but you need to suffix it with “%” (i.e. 55%).
- Iframe Height:
- The height of the iframe window. Entered can be a number in pixels (i.e. 850) or you can enter a number in percentage but you need to suffix it with “%” (i.e. 55%).
- Iframe Scroll:
- Should the iframe be scrollable or not. If scrollable, the customer will be able to scroll to the iframe to reach its borders.
- Should the iframe be scrollable or not. If scrollable, the customer will be able to scroll to the iframe to reach its borders.
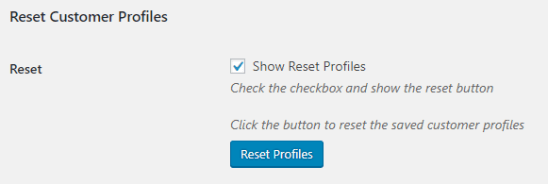
Reset Payment Profiles
↑ Back to top- Go to the plugin settings and scroll down to the “Reset Customer Profiles” section
- Check the checkbox “Show Reset Profiles”
- Click the “Reset Profiles” button.

Process Refunds
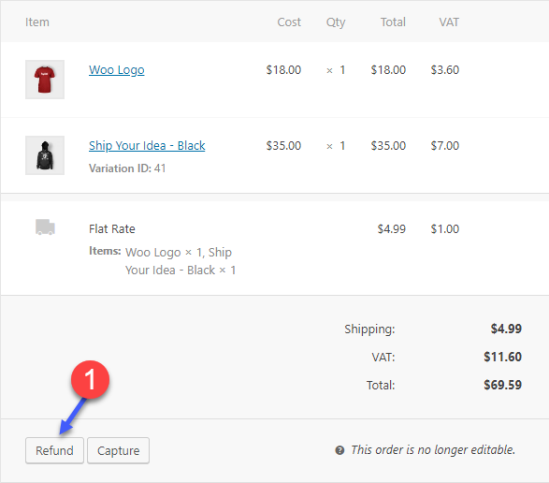
↑ Back to top- Go to the “Order Edit” screen
- Under “Items” meta box, in the bottom left corner, you will see a “Refund” button. Click it.
- Enter the amount you want to refund. You can also enter a refund reason.
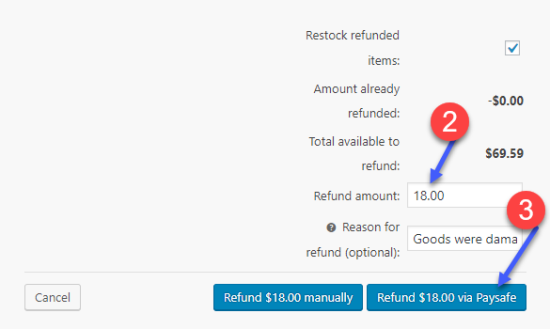
- Press the “Refund … via Paysafe” button
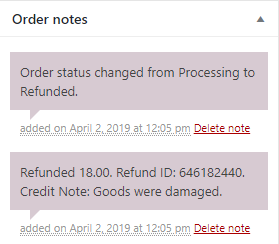
- The refund will be processed and upon page refresh you will see an order note, noting the refund amount, reason and transaction ID.


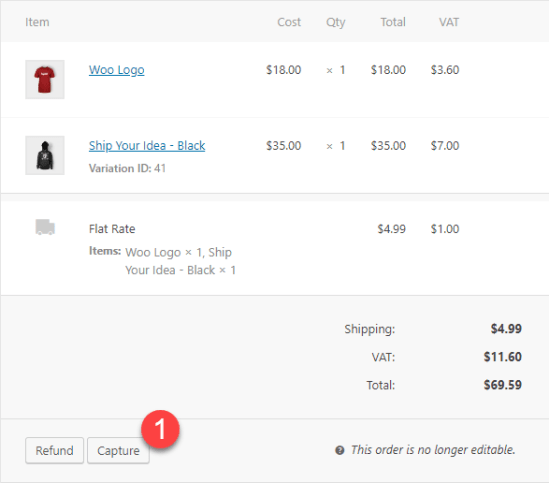
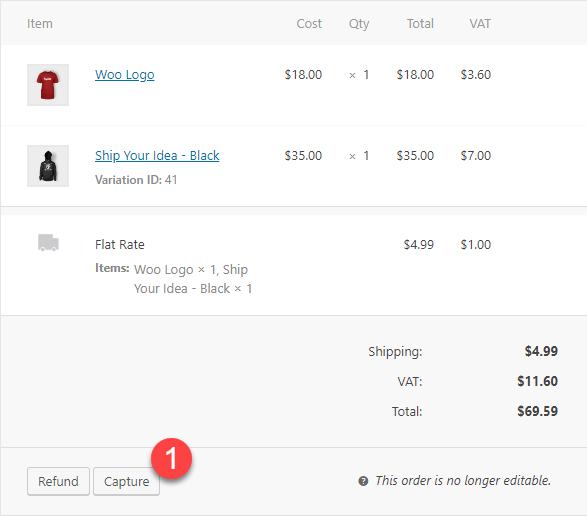
Capture Payments
↑ Back to top- Go to the “Order Edit” screen
- Under “Items” meta box, in the bottom left corner, you will see a “Capture” button. Click it to expose the capture input fields.
- Enter the amount you want to capture from the order. Note: you will see how much is authorized, you can’t capture more than that amount.
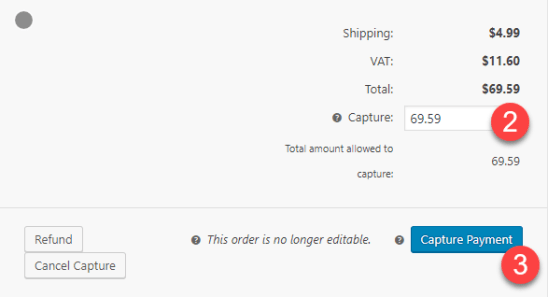
- Press Capture Payment button.
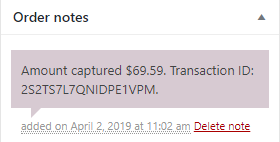
- A note will be left on the order with details about the captured amount and the transaction ID from the process.


Actions and Filters
↑ Back to topActions
↑ Back to topFilters
↑ Back to topFAQ & Troubleshooting
↑ Back to topPayment attempts fail with the error “Invalid customerIp”, what can I do?
↑ Back to top
This file contains hidden or bidirectional Unicode text that may be interpreted or compiled differently than what appears below. To review, open the file in an editor that reveals hidden Unicode characters.
Learn more about bidirectional Unicode characters
| // Normal order | |
| add_filter( 'wc_paysafe_request_params', 'prefix_remove_ip_address', 10, 2 ); | |
| // Subscriptions/Pre-Orders order | |
| add_filter( 'wc_paysafe_addons_request_params', 'prefix_remove_ip_address', 10, 2 ); | |
| function prefix_remove_ip_address( $params, $order ) { | |
| if ( isset( $params['customerIp'] ) ) { | |
| unset( $params['customerIp'] ); | |
| } | |
| return $params; | |
| } |
I have a Paysafe account that allows the use of multiple merchant accounts, how can I use the different merchant accounts based on the order currency?
↑ Back to top
This file contains hidden or bidirectional Unicode text that may be interpreted or compiled differently than what appears below. To review, open the file in an editor that reveals hidden Unicode characters.
Learn more about bidirectional Unicode characters
| // Normal order | |
| add_filter( 'wc_paysafe_request_params', 'prefix_add_account_number', 10, 2 ); | |
| // Subscriptions/Pre-Orders order | |
| add_filter( 'wc_paysafe_addons_request_params', 'prefix_add_account_number', 10, 2 ); | |
| /** | |
| * @param $params | |
| * @param WC_Order $order | |
| * | |
| * @return mixed | |
| */ | |
| function prefix_add_account_number( $params, $order ) { | |
| // Check the order currency and add the appropriate account number | |
| if ( 'USD' == $order->get_currency() ) { | |
| $account_number = '[USD_account_number_value]'; | |
| } elseif ( 'CAD' == $order->get_currency() ) { | |
| $account_number = '[CAD_account_number_value]'; | |
| } else { | |
| $account_number = '[GBP_account_number_value]'; | |
| } | |
| $params['extendedOptions'][] = array( | |
| 'key' => 'merchantAccount', | |
| 'value' => $account_number, | |
| ); | |
| return $params; | |
| } |
I switched from Live to Test Paysafe merchant account and now my transaction attempts fail with “Error message: The ID(s) specified in the URL do not correspond to the values in the system.: 717b26f5-7e90-sl4i-10xe-7e9ada0cac7f “, what should I do?
↑ Back to top- If you want to test a single transaction to make sure everything works, just create a new user and process a transaction. A new profile will be created with the new merchant account and everything should be fine.
- If you are switching to the new merchant account you should reset the customer profiles as well. To reset the customer profiles just follow the “Reset Payment Profiles” guide above.