If you already own a Google Optimize account for your web shop, skip to Configure the Plugin.
Create Google Optimize Account
↑ Back to top1. Open https://optimize.google.com/.
2. Create a new account.


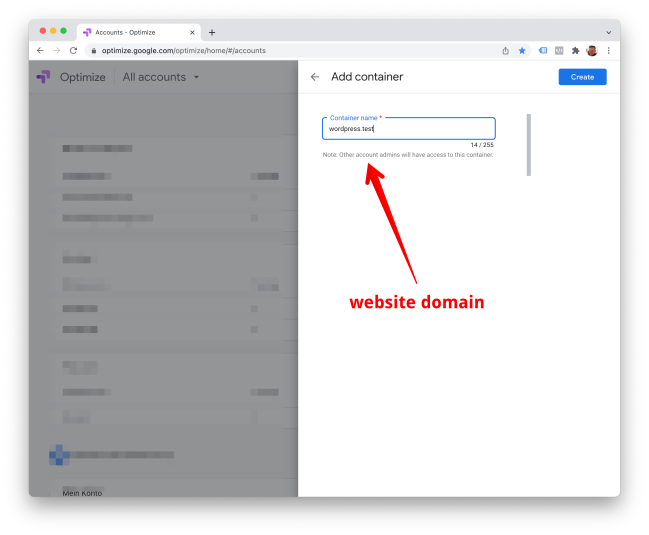
Configure the Plugin
↑ Back to topCopy and paste the container ID from Google Optimize container into the WooCommerce Pixel Manager plugin.


Anti-Flicker Snippet
↑ Back to topINFO
Available from version 1.29.0
In rare cases, it can happen that Google Optimize tests don’t load fast enough. The original variant will be shown for a very brief moment and then switched to the test variant. The eye perceives this as flicker.
The anti-flicker snippet prevents this.
The user can activate the anti-flicker snippet in case flicker is observed. It also will automatically be activated if Google Optimize and Lazy Loading the Pixel Manager are active at the same time.
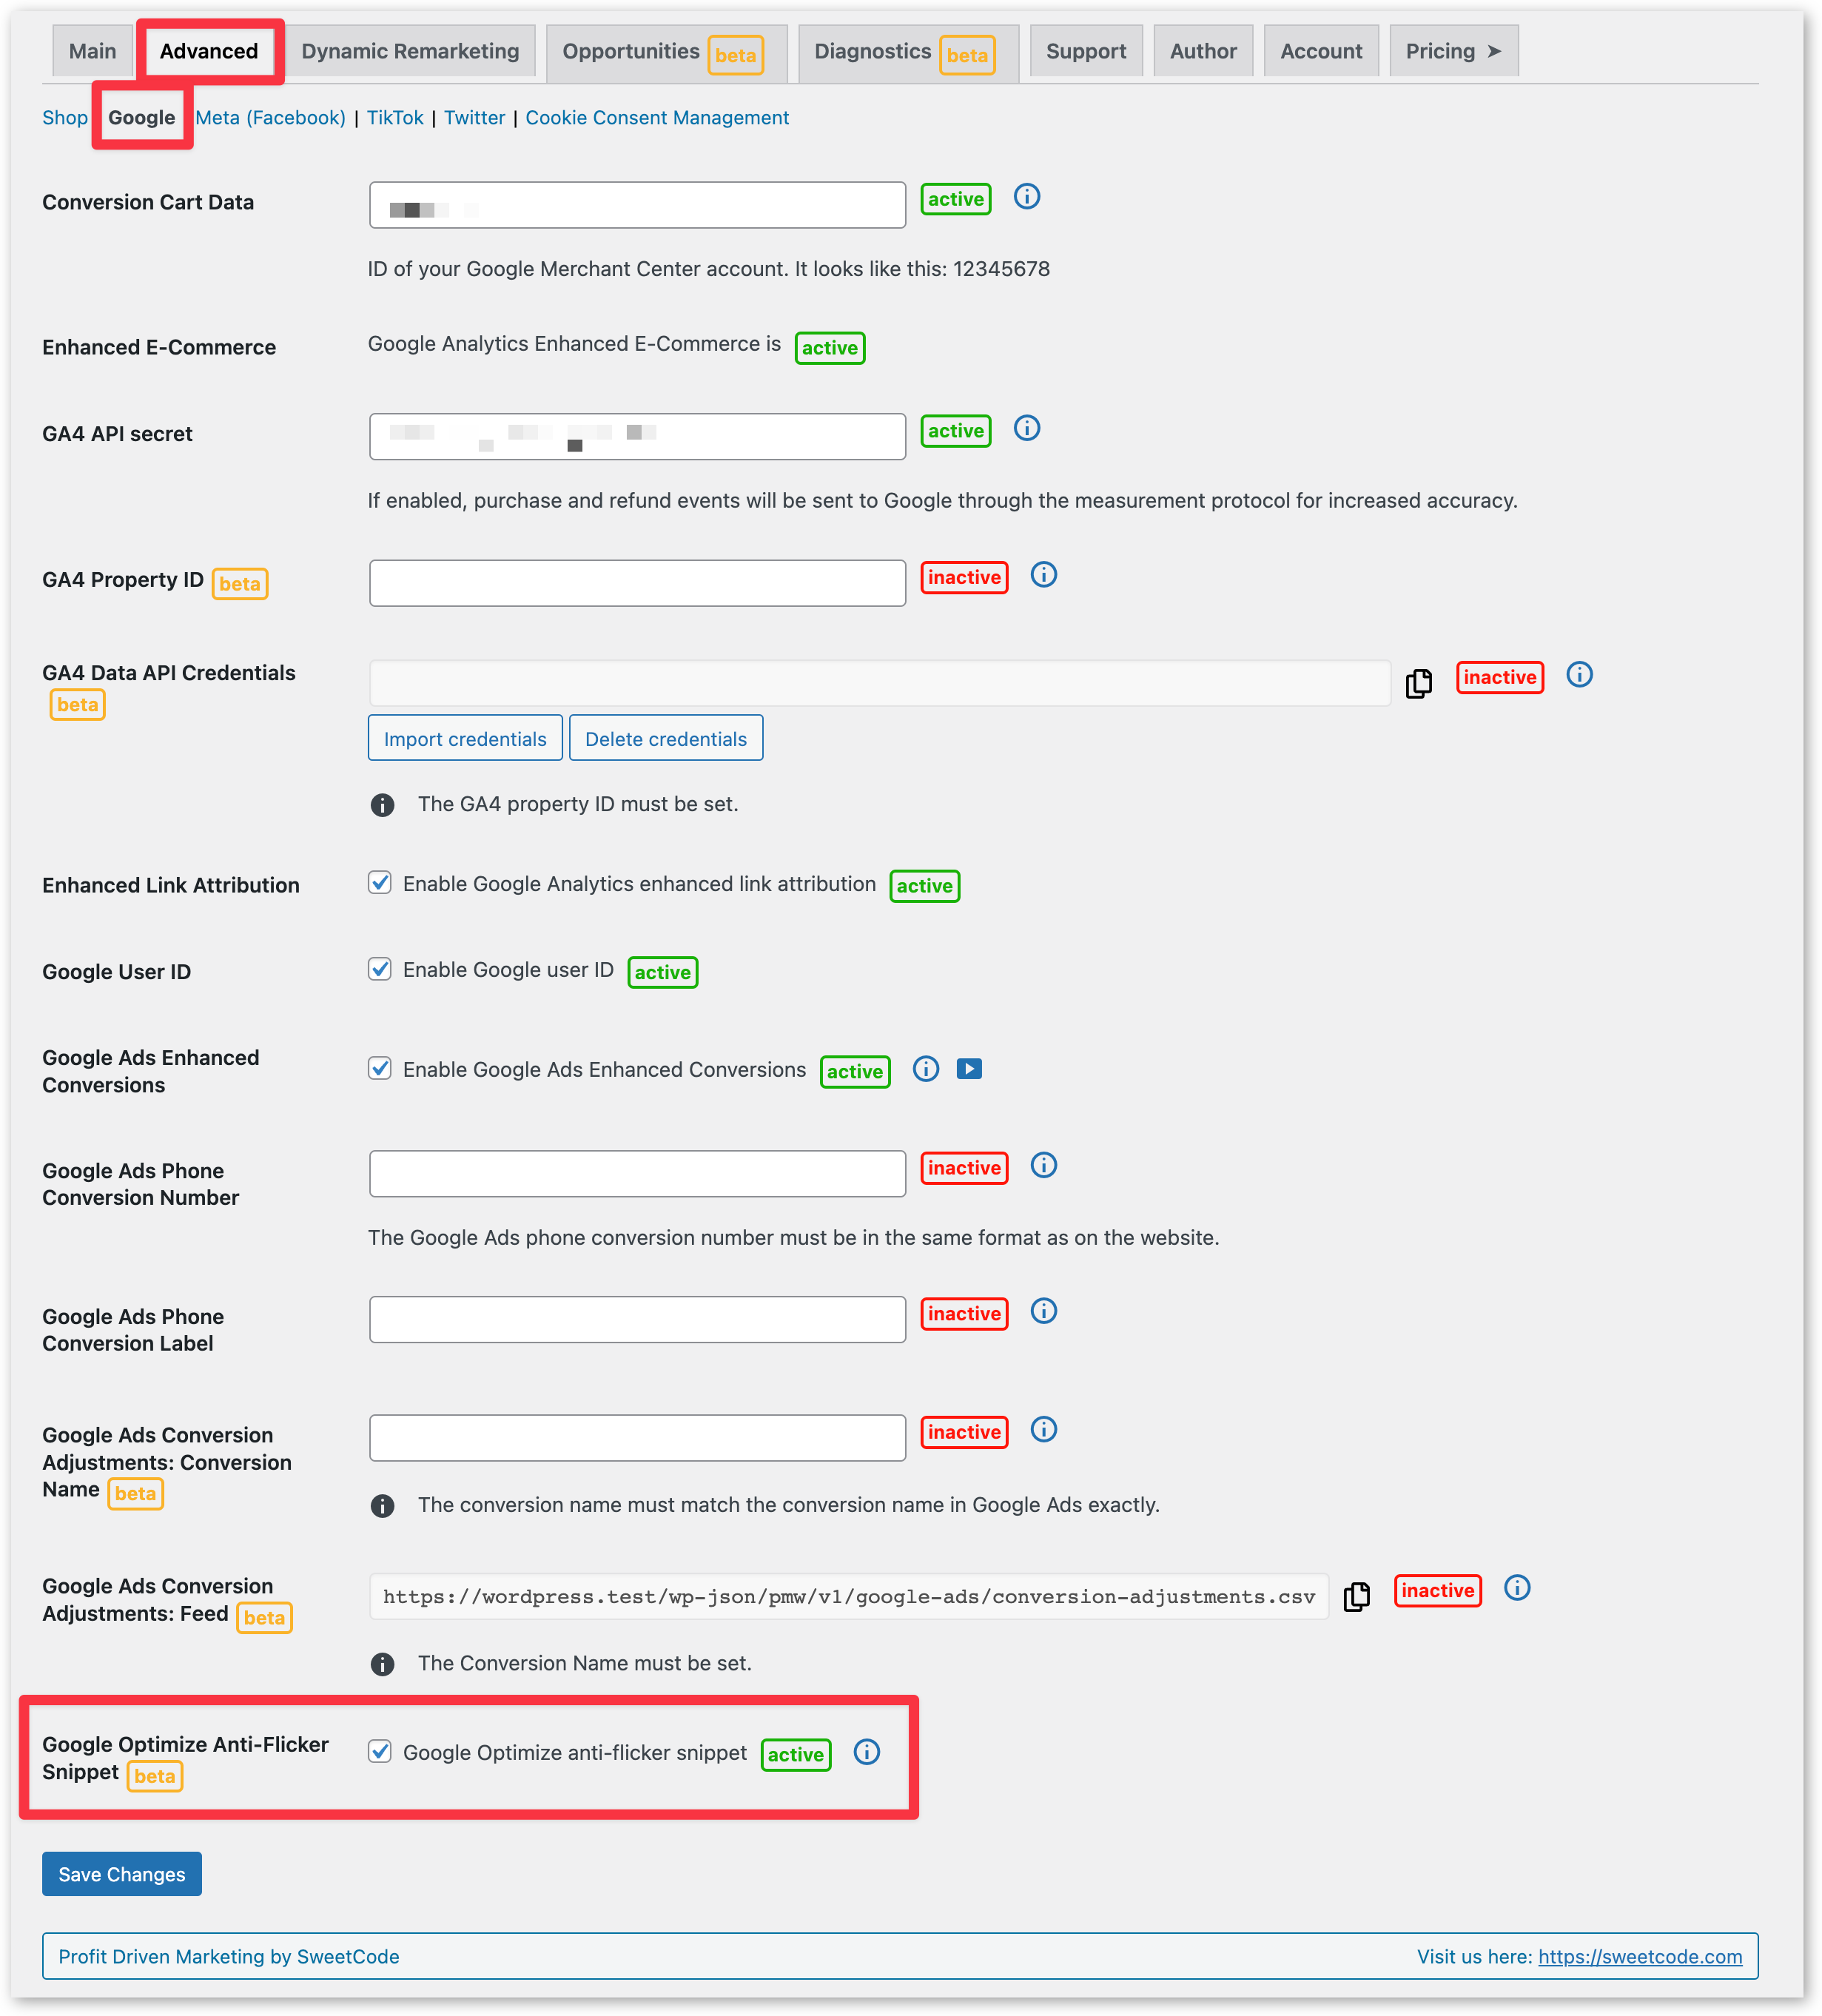
To enable the anti-flicker snippet in the settings, go to Advanced > Google, check the tick-box and save the settings.
Adjusting the Anti-Flicker Snippet Timeout
↑ Back to topThe Google Optimize anti-flicker timeout makes sure that all experiments are fully loaded before any page is visually rendered. This makes sure that the experiments yield valid results.
The default is 4000 milliseconds.
DANGER
If you enable Lazy Loading of the Pixel Manager at the same time with Google Optimize and the Google Optimize anti-flicker snippet, then visitors will see a white screen until they interact with the website.
Also, your pagespeed scores may drop.
Your options are:
1. If your priority is to use Lazy Loading of the PMW then disable Google Optimize.
2. If your priority is to run Google Optimize experiments, then disable Lazy Loading.
3. If you must keep both enabled, Google Optimize and Lazy Loading, then tweak the timeout to a time that is high enough to ensure valid experiments and low enough to minimize the white screen and pagespeed score impact.