INFO
This is a pro feature. Get the pro version here
Setting up the UET tag
↑ Back to topINFO
Microsoft Ads requires to set up a UET tag and a purchase conversion separately. You can skip this step, if you already have an active UET tag set up. We only need one active UET tag.
- Log into your Microsoft Advertising account.
- In the menu click > Tools > Conversion tracking > UET tag.
- Click > create UET tag.
- Give it some meaningful name like
UET tag 1. - Save it.
- In the next window Microsoft asks how you want to set up tagging. Choose
Install the tag yourself. - Then click
nextuntil the new tag shows up in the UET tag list. - Copy and paste that
UET tag IDinto the plugin.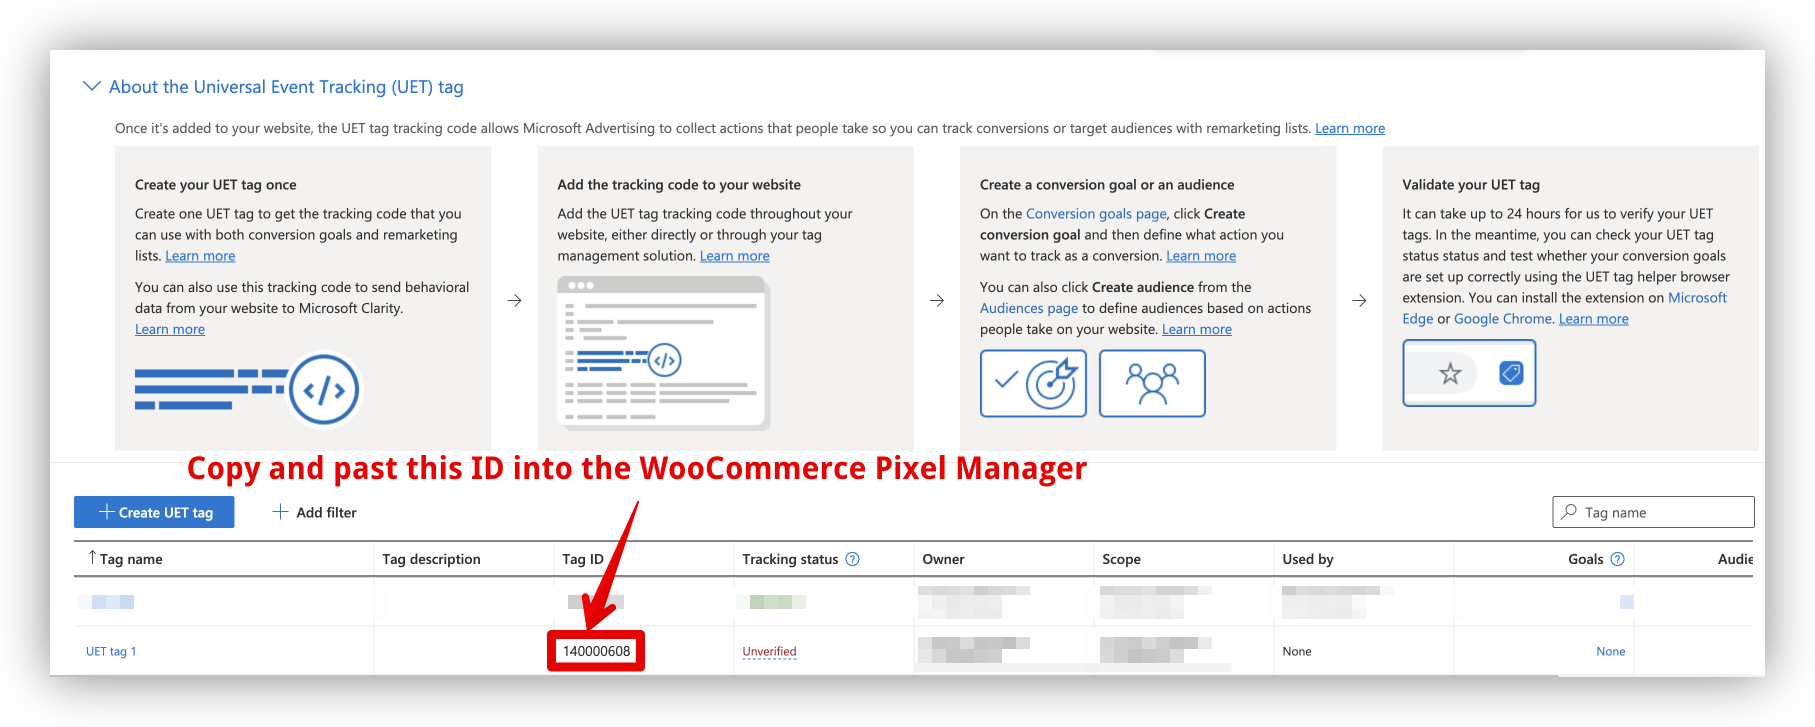
Setting up the purchase conversion
↑ Back to topWe will set up a new purchase conversion goal, using a purchase event. It is different in the way, that we don’t use a destination URL (like in most setup guides), but by using a purchase event. It is much less error-prone and works equally well.
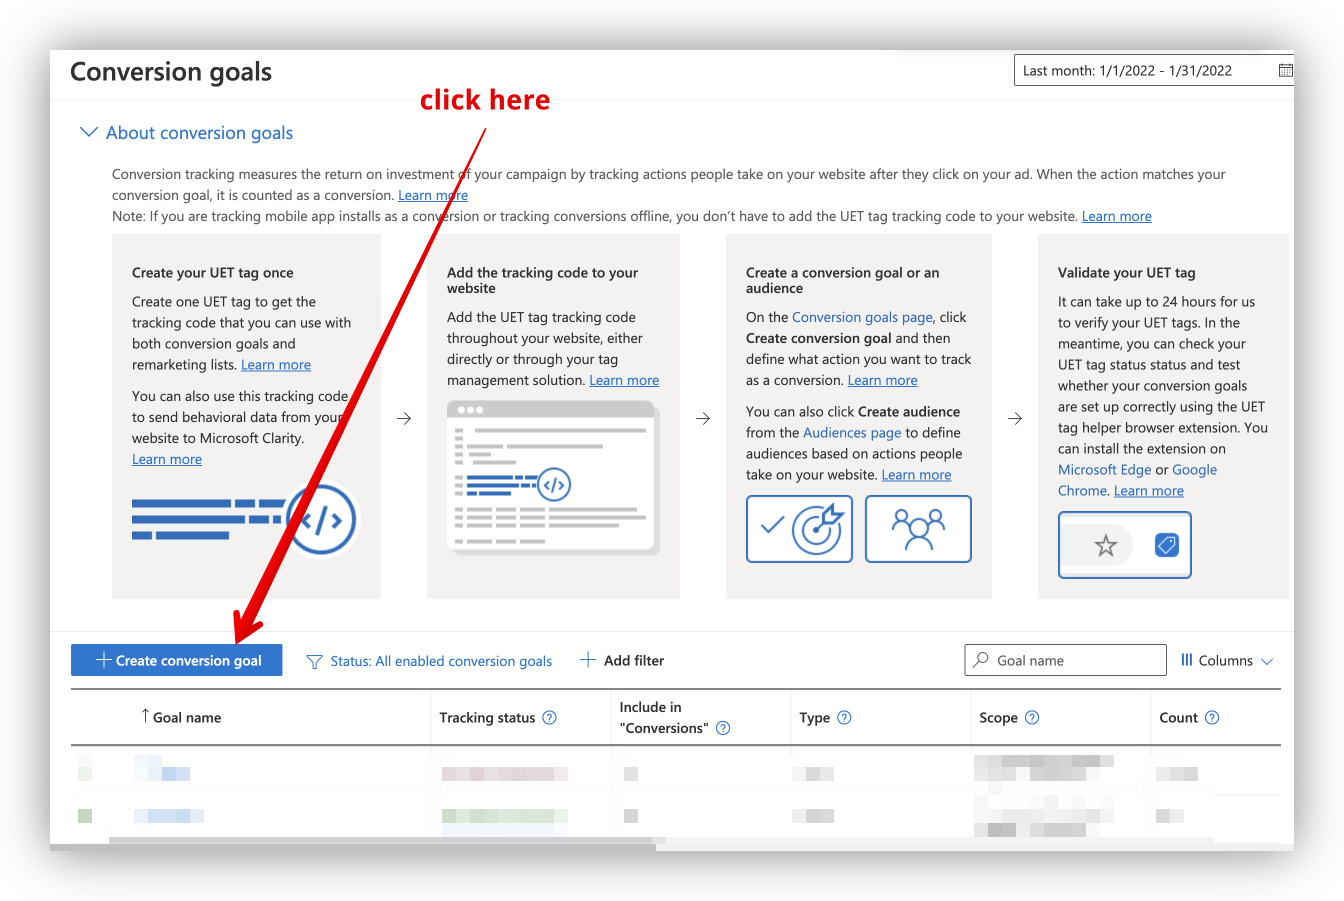
- In the menu click > Tools > Conversion tracking > Conversion goals.
- Click > Create conversion goal.
- What kind of conversions do you want to track? >
Website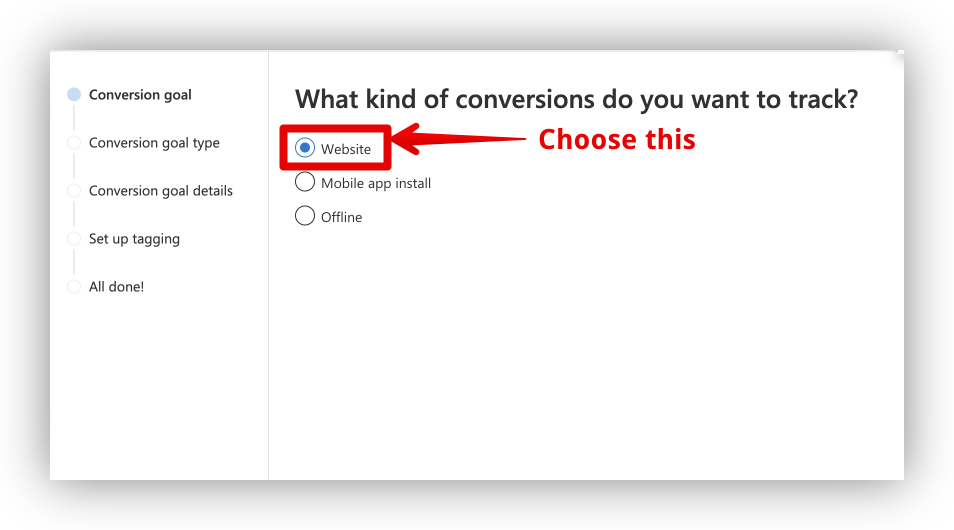
- What type of goal do you want to set? >
Purchase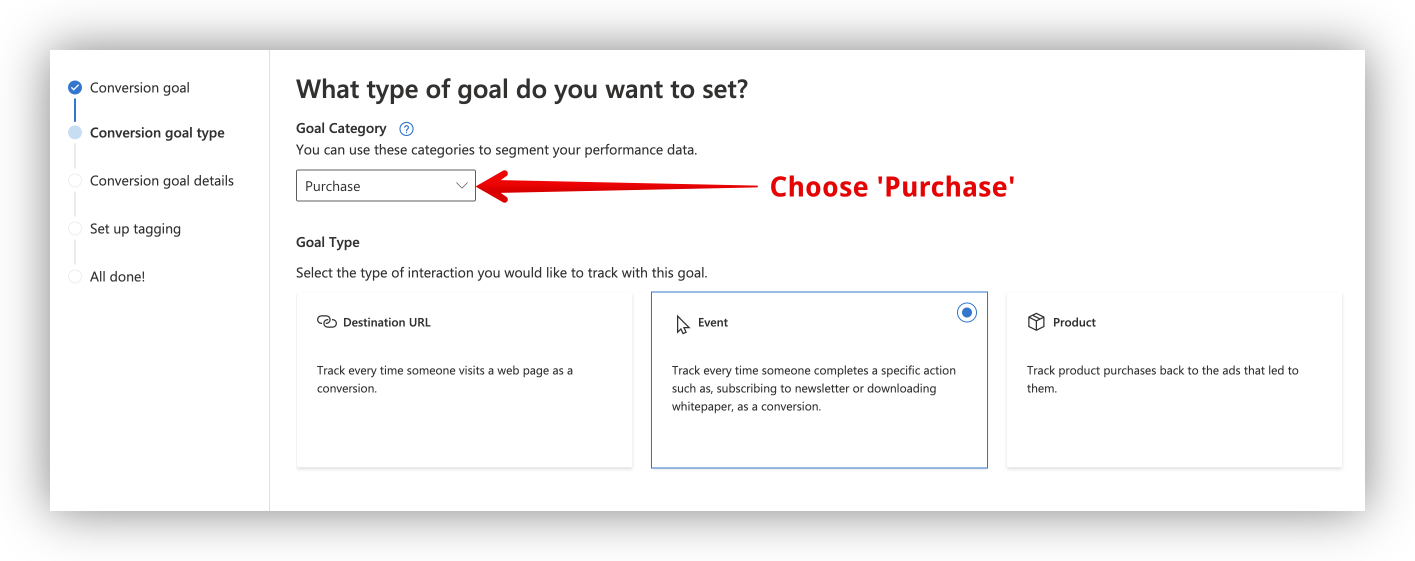
- Goal Type >
Event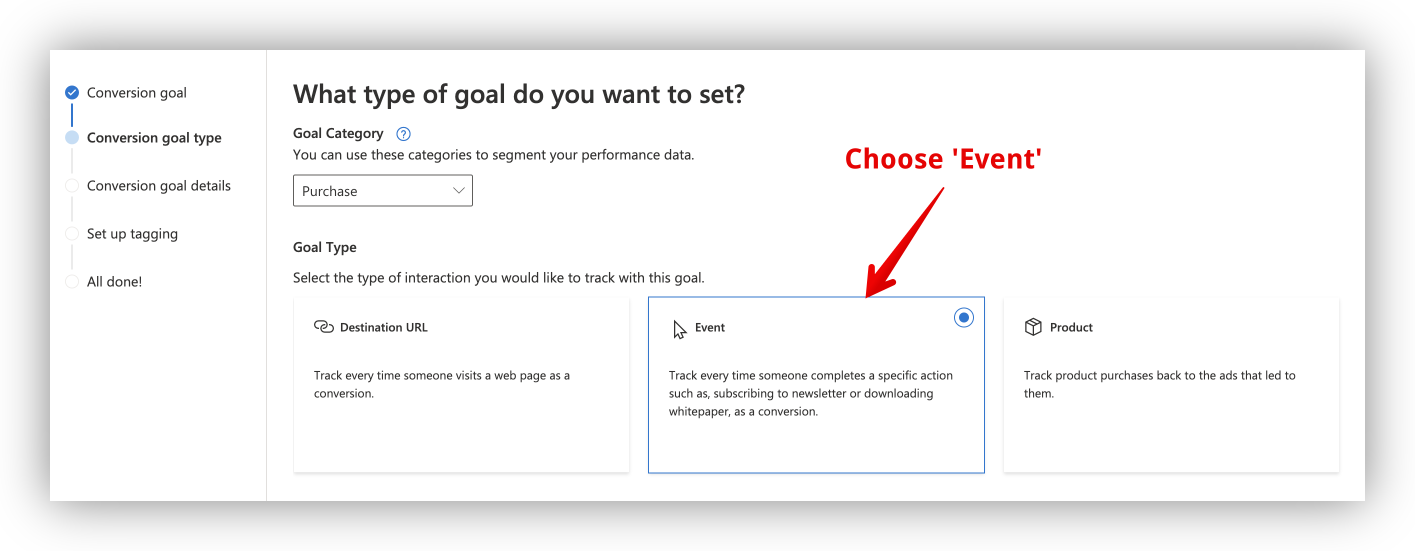
- Edit event goal
- Name:
purchase - Revenue:
Conversion action value may vary0USD(or the currency of your shop)Keep the default settings for the advanced settings.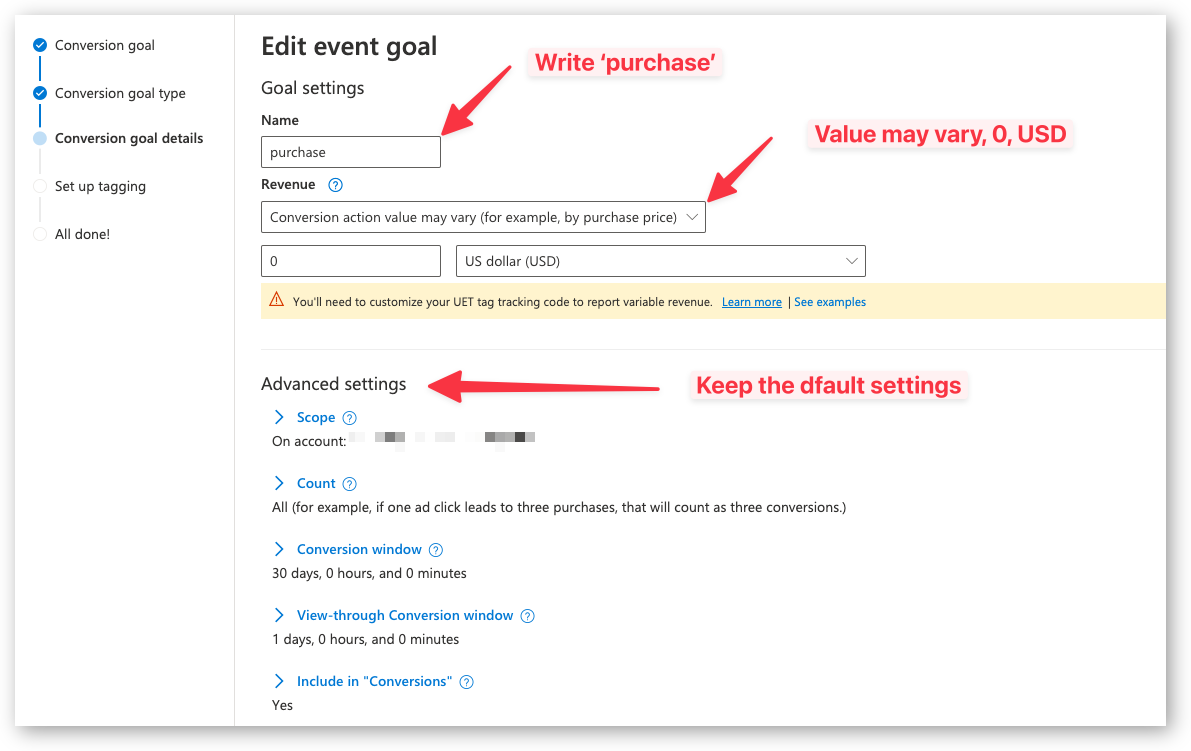
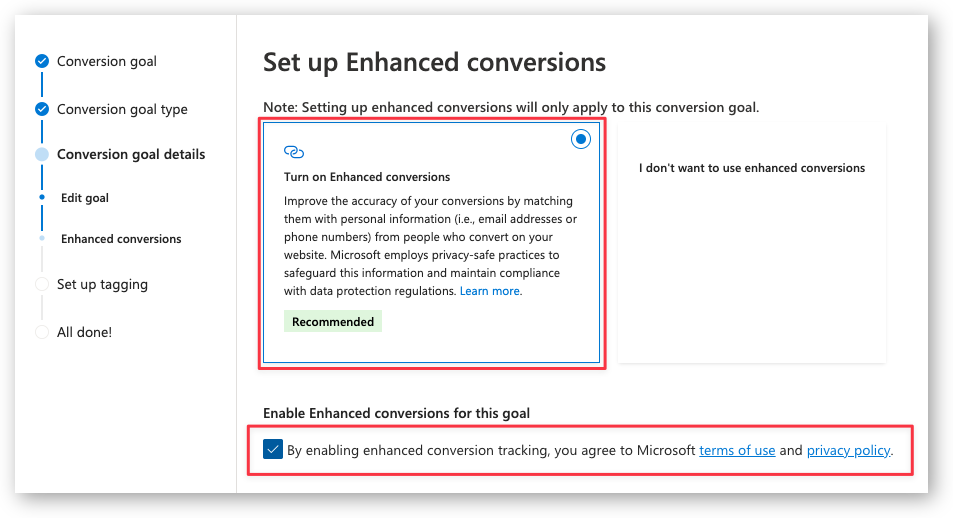
- Enhanced Conversions
- Choose
Turn on Enhanced Conversionsand check the box if you want to pass the email and phone number to Microsoft Ads.
In the Pixel Manager you also have to check the box for Enhanced Conversions for Microsoft Ads and save it.
This is optional.

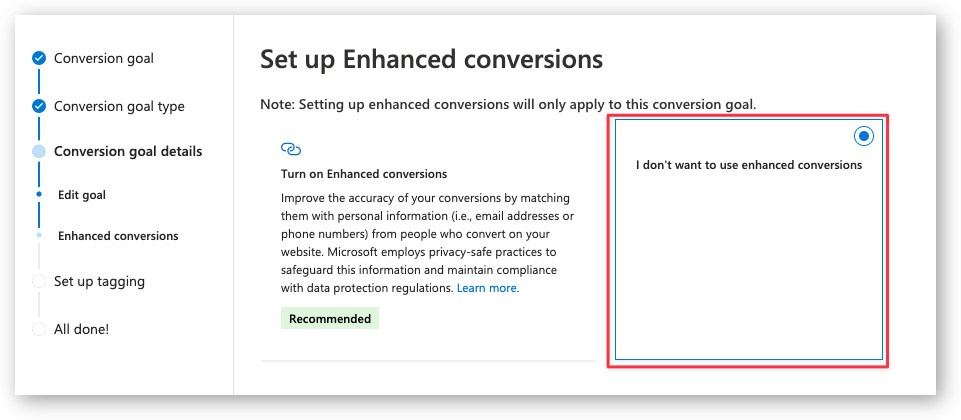
- Choose
I don't want to turn on Enhanced Conversionsif you don’t want to pass the email and phone number to Microsoft Ads.
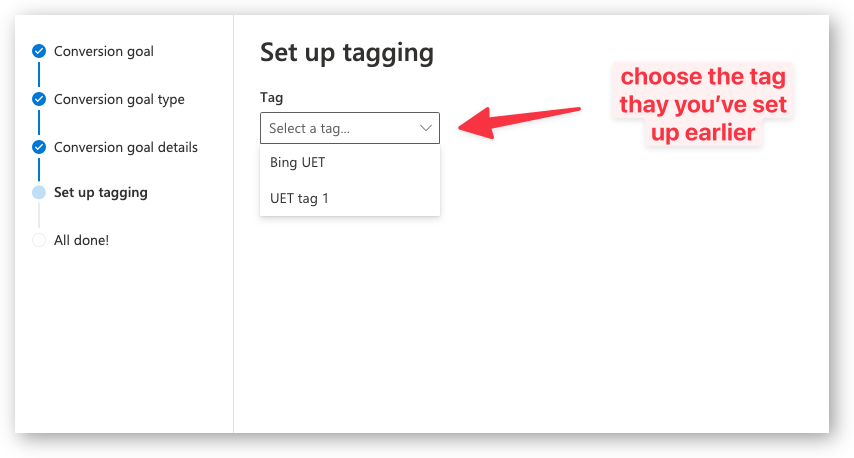
- Set up tagging
- Choose the tag that you’ve set up earlier.
- Choose >
Yes, the UET tag was already installed on all website pages when you created another conversion goal or audience list. - Click Save and next
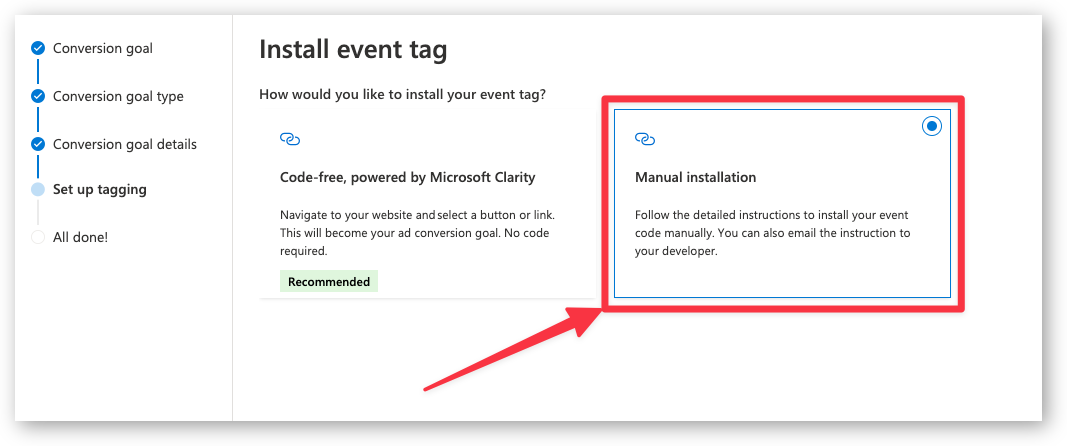
- Choose Manual installation
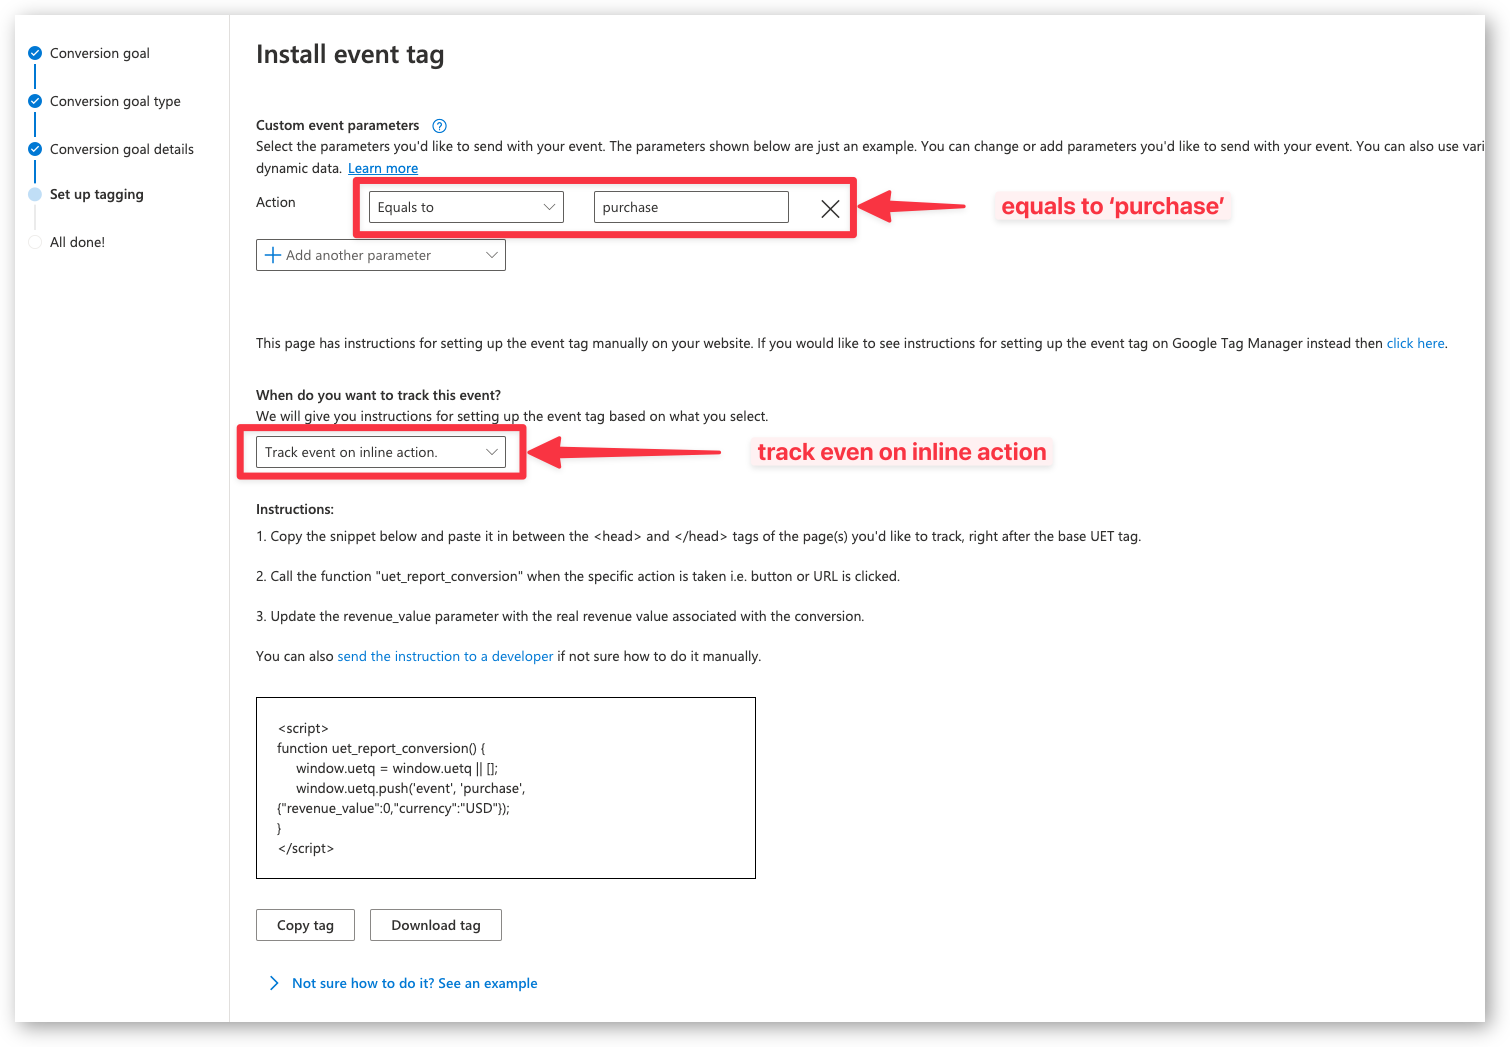
- Custom event parameters
- Set equals to and purchase
- Set track event on inline action
- Click Save and next
- Done