Configuration of Restaurant Menu
↑ Back to top- Go to WooCommerce → Settings → Restaurant Management
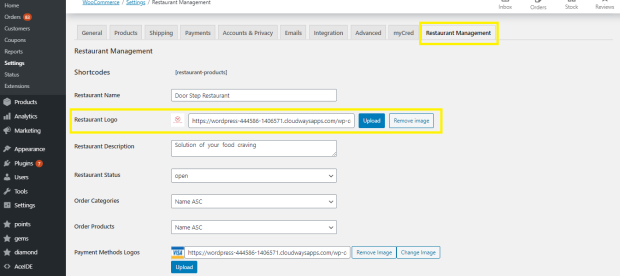
Fill the required details
↑ Back to top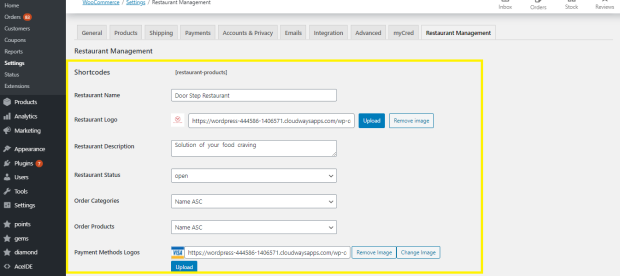
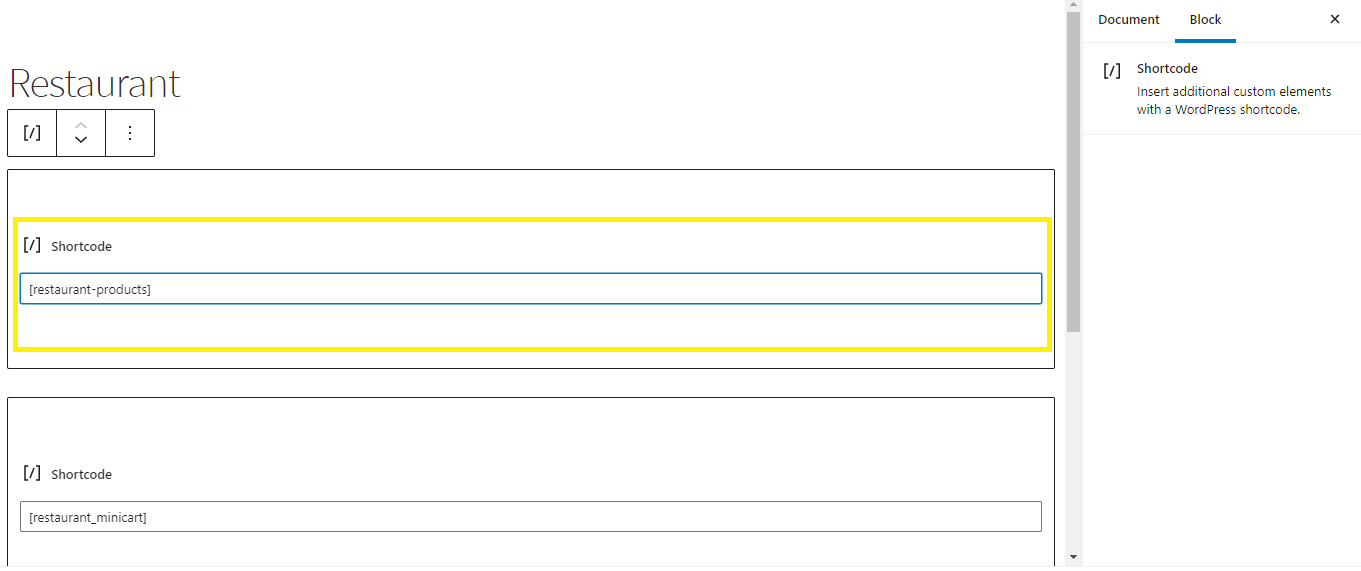
Need to place ShortCode on Page
↑ Back to top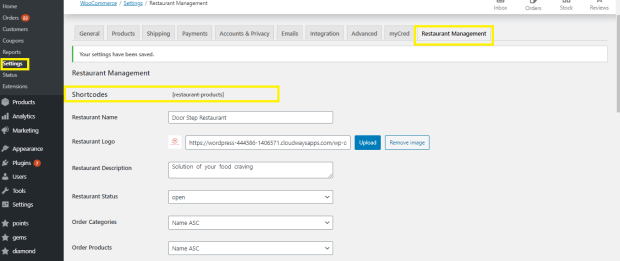 Create a page and paste the selected shortcode as shown in below image:
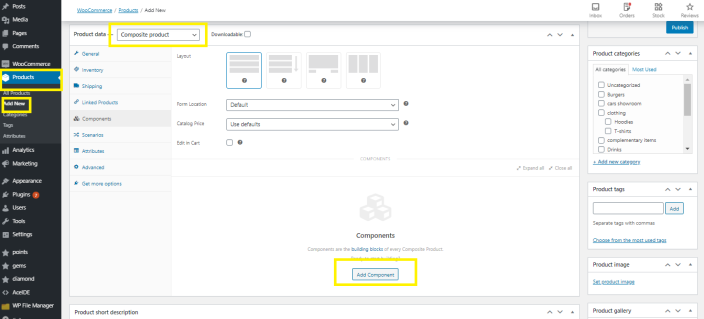
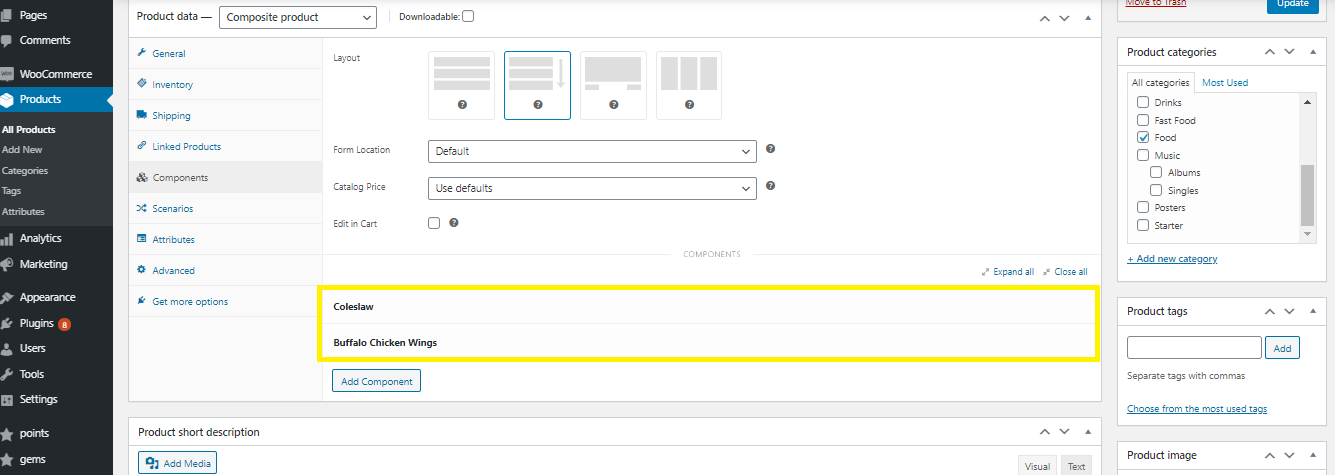
Composite Product Compatibility and Configuration:
↑ Back to top- Go to ‘Products Menu’
- Add a ‘New Product’
- Give the ‘Tilte of Page’
- Set Product Data as ‘Composite Page’
- Go to ‘Components Tab’
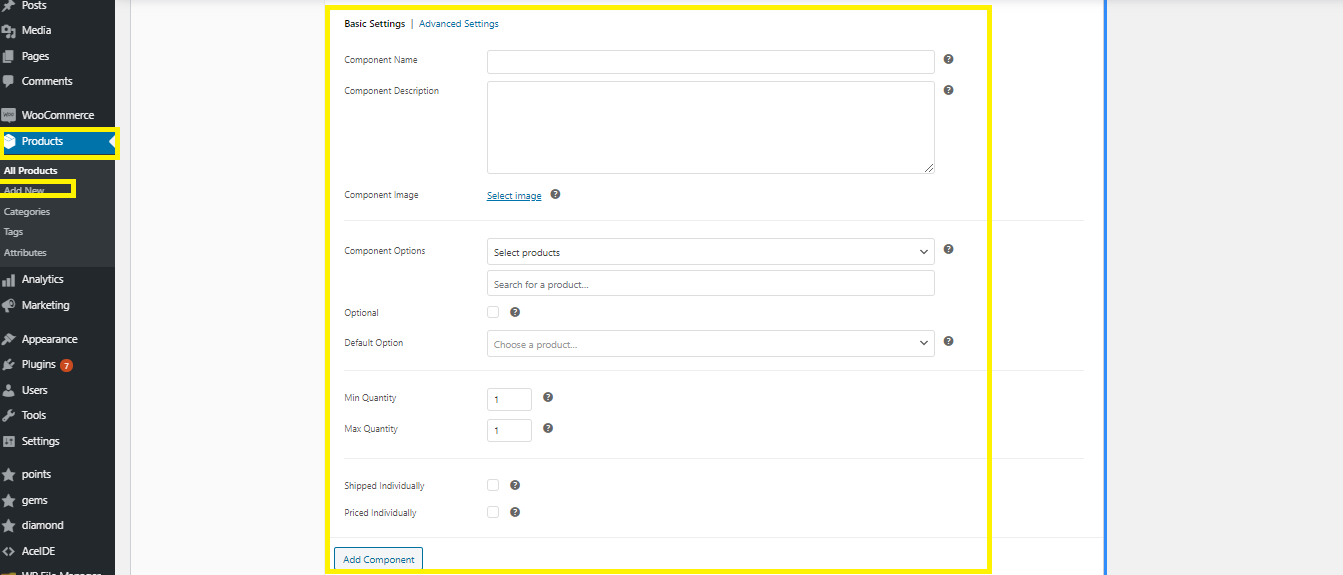
- Add ‘Components’
- Add ‘Component Name’
- Add ‘Component Description’
- Attach ‘Image of Component’
- Select ‘Component Option’ and ‘Product tags’ that you have already saved in your product list
- Set ‘Minimum’ and ‘Maximum’ quantity field
- Mark/Unmark ‘Ship Individually’ option
- Mar/Unmark ‘Price Individually’ option
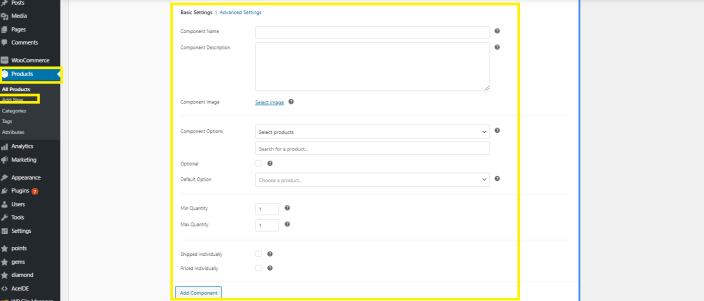
- Save it and a new component will be shown


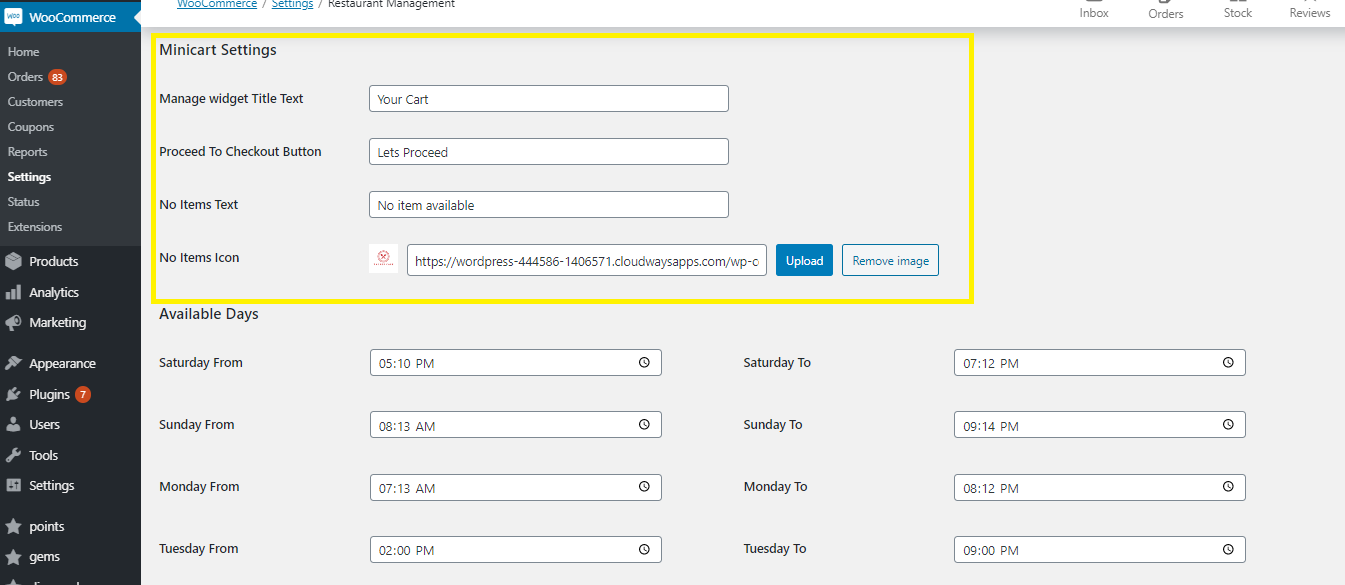
Set Minicart Settings with following options
↑ Back to top- Widget title text
- Proceed checkout button title
- If there is no item selected so the text to represent that intimation
- If there is no item selected so what icon needs to be shown
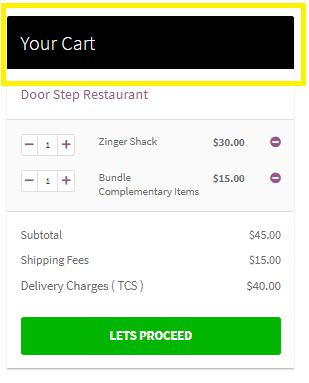
 Following is the impact of MiniCart on frontend:
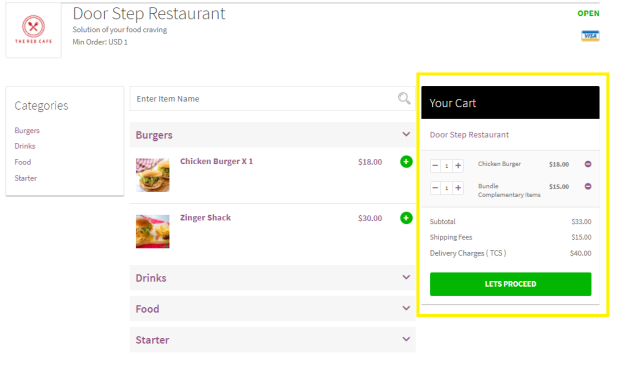
- Widget title text is displayed as per our given text
- Proceed to checkout button text
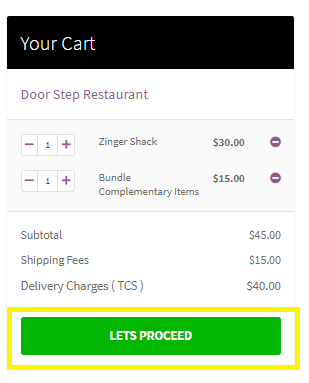
- No item selected text

- No item selected logo
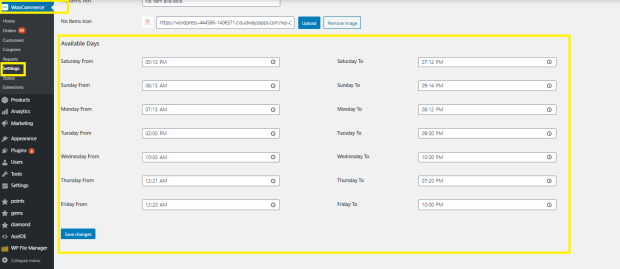
 Give description of days and timing that when your restaurant operates