Overview
↑ Back to topNote: This product has been retired and is not for sale. Documentation is no longer being updated.
Installation
↑ Back to top- Download the extension from your dashboard
- Go to Plugins > Add New > Upload and select the ZIP file you just downloaded
- Click Install Now, and then Activate
- Go to WooCommerce > Settings > Checkout > Skrill and read the next section to learn how to setup and configure the plugin.
Setup and Configuration
↑ Back to top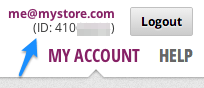
Extension Settings
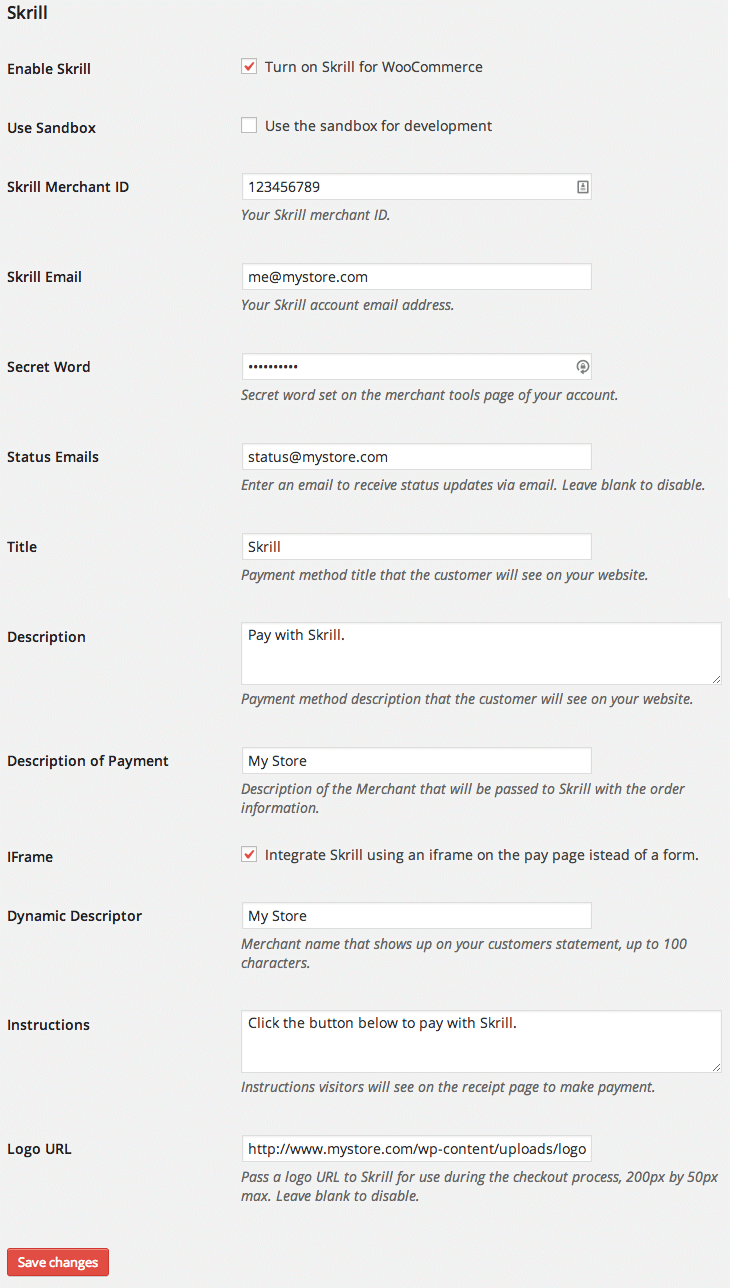
↑ Back to top- Enable/Disable – This will enable the gateway to be used by customers to checkout.
- Use Sandbox – Enable sandbox if you want to post your checkout data to the sandbox testing processor. You do not need to do this to use testing credit card numbers.
- Skrill Merchant ID – Enter your Skrill merchant ID (see above to get this).
- Skrill Merchant email – Enter your Skrill merchant email (see above to get this) – this the email used to log into your Skrill account, as this is what is passed to Skrill telling them what account should receive the payment.
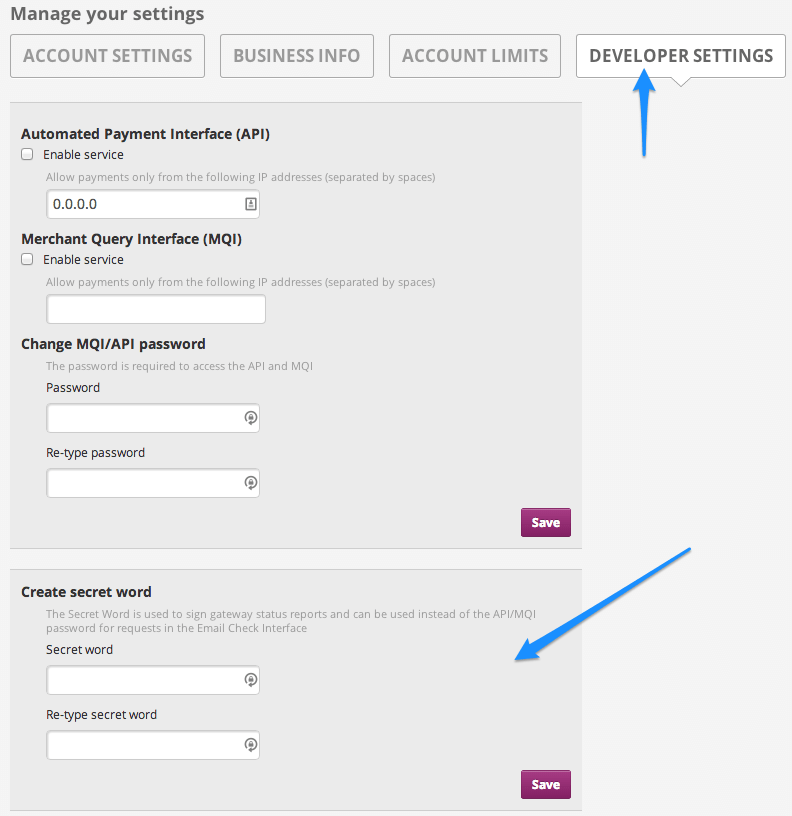
- Secret Word – Enter the secret word you setup in your Skrill account (see above for help). This is used to calculate the MD5 hash of payments, so it’s very important that enter this correctly.
- Status Emails – Enter an email if you would like to receive status emails of payments from Skrill. Leave this blank to disable.
- Title – This is the text shown for the payment during checkout and on the Order Received page.
- Description – This is the text shown under the title during checkout. Limited HTML is allowed.
- Description of Payment – Enter a short description of the payment or a short description of your store. This will be passed to Skrill with the order information.
- IFrame – Enable this to integrate Skrill using an iframe on the pay page instead of a form, which will appear to keep customers on your site rather than redirecting them to Skrill’s hosted pay form.
- Dynamic Descriptor – Enter the merchant name that will show up on your customers’ statements (up to 100 characters).
- Instructions – The receipt page in WooCommerce will automatically post the hidden form and forward to Skrill; however if this does not happen, the instructions in the “Instructions” box will appear above the submit button on the receipt page.
- Logo URL – If you would like to co-brand the Skrill checkout process, enter a logo URL in the “Logo URL” text box. The size must be 200px by 50px max. Leave blank to disable.