Congrats on your new theme! You’ve made a great choice with Vivid.
Installation
↑ Back to topBelow is a quick guide to help you get it installed.
- Start by downloading your theme for your WooCommerce Dashboard.
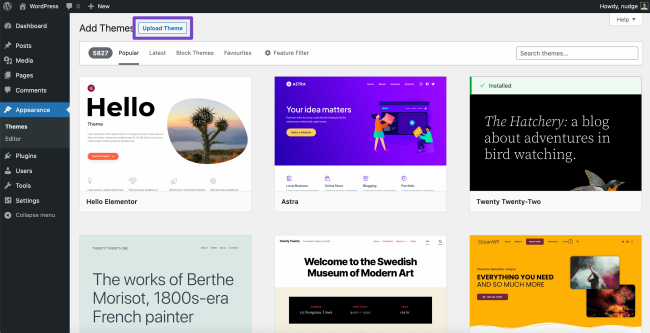
https://woocommerce.com/my-account/downloads/ - Next, from your WordPress dashboard. From here, go to Appearance > Themes. From the top of the screen, click the “Add new” button.

- On the Add Themes screen, click the Upload Theme button at the top of the screen.
- From the next screen, click the Browse you see in the middle of the screen.

- This will open up a window for you to browse your computer. Now go find the zip file you downloaded in step 1. Make sure it’s still zipped!
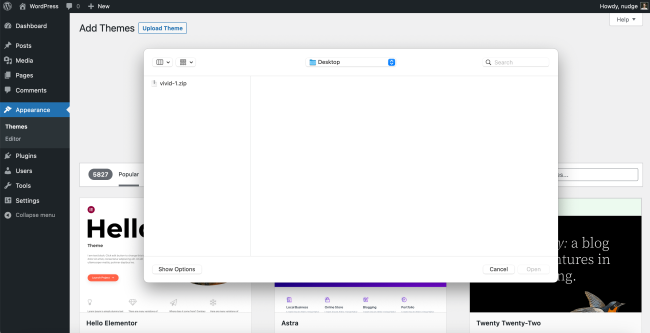
- Next, select the zipped theme file and click Open.
- You’ll now see your theme’s file name. Click the Install Now button.

- And finally, you’ll see a “Theme installed successfully” message. Now click Activate.

And voilà, your new theme is installed. You’ll now see a message for you to go to Vivid’s Settings page for additional help and importing demo content.
Content Import
↑ Back to topWith the import wizard, you can get your site setup up quickly with the content available on our demo sites. We have three available. Vivid default, Vivid Green and Vivid Orange. Here’s how to set this up.
- From your dashboard, go to Vivid Settings > Vivid Demo Content. This will bring you straight into the wizard. Click Start to get to the second screen. If you don’t have WooCommerce installed, this is the step that will do it for you.

- On the third screen, you can select which content you wish to import (Vivid, Vivid Green or Vivid Orange) from the drop-down. Click Import, and you’re done!

Patterns
↑ Back to topPatterns are another powerful and easy way to kickstart your content. Vivid comes bundled with almost 40 patterns, including full-page patterns for your Homepage, About and Contact pages. You can insert them anywhere in your site, whether it’s a post, a page, or the Site Editor.
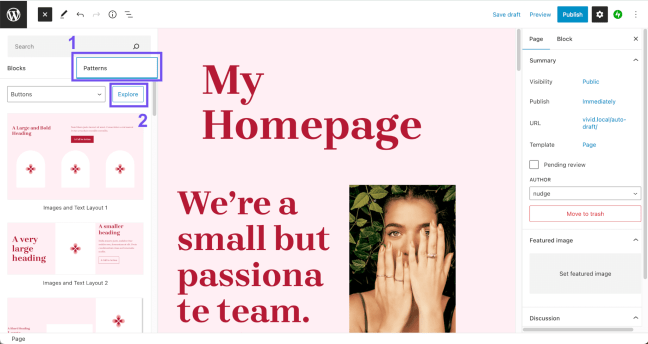
- From the top-left menu of your post, page or site editor, click the blue + sign.
- Under the search box, click the Patterns menu, then Explore.
4. From here, you can select the pattern category from the list on the left.
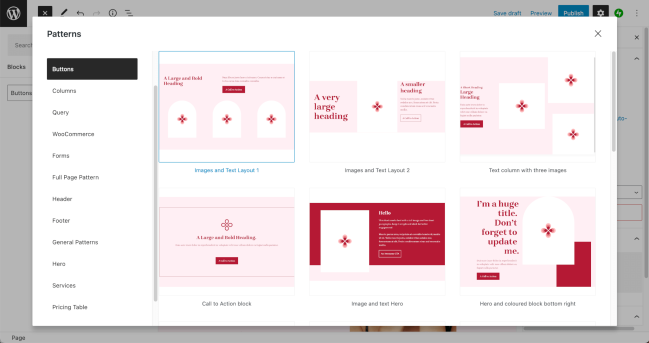
- Next, scroll through the patterns until you see one you’d like to use.
- Once you’ve found the right one, click on the pattern to insert it into your page. The pop-up will automatically close and bring you back to the editor.
- You can now modify each pattern’s content and layout to fit your site and content perfectly.
Header Setup
↑ Back to topAdding a logo and site navigation is done directly in the Site Editor. To get started, from your dashboard, head over to Appearance > Editor.
Logo
↑ Back to topThere are several ways to edit your logo. Here is one way to do it from inside the homepage template.
- From the Site Editor, click anywhere inside the homepage. This will bring you inside the editor.
- Next, click on the header. You will now get a pop-up on the bottom-left of the screen which says Edit your template to edit this block. Now click on the Edit Template link.
- Next, click on the logo block and click Replace. You’ll now have the option to insert your logo from the Media Library or to upload it.
Navigation
↑ Back to topAdding a navigation to the header is done similarly to the logo.
- From the Header template, select the navigation block. To be sure you have the right block selected, you can look at the block List View in the upper-left-hand side of the editor screen.
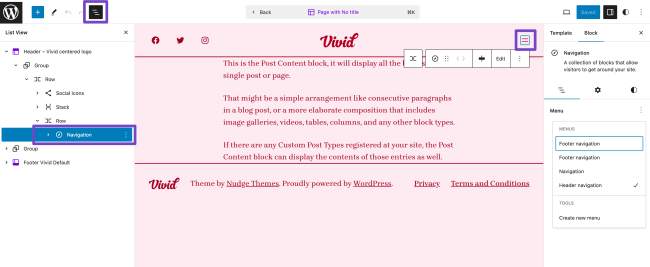
- Next, click on the three vertical dots next to the menu in the Block settings sidebar on the right. You’ll now see either a list of existing menus or you can click on Create new menu to create a new one.

More Help With Navigation
If you need additional help with setting up Menus, you can find more extensive documentation on WordPress.org.
Footer Setup
↑ Back to topAs with the header, the footer logo (if there is one) and navigation are done in the Site Editor. Please follow the same steps as outlined in the Header Setup section
Image Shapes
↑ Back to topVivid’s standout feature allows you to bring your content to life with different image shapes.
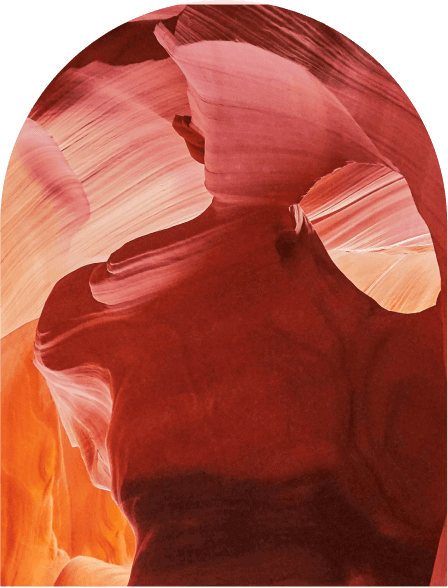
Arch shape

Circle semi-circle shape
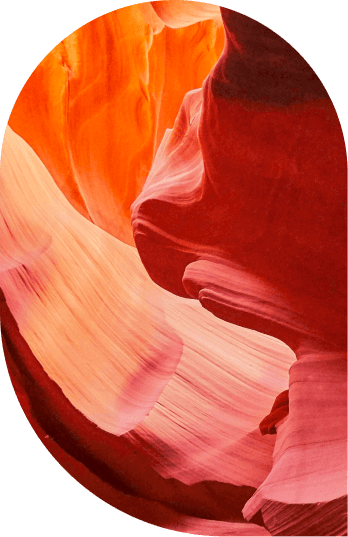
Oblong shape
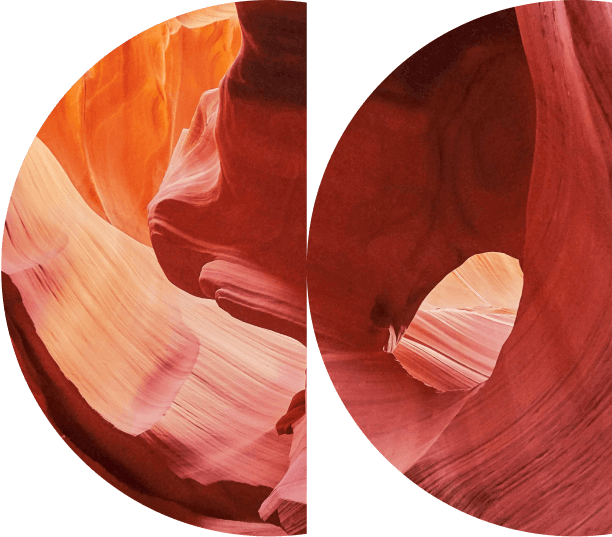
Semi-circles shape
Image shapes on posts and pages feature images
↑ Back to topCustomize the shape of each of your posts to fit your style. By default, single post pages feature an oblong shape, but you can easily change the shape by selecting a different template.
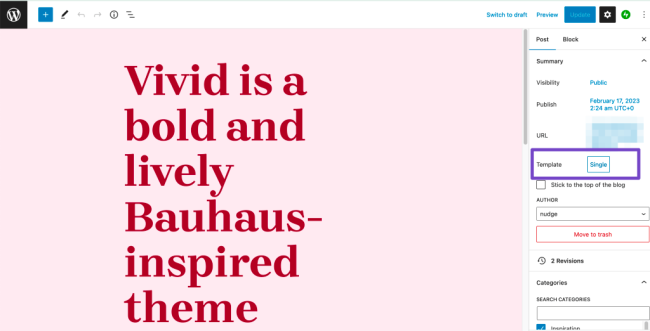
- From the right settings menu, click on the “Single” button right next to Template.
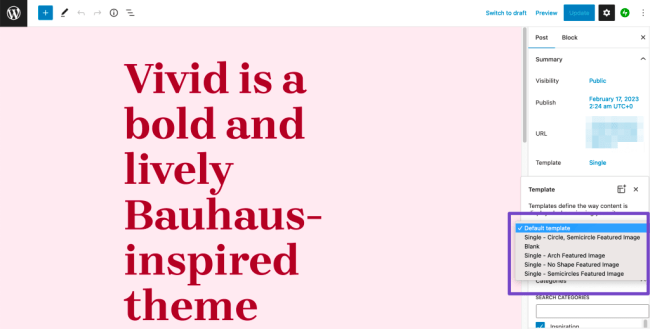
- You’ll now see a drop-down where you can select which image shape you’d like to set for your featured image. Note that this will only be visible on the front end, so make sure to click the preview button at the top for you to review it.
Image shapes on images anywhere on your page
↑ Back to topYou can also apply the shapes to the Image block or the Media/Text block by applying a block style.
Image shapes on the blog page
↑ Back to topBlog page images can easily be changed with the Site Editor. Keep in mind that for this template, all images will have the same shape.
- Start by heading to the Site Editor under Appearance > Editor.
- Next, under Templates, click on Index.
- If you’re using the default blog layout, the images will be hidden (like on the front end) but show up when you hover over the post title. Once it’s hovered, click on it. Make sure you have the Featured Image block selected either from the List View on the left or the bottom breadcrumbs.
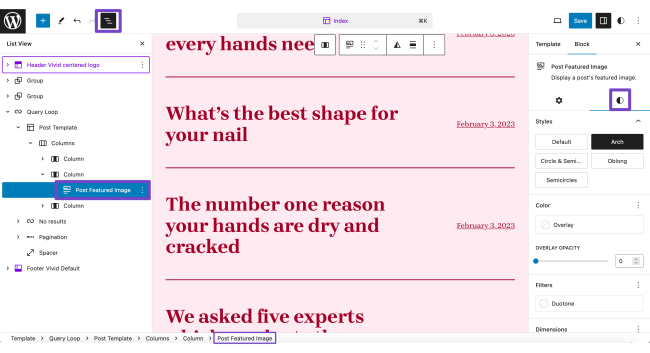
- From the Styles tab, select the desired shape.
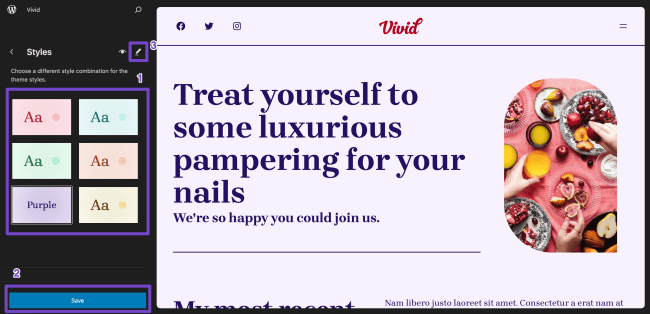
Colour Variations
↑ Back to topVivid comes with six different colour variations. Each one can be used out of the box or further customized right in the Site Editor. To set a new colour variation from your dashboard, go to Appearance > Editor. Next click on Styles.
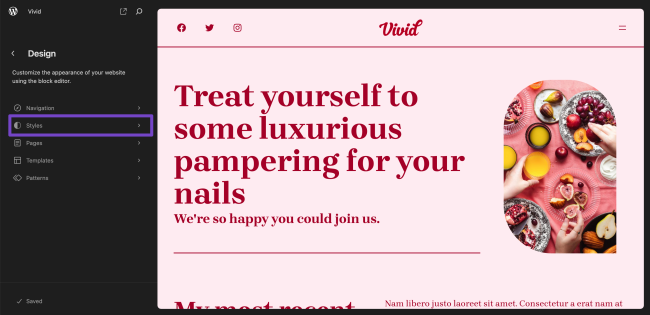
You’ll now see all variations available. Simply click on the desired style and press save at the bottom left of the sidebar.
If you wish to further fine-tune your site’s colours, you can do so from the Styles menu inside the template editor.


Block Animations
↑ Back to topVivid offers you a built-in way of setting fade-in animations on all your blocks including images and headings.
- To apply the animation, simply click on the desired block within your post or page editor.
- Toggle on the “Add Fade-in Effect” from the Settings tab.
- You’ll now see all the available settings for the fade-in effect. Those are:
- Movement in px: This will be how much the elements will move set in pixels. Select value between 0px (no movement) and 200px.
- Delay in seconds: This setting allows you to delay the animation once the block is in view.
- Duration in seconds: This setting determins how long the animation will last.
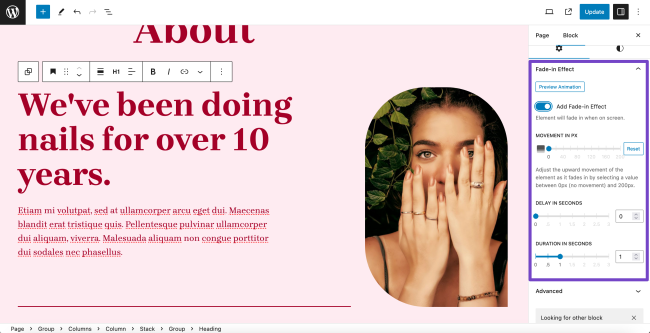
- After configuring all three settings, you can click the Preview Animation button at the top of the settings box to see how it looks.