WooCommerce user dashboard plugin allows you to personalize my account page of customers by adding new tabs and customizing default tabs.
Installation
↑ Back to top- Download the .zip file from your WooCommerce account.
- At the Admin Panel, go to Plugins > Add New and Upload Plugin with the file you downloaded after purchase.
- Install and Activate the extension.
More information at: Install and Activate Plugins/Extensions.
How to Configure?
↑ Back to topTo start the configurations for this extension, go to WooCommerce > Settings > User Dashboard at the admin panel and click the “Manage Endpoints”.

Manage Endpoints:
↑ Back to topEdit Default Tabs:
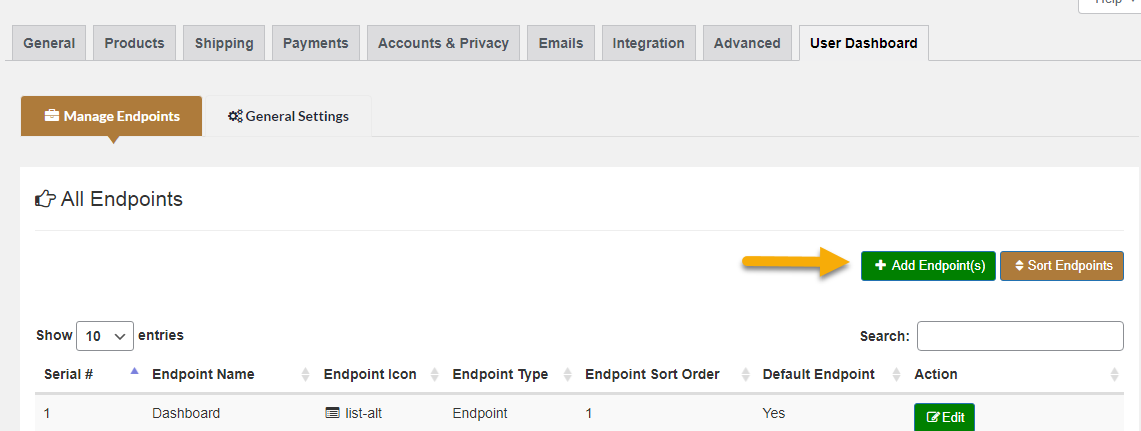
Here you can see all the default my account tabs in the table and you can edit them by clicking the “Edit” button.

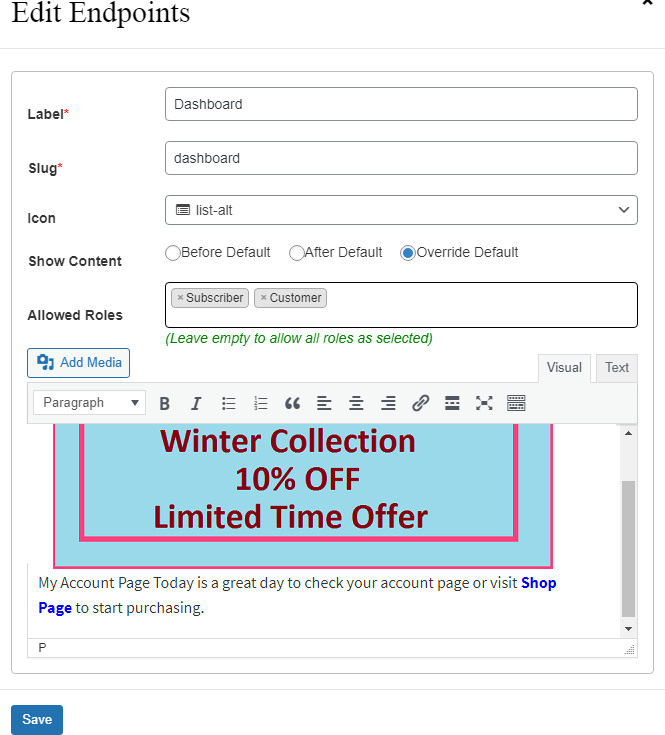
After clicking the “Edit” button, you can customize the label and slug of the default tab. Set the icon which will be displayed to your customer on their account page. You can choose position of new content like after/before default content or you can overwrite the default content as well.
Choose user roles if you want to display this tab only to specific user roles. Add content, images, or links using WYSIWYG editor and “Save” the tab to display it to your customer.
Add New Tab/Endpoint
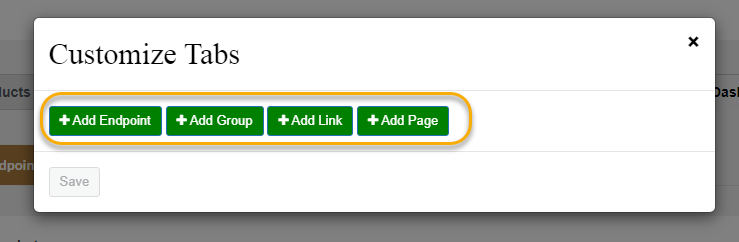
In “Manage Endpoints” tab click the “Add Endpoint” button to create a new account tab. Here you have the choice to add four types of tabs such as Endpoint, Group, Link, and Page.
Add Endpoint:
Add a new tab to display on users my account dashboard. You can customize each tab such as label, slug, and icon. Check the “Hide” option to hide this tab from customers. The hide option is also useful especially if you want to display this tab in a group.
Use the “Allowed Roles” option if you want to restrict this field to specific user roles. You can add content, images, and links using the WYSIWYG editor.

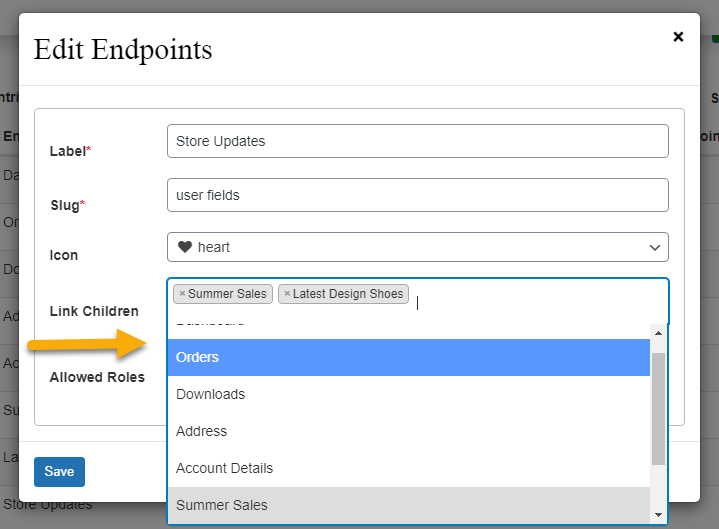
Add Group:
You can create a group of multiple endpoints. Choose from existing endpoints either default or custom that you want to display under the main tab. You can restrict the group to specific user roles as well.
Note: Hide the tabs which you want to display only in a group.
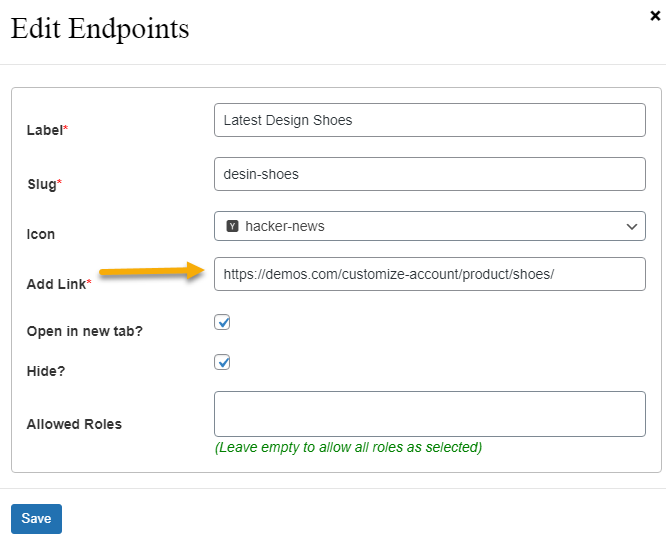
Add Link:
Use this option if you want to redirect customers to any page. It can be a product, store page, or any custom URL. Place the link in the “Add Link” section and you can check the “Open in new tab” option to open the page in the new tab when the user clicks this endpoint.
Add Page:
Select page of your store where you want to move customers from my account page such as sample, services, about, home, account, contact, blog, shop, cart, and checkout.

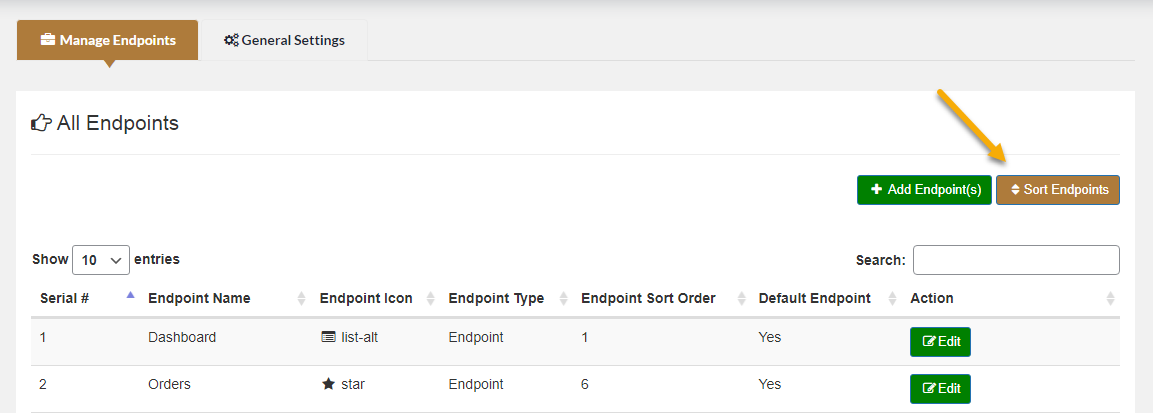
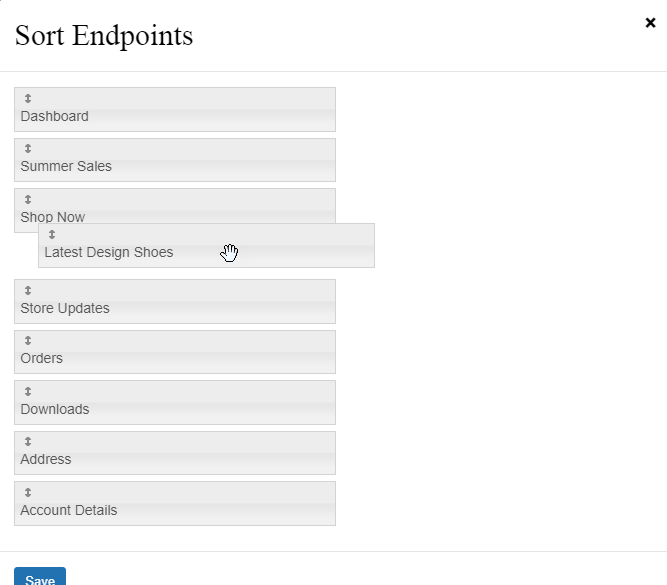
Sort the Order of Tabs:
In the “Manage Endpoints” tab click the “Sort Endpoints” button to sort the order of all the endpoints.
Now drag and drop the fields to sort them accordingly.
General Settings:
↑ Back to topGo to WooCommerce>User Dashboard and click the “General Settings” tab to configure the general settings. Here you will find three sections.

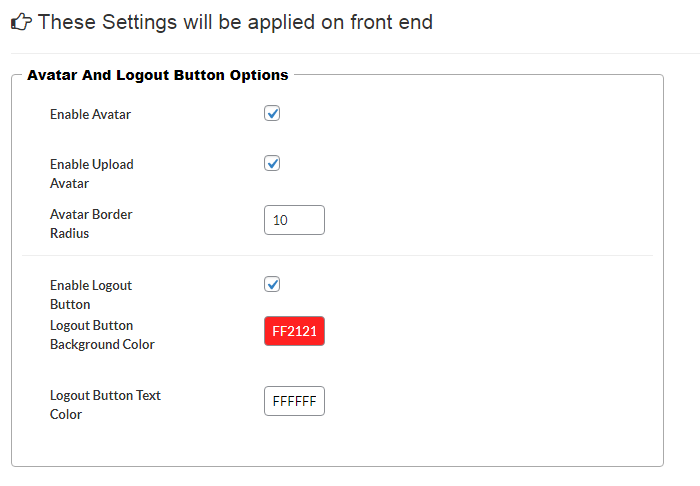
Avatar and Logout Button Options
You can enable avatar and allow customers to upload their avatar from this section. You can also enable and customize the “Log Out” button from here.
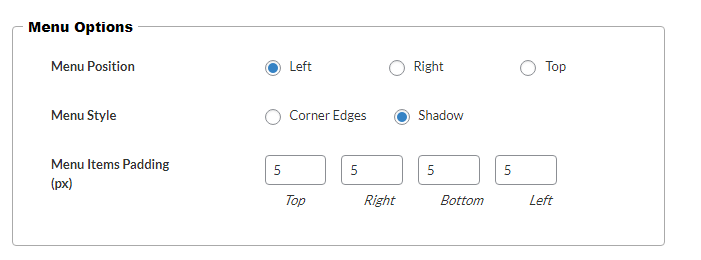
Menu Options:
Choose the menu position Left, Right, or Top. Select the menu style either Corner Edges or Shadow and set the menu item padding according to your requirement.
Menu Color Options
These settings are for the “Menu Style” option that you have chosen, “Corner Edges” or “Shadow“. You can set the tabs active, hover, and default colors and set the border radius of tabs from here.
