NOTE
This product is no longer available on WooCommerce.com. This document has been left available for existing users, but will no longer be updated.
Overview
↑ Back to topWooCommerce is a customizable, open-source eCommerce platform built on WordPress. When integrating PayBright with WooCommerce, you can quickly provide a tailored pay-over-time solution for your shoppers.
Once integrated, your WooCommerce website will:
- Offer PayBright as a payment option on the checkout page
Installation
↑ Back to topAutomatic Installation:
- To automatically install PayBright, log in to your WordPress dashboard, navigate to the Plugins menu and click Add New.
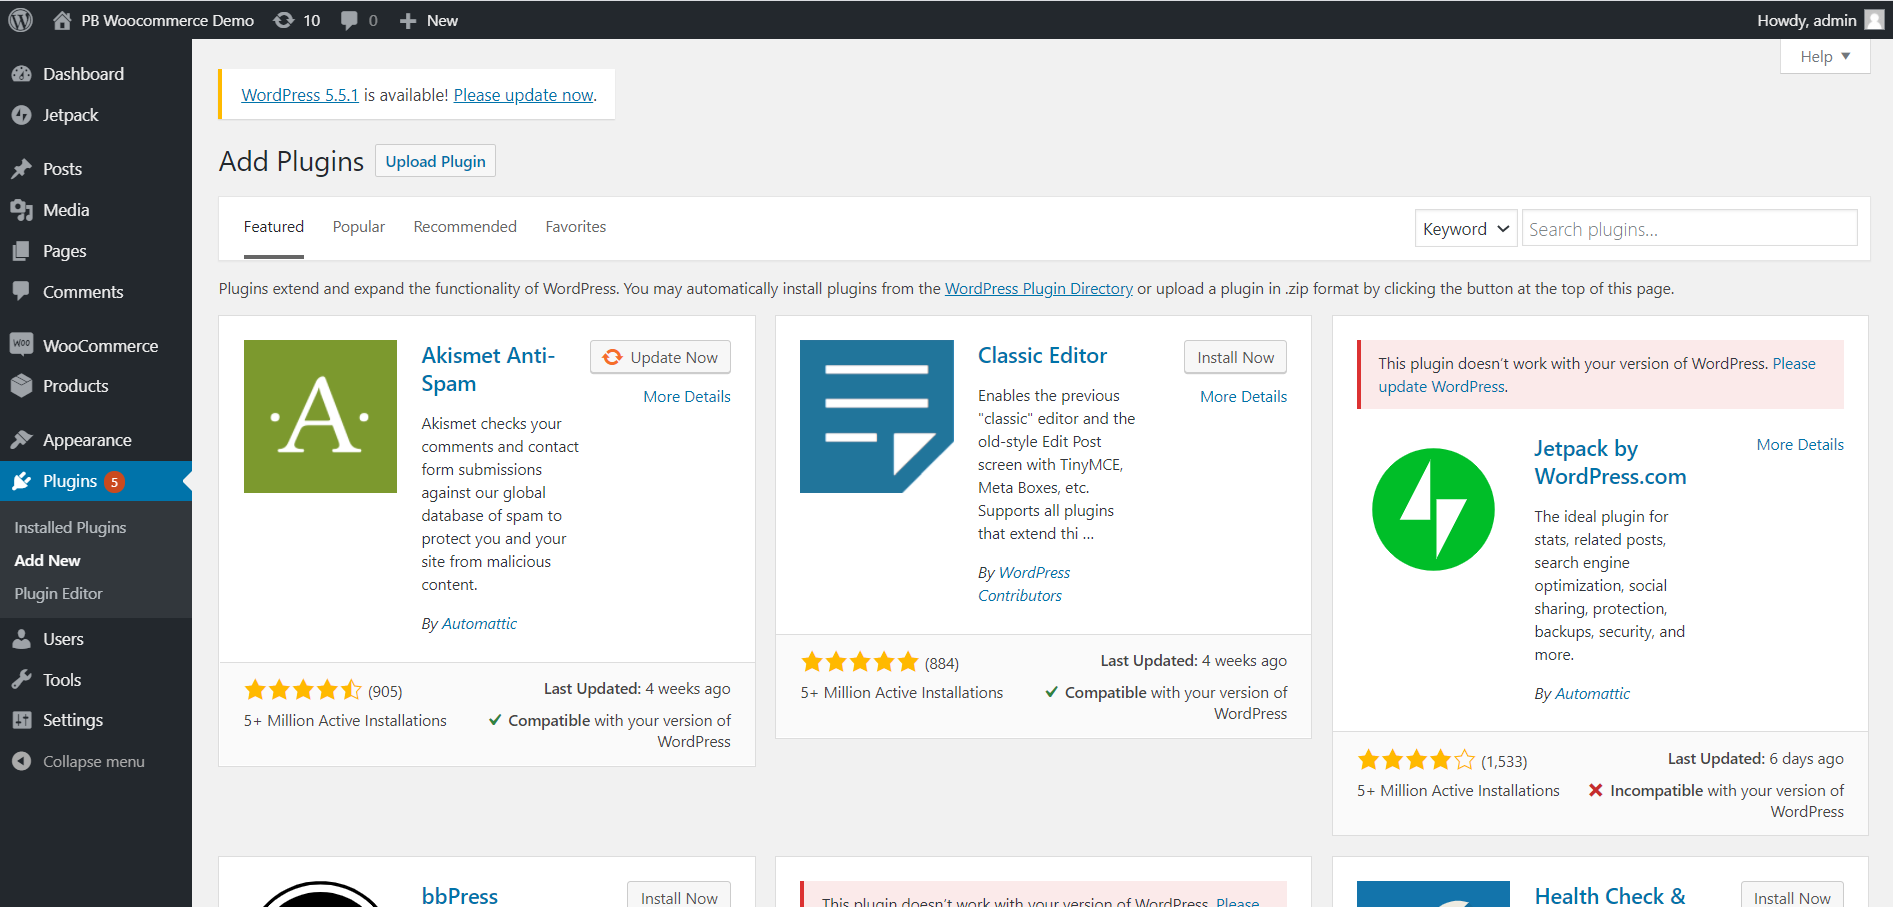
- In the search field type, “PayBright” and click Search Plugins.
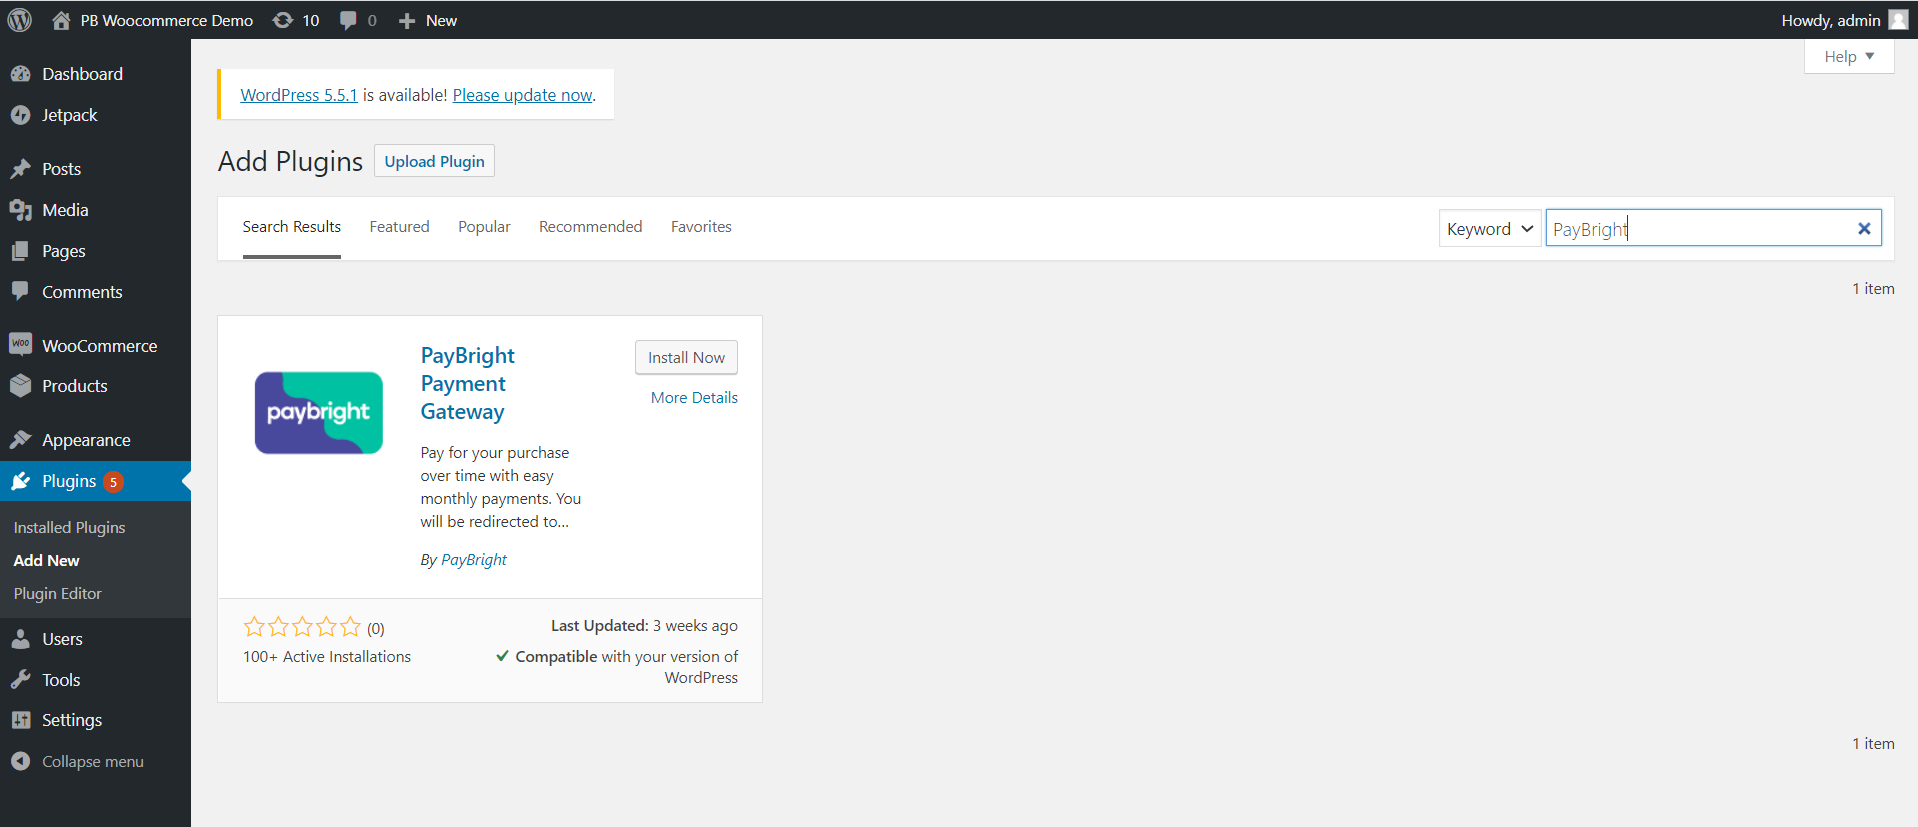
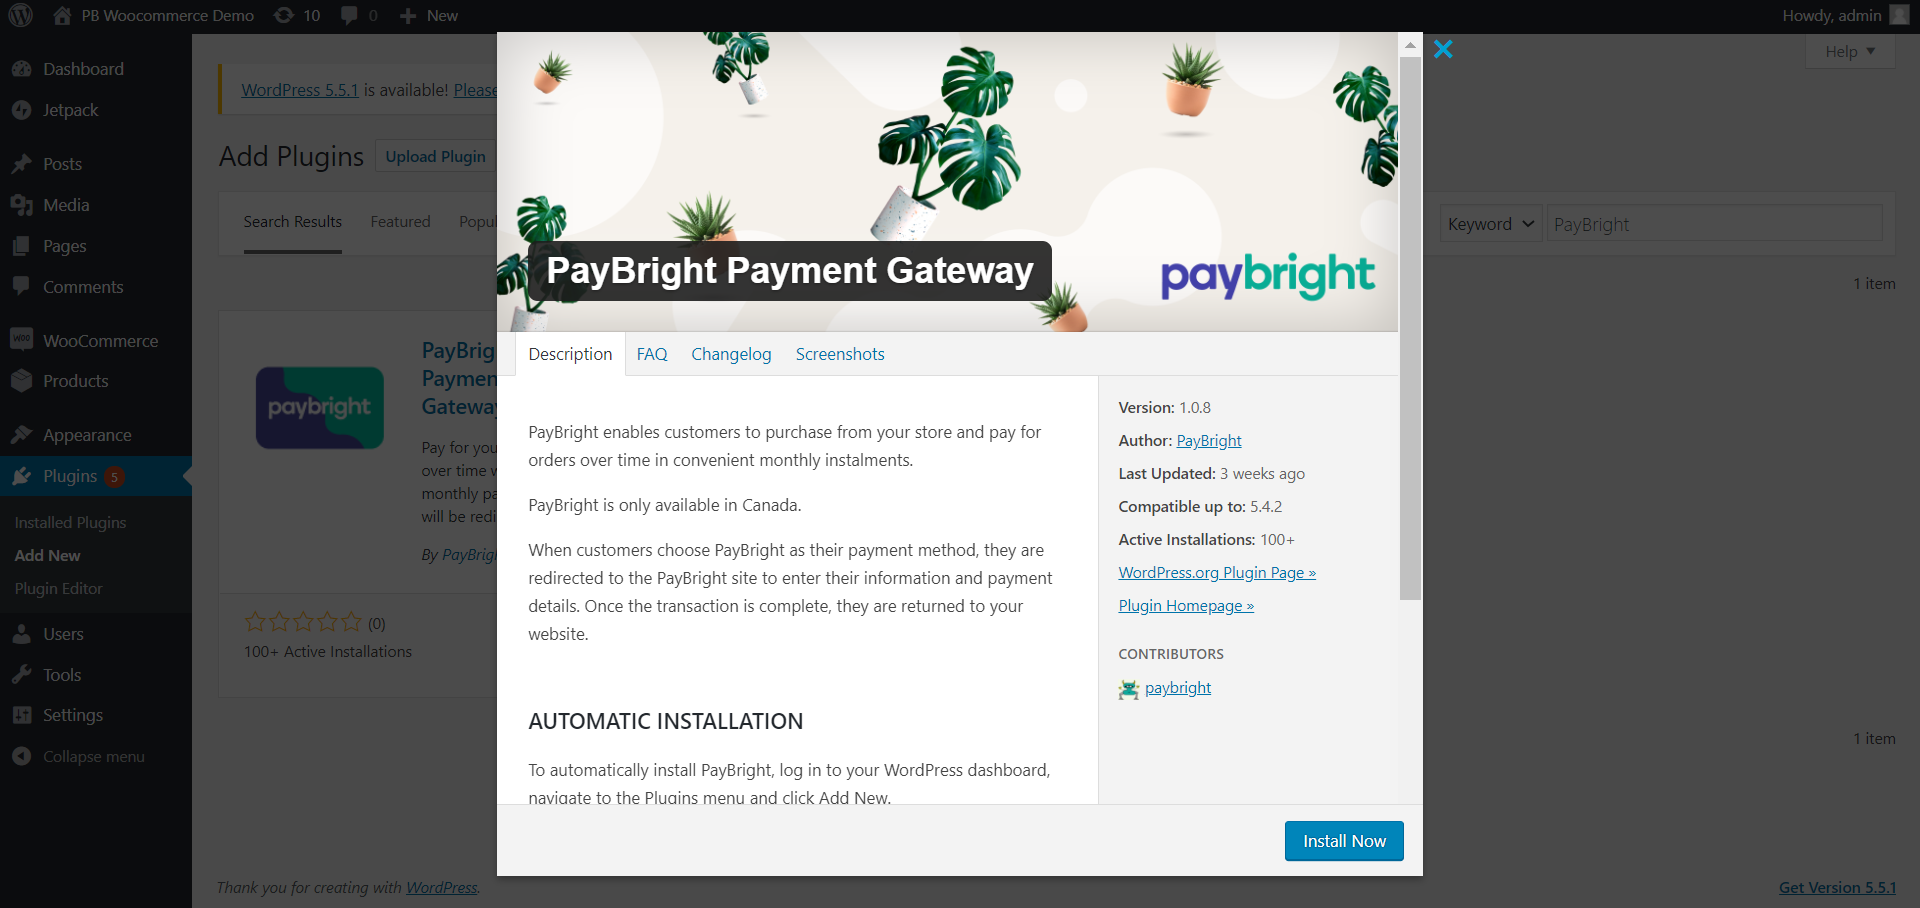
- Once you have found the PayBright plugin, open it and click Install Now.
Manual Installation:
The manual installation method involves downloading this plugin and uploading it to your webserver via your favorite FTP application.
- Download the plugin here: https://wordpress.org/plugins/paybright/.
- Upload PayBright to the /wp-content/plugins/ directory.
- Activate the plugin through the ‘Plugins’ menu in WordPress.
- Once activated, you can configure the settings via the Payments Settings for your site.
Setup & Configuration
↑ Back to topNow that you’ve installed the PayBright extension, you can now configure how you want to utilize PayBright on your site. This guide walks you through Activating and Setting up the PayBright extension.
- Navigate to WooCommerce > Settings > Payments and select PayBright. This takes you to the Settings screen.
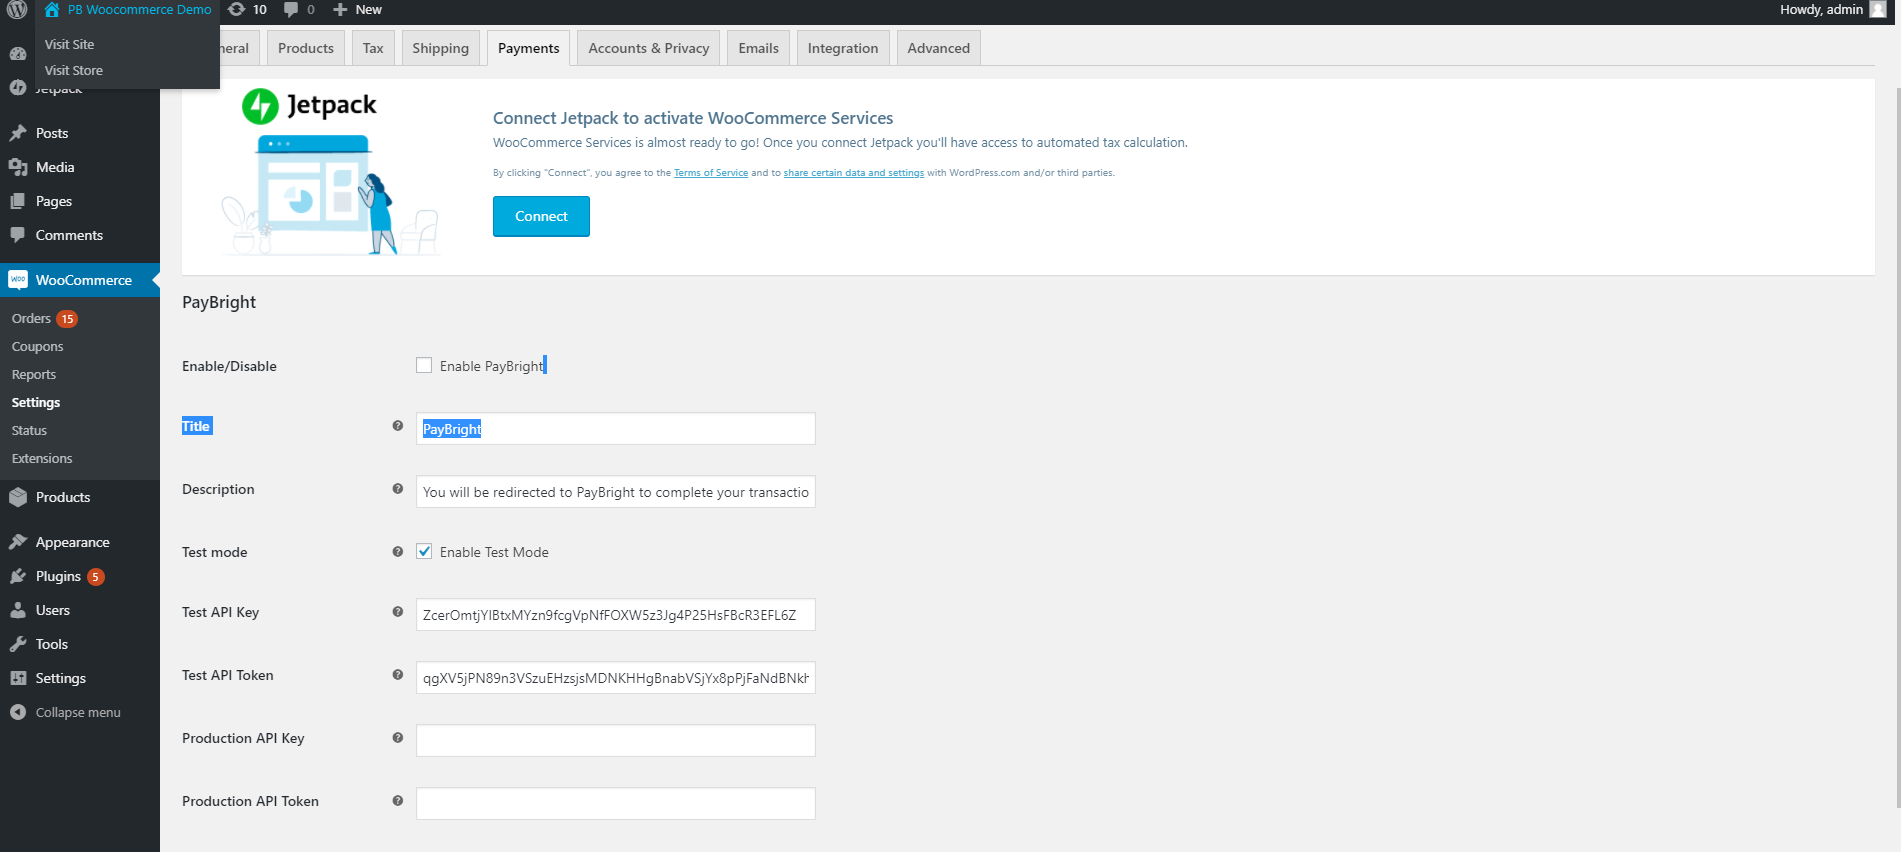
- Enable/Disable plugin functionality.
- Enter a Title and Description shown to customers during checkout (optional).
- Enable Test mode if developing or testing before going live – remember to disable when done.
- Enter the test mode API Key and API Token provided by the PayBright team.
Note: Disable the test mode before going Live - Enter the Production API Key and Token provided by the PayBright team.
Add Price Transformation Widget
↑ Back to topPayBright does not have built-in support for a Prequalify widget on WooCommerce, but Price Transformation Widget can be installed using our Custom Integration guide.
Multi-Site Support
↑ Back to topTo enable multi-site support, ensure that the WooCommerce plugin and PayBright Payment Gateway plugin are enabled at the same site hierarchy. Both plugins should be disabled at the network level and enabled together on individual sites. Example below:
Network Site: Woocommerce [✗], PayBright [✗]
Child Site B: WooCommerce [✓], PayBright [✓]
Child Site A: Woocommerce [✗], PayBright [✗]