INFO
This is a pro feature. Get the pro version here
Setup Instruction
↑ Back to topBasic Setup
↑ Back to top- Open the Taboola Ads tracking page: https://ads.taboola.com/tracking
- Copy the account ID from the top left of the tracking page.
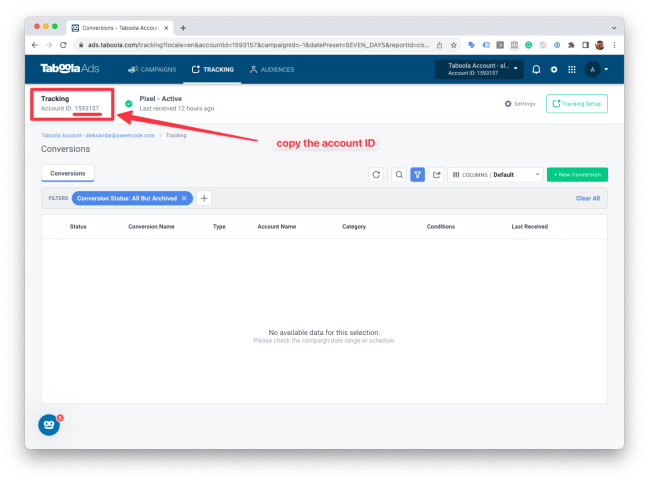
- Paste the account ID into the Taboola account ID field in the Pixel Manager plugin configuration.
Event Setup
↑ Back to topEach event needs to be set up in Taboola individually. The following events are supported:
searchview_contentadd_to_wishlistadd_to_cartstart_checkoutmake_purchase
The events need only to be set up within Taboola. No additional configuration is required in the Pixel Manager plugin.
If you need to ajust the event names that the Pixel Manager sends to Taboola, you can do so by using the following filter: Taboola event name filter
Here is an example of the purchase event setup:
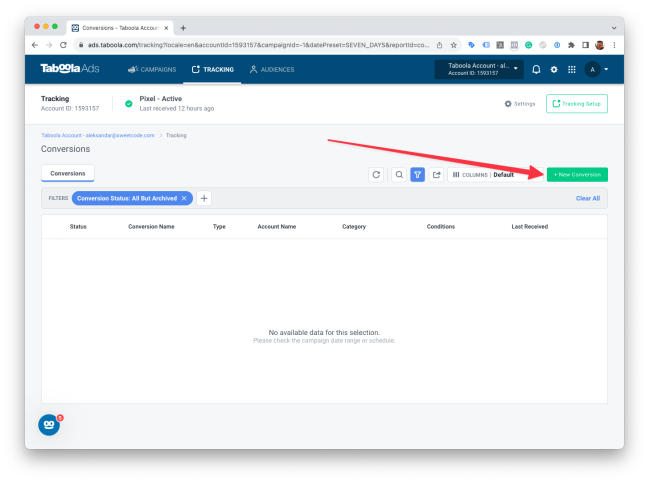
- Open the Taboola Ads tracking page: https://ads.taboola.com/tracking
- Click on the
+ New Conversionbutton.
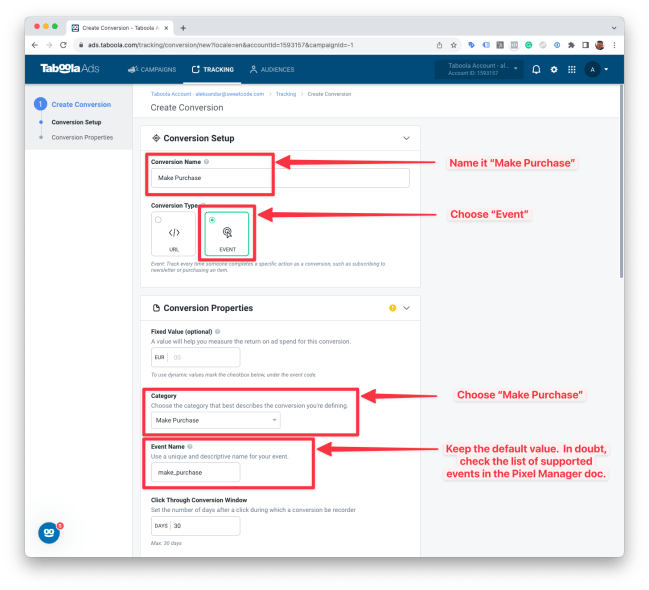
- Set up the fields as follows:
- Conversion Name:
Make Purchase - Conversion Type:
Event - Conversion Category:
Make Purchase - Event Name:
make_purchase(Keep the default value. In doubt, check the list of supported events above)
- Scroll to the bottom of the page and click Create.
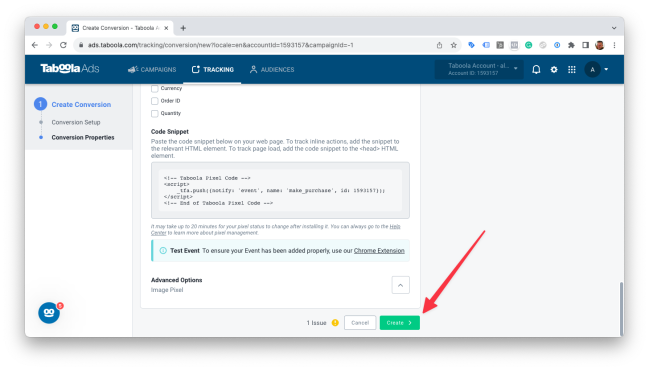
- Repeat the steps above for each event you want to track.