WARNING: Our suggestion is that you leave authorize and capture disabled unless you have a very specific and well-justified use case in mind. If you do need or want to enable it, please read the entirety of this document beforehand!
Card transactions occur very quickly, which is what makes them so convenient for day-to-day purchases. In fact, they happen so fast that many people don’t realize that there are actually two events taking place: an authorization and a capture.
By default, WooPayments will perform the authorization and capture at the same time. However, by enabling the Enable manual capture setting, you can prevent WooPayments from automatically capturing charges. This allows you to manually capture the charge at a later time.
Although most merchants won’t need to use this feature, it may be helpful in certain scenarios. This document explains a bit more about how authorizations and captures work, and provides some example uses cases for which enabling the option might be a good idea.
What is an authorization vs. a capture?
↑ Back to topTo a customer, payments happen so quickly that the authorization and capture events are invisible. This is by design to help facilitate conversions. However, let’s look at these two events to see how they differ and why they are both vital to accepting payments.
An authorization is the first part of the process. During authorization, the payment processor connects to the bank that issued the customer’s card to verify two things: that the card is valid and can be used for payment, and that the customer has enough money to cover the transaction. Authorizations are temporary by nature. The authorized funds are “held” or reserved for payment but not actually sent to the merchant yet. Because authorizations are temporary, they must be captured before they expire. With WooPayments, authorizations expire after seven days. The merchant also has the option to cancel an authorization. When an authorization is cancelled, the reserved funds are freed back up in the customer’s account and the merchant can no longer capture those funds.
A capture (also known as “settlement”) is the second part of the charge process and can only occur after an authorization is successful. During capture, the merchant instructs the payment processor to transfer some or all of the held funds from the customer’s account to their own. When a capture is successful, the customer’s bank sends the requested amount of money to the payment processor. Like authorizations, captures must occur within the expiration window, which is seven days for WooPayments. Unlike authorizations, captures are much more permanent. A capture cannot be cancelled, but it can be refunded.
An authorization is the first part of the charge process. An authorization is:
- Where the payment processor connects to the bank that issued the customer’s card to determine if:
- The provided card is valid and can be used for payment.
- The customer has enough money to cover the transaction cost.
- Temporary in nature.
- Authorized funds are “held” or reserved for payment, but not actually sent to the merchant yet.
- Authorizations must be captured before they expire.
- With WooPayments, authorizations expire after seven days.
- Authorizations can be cancelled by the merchant. When an authorization is cancelled:
- The reserved funds are freed back up in the customer’s account.
- The merchant can no longer capture those funds.
A capture (also known as “settlement”) is the second part of the charge process. A capture:
- Can only occur after an authorization is successful.
- Is when the merchant instructs the payment processor to transfer some or all of the held funds from the customer’s account to their own.
- When a capture is successful, the customer’s bank then sends the requested amount of money to the payment processor.
- Must occur before an authorization expires.
- With WooPayments, authorizations expire after seven days.
- Is much more permanent than an authorization:
- A capture cannot be cancelled, but it can be refunded.
Are fees charged for authorizations?
↑ Back to topNo. The fees associated with WooPayments are only applied on captured payments.
When is manual capture helpful?
↑ Back to topManually capturing authorizations is usually used in scenarios where some payment is needed up-front, but the final amount is not known initially.
Here are some common examples of where this workflow is used:
- Gas/petrol stations where you “pay at the pump” issue an authorization before you begin filling up your vehicle. When you’re done, and the exact amount of the charge is known to their system, they will capture that amount.
- Hotels have an even longer time between when the charge is authorized (usually at check-in) and when the charge is captured (usually at check-out).
- Equipment rental businesses may request a card so that they can issue an authorization prior to allowing their customers to take the equipment home.
- Craftsmen who take custom orders (for a piece of furniture, say) might decide to authorize a customer’s card ahead of time and capture a different amount later on, depending on the exact work involved in the customer’s request.
Manual capture disadvantages
↑ Back to topAs you can see above, there are a few limited situations where authorizing first and capturing later are needed. However, for the vast majority of merchants using WooPayments, authorizing and capturing separately has several disadvantages:
- Authorizations are temporary: they expire after seven days. If you don’t capture them in time, the customer will need to start the purchase process all over again. You might not even notice that you did not capture the charge until after you have shipped the customer their goods!
- You cannot capture more than the amount originally authorized. If you initially authorize too little, you will need to cancel that authorization and have the customer repurchase.
- The authorize and capture workflow only supports cards and express checkouts. It does not support local payment methods or buy now, pay later. This can cause inconvenience for your customers.
- In-person payments, including Tap to Pay, will always capture automatically.
- Manual capture cannot be used with Stripe Billing subscriptions.
NOTE: Express checkout methods are considered card payments. As a result, customers can still use express checkout methods while authorize and capture is enabled.
Enabling authorize and capture later
↑ Back to topIf, after considering the above, you wish to enable this feature, you can do that like so:
- Go to Payments > Settings in your site’s dashboard.
- In the Transactions section, check the box next to Enable manual capture.
- A popup will appear to ask if you are sure. Click Enable manual capture.
- Scroll to the bottom and click Save Changes.
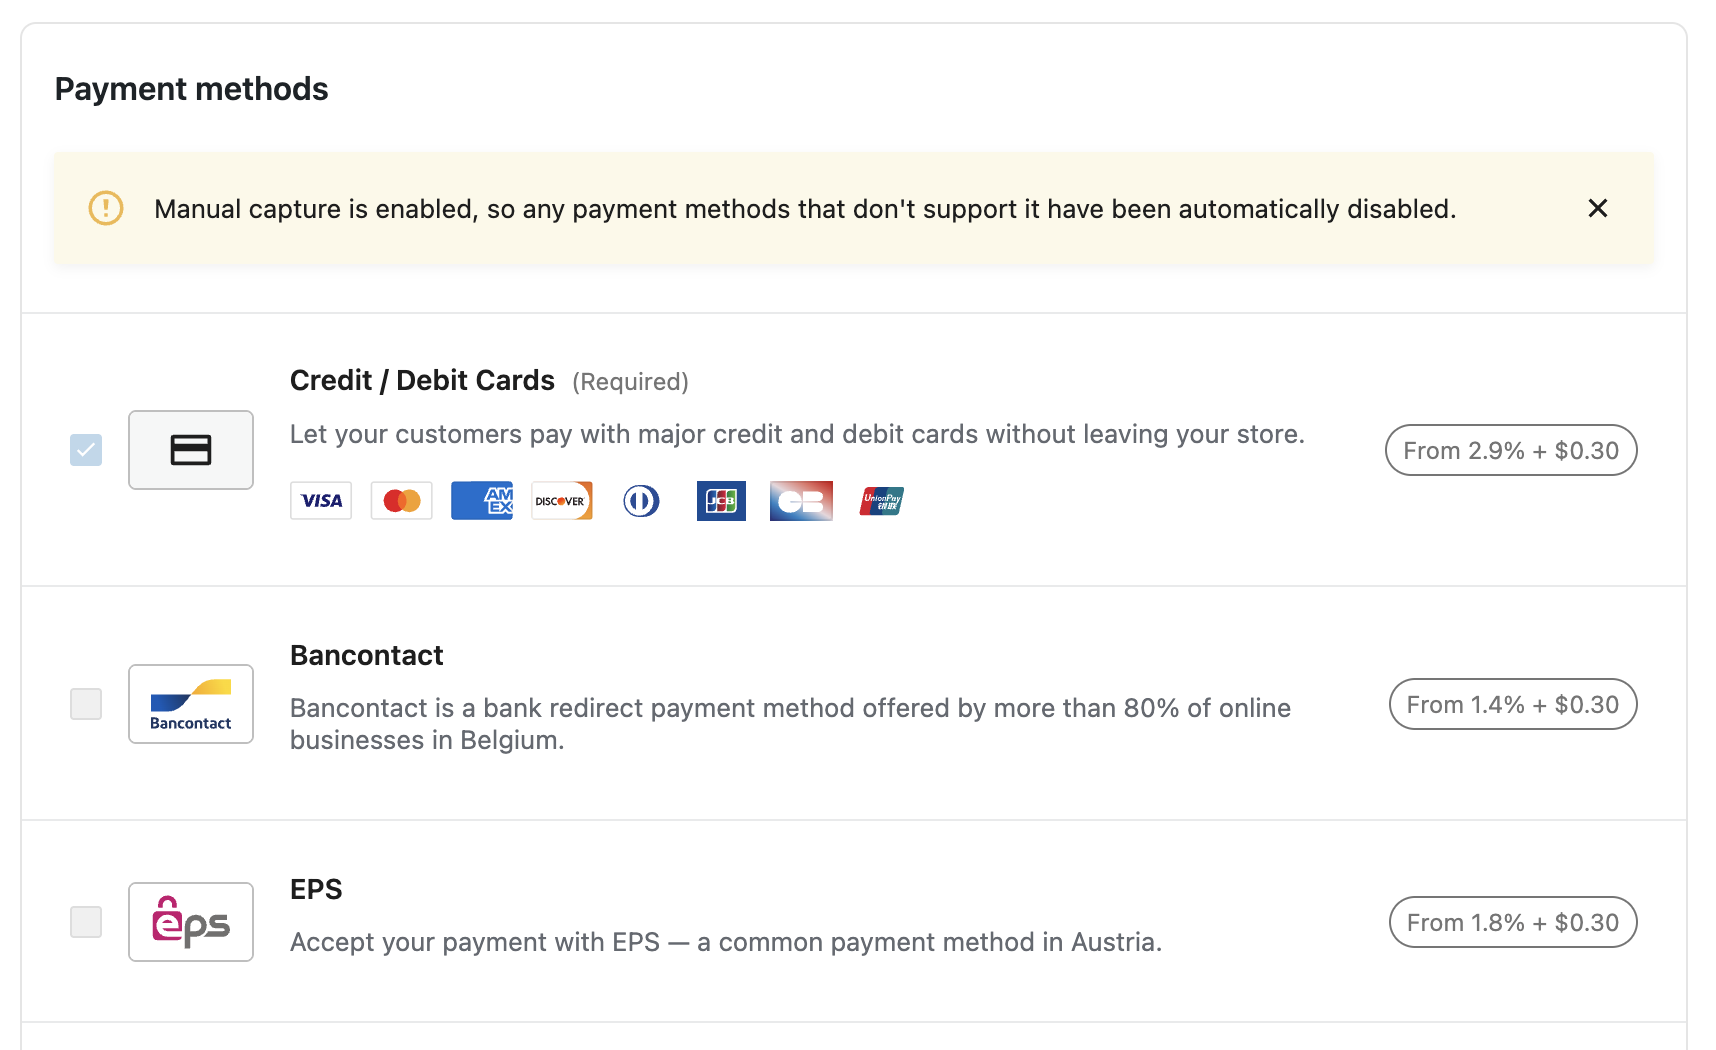
If you have any other payment methods enabled, a warning will be shown stating that they cannot be used while authorize and capture is enabled.
Viewing authorized orders
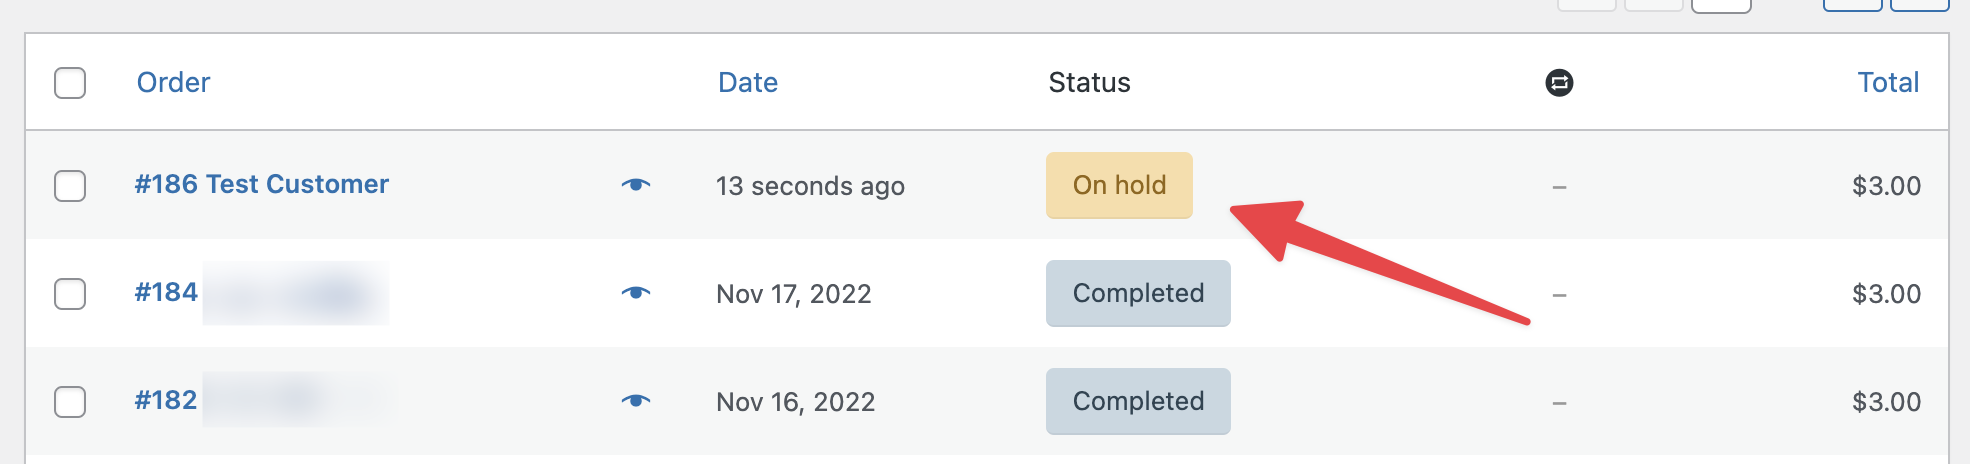
↑ Back to topIf an order is placed while capture later is enabled, the order will be assigned the On Hold order status, which you can see under WooCommerce > Orders.
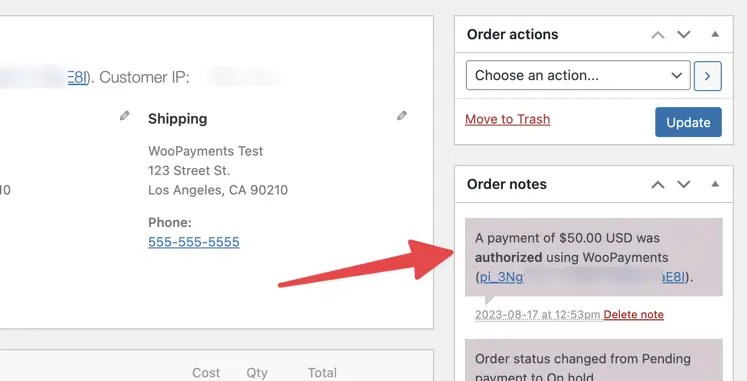
If you open the order itself, you’ll see a note indicating that the payment was authorized:
Authorized payments will also appear under Payments > Transactions. Because these funds are not yet captured — meaning no funds have changed hands — they are listed under a separate Uncaptured tab.

Capturing authorized payments
↑ Back to topNOTE: You have seven days after the order was placed to capture the charge. After that time, the authorization will automatically expire and you will be unable to capture.
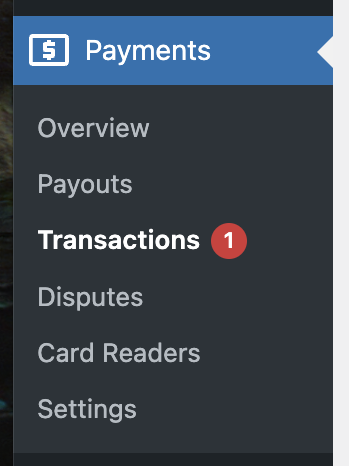
When your site has uncaptured payments, WooPayments will notify you of that by adding a badge to the Payments > Transactions menu item. This badge shows the number of uncaptured transactions.
There are two ways to capture an authorized payment:
- From the WooCommerce > Orders page.
- Via the Payments > Transactions page.
They both do the same thing, but the latter method is faster if you have multiple orders that need to be captured.
The video below gives a brief overview of how to capture a payment, and we also have more detailed instructions below.
Using WooCommerce > Orders
↑ Back to topTo capture a charge for an authorized payment under WooCommerce > Orders:
- Find the order you wish to capture and click to open it.
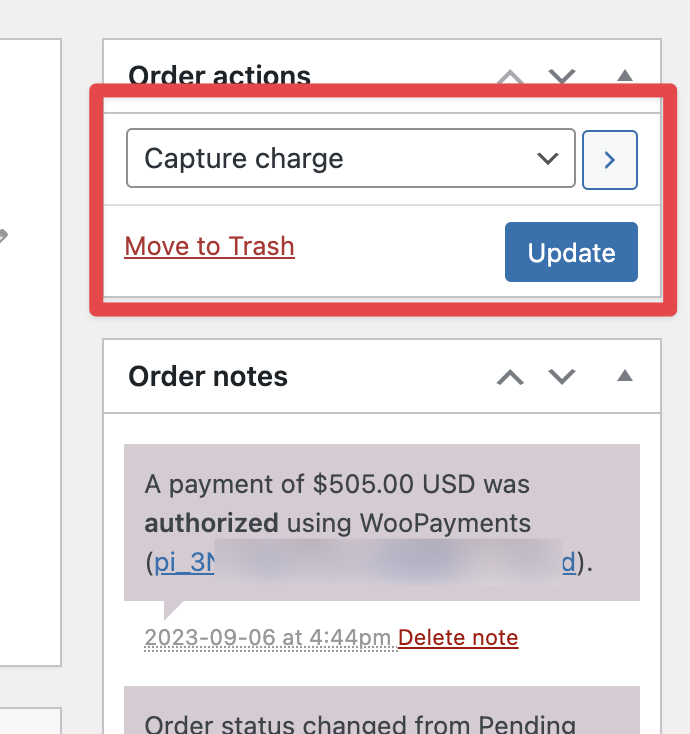
- In the Order Actions box, use the dropdown to select Capture charge.
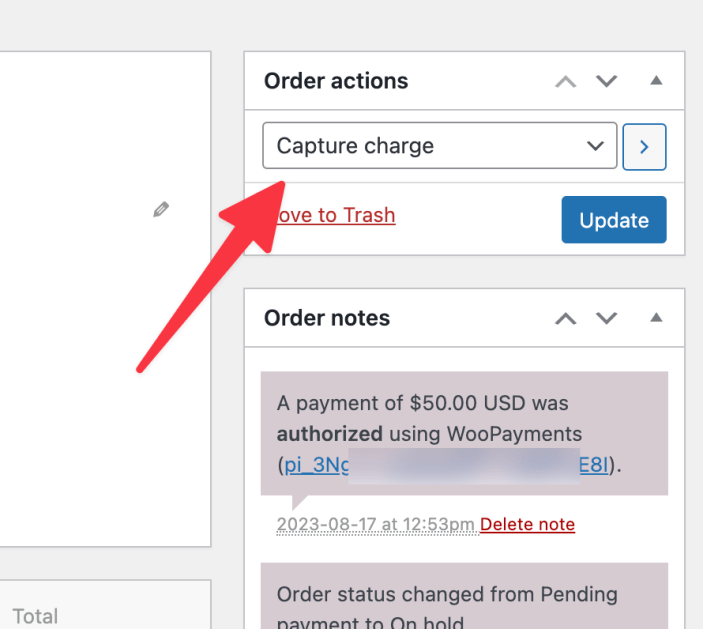
- Click the Update button.
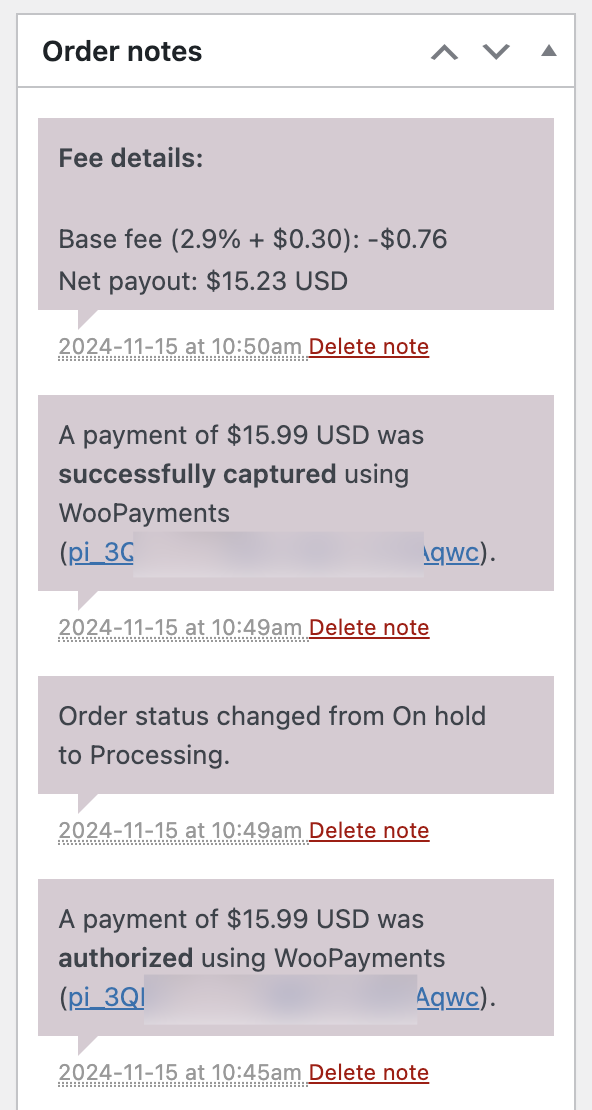
The payment will be captured, an order note will be added, and the status will be set to Processing (or Completed if the order contains only virtual/downloadable items).
Using Payments > Transactions
↑ Back to topTo capture a charge for an authorized payment under Payments > Transactions:
- Click the Uncaptured tab to show the list of uncaptured transactions.
- Click the Capture button for the order you wish to capture payment for.

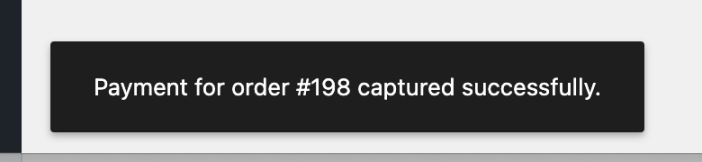
- The payment will be captured, and a notice will appear at the bottom.
You also have the option to click the order in the list to open the transaction details page and capture the payment from there.

Partial captures
↑ Back to topYou may, if you wish, capture a lower amount than the one you originally authorized against the customer’s card. This is called a “partial capture.”
Keep in mind, however, that you can only capture one time per order. If the capture is a partial one, the difference between the captured amount and the authorized amount is immediately released back to the customer, and you will not be able to capture it later.
To perform a partial capture:
- Find the order under WooCommerce > Orders and click to open it.
- Hover your cursor over an item from the order and click the pencil icon that appears.
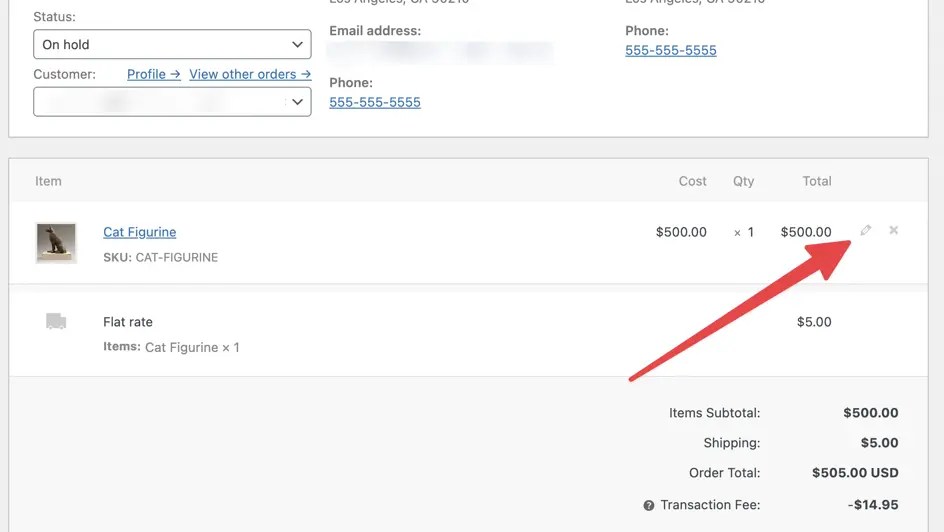
- In the Total box, enter the amount you wish to capture, then click Save.
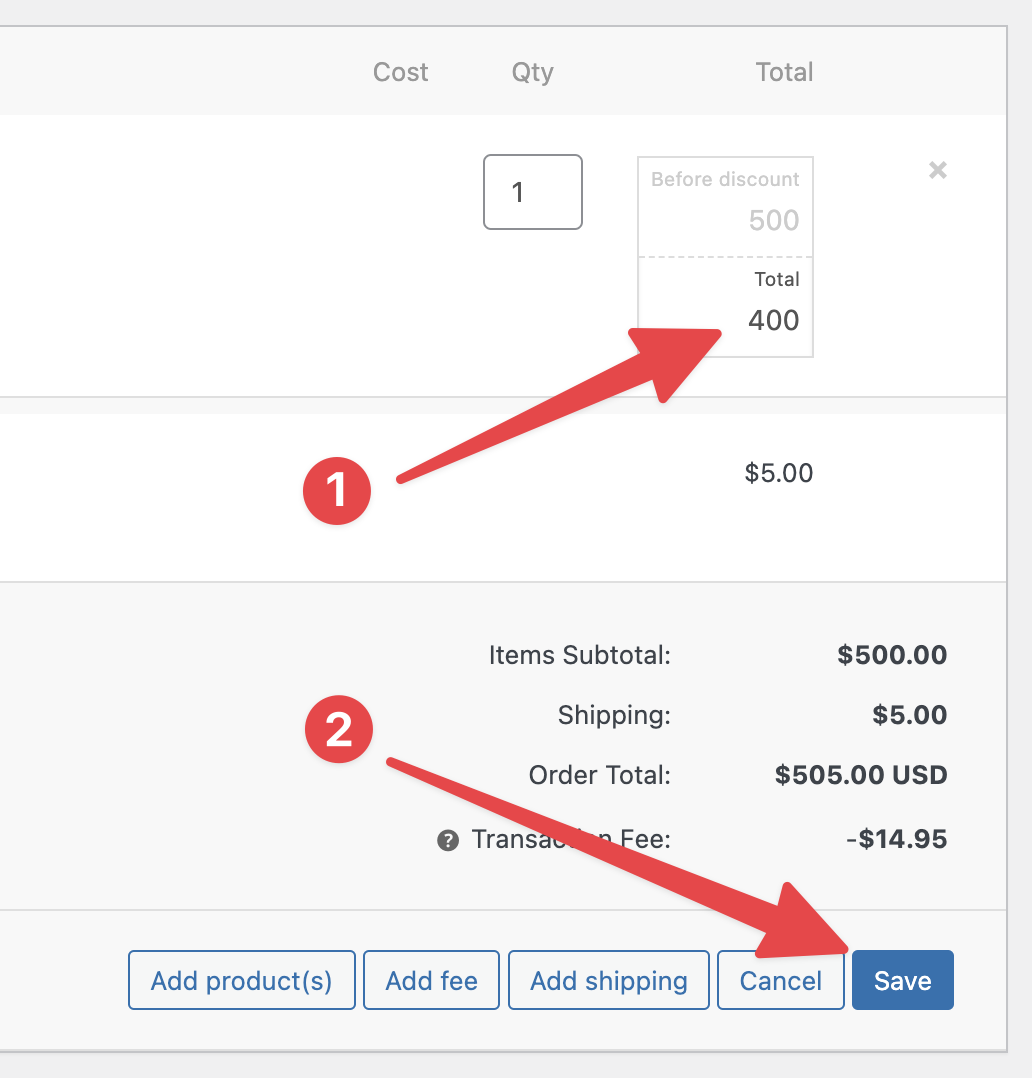
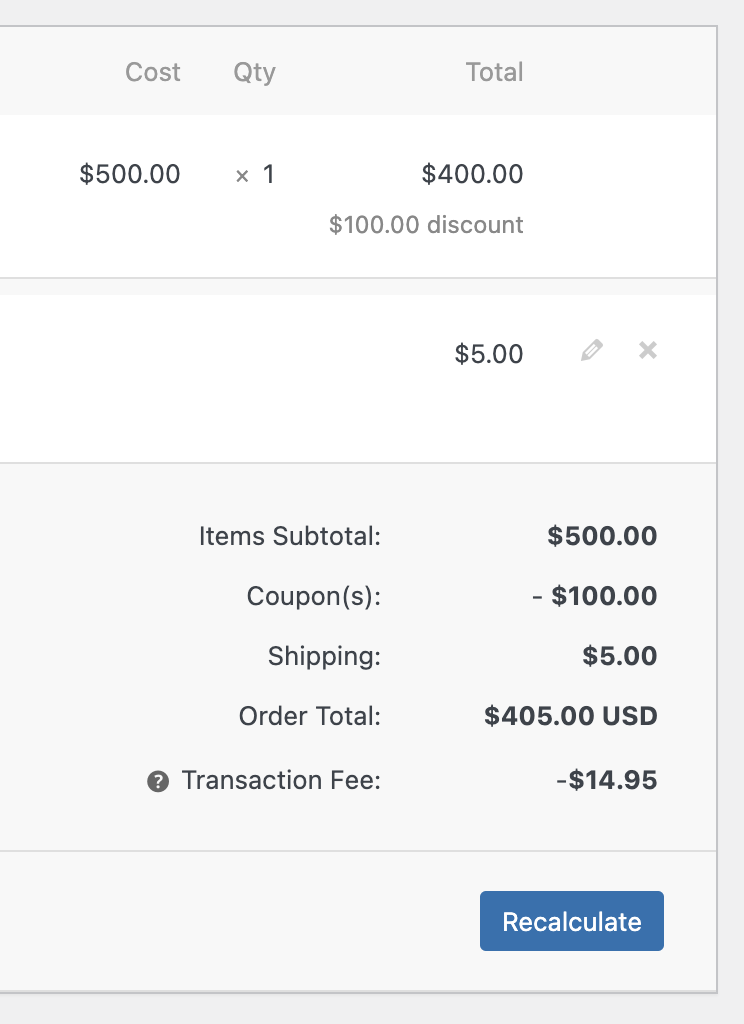
- The cost of the item will updated as if a coupon were applied.
- In the Order Actions box, use the dropdown to select Capture charge.
- Click the Update button.
After updating the order, the lesser amount will be captured, an order note will be added, and the order status will be set to Completed.

NOTE: Attempting to capture more than the authorized amount will fail with an error. The order can still be captured once it’s been edited to have a total less than or equal to the original authorized amount.
Cancelling authorizations
↑ Back to topIf a customer wishes to cancel their order after it’s been authorized but before it’s been captured, you can do so by using steps below.
Although authorizations expire automatically after seven days, it’s best to cancel them if you’ve confirmed that you won’t need to charge the customer. Doing so releases the hold their bank placed on their funds.
You can cancel an authorization by setting the order status to Cancelled or manually cancelling the authorization.
To manually cancel an authorization:
- Go to WooCommerce > Orders in your site’s dashboard.
- Find the order you wish to cancel and click to open it.
- In the Order Actions box, use the dropdown to select Cancel authorization.
- Click the Update button.
The order status will be set to Cancelled and an order note will be added:

Expired authorizations
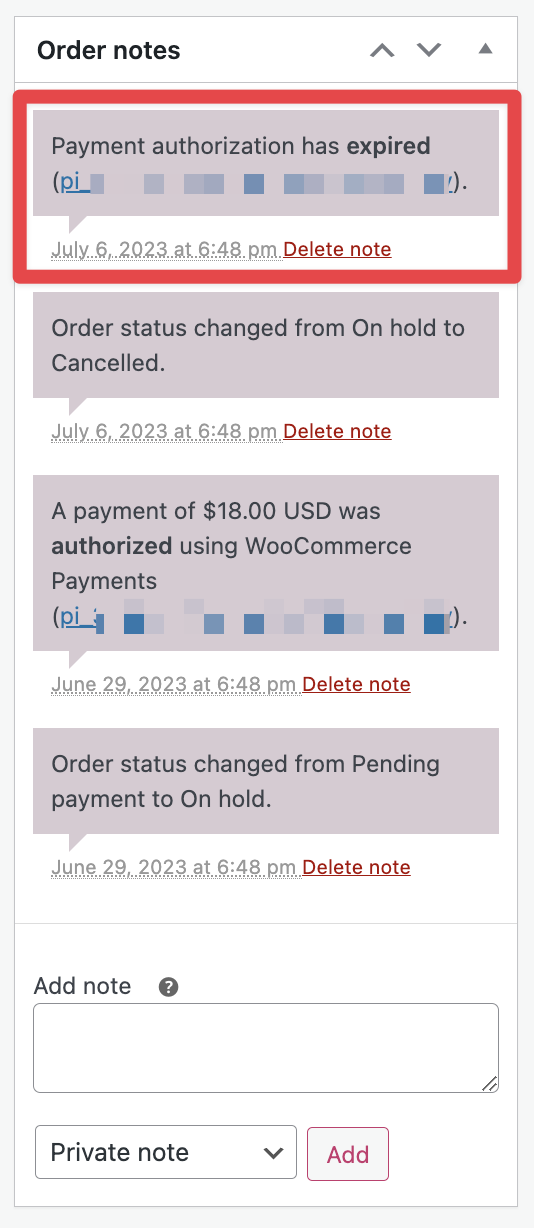
↑ Back to topIf an authorized payment is not captured within seven days, the authorization will expire. An expired authorization operates similarly to a cancelled authorization, meaning that:
- The held funds will be returned to the customer.
- The order status is set to Cancelled.
- The funds can no longer be captured.
The major difference between an expired authorization and a cancelled authorization is that expiration occurs automatically. In addition, the order notes will indicate that the authorization has expired:
…and the expiration will also be reflected in the transaction details for the authorization at Payments > Transactions:
Fixing incorrect analytics data
↑ Back to topBetween April 2023 and November 2025, WooPayments incorrectly created transaction fee records and refund objects when authorizations were cancelled (i.e. not captured). This may have impacted stores in a few ways:
- WooCommerce Analytics showing incorrect negative values
- Refund records exist for payments that were never charged
- Order meta has fees/net amounts for non-existent transactions
In WooPayments 10.5.0, we included a remediation tool for merchants affected by this problem. This fully automated tool identifies affected orders, removes the incorrect metadata and/or refund objects, fixes order status (where applicable), and syncs the corrected data to WooCommerce Analytics.
The remediation tool lives under WooCommerce > Status > Tools.
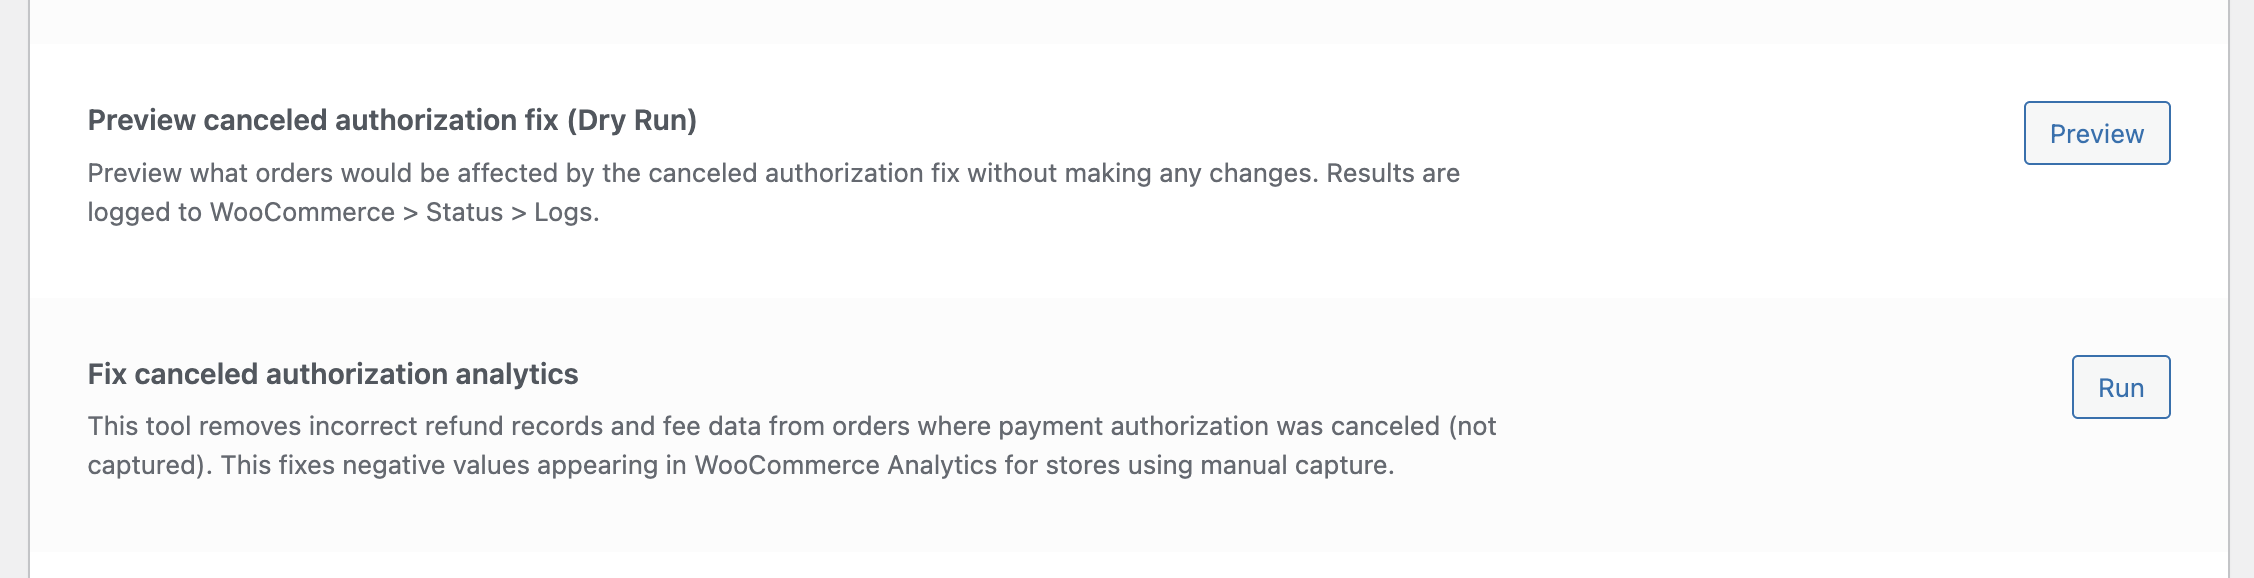
If you wish, you can use the “dry run” version of the tool first to see which orders will be affected but without altering any data. To actually run the tool and change any affected data, click the Run button for Fix canceled authorization analytics.
Logging (for dry runs and real runs) is available under WooCommerce > Status > Logs. The log name is wcpay-fee-remediation.