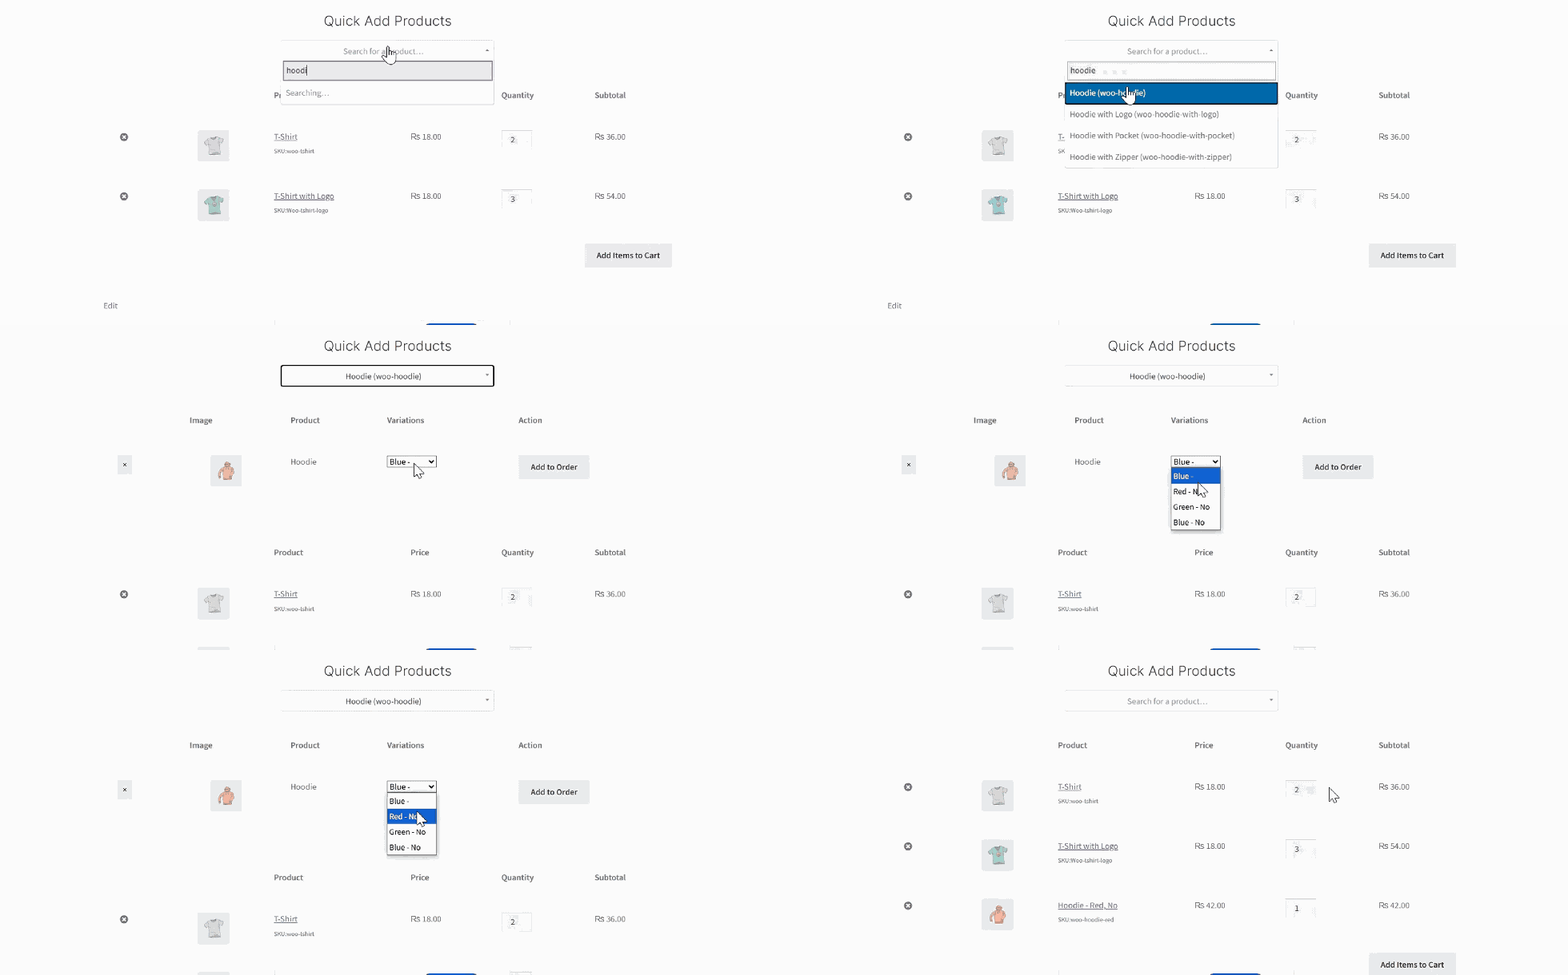
Extend B2B – Quick Order is the ultimate tool for wholesale and B2B stores looking to simplify the bulk purchasing experience. This plugin empowers your buyers—whether they’re distributors, retailers, or recurring wholesale customers—to place large orders in just a few clicks. With search, CSV upload, and customizable order forms, Quick Order removes friction from the buying process. This guide will walk you through how to set up and configure the plugin to maximize its impact on your store.
Setup of Quick Order Form
↑ Back to topInstallation
↑ Back to topOnce you have received your copy of the plugin with valid license. You can proceed with the installation process by following the steps below.
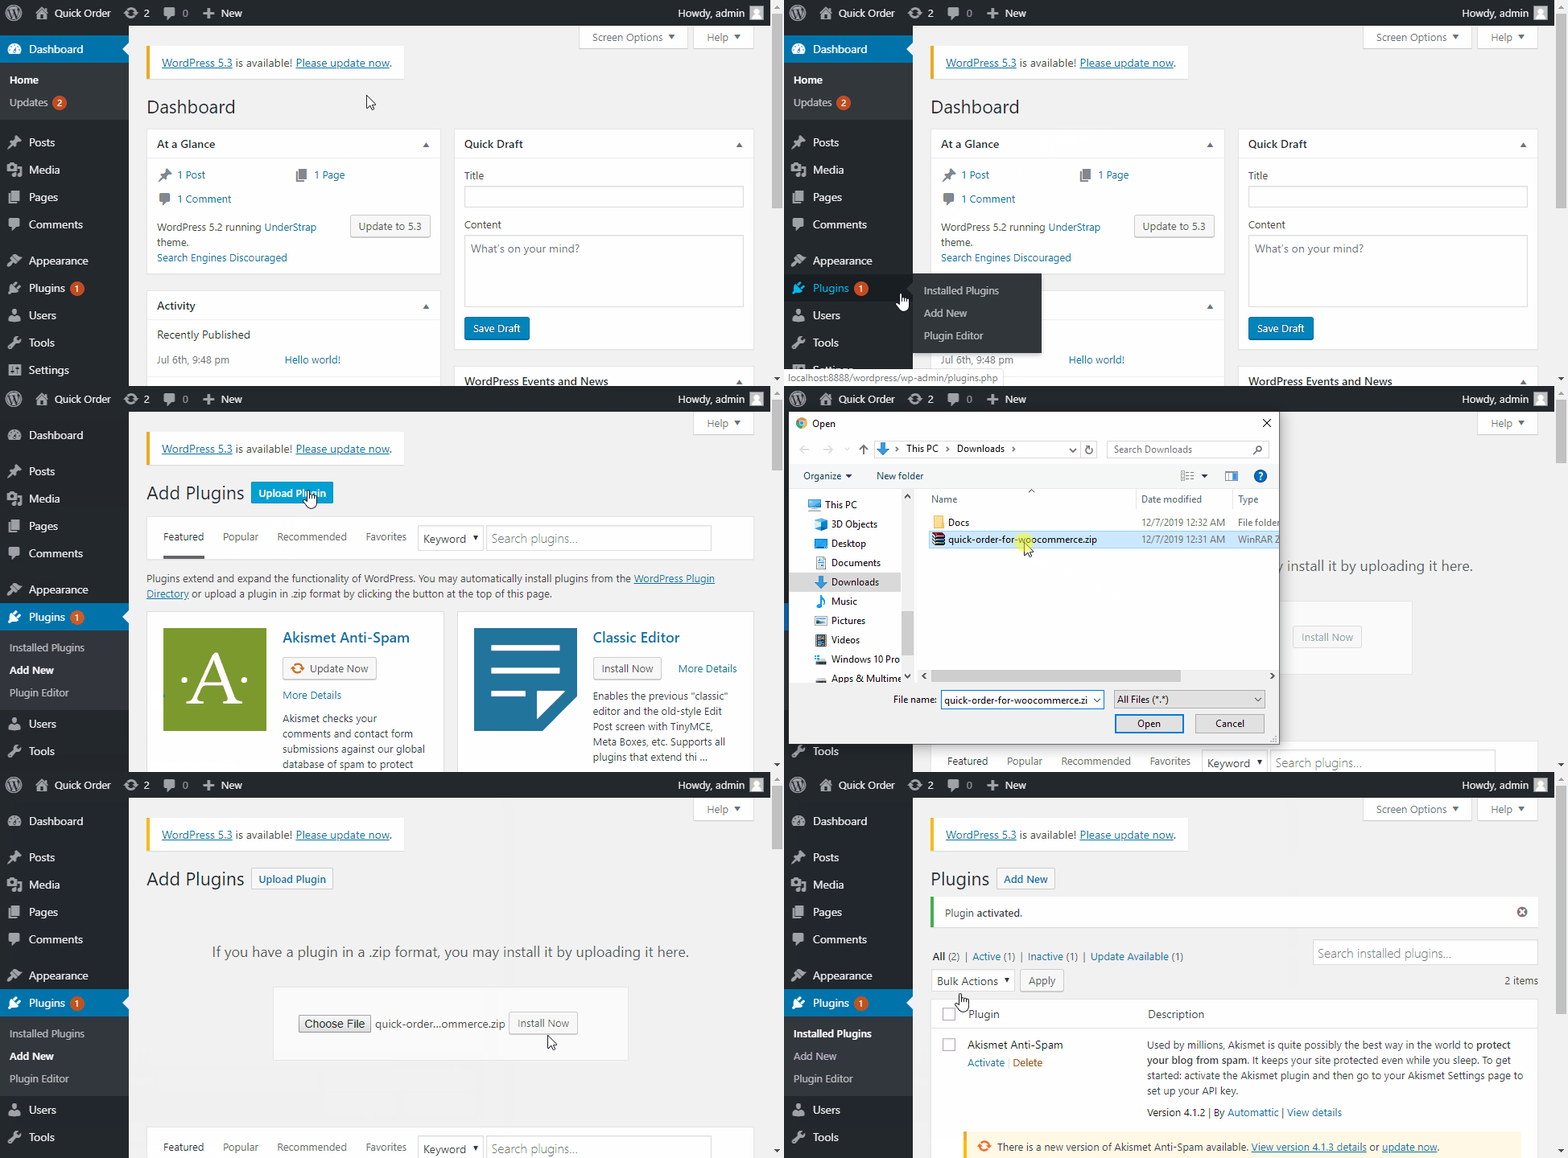
- Login to the Admin Dashboard of your store and click on the Add Plugin option under the Plugins Menu on the left side of the dashboard.
- The dashboard will refresh and give you a new page with the title Add Plugin. Right next to the page title, you will find a button namely Upload Plugin. Upon clicking that button, you will be presented with the option to upload the plugin.
- Simply click the Choose File button to locate and upload the plugin and then click Install Now button to install the plugin on your store.
- After upload and installation process is finished. You will be presented with the Activate button option, which you can click to activate the plugin.
How It Works
↑ Back to topYou can create a Quick Order form in two ways:
-
Search and Add Products:
Use the search bar to find products and add them to the order list. -
Upload via CSV:
Download the CSV template, add the SKUs/IDs and quantities, then upload it. All products from the CSV will appear in a table below, where you can review and adjust quantities before adding them to the cart.
Creating a Quick Order
↑ Back to topTo set up your Quick Order Form:
-
Navigate to WooCommerce > Quick Order
-
Click “New Quick Order Form” to create a new form.
-
Add a title for your form.
-
Choose product scope:
-
Enable the option to include all products in the quick order search.
-
If disabled, only selected products or categories will be available.
-
-
Enable CSV Upload:
Toggle on the CSV feature if you want users to upload product orders via CSV. -
Configure Table Field Labels:
Define the labels that will appear in the Quick Order table (e.g., Product Name, Price, Quantity). -
Set Product Search Behavior:
Choose how product variants appear in search results:-
Treat each variation as an individual product: Each variation (e.g., size, color) appears individually.
-
Select main product, then choose variation: The main product appears once; variants are selected afterward
-
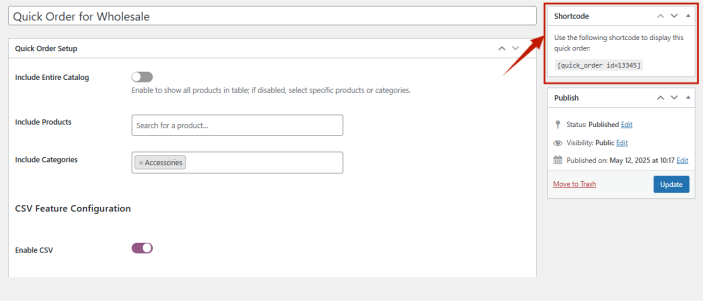
8. Copy the generated shortcode.
9. Click “Publish” to save your form.

Displaying a Quick Order
↑ Back to topTo show the form on a page:
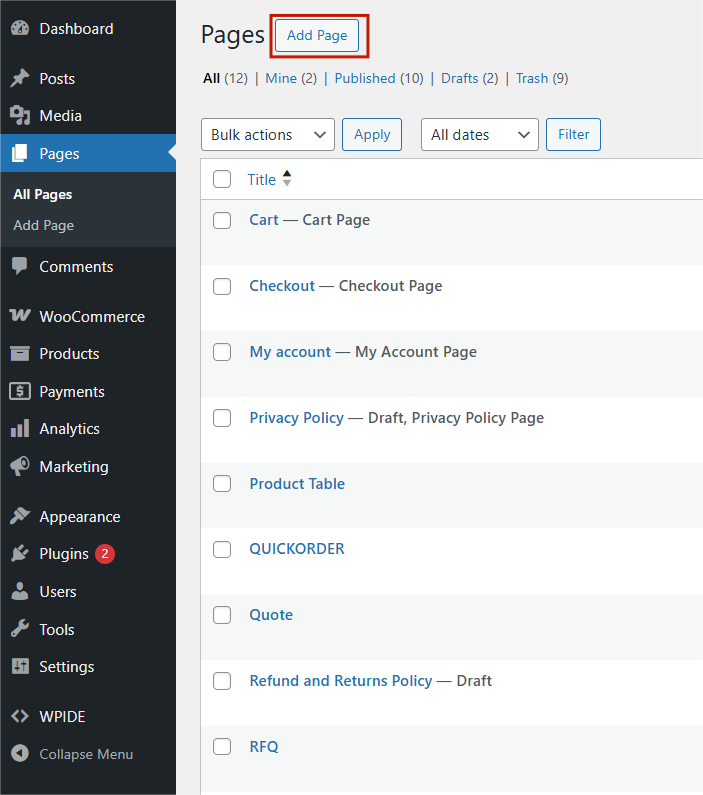
- Go to
Pages > Add Newor edit an existing page.
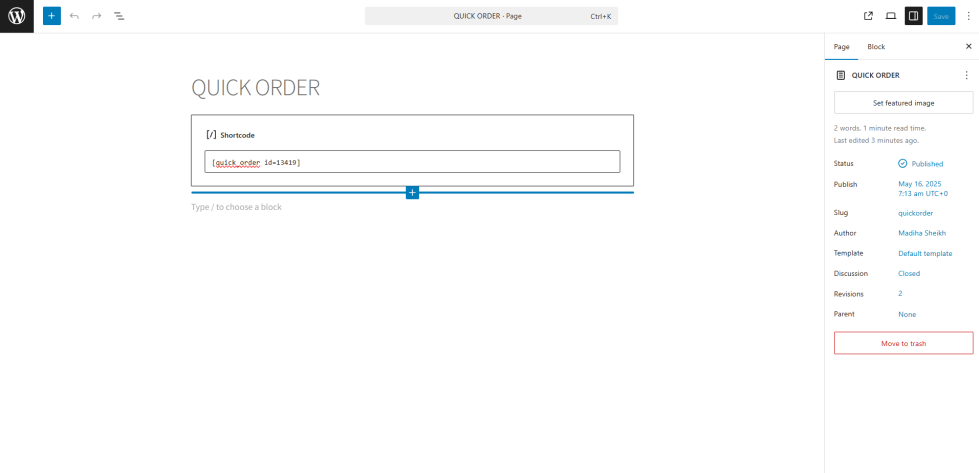
- Copy and Paste the copied shortcode into the content area.
- Publish or update the page.
This is how it will be displayed on the store-front
