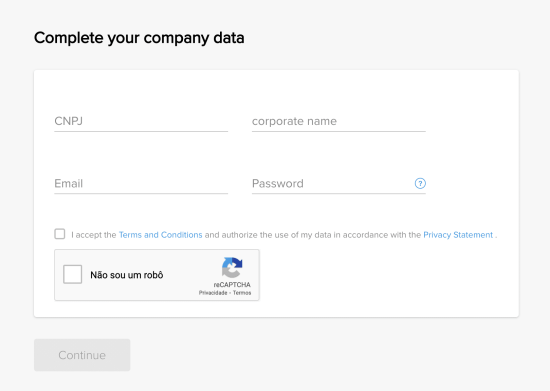
Simple installation to start selling today
↑ Back to topTo install our checkout, no technical knowledge is required. Just follow our step-by-step integration.
In addition to the step-by-step installation, on the developers’ site you can access more detailed information and browse all of our support content.
Our checkout can be installed in two ways:
a) Automatic Installation,
via the “Plugins” section within your WordPress dashboard.
b) Manual Installation,
download and copy the plugin files into your directory.
Minimum Requirements
- WordPress Version
- Compatibility and dependency of the WooCommerce VXX
- LAMP environment (Linux, Apache, MySQL, PHP)
- SSL Certificate
- Additional Configuration: safe_mode off, memory_limit bigger than 256M
Automatic Installation via WordPress
↑ Back to topSTEP 1:
Go to “Plugins” in the side navigation menu of the WordPress administrator.

STEP 2:

STEP 3:
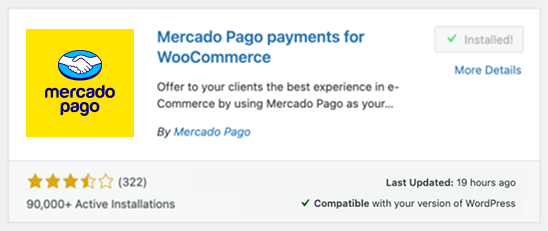
That’s it! You will be in the “Installed Plugins” section and from there you can activate it.
Manual Installation
↑ Back to topSTEP 1:
Download the [zip] file now or from Directory of WordPress modules
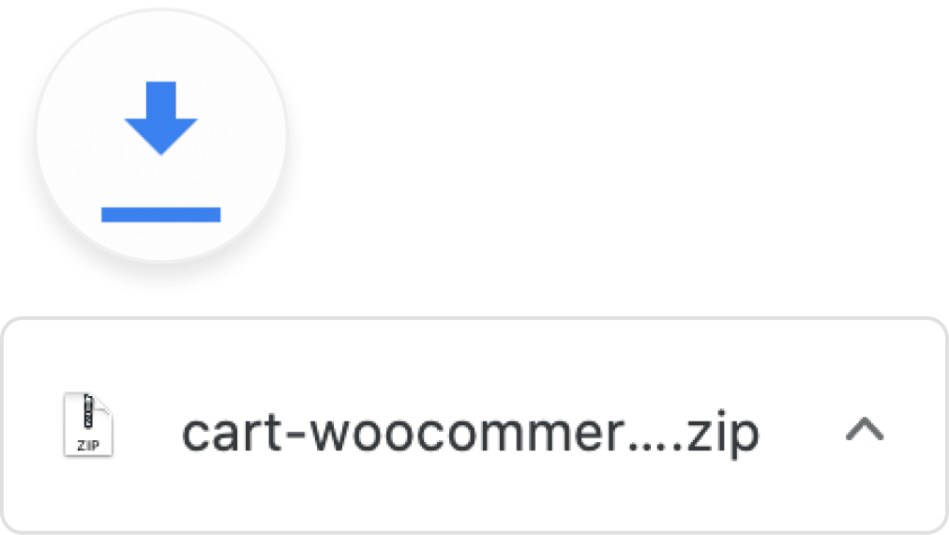
STEP 2:
Unzip the folder and change the name to “woocommerce-mercadopago“.
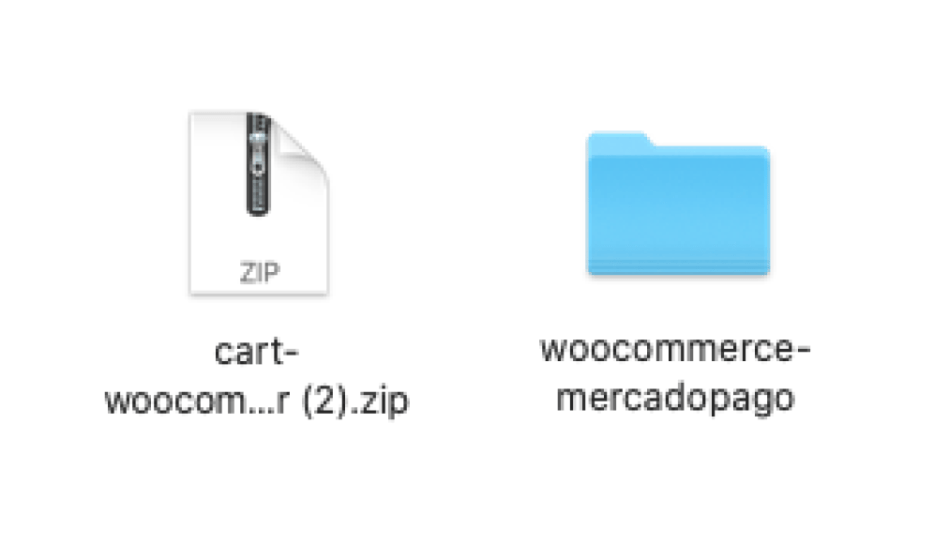
STEP 3:
Copy the file “woocommerce-mercadopago” into your WordPress directory, within the “Plugins” folder.
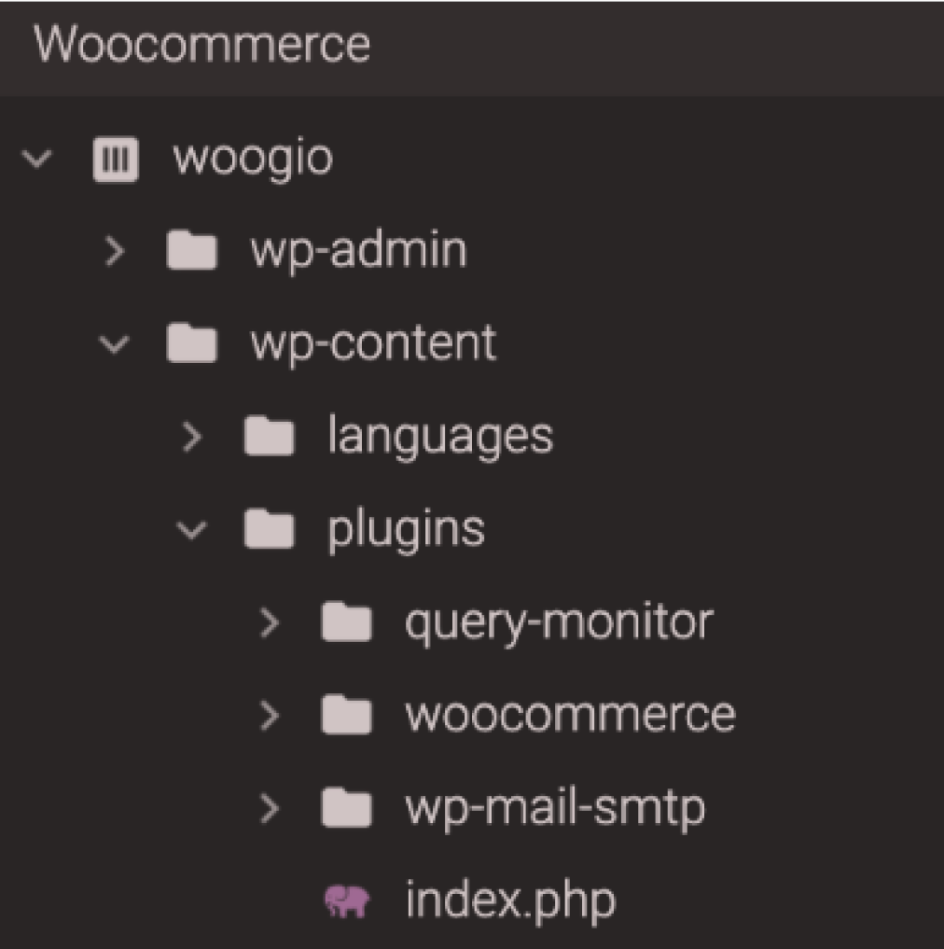
That’s it! You will be in the “Installed Plugins” section and from there you can activate it.
Setup Mercado Pago
↑ Back to topAfter activating your plugin, proceed to the integration of your Mercado Pago account.
STEP 1:
If you don’t already have one, create a seller account on Mercado Pago. It is free and takes seconds!
STEP 2:
Get your credentials, these are the keys that uniquely identify you within the platform.
Setup WooCommerce
↑ Back to topAfter installation and integration with Mercado Pago, configure the plugin in the best way for your store.
Set up the plugin and the checkouts you want to activate in your payment options. To start receiving payments as soon as possible, follow these steps:
STEP 1:
Add your credentials to test the store and charge with your Mercado Pago account according to the country where you are registered.

STEP 2:
Fill in your basic business information in the plugin setup.

STEP 3:
Set up payment preferences for your customers.
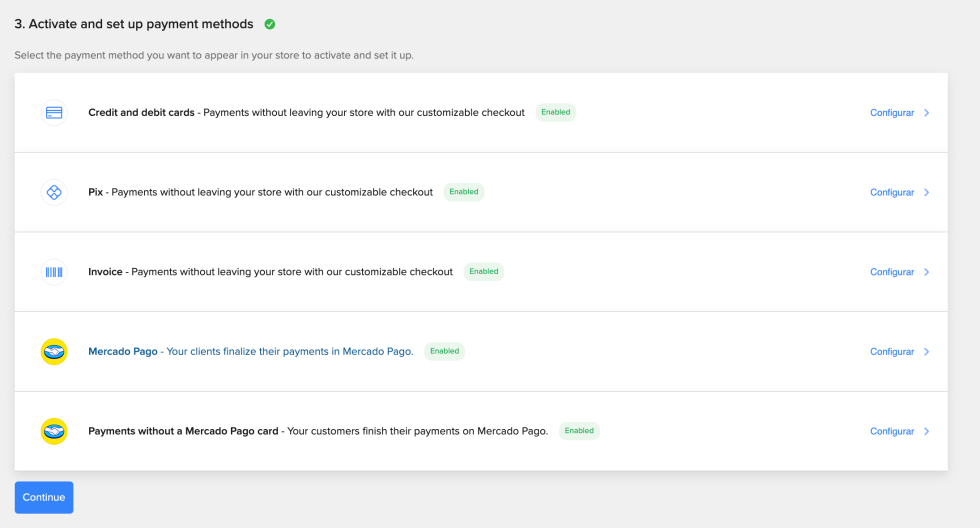
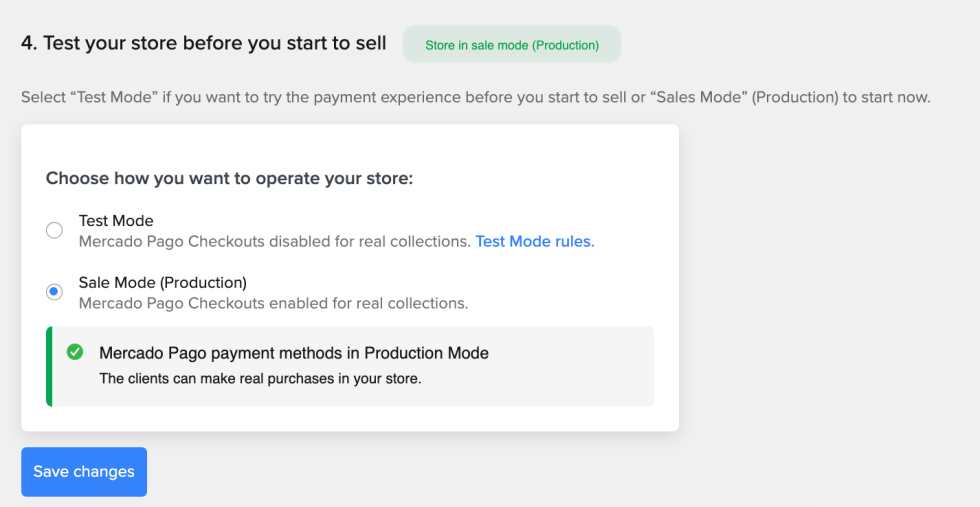
STEP 4:
Select “Test Mode” if you want to try the payment experience before you start to sell or “Sales Mode” (Production) to start now.
Go to the advanced settings of both the plugin and the checkout if you want to change the default settings.
If you have further questions or need support, please visit our developer site.

