Overview
↑ Back to topThe Stamps.com XML Export extension makes it easy to export your WooCommerce orders into the XML file format required for import into the Stamps.com Windows Desktop client application. Export individual orders from the Orders and Edit Order pages, or export all orders with a certain order number, status, or date range with the bulk export tool.
Installation
↑ Back to top- Download the extension from your dashboard
- Go to Plugins > Add New > Upload and select the ZIP file you just downloaded
- Click Install Now, and then Activate
- Click the Configure link and read the next section to learn how to setup and configure the plugin.
Setup and Configuration
↑ Back to topThere are a few settings that affect how the XML files are generated. Go to WooCommerce > Stamps.com Export:
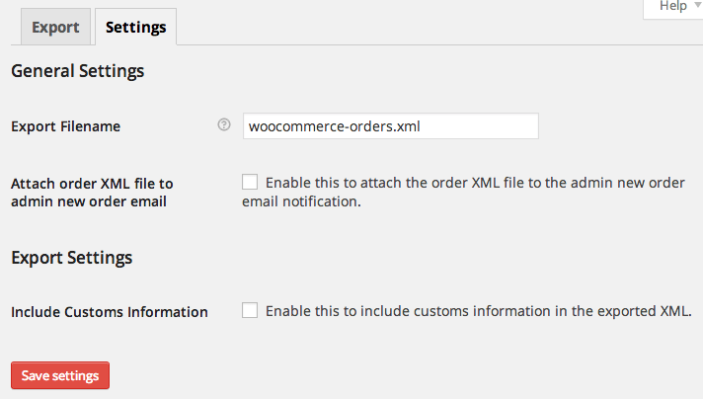
- Export Filename – Change the name of the filename that is exported. Remember that if this is changed after the initial setup, you will have to go through the setup process again for the Stamps.com desktop client.
- Attach order XML file to admin new order email – Enable this to attach an XML export file of the order to the admin new order notification email.
- Include Customs Information – Enable this to include Customs Information in the XML file for international orders. This will also include order line item information as well.
Setting up the desktop client
↑ Back to topTo produce an XML export file of order data that can be imported to the Stamps.com client follow these instructions.
- Go to WooCommerce > Orders and click the Stamps.com icon for a recent order.
- Now, copy the XML file exported from your WooCommerce site to the folder you will use for these files.
- Launch Stamps.com client and go to “Batch” option in left menu:
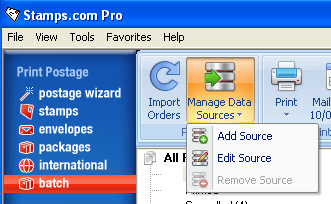
- Press Manage Data Sources > Add Source:
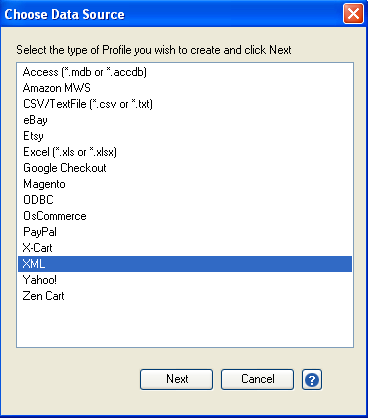
- On the Choose Data Source window, select “XML” and press Next:
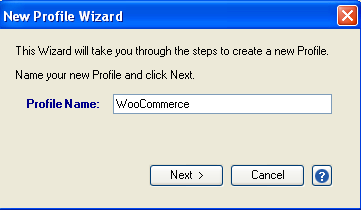
- Give the data source a Profile Name and press Next:
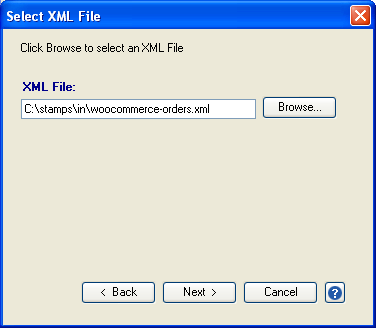
- Browse and find the location of the “woocommerce-orders.xml” file and press “Open”.
- On the “Profile Options” set the defaults for this data source:
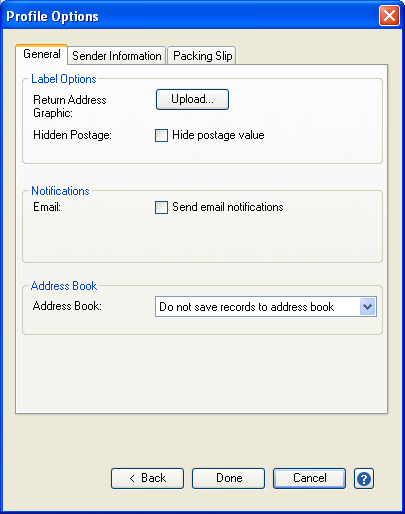
- Press Done to save this data source.
Note: The location and name of this file needs to remain the same, or you will need to repeat this setup each time you process a file.
Exporting Orders
↑ Back to topExporting Individual Orders
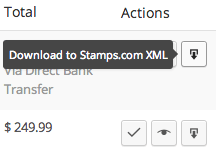
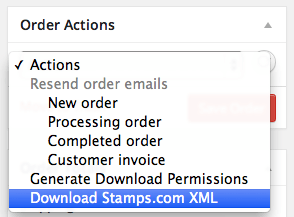
↑ Back to topClick the Stamps.com icon on the Orders page to export the individual order to XML, or when editing the Order, you can select “Export to Stamps.com” order action.
Exporting Orders in Bulk
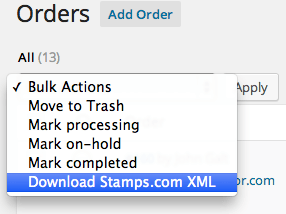
↑ Back to topSelect multiple orders and go to Bulk Actions > Export to Stamps.com to export the selected orders to XML.
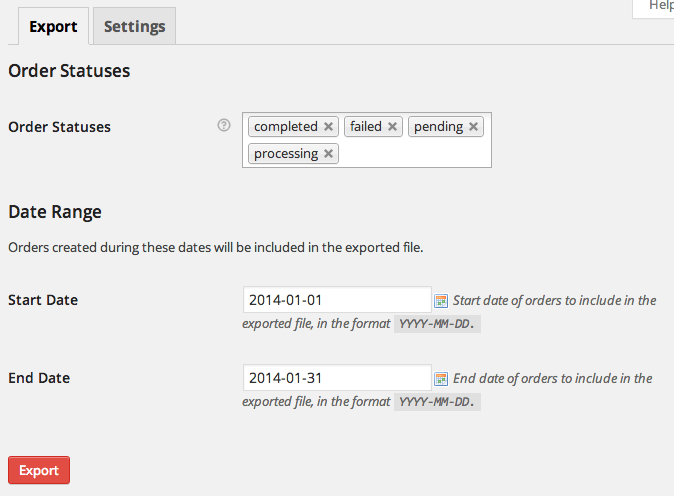
You can export all orders with a certain order status, order ID, or within a range of dates by using the bulk export tool under WooCommerce > Stamps.com Export > Export. Order IDs must be comma separated. If you don’t select a start date, all orders up until your end date will be exported. If you don’t select an end date, the current date will be used.
Importing into Stamps.com
↑ Back to topTo import a file into the Stamps.com desktop client:
- Export an order via one of the WooCommerce export options.
- Copy the “woocommerce-orders.xml” file exported from your WooCommerce site to the folder you setup as your data source. You will overwrite any existing file.
- Launch Stamps.com client and go to “Batch” option in left menu.
- Press the “Import Orders” button.
- Orders will be imported and shown as “Not Printed”.
Possible outcomes during import
- You may receive a popup showing you an address correction to the address supplied by your customer
- You may receive a message saying no orders were imported. If this is the case, verify that the XML file that was exported from the WooCommerce site is the same name and in the same location as when you setup your data source. You can verify this by pressing the Manage Data Sources > Edit Source button.
Questions & Support
↑ Back to topHave a question before you buy? Please fill out this pre-sales form.
Already purchased and need some assistance? Get in touch with support via the help desk.
