Display an attractive success popup when a product is added to cart.
Installation
↑ Back to top- Download the .zip file from your WooCommerce account.
- Go to: WordPress Admin > Plugins > Add New and Upload Plugin with the file you downloaded with Choose File.
- Install Now and Activate the extension.
More information at Install and Activate Plugins/Extensions.
Setup and Configuration
↑ Back to topOnce the extension is installed, you can see “Added to Cart Popup” under WordPress Admin > WooCommerce. Click to access the settings.
General Settings:
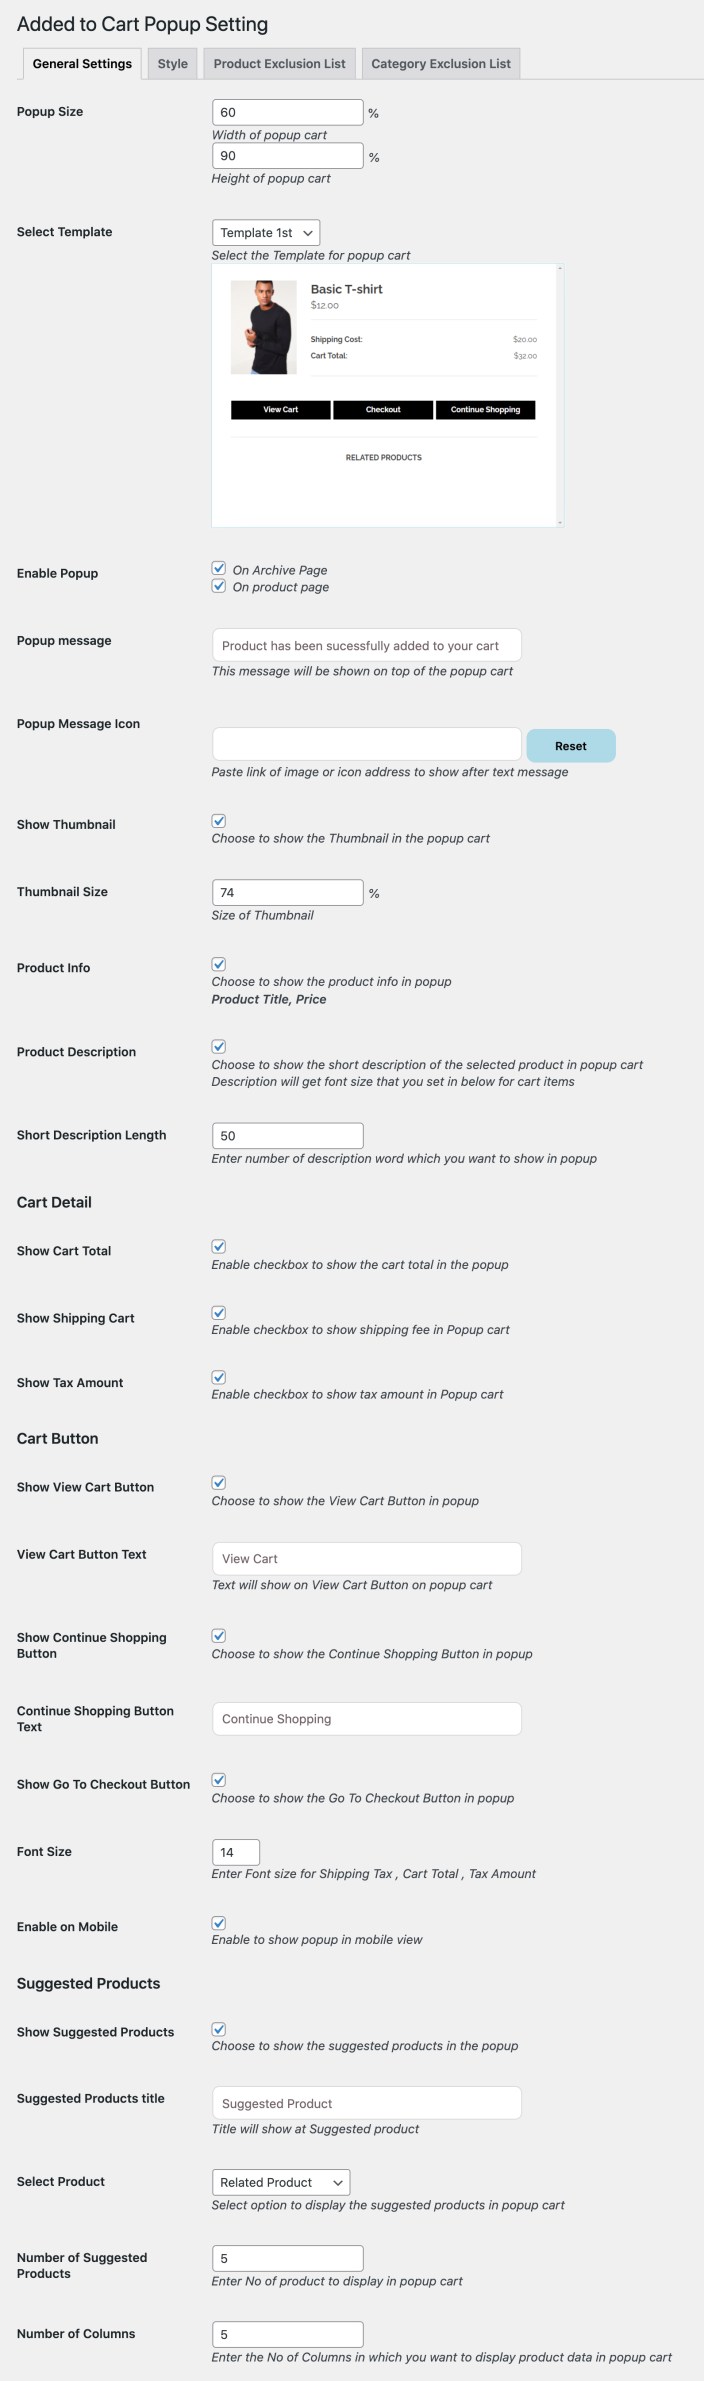
↑ Back to topUsing the general settings tab you can customize,
- Popup height and width
- Where to display (Product and listing pages)
- Success message and icon appearing at the top of popup
- Show product thumbnail
- Customize thumbnail size
- Show product tile, price and description
- Add character limit for description
- Hide cart total, shipping and tax amount
- Customize view cart, continue shopping and checkout button text
- Hide popup on mobile devices
- Display related, cross-sell or up sell products
The related products are the products displayed from same category, whereas the cross-sell and up-sell are the products picket from your product edit page.
Style/Color Options
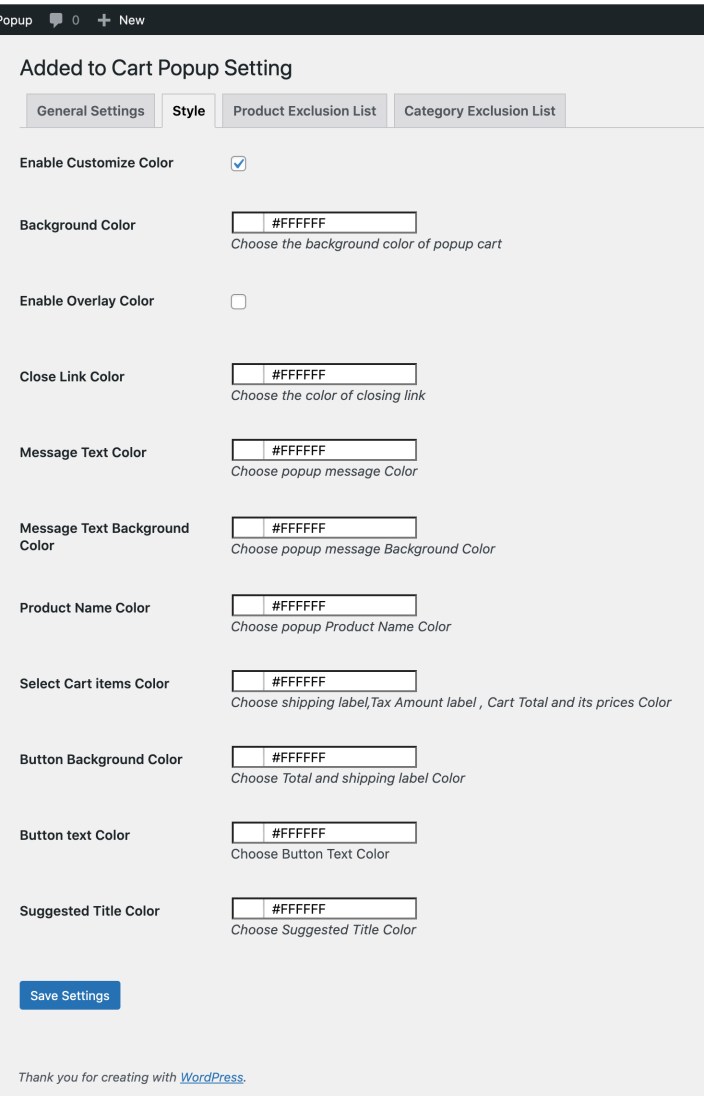
↑ Back to topUsing the style settings tab you can customize following colors,
- Popup Background & Overlay Color
- Close Link Color
- Message Text & background Color
- Product Name Color
- Select Cart items Color
- Button Background & Text Color
- Suggested Title Color
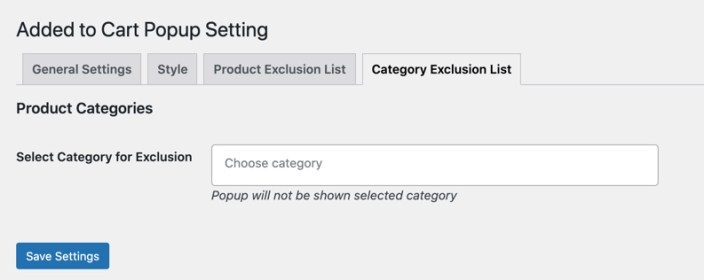
Exclude specific products and categories:
↑ Back to topYou can exclude specific product or product categories to hide the added to cart popup.