Welcome to the documentation for the All-in-One Popup plugin for WooCommerce. This plugin is designed to elevate your store’s marketing strategies by offering versatile and customizable popups that drive sales and enhance customer engagement. Whether you’re looking to promote discounts, offer upsells, or capture visitor subscriptions, this documentation will guide you through the setup and configuration, ensuring you can create impactful popups with ease.
Requirements
↑ Back to top- WooCommerce version 6.8 or higher
- WordPress version 6.3 or higher for block features
- PHP version 7.4 or higher
Installation
↑ Back to top- Download the .zip file from your WooCommerce account.
- Go to: WordPress Admin > Plugins > Add New and Upload Plugin with the file you downloaded with Choose File.
- Install Now and Activate the extension.
More information at: Install and Activate Plugins/Extensions.
Setup and Configuration
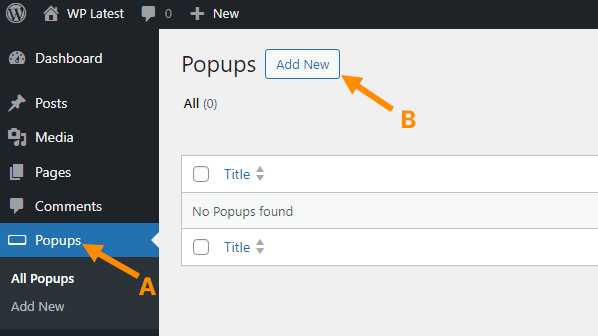
↑ Back to top- Create a Popup: Navigate to the Popups menu and click Add New to create a new popup.
- Enter document title: Click the Add title area and enter a title. This will be used for internal purposes only.

- Customize Content: Use the block editor to edit the popup content. Access additional popup options in the block settings panel located on the right side of the screen.
- Set Display Conditions: Specify where the popup should appear by adding conditions such as Product by category, Product by tag, and Single product under the Enable popup on these pages section in the block settings panel.
- Adjust Style and Placement: Customize the popup’s style, placement, and dismiss button settings under the Style tab in the block settings panel.
- Publish and Test: Click Publish to activate the popup. Visit your product page or any relevant page to test and see the popup in action.
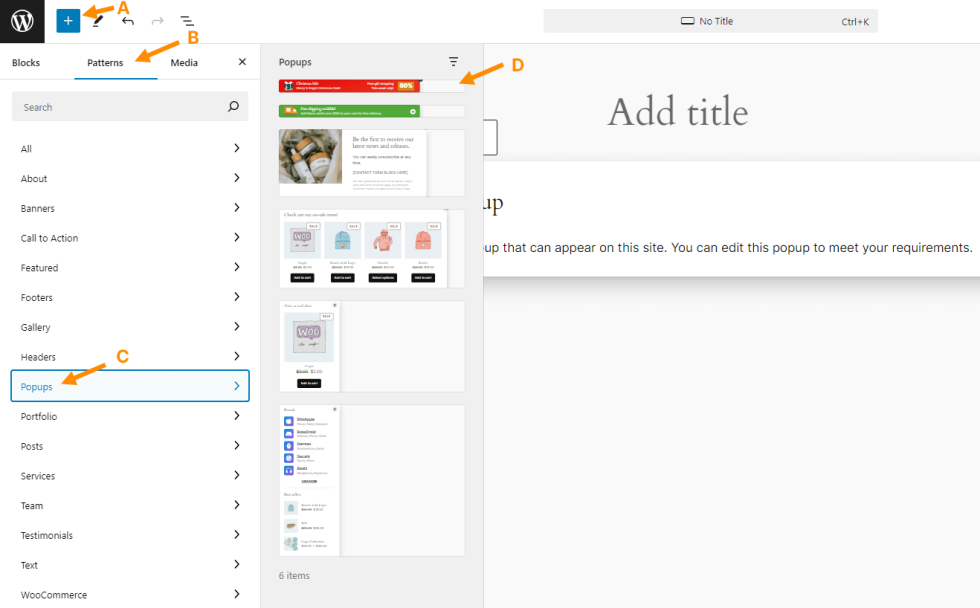
- Adding pre-defined popups: This plugin includes pre-defined popup templates as block patterns for quick use. To add a pre-defined popup block:
- Click the Block insert button (+)
- Click the Patterns tab
- Click Popup
- Choose the template you want to add
- After adding, you can configure the popup block to meet your requirements.
Note: There is no separate settings page. All settings are accessible directly within the Popup block.
Note: You can add multiple popup blocks in the same document for easier management.
Creating a Floating Menu with Manual Popup Activation
↑ Back to topOur popup can be used as a floating menu to help users navigate your site more efficiently. Follow these instructions to create a floating menu from a popup block:
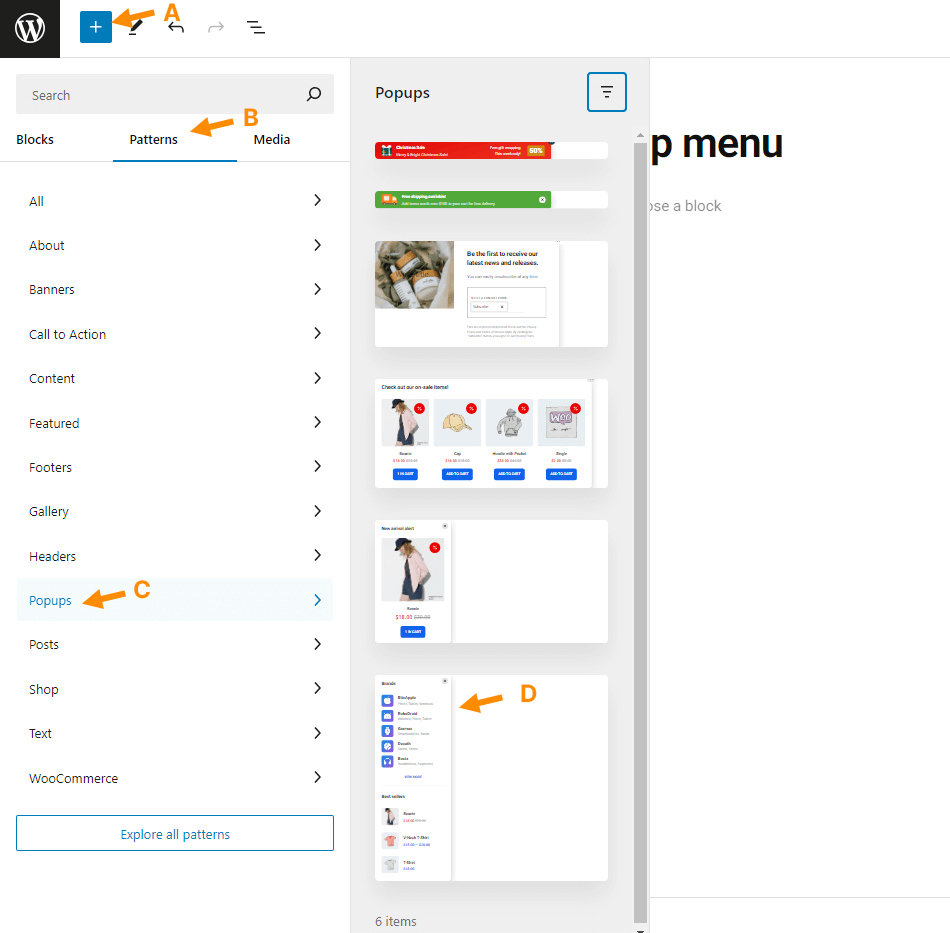
- Add a pre-defined popup menu:
- Click the Block insert button (+)
- Click the Patterns tab
- Click Popup
- Choose the Side menu pattern
- Configure the popup block: In the block settings of the popup block:
- Set Popup display > Display popup when to Manual activation only. This keeps the popup hidden by default.
- Set Dismissal > Dismiss duration to 0 to ensure the popup appears for every activation.
- Under Advanced > HTML anchor, enter a unique name. This will be used for activation. We’ll use mypopup for this example.
- To set a specific height for the menu, adjust Styles > Dimensions > Height to your desired value. For example, use 70% (70% of the screen height) or 80vh (80% of the viewport height).
- Add an activation button: This button will activate the popup. It can be added to any page or template, but in this example, we’ll add it to the current document so it appears in the page footer.
- Click the Block insert button (+) and select the Buttons block
- Enter text for the button label
- Click the link icon on the Button block’s floating toolbar
- Enter the HTML anchor name from step 2, prefixed with a hashtag (#). For example: #mypopup
- Save the document and test it on the front end. The popup should appear when the button is clicked.
From the above example, you can adapt this method for manual activation from any link or by using JavaScript.
Questions and Feedback
↑ Back to topHave a question before you buy? Please fill out this pre-sales form. Already purchased and need some assistance? Get in touch via the Help Desk.
Support Response
↑ Back to topWe strive to respond to all inquiries within the first 24-36 hours on business days. Please ensure that our reply doesn’t end up in your spam or junk folder. Adding our email address to your contacts or safe senders list can help prevent this. We appreciate your patience and are here to assist you!