This plugin has been retired, as Amazon no longer offers Amazon Simple Pay payment processing services.
Overview
↑ Volver al principioYou must have an Amazon AWS account, and the Simple Pay feature must be enabled for your account (add it here). This gateway does not require an SSL certificate. Not sure which Amazon gateway is right for you? Check out the Amazon Extension Comparison Guide.
Installation
↑ Volver al principio- Download the extension from your dashboard
- Goto Plugins > Add New > Upload and select the ZIP file you just downloaded
- Click Install Now, and then Activate
- Click the Configure link and read the next section to learn how to setup and configure the plugin.
Setup and Configuration
↑ Volver al principio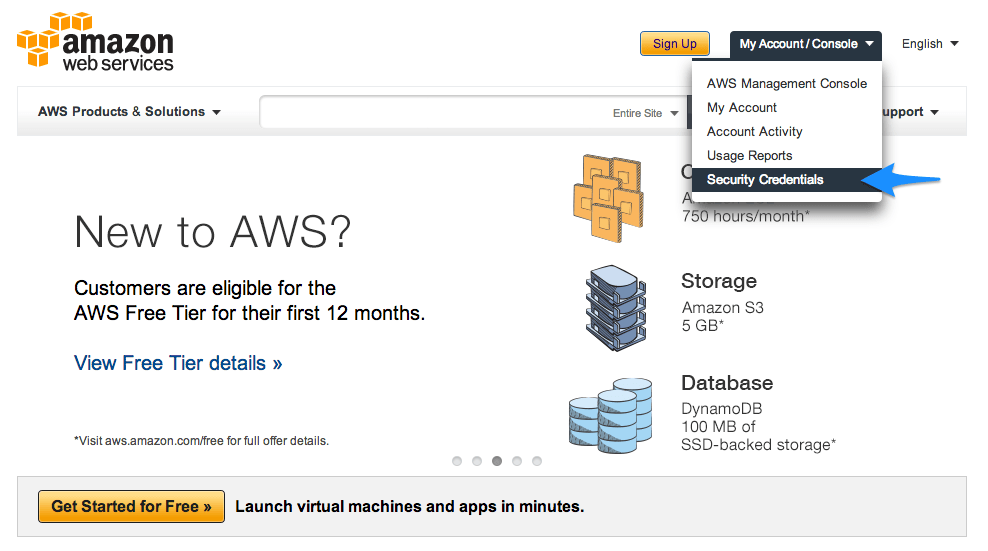 Login to your Amazon account:
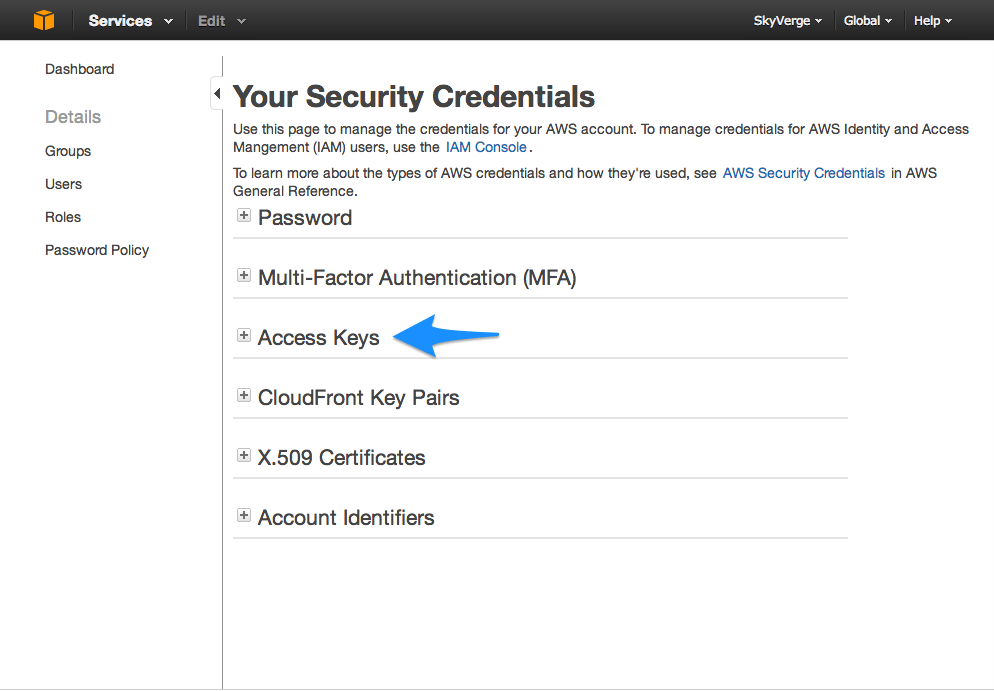
 Click the plus symbol next to “Access Keys”:
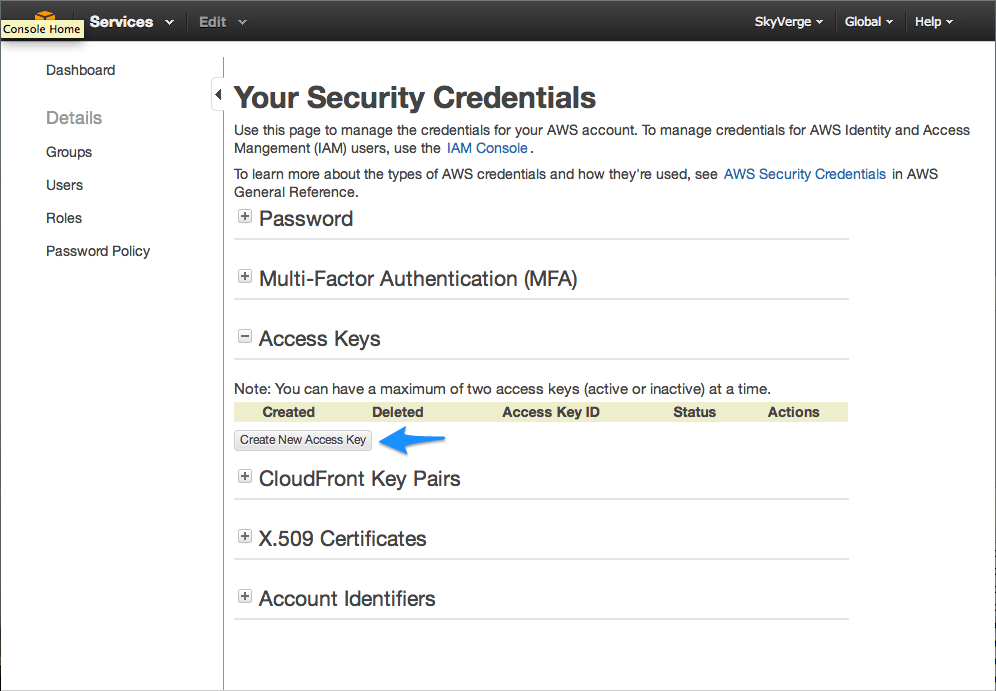
 Then click on “Create new access key”:
 Your new access key and secret key will be displayed. Copy these down, as once you exit this page you will not be able to view your secret key again. You may want to click the “Download Key file” link so you can save a copy of these keys on your computer.
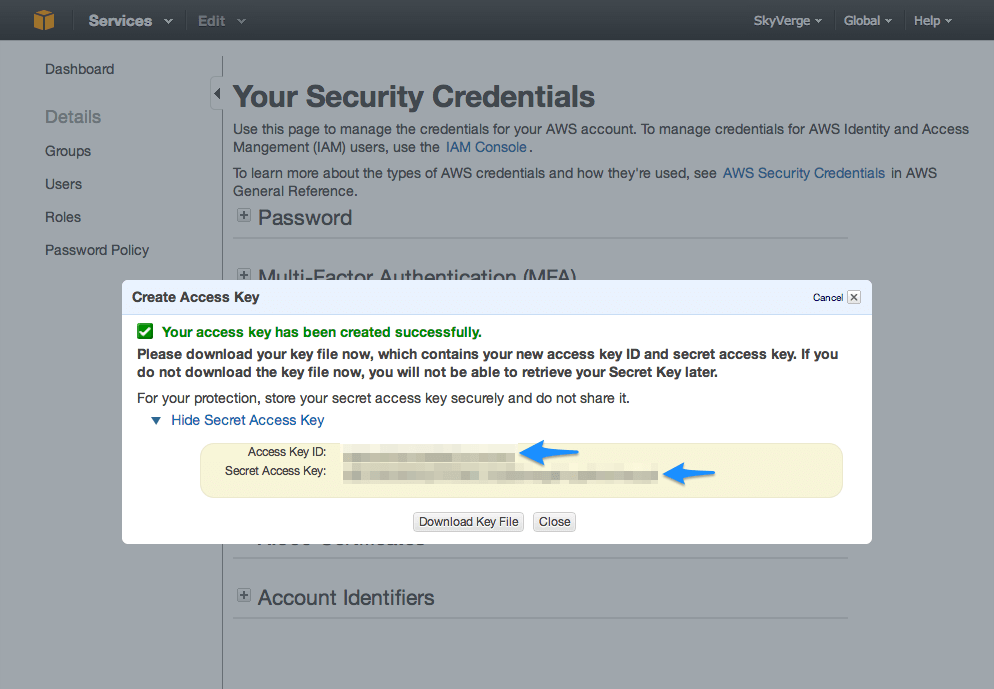 Now, log into your WooCommerce store and browse to WooCommerce > Settings > Checkout > Amazon Simple Pay. Enter the access key and secret key into the text boxes:

Extension Settings
↑ Volver al principio- Enabled – This will enable the gateway to be used by customers to checkout.
- Title – This is the text shown for the payment during checkout and on the Order Received page.
- Description – This is the text shown under the title during checkout. Limited HTML is allowed. In the “Sandbox” environment, this section will also display a notice.
- Environment – This is the API environment used for transactions, defaulting to “Production”. Your production access & secret key will work in the “Sandbox” environment, but you must first sign up for an Sandbox account.
- AWS Access Key – This is the AWS access key for your Amazon account. Sign into your AWS account to get this by following the instructions above.
- AWS Secret Key – This is the AWS secret key for your Amazon account. Sign into your AWS account to get this by following the instructions above.
- Debug Mode – Enable this is you are having issues correctly processing transactions. You can either log API requests / responses directly to the checkout / thank you page, save them to the WooCommerce Error Log (found under WooCommerce > System Status > Logs), or both. As a best practice, please do not enable this unless you are having issues with the plugin.
Checkout Flow
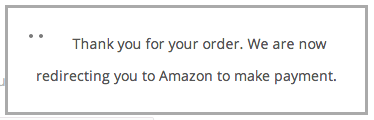
↑ Volver al principio After clicking “Place Order”, they are redirected to Amazon:
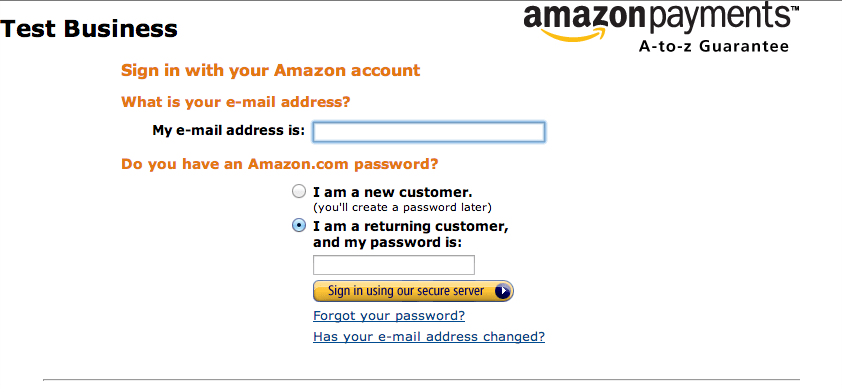
 And prompted to sign into their Amazon account:
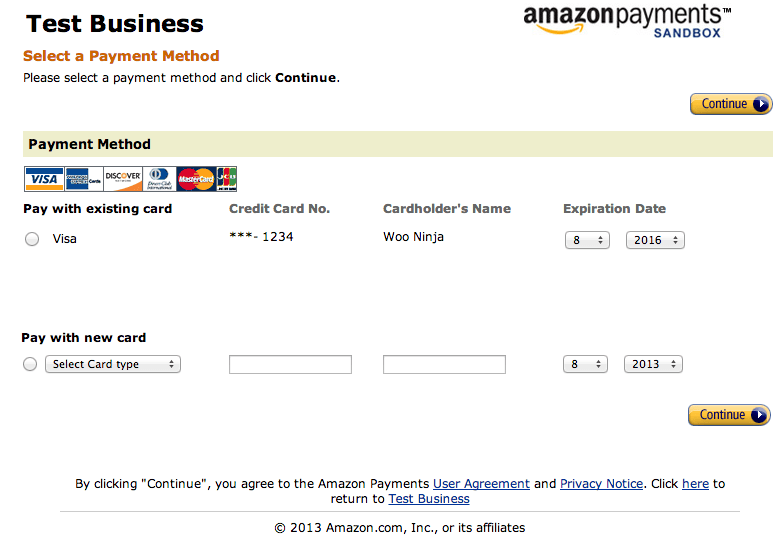
 The customer can select an existing payment method stored on their Amazon account, or add a new one:
 Then they are prompted to confirm their payment:
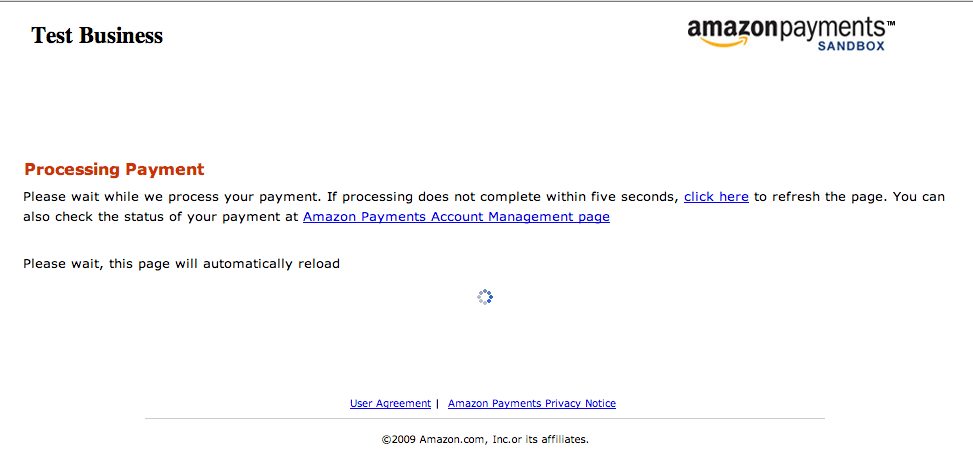
 After clicking confirm, the customer’s payment is processed:
 Finally, the status of their payment is displayed and the customer is prompted to return to your WooCommerce store:
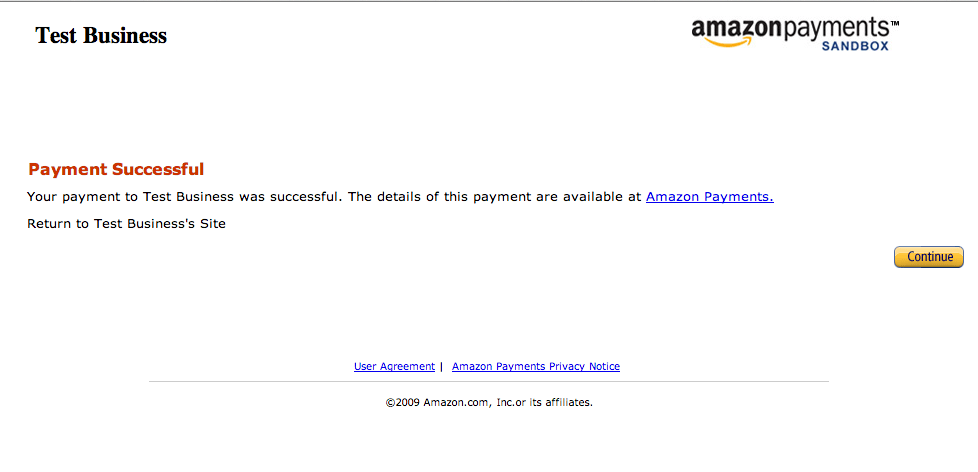 When they click “Continue” they are redirected back to the “Order Received” page on your store.
Troubleshooting
↑ Volver al principio- Check that your AWS Access Key and Secret Key are correct.
- Double-check that your AWS Access Key and Secret Key are correct.
- Enable debug mode to the checkout page and review the errors messages that Amazon is providing.
- Enable debug both to the logs and submit a support ticket, with the log found under WooCommerce > System Status > Logs as an attachment.
IPN Issues
↑ Volver al principioFor Developers
↑ Volver al principioFilters
↑ Volver al principioapply_filters( 'wc_amazon_simple_pay_button_parameters', $this->parameters, $order )which passes in the button parameters and the WC_Order object. Use this filter to modify the payment description, add a co-branding logo, and more.apply_filters( 'wc_amazon_fps_api_request_parameters', $this->parameters );which passes in the request parameters. Use this filter to modify the charge description.