Custom Product Designer for WooCommerce lets you allow customers to design the various products on your online store such as cap, t-shirts, cards, cups, etc.
Installation
↑ Back to topDownload the Custom Product Designer for WooCommerce from your WooCommerce dashboard.
At the WordPress admin panel, go to Plugins > Add New > Upload and select the ZIP file you just downloaded.
Click Install Now, and then Activate Plugin.
Setup and Configuration
↑ Back to topTo access plugin settings, navigate to WooCommerce > Settings > Product Designer > General Settings.
General Settings:
Designer top heading: Set the custom heading for the product designer
Canvas width: Customize the size of the canvas as per your preferences
Set product customization fee: Set the fee for product customization. It counts as the cost of the customization
Designer Background color: Choose the background as per your store theme
Top header background: Customize the header background color to align with the store’s appearance
Canvas background color: Select the background color of the canvas.
Pixabay key: Insert the Pixabay integration key. You will get the key after making an account on Pixabay.
Enable Product Designer for Any Product
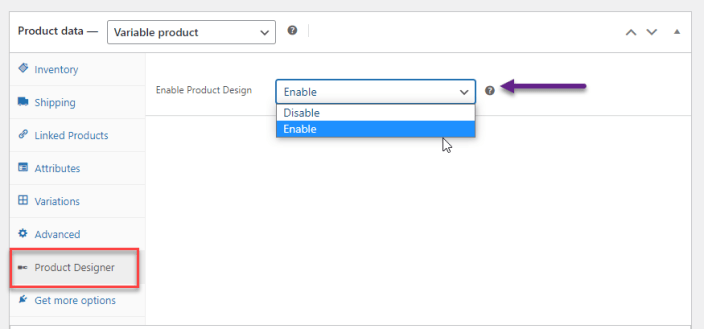
↑ Back to topAt the back-end go to the product you want to enable customization. You will find the product designer section at the bottom, here click the button to enable the customization for the product.

Add Front and Back Images on Simple and Variable Products
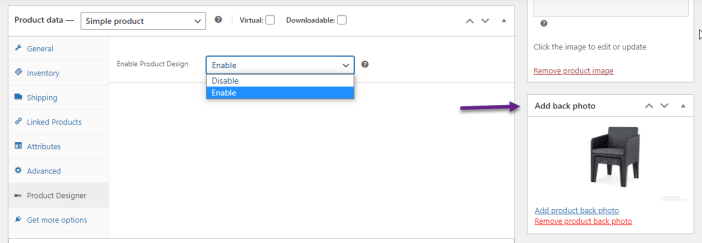
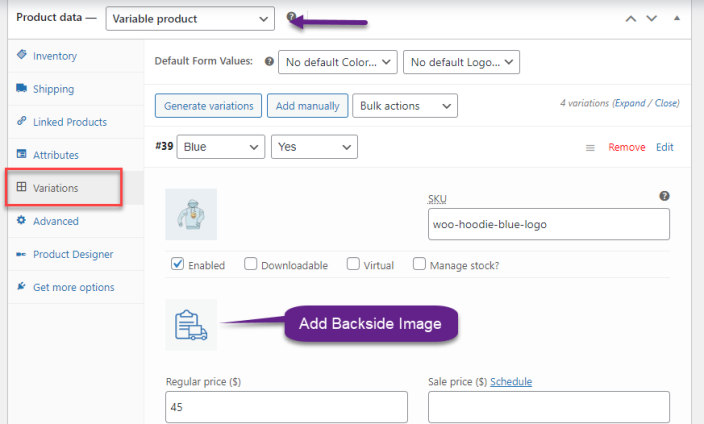
↑ Back to topWooCommerce product customizer allows administrators to add front and back images for both simple and variable products. For variable products, you can add front-back images by going into the variations tab.
Simple Product
↑ Back to top
Variable Product
↑ Back to top
Add Clip Arts
↑ Back to topAt the back-end go to WooCommerce > Add Clip Art. Here can upload the clip art image and define the name as well.

Add Clip Art Categories
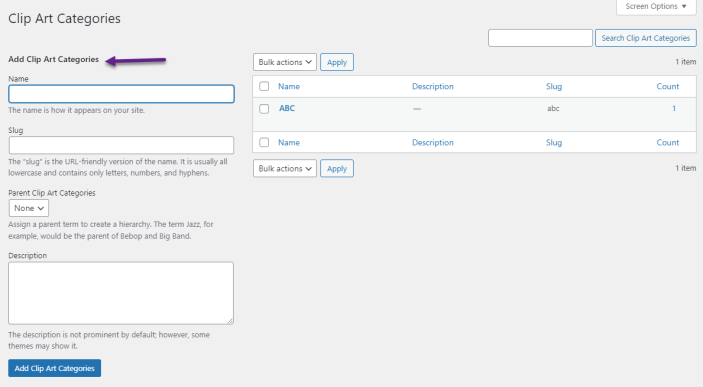
↑ Back to topClick clip art categories to add a new category for clip art e.g cars, animals. planes etc.

