DePay‘s Web3 Payments plugin for WooCommerce allows you to offer cryptocurrency payments processed directly on-site and peer-to-peer (without an intermediary). Start accepting thousands of different tokens with on-the-fly conversion on multiple blockchains. Receive only the tokens you have configured as means of payment. Receive payments directly into your wallet. Furthermore, no funds are held by any intermediary at no time. Payments settle immediately. No “hold-period”, no “frozen funds”, and no “chargebacks”.
The solution supports:
- One-time cryptocurrency payments
- On-site processing
- On-the-fly conversion
- Accept thousands of different tokens
- Receive only the tokens you configure
- Multiple blockchains
- Multiple wallets
- Multi-currency denomination
Requirements
↑ Back to top- You only need to have a cryptocurrency wallet.
Installation
↑ Back to topWatch the “How to Accept Web3 Cryptocurrency Payments on WooCommerce” tutorial straightaway or go through the following steps:
- Visit the DePay Payments plugin page on WooCommerce
- Click “Free Download” to add the plugin to your cart
- Click “Proceed Checkout“
- Enter your details and click “Pay 0.00“
- Now click “Add to site” or “Download” the plugin .zip
- Make sure you install and activate the plugin
You can always download the plugin .zip file from your WooCommerce.com account once you went through the checkout process.
Configuration
↑ Back to topStart receiving Web3 Payments now. Just configure:
- Your wallet address
- The tokens on the blockchains you would like to receive as means of payment
Configure Your Wallet Address
↑ Back to topLog in to your WordPress admin. Click on “DePay > Settings” in the sidebar navigation.
Either click on “Connect Wallet” to connect your wallet and your wallet address will be entered automatically, or enter the address of your wallet manually.
Make sure and double-check that the entered address is in fact your wallet address. Payments will be sent to the wallet address configured and if configured incorrectly might lead to loss of funds.
Finally, make sure you click “Save Settings” once you’ve finished the configuration.
Configure Accepted Payments
↑ Back to topWithin your WordPress admin, navigate “DePay > Settings“. Configure the tokens that you would like to receive as means of payment.
Click “Add Token” to add a token on a blockchain that you would like to receive as means of payment.
Make sure you select the desired blockchain when adding new tokens.
Click “Remove” on an already selected token in order to remove the token as accepted means of payment.
Lastly, make sure you click “Save Settings” once you’ve finished the configuration.
Customer Checkout Flow
↑ Back to topDePay offers a seamless on-site payment experience directly on your WooCommerce site.
Checkout Page
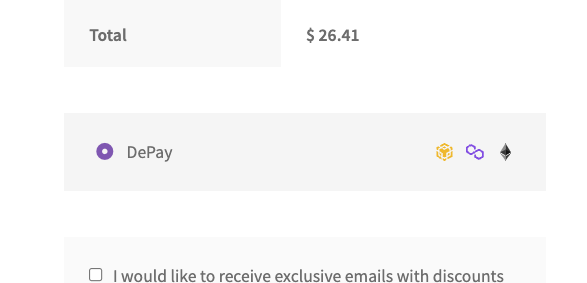
↑ Back to topOn the checkout page itself DePay will hint at the available blockchains available to settle the payment:

Payment Widget
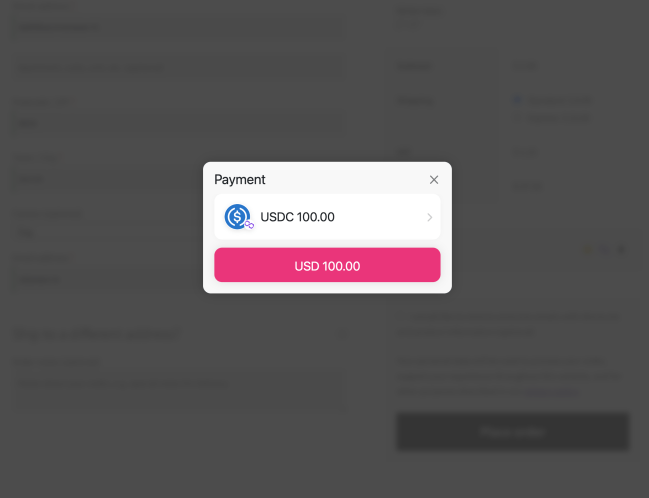
↑ Back to topA payment widget will open directly on your WooCommerce store’s checkout page in order to allow your customers to connect their wallets. After a wallet has been connected, DePay automatically suggests the most-cost efficient payment route in order to arrive at a “one-click” payment experience. Tokens are converted on-the-fly and you will always receive the tokens you’ve configured.

After the payment succeeded, your customers will be forwarded to the order confirmation page.

Frequently Asked Questions
↑ Back to topCan I test DePay’s Web3 Payments in local development?
↑ Back to topYes you can test DePay in local development. In this situation you will need to confirm payments manually in the WordPress admin section “DePay > Transactions“. Automatic payment validation is supported for shops only if they are online and can be called from our payment APIs via the site’s hostname.
Questions and Feedback
↑ Back to topDo you still have open questions? Do you need additional support?
