Thank you for choosing the eMart theme to build your WooCommerce website.
Not only does eMart support Full Site Editing (FSE) , but also integrates with Elementor, allowing users to easily design and personalize your store with Elementor support.
Installation
↑ Back to top- In your Dashboard go to Appearance > Themes.
- Click on the Add New button on top.
- Click Upload New button on top.
- In the new interface click Choose File and browse your computer to locate emart.zip file you downloaded.
- Click Install Now.
- After installation Activate the theme.

Required Plugins
↑ Back to top- WooCommerce: The official WooCommerce plugin is required to display the modal cart and products. It includes many other necessary blocks for any website.
- WP Form : The plugin is recommended for creating contact forms.
- Safe SVG: is the best way to Allow SVG Uploads in WordPress! It gives you the ability to allow SVG uploads whilst making sure that they’re sanitized to stop SVG/XML vulnerabilities affecting your site. It also gives you the ability to preview your uploaded SVGs in the media library in all views.
- Install One Click Demo Import plugin from Appearance > Install Plugins.

Import Demo Site
↑ Back to topAfter installation and activation of the theme and required plugins. You can now install the demo content to get you started.
Importing demo content does not delete any existing content. It also imports WPForms.
Importing demo data (post, pages, images, theme settings, …) is the easiest way to setup your theme. It will allow you to quickly edit everything instead of creating content from scratch.
Before Import
↑ Back to topPlease make sure that all the required plugins are installed and activated.
- No existing posts, pages, categories, images, custom post types or any other data will be deleted or modified.
- Posts, pages, product, images, widgets, menus and other theme settings will get imported.
- Please click on the Import button only once and wait, it can take a couple of minutes.
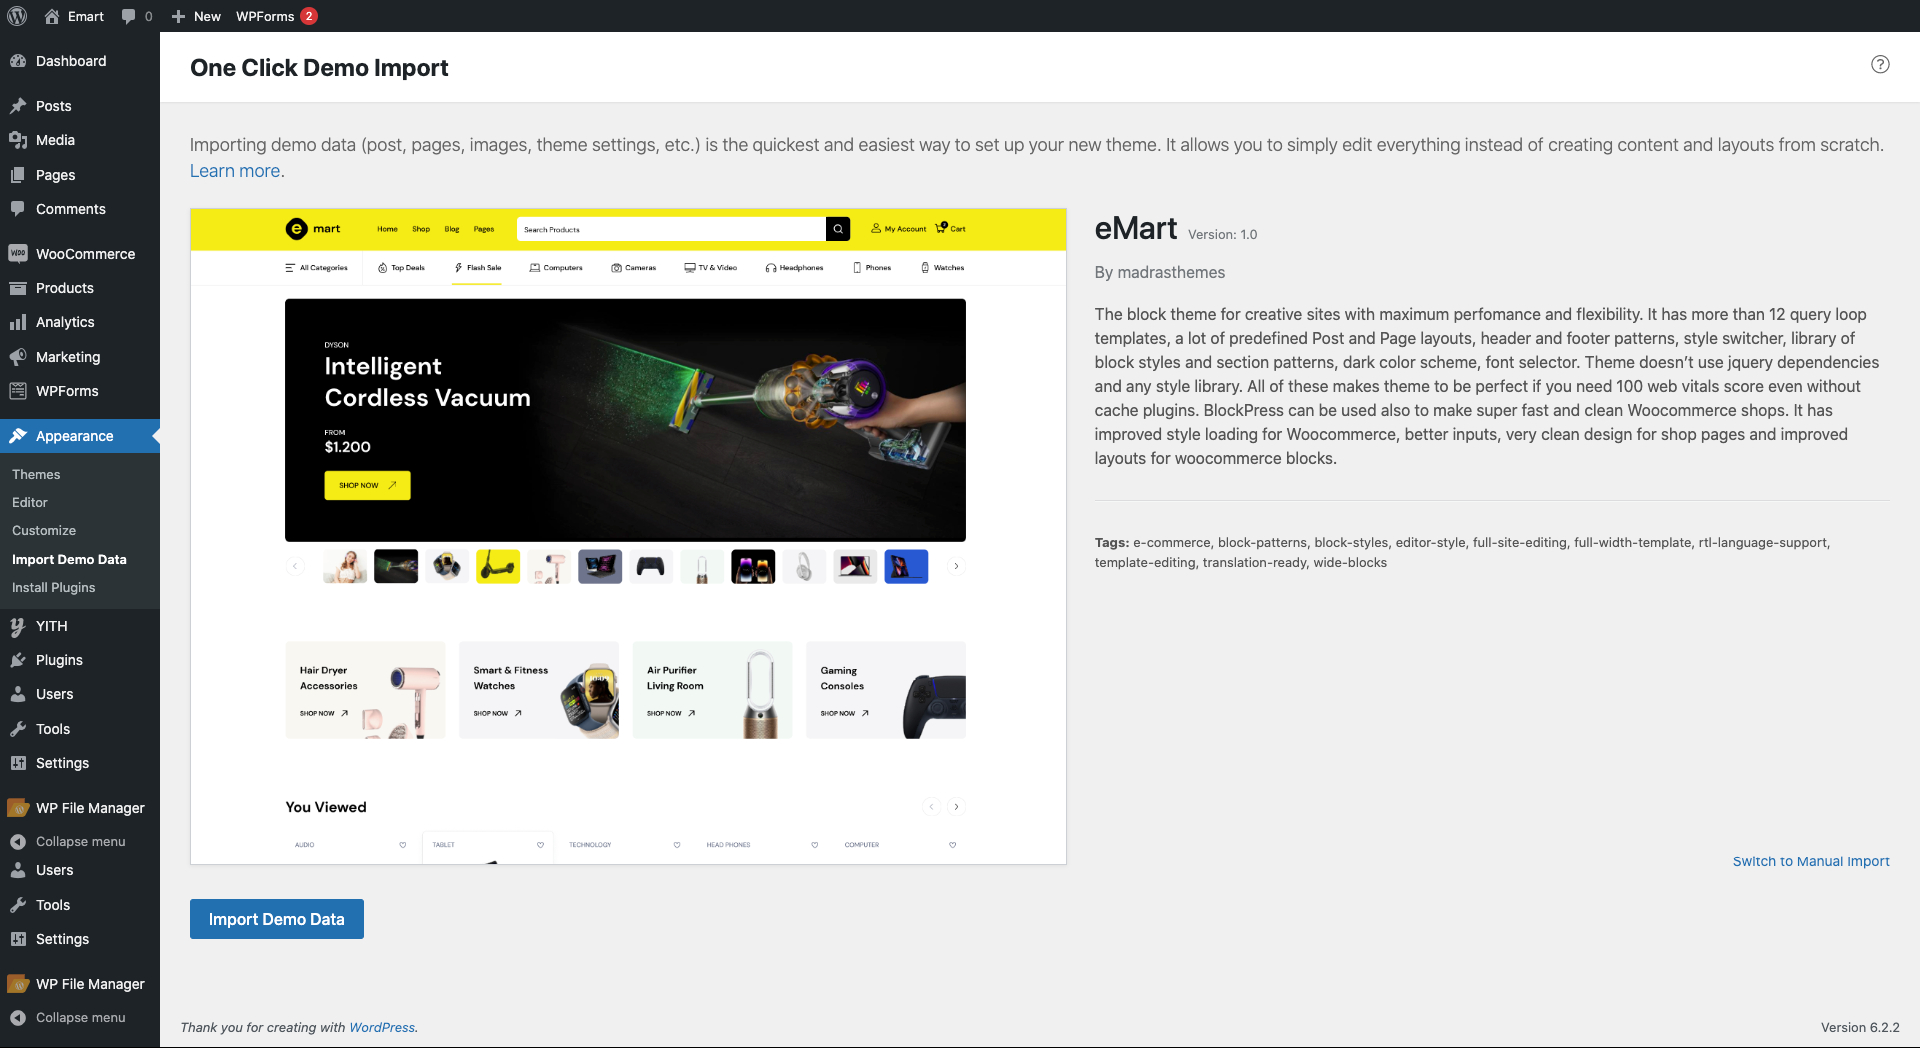
Click Import Demo Data
Click Continue & Import
On confirmation, the importer will import the content specified. It may take 5-10 minutes to import all the demo content.
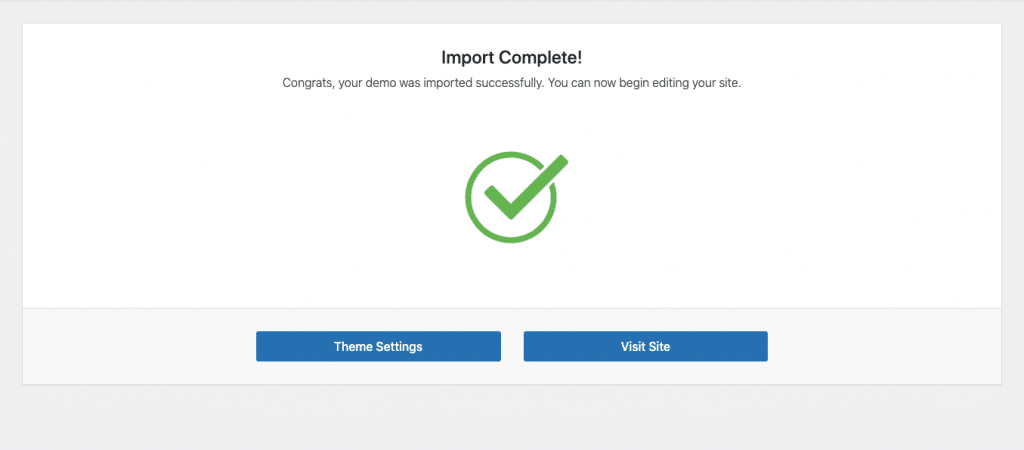
After import, you’ll be notified about the import completion.
Note :
- Product might not appear immediately due to cache
- Please open any single product and update to clear the product cache
Setting a homepage
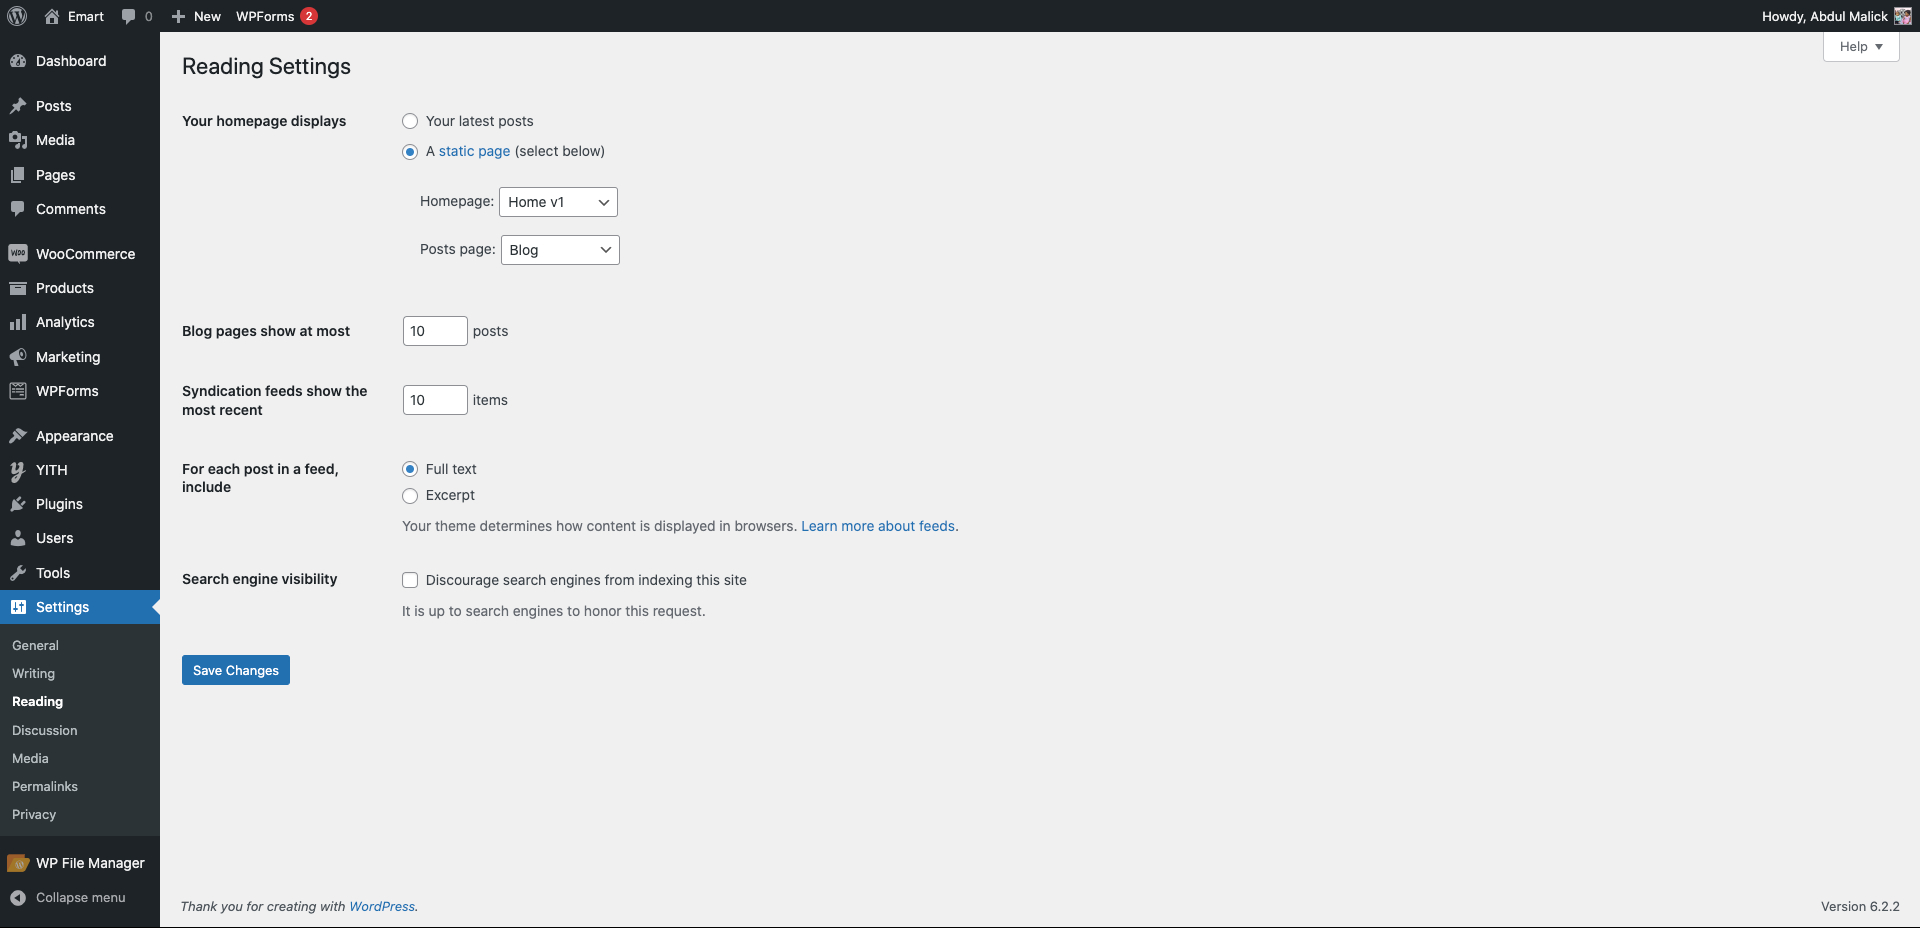
↑ Back to topAfter import is completed, you can set one of the pages imported as your homepage. To set your home page:
- In your admin panel, go to Settings > Reading
- Select A Static Page option for the Your homepage displays option.
- In the dropdown, choose the page you want set as home.
Navigation Setup
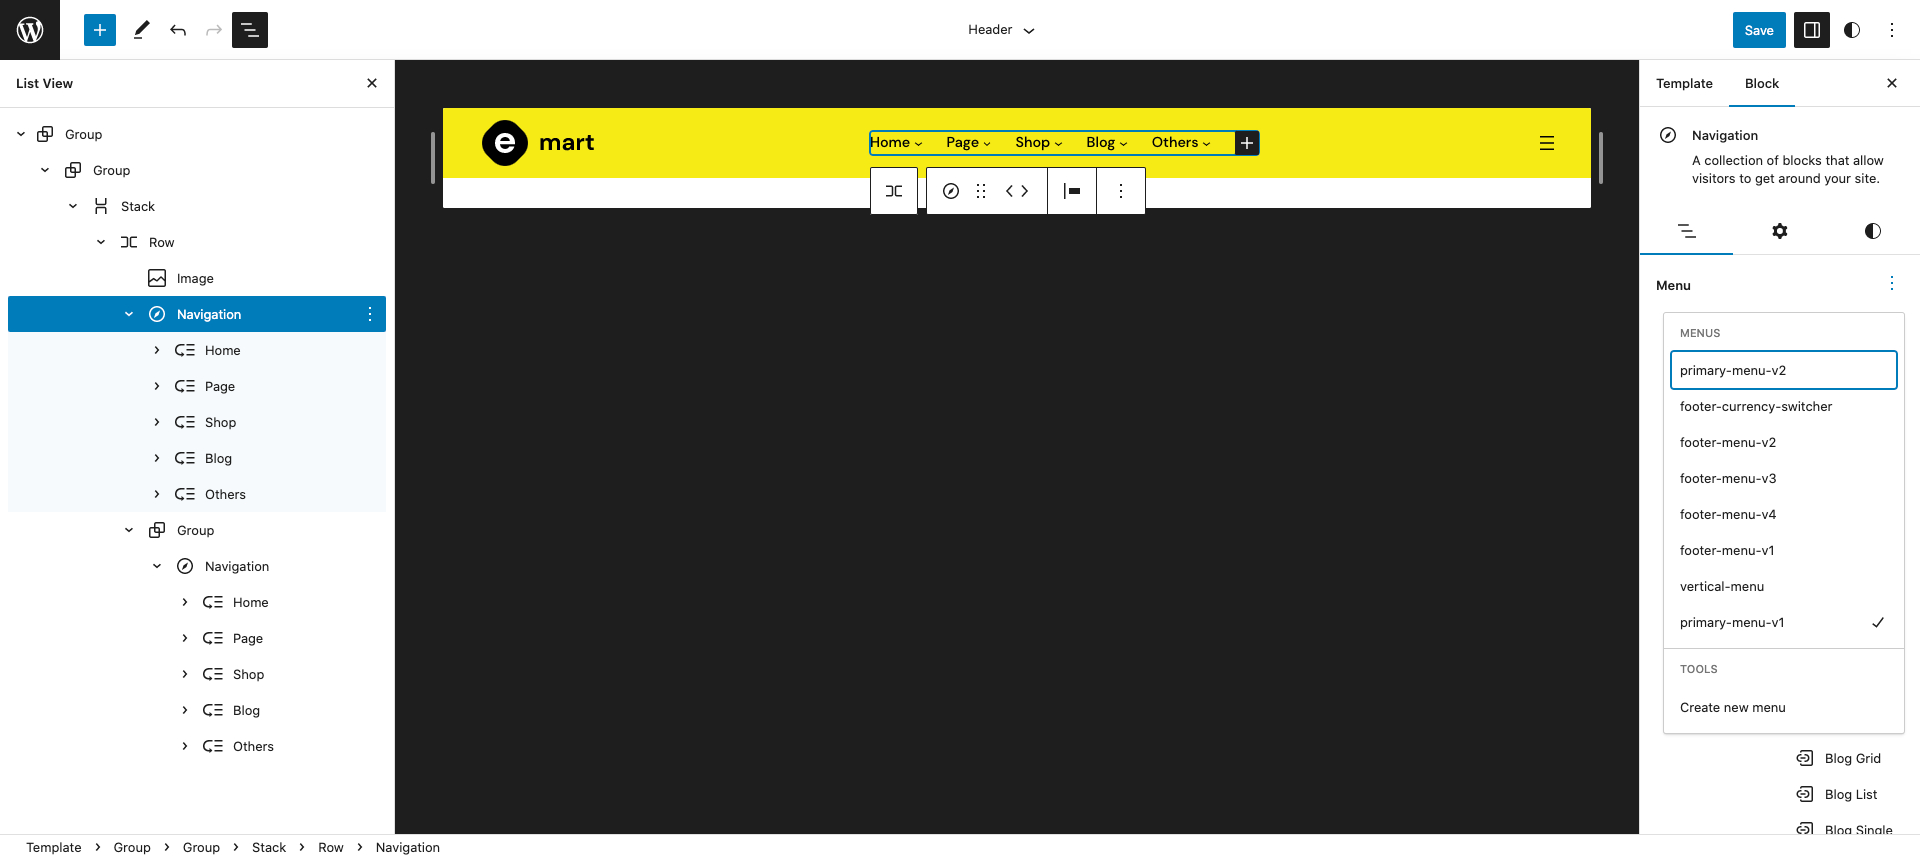
↑ Back to topHeader Default
Primary menu-v1 navigation is used for header default.

Header v1
Primary menu-v1, Vertical menu and Primary menu-v2 navigation are used for header v1.

Header v2
Primary menu-v1, Vertical menu and Primary menu-v2 navigation are used for header v2.

Header v3
Primary menu-v1 and Primary menu-v2 navigation are used for header v3.

Footer Menu
Footer menu-v1, Footer menu-v2, Footer menu-v3, Footer menu-v4 and Footer currency switcher navigation are used for Footer menu.
Primary menu v1
↑ Back to topDetail view of Primary-menu-v1.
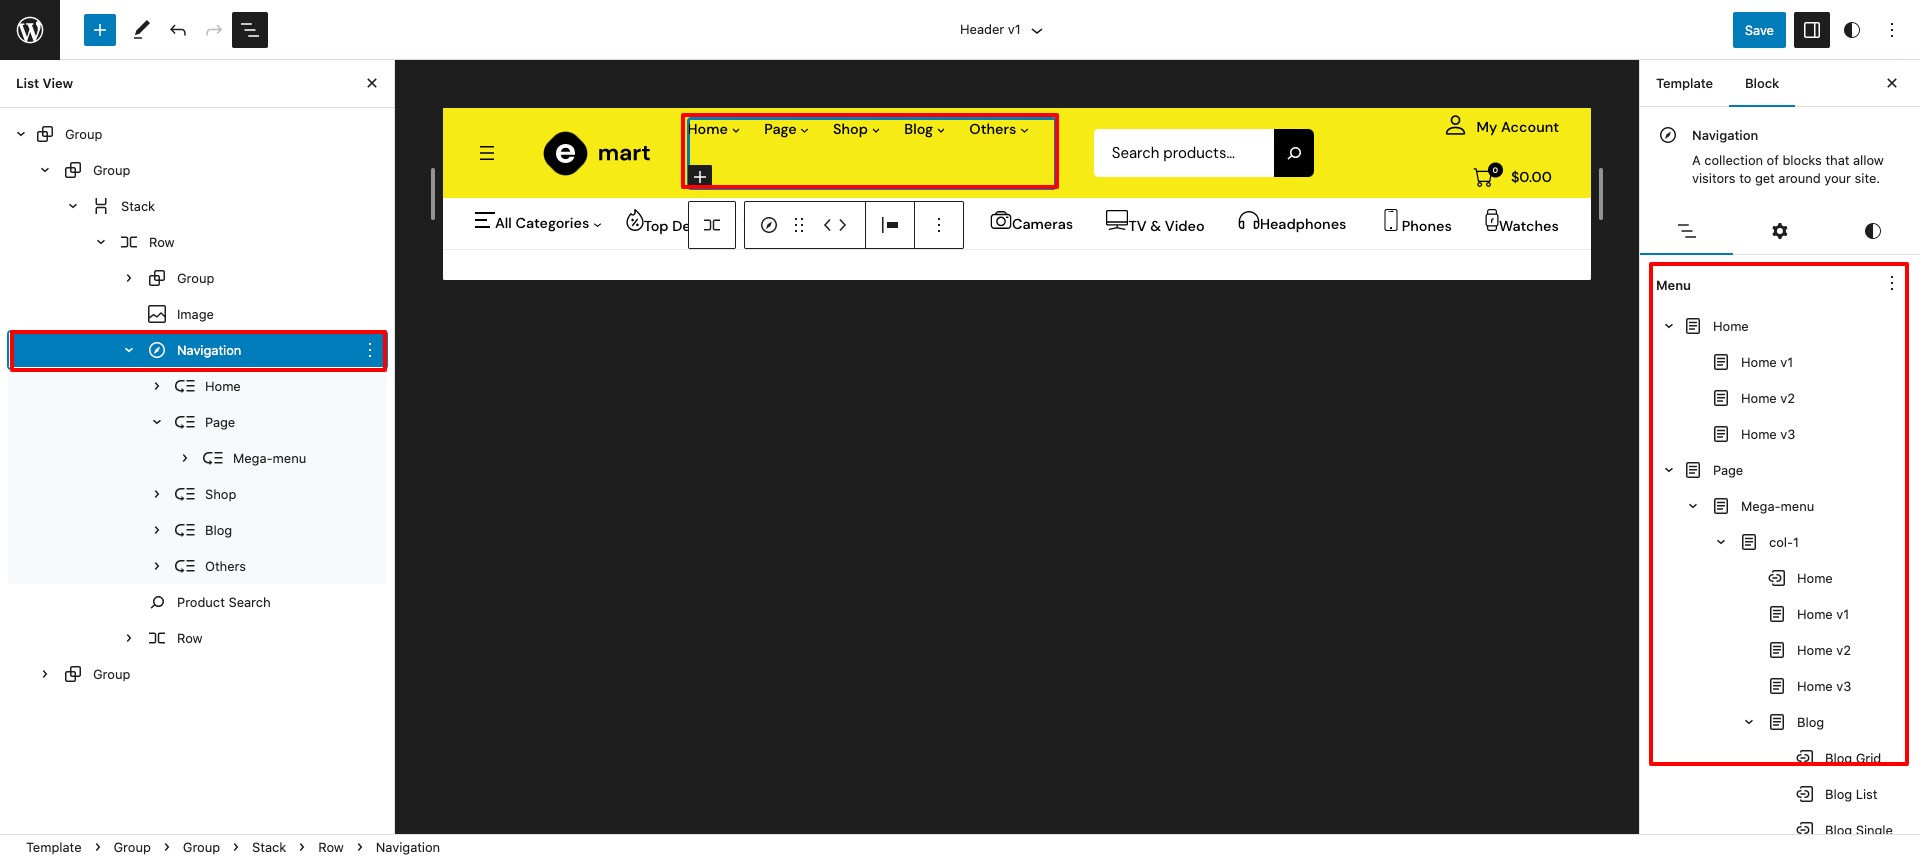
Megamenu setup

Assign a class name (“has-mega-menu“) in additional class name field for mega-menu item.
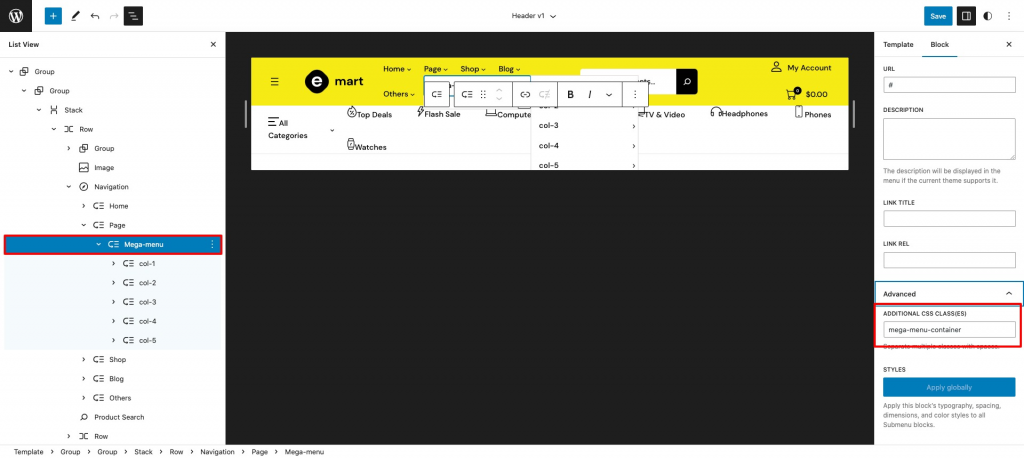
Assign a class name (“mega-menu-container“) in additional class name field.

Add a class name (“col-span-2“) in additional css class name field for the mentioned columns ( col-1, col-2, col-3 ) under mega menu.
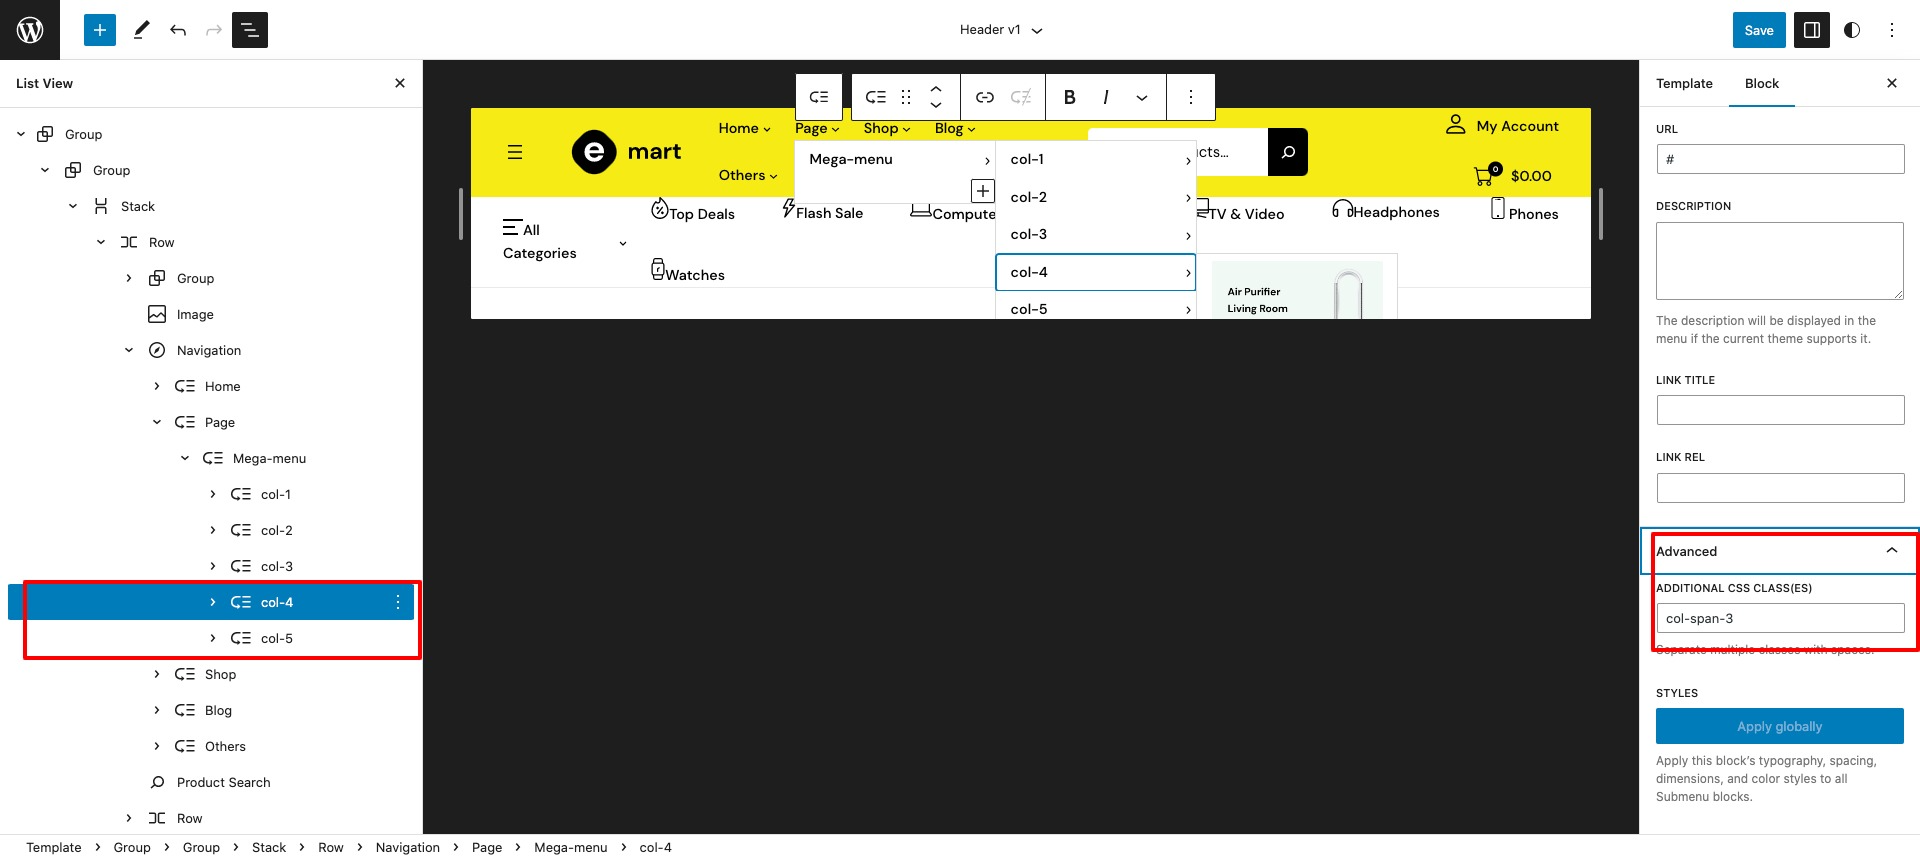
Add a class name (“col-span-2“) in additional css class name field for the mentioned columns ( col-4, col-5 ) under mega menu.
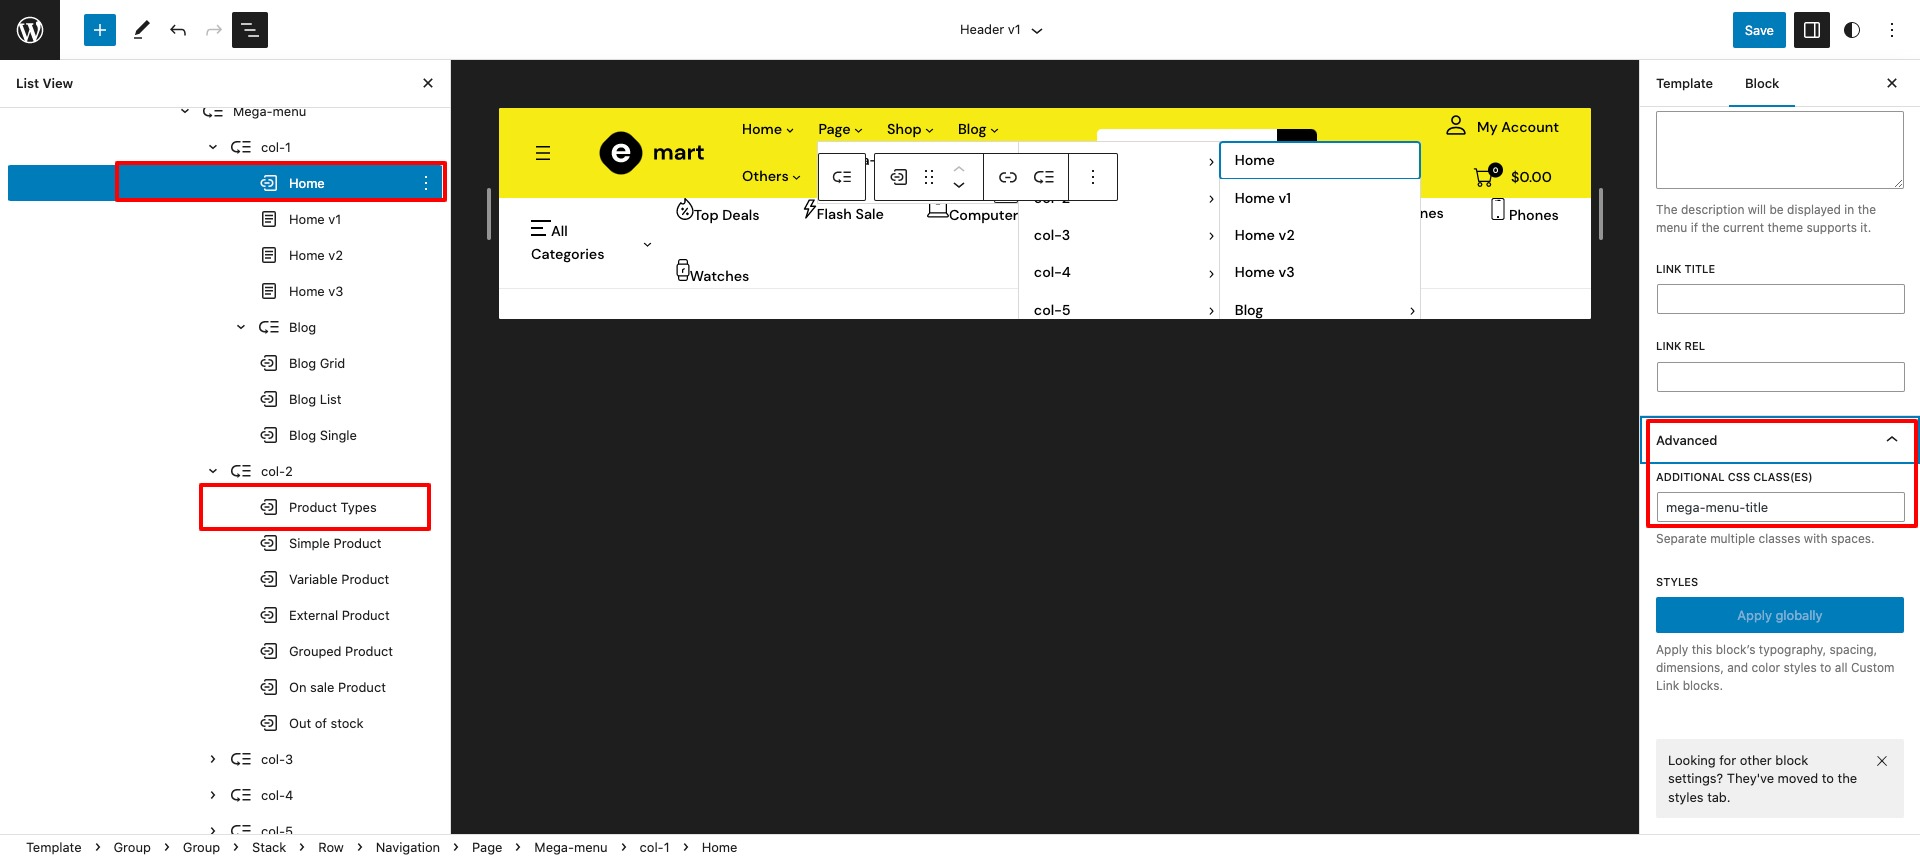
Add a class name (“mega-menu-title“) in additional css class name field for the mentioned menu title under every columns
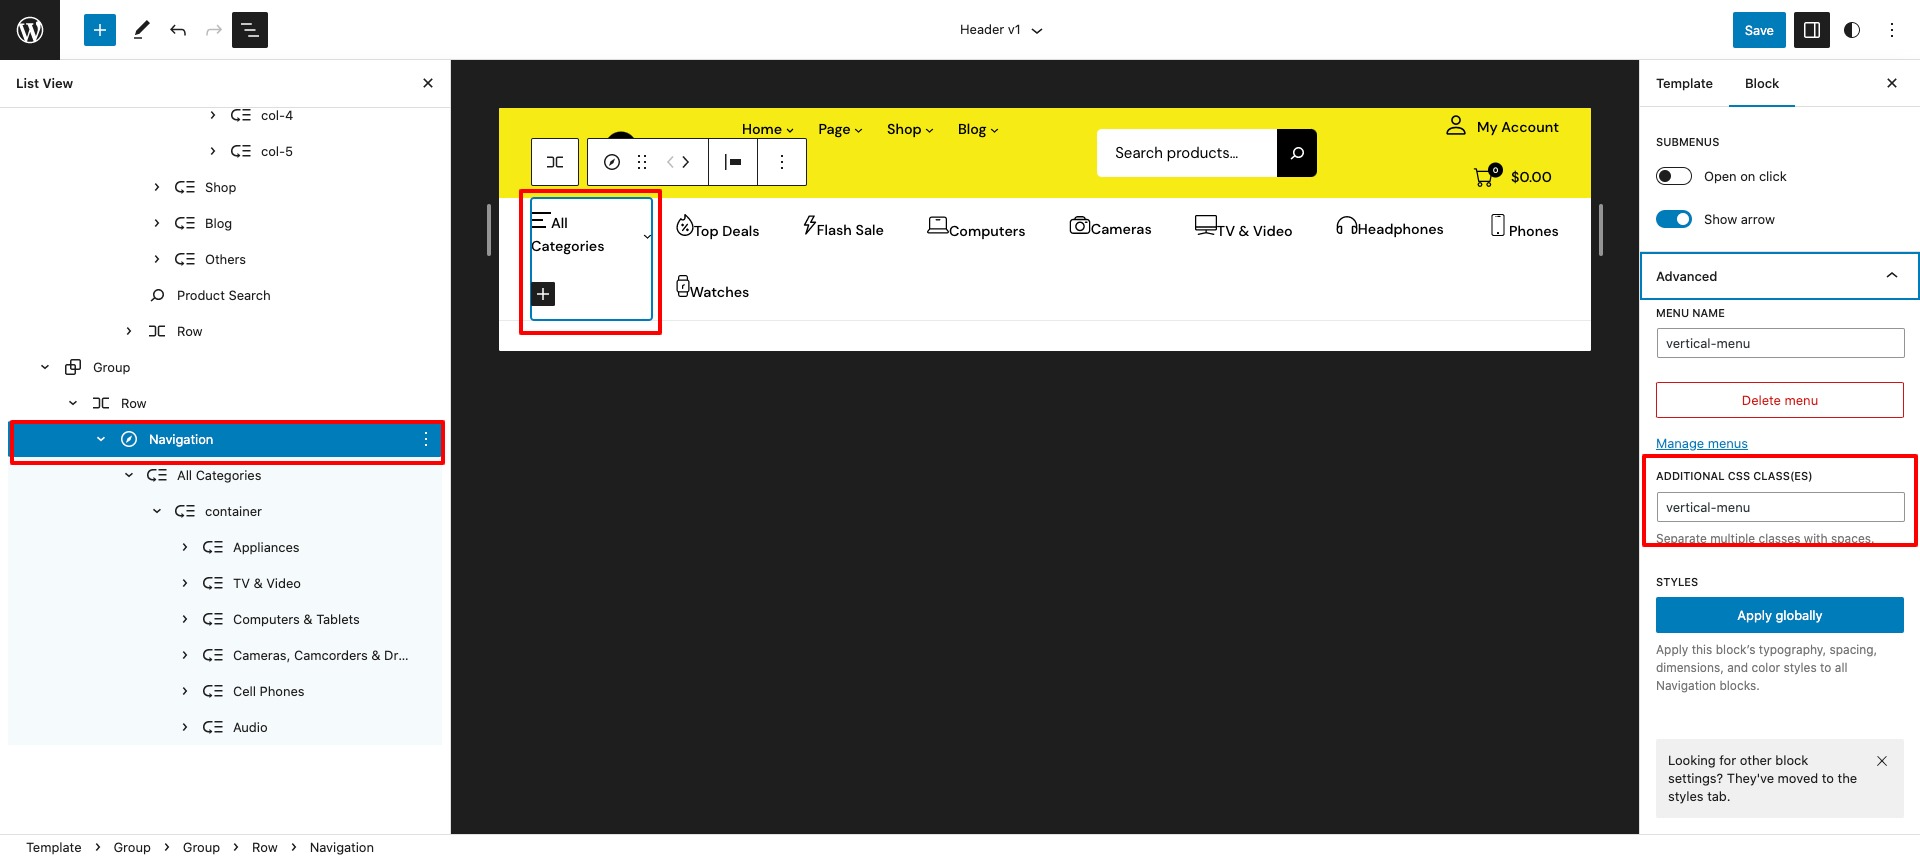
Vertical menu
↑ Back to top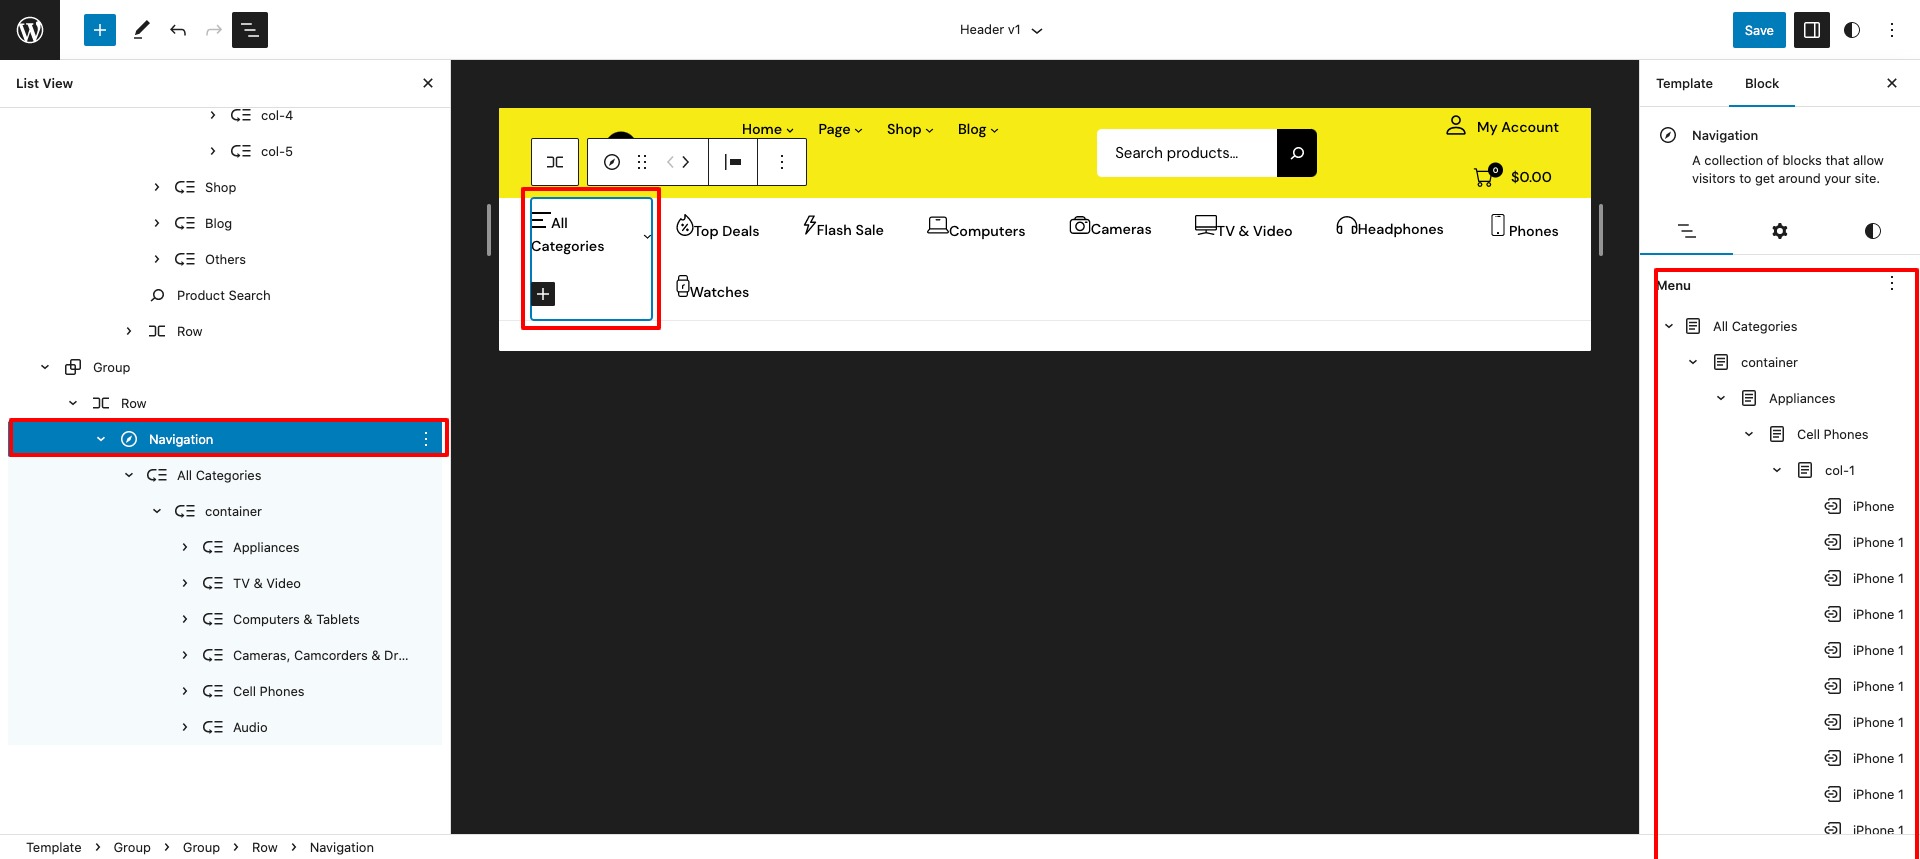
Class name “vertical-menu” added in additional class name field.
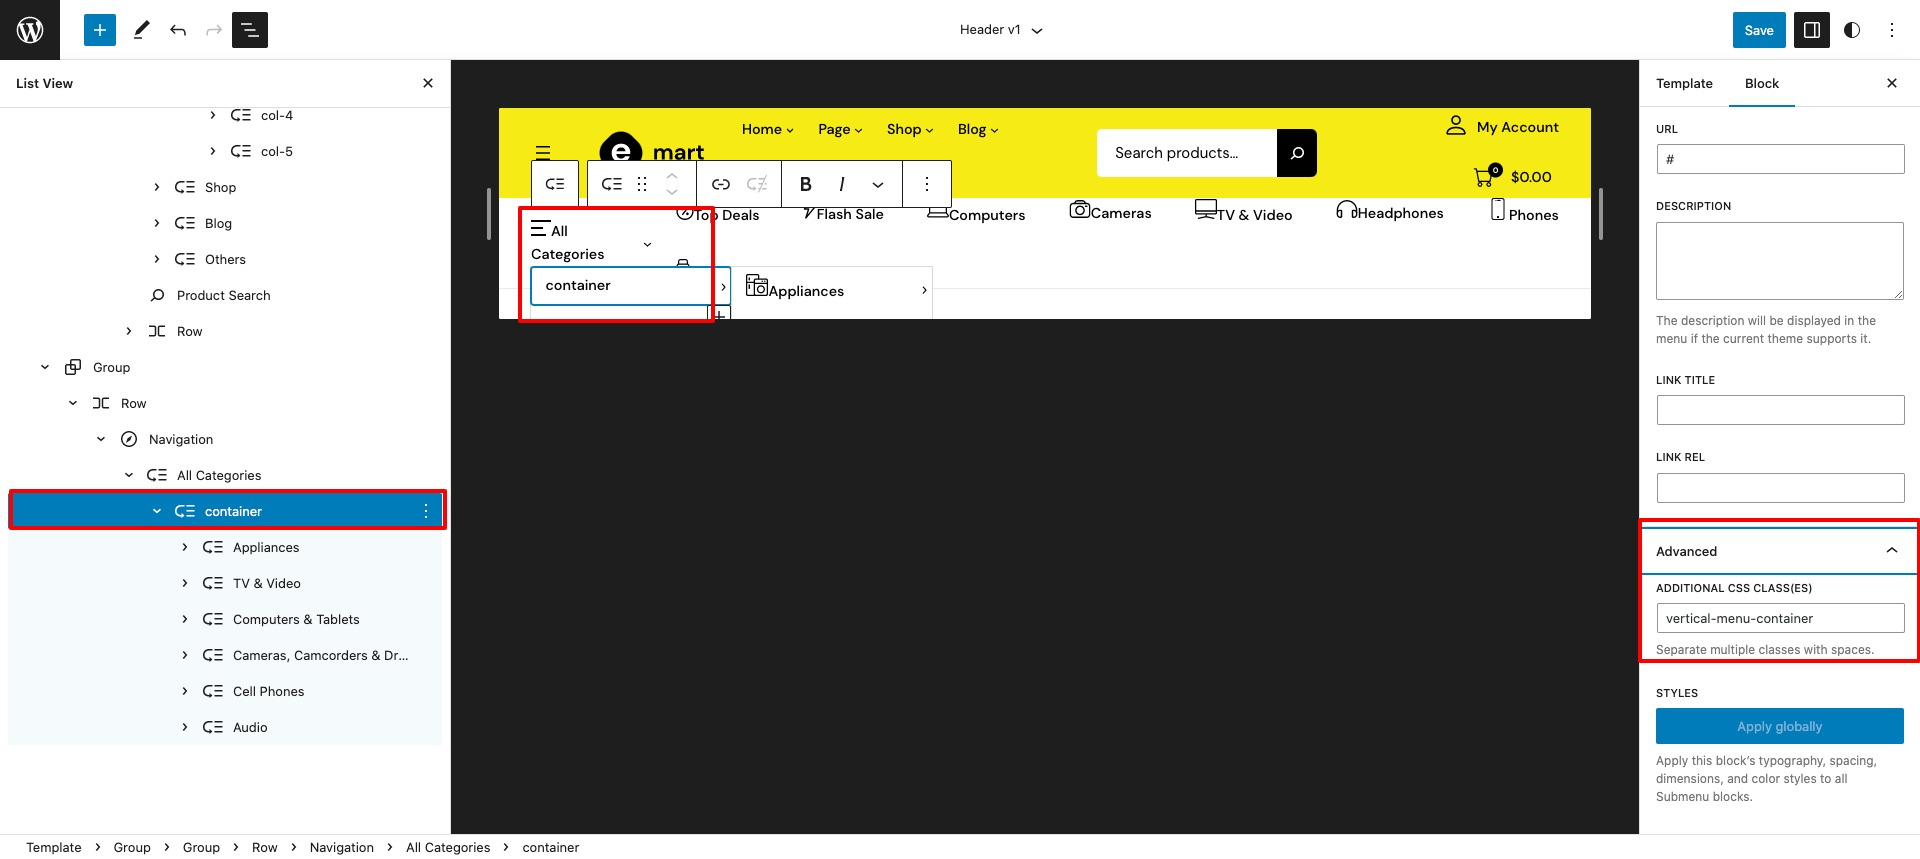
Class name “vertical-menu-container” added in additional class name field.
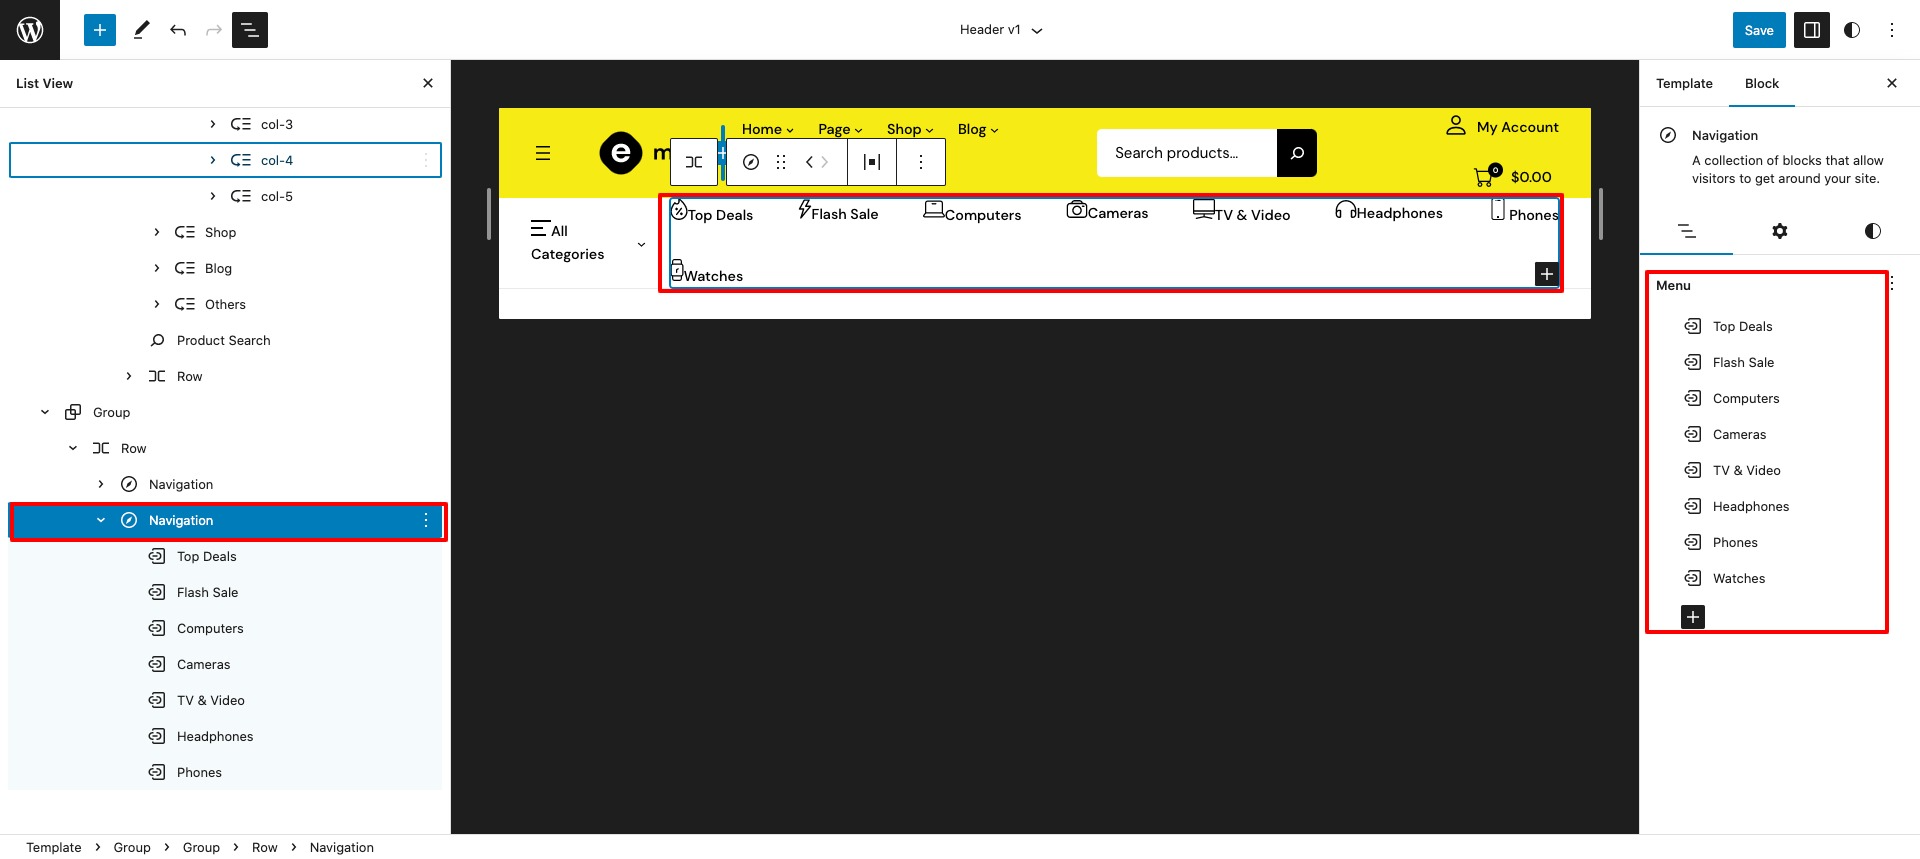
Primary menu v2
↑ Back to topDetail view of primary-menu-v2.
Footer Menu
↑ Back to topGo to Appearance>Editor>Template Parts>Your Choice ( ex. Footer-v1, Footer-v2, Footer-v3 ).
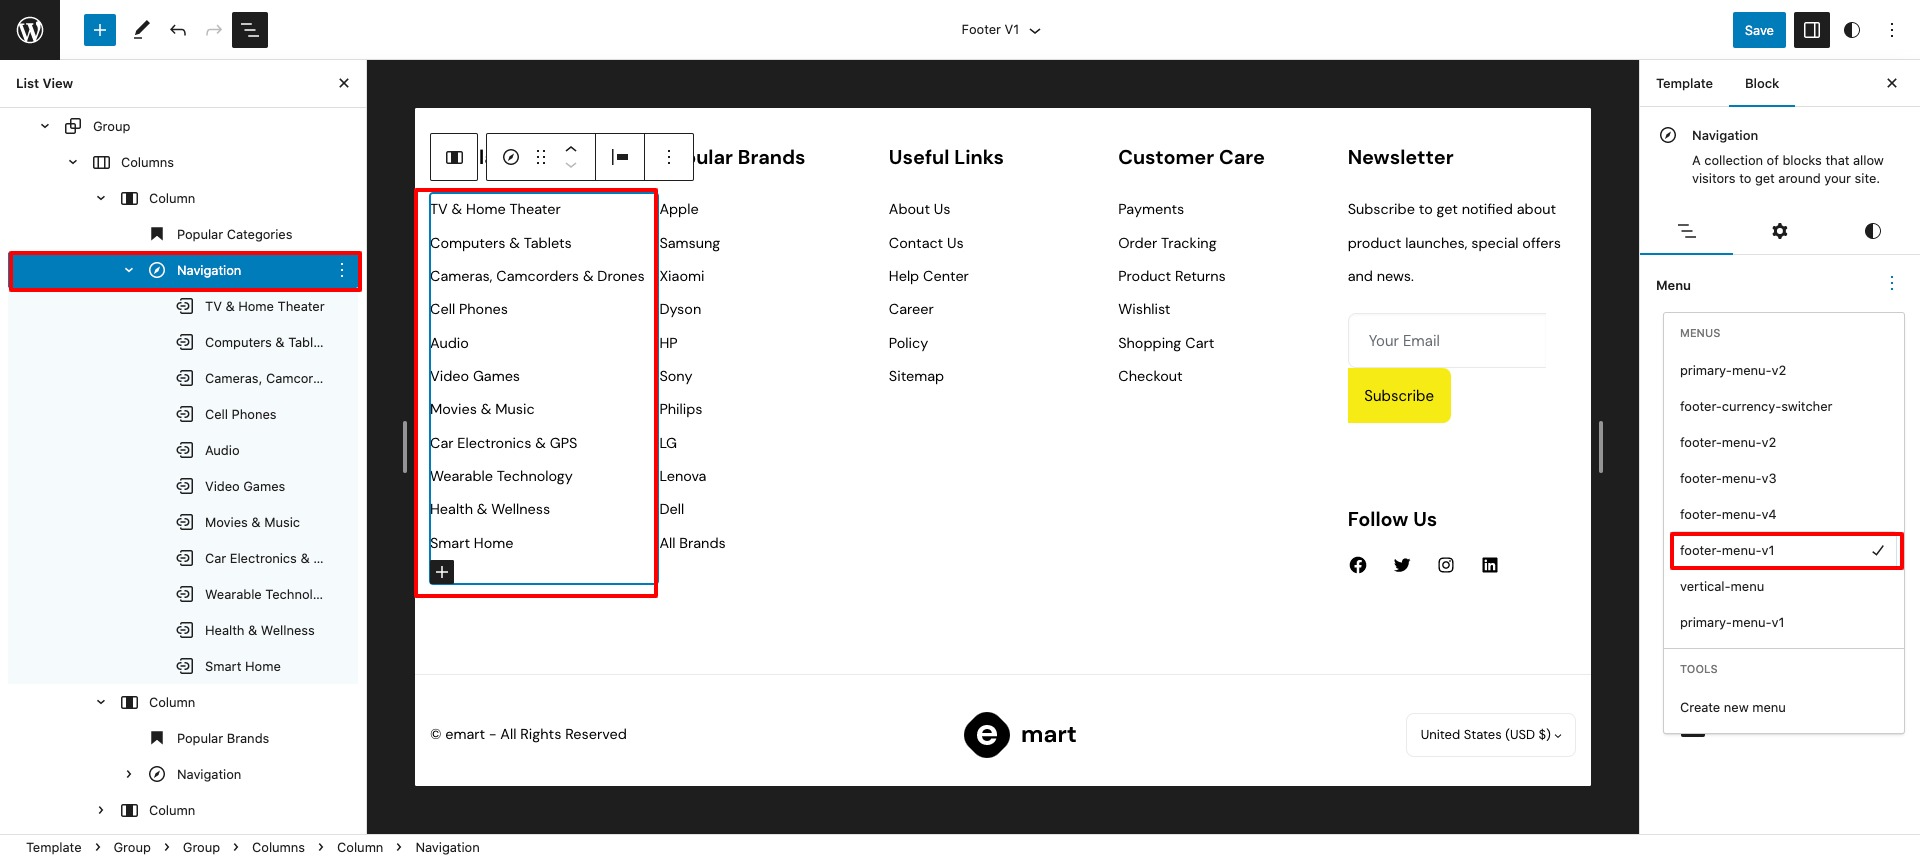
Assign Footer-menu-v1.

Assign Footer-menu-v2.

Assign Footer-menu-v3.
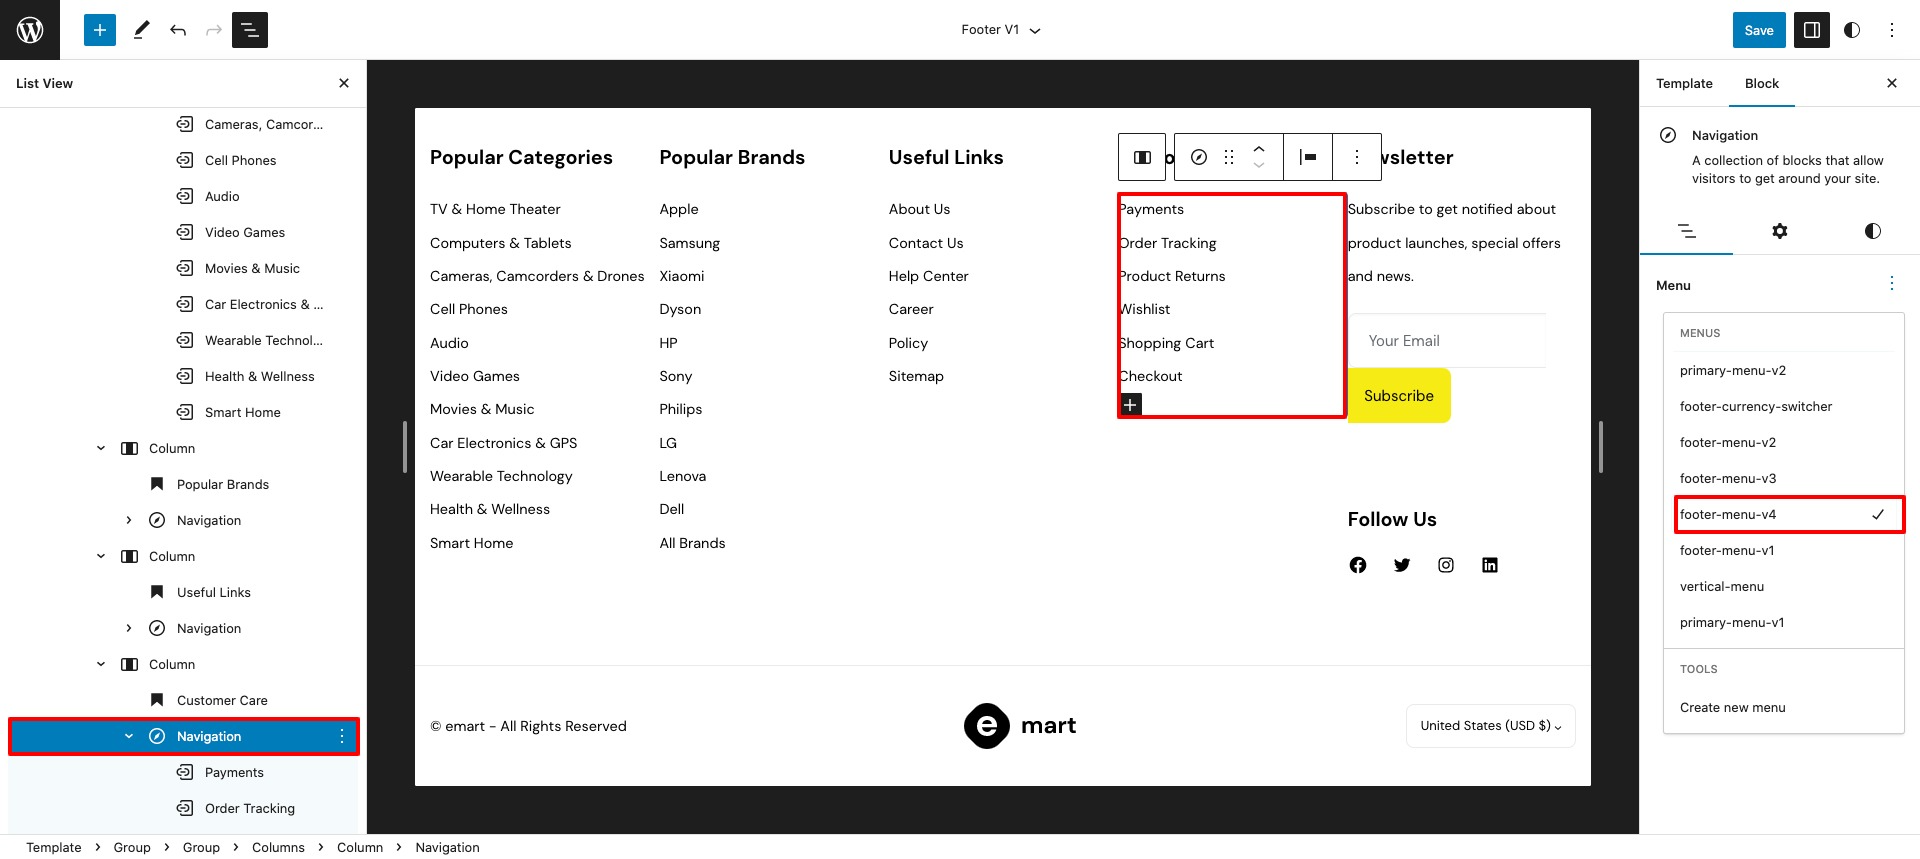
Assign Footer-menu-v4.
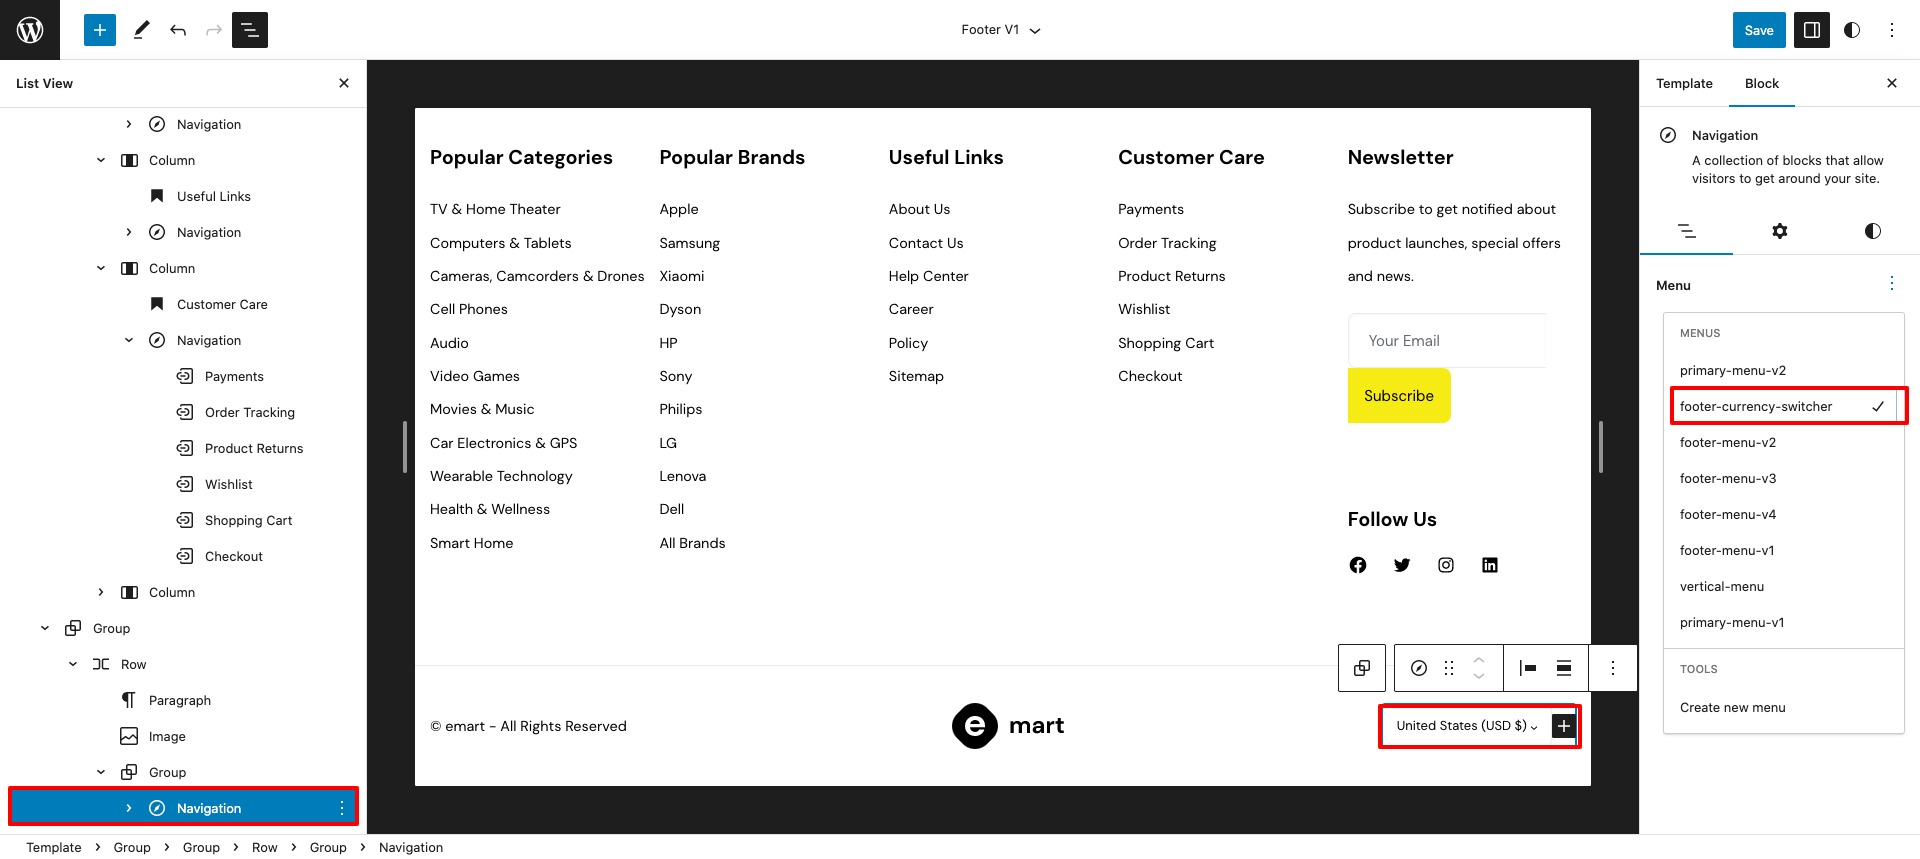
Assign Footer-currency-switcher.
Template parts
↑ Back to topHeader Default
↑ Back to topOutput

Editor
This Pattern built by using following blocks,
- Image Block
- Navigation Blog – Primary-menu-v1
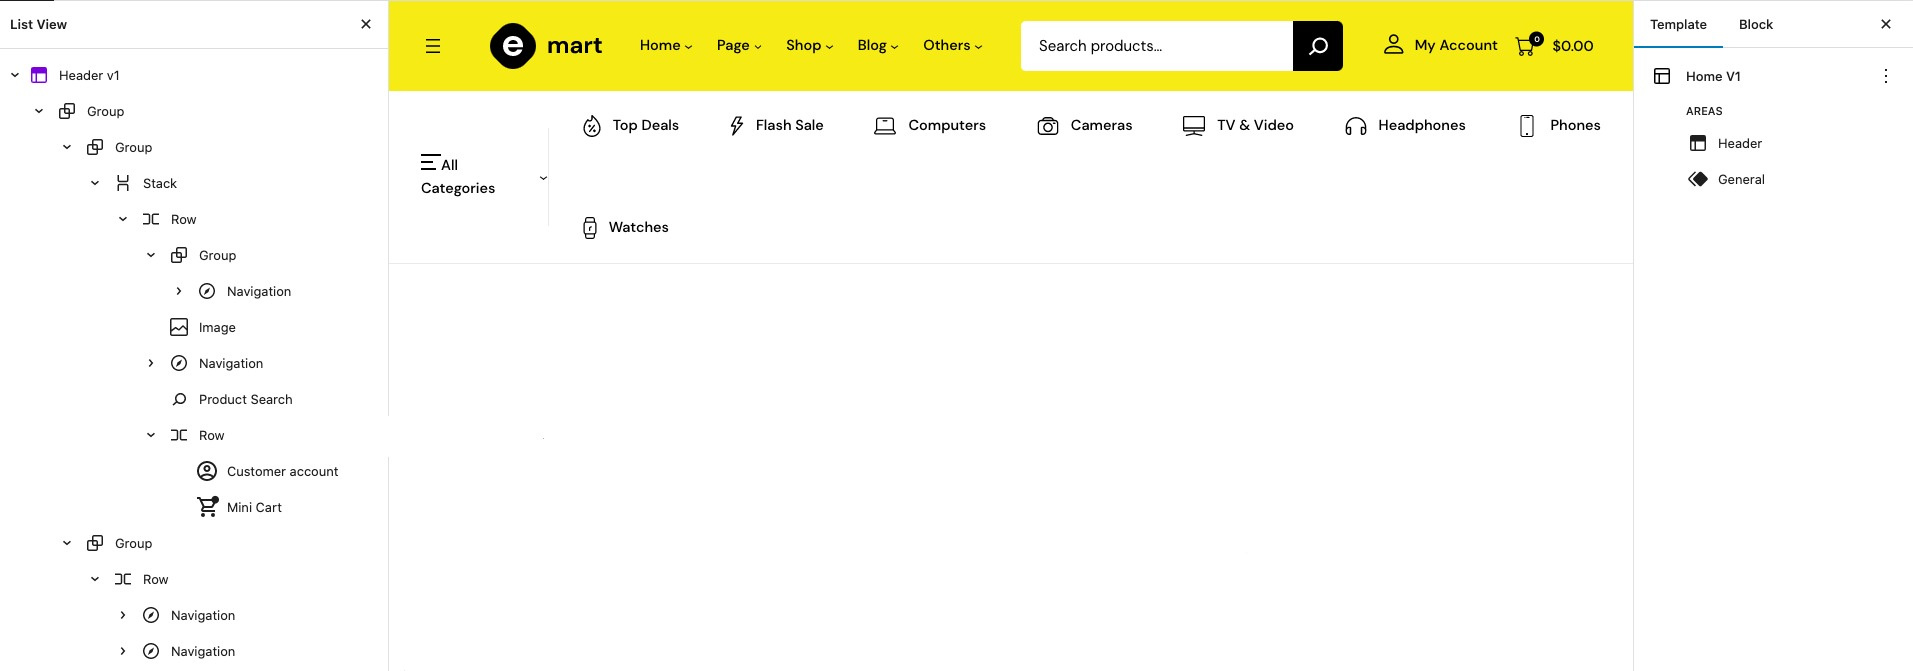
Header v1
↑ Back to topOutput

Editor
This Pattern built by using following blocks,
- Image Block
- Navigation Block – Primary-menu-v1
- Product Search Block
- Customer Account Block
- Mini Cart Block
- Navigation Block – Vertical Menu
- Navigation Block – Primary-menu-v2
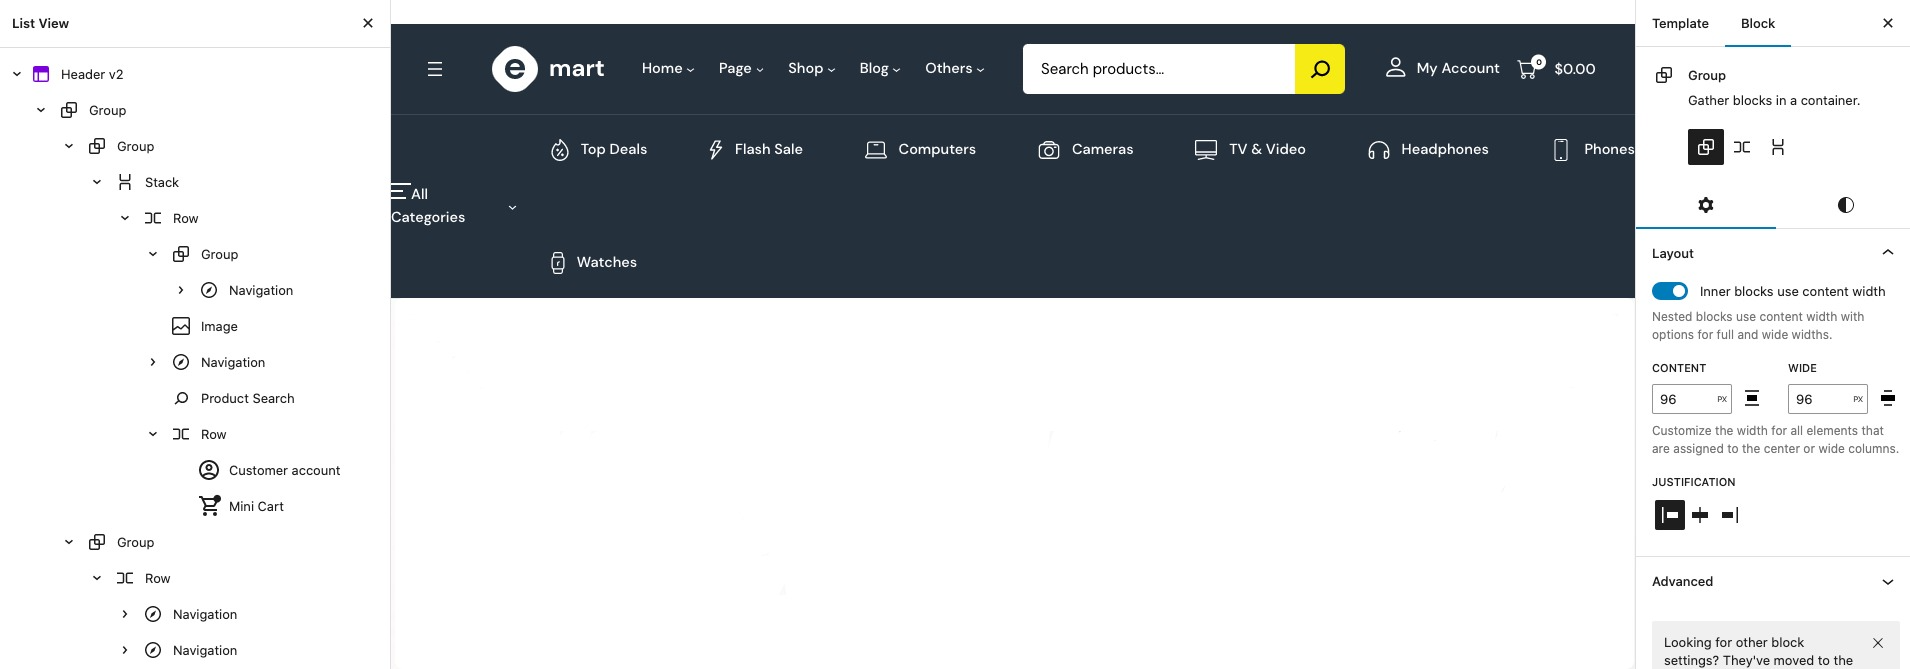
Header v2
↑ Back to topOutput

Editor
This Pattern built by using following blocks,
- Navigation Block – Primary-menu-v1
- Image Block
- Product Search Block
- Customer Account Block
- Mini Cart Block
- Navigation Block – Vertical-menu
- Navigation Block – Primary-menu-v2
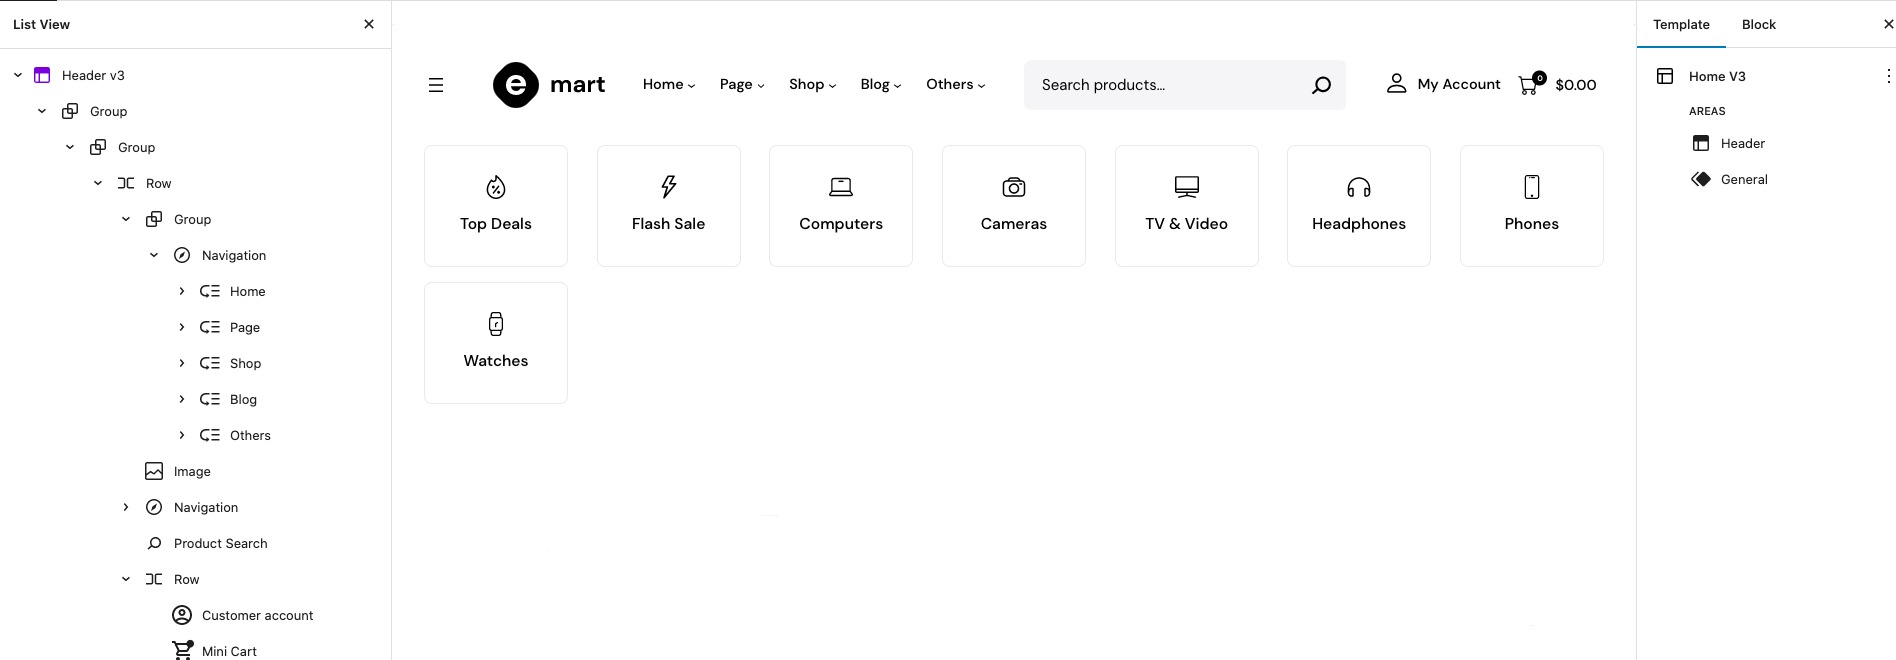
Header v3
↑ Back to topOutput

Editor
This Pattern built by using following blocks,
- Navigation Block – Primary-menu-v1
- Image Block
- Product Search Block
- Customer Account Block
- Mini Cart Block
- Navigation Block – Primary-menu-v2
Footer Default
↑ Back to topOutput

Editor
This Pattern built by using following blocks,
- Image Block
- Heading Block

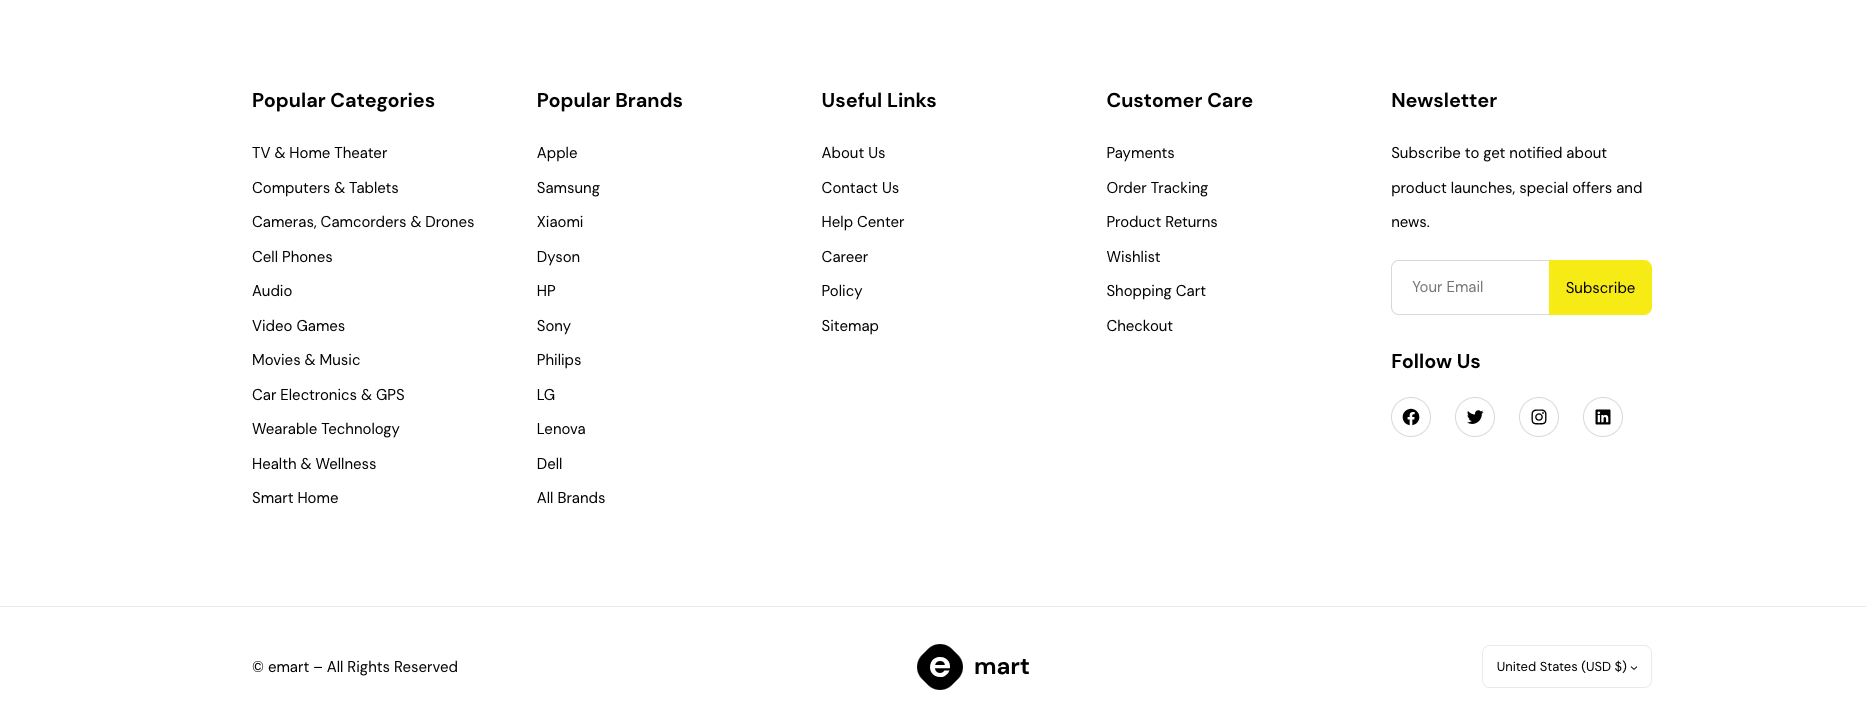
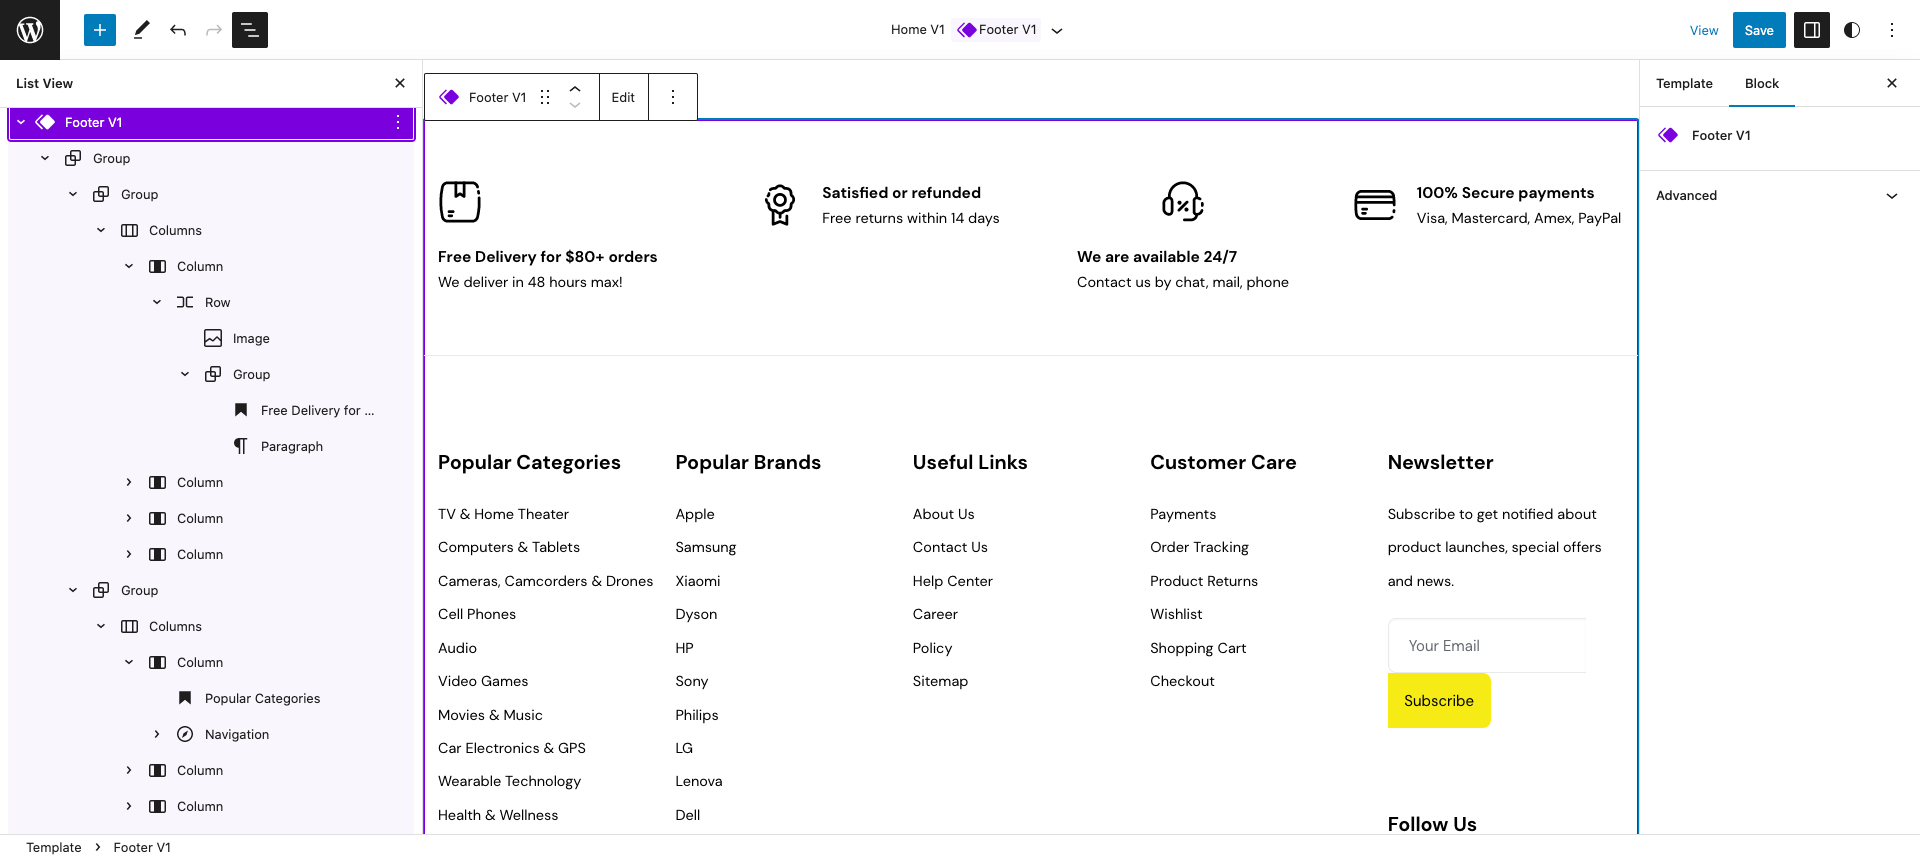
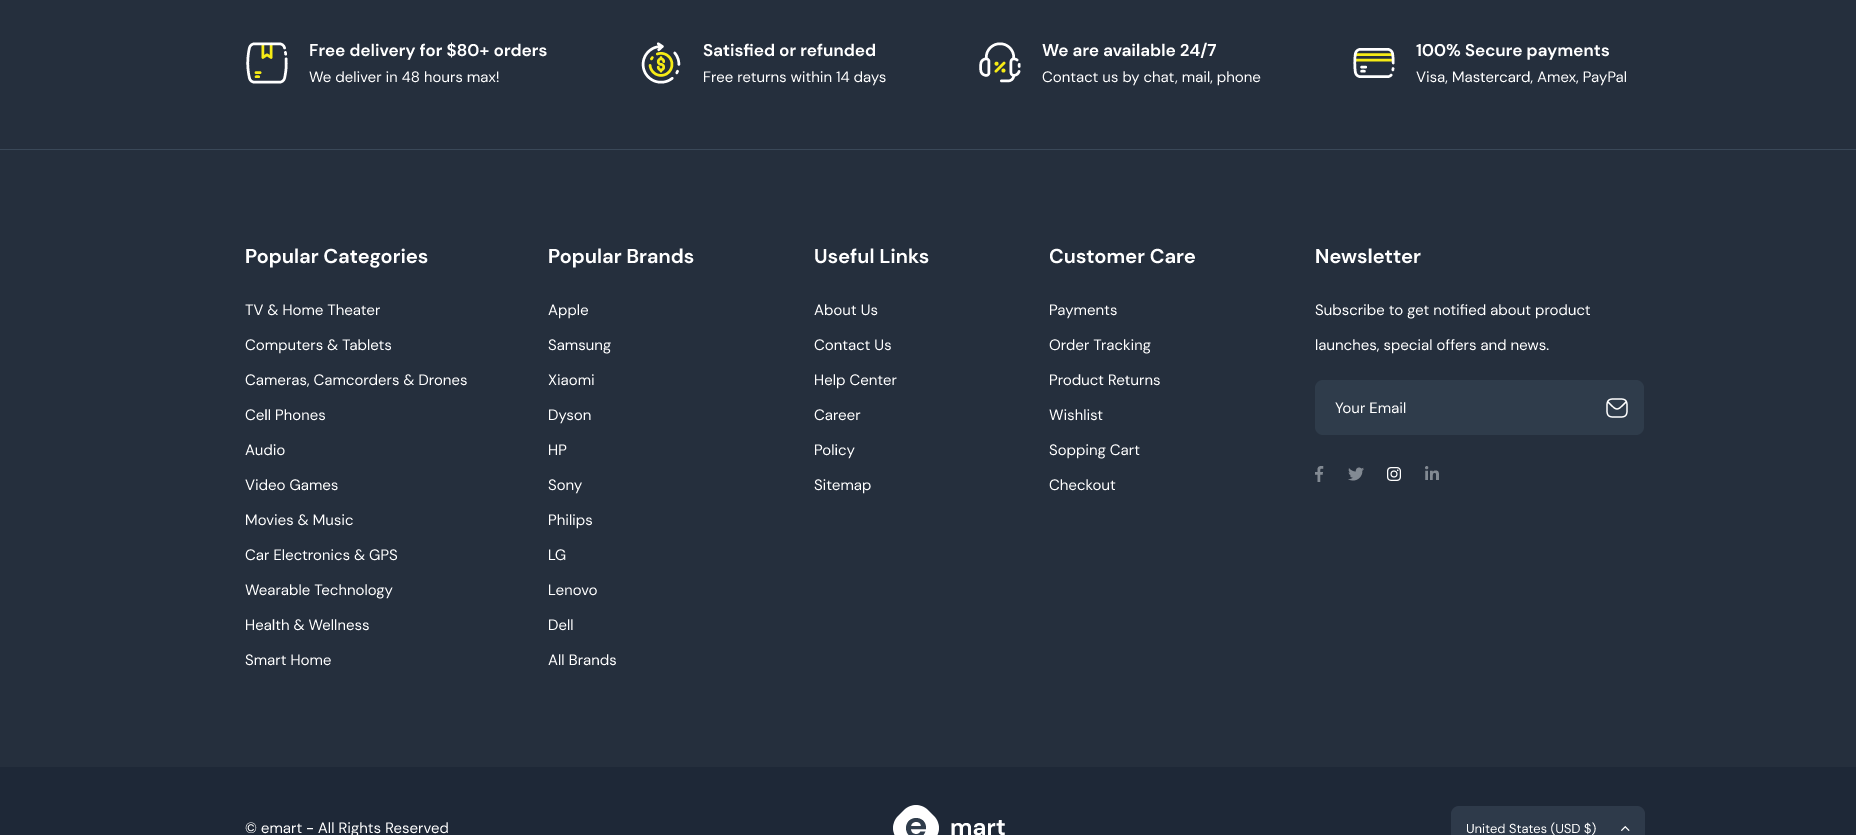
Footer v1
↑ Back to topOutput
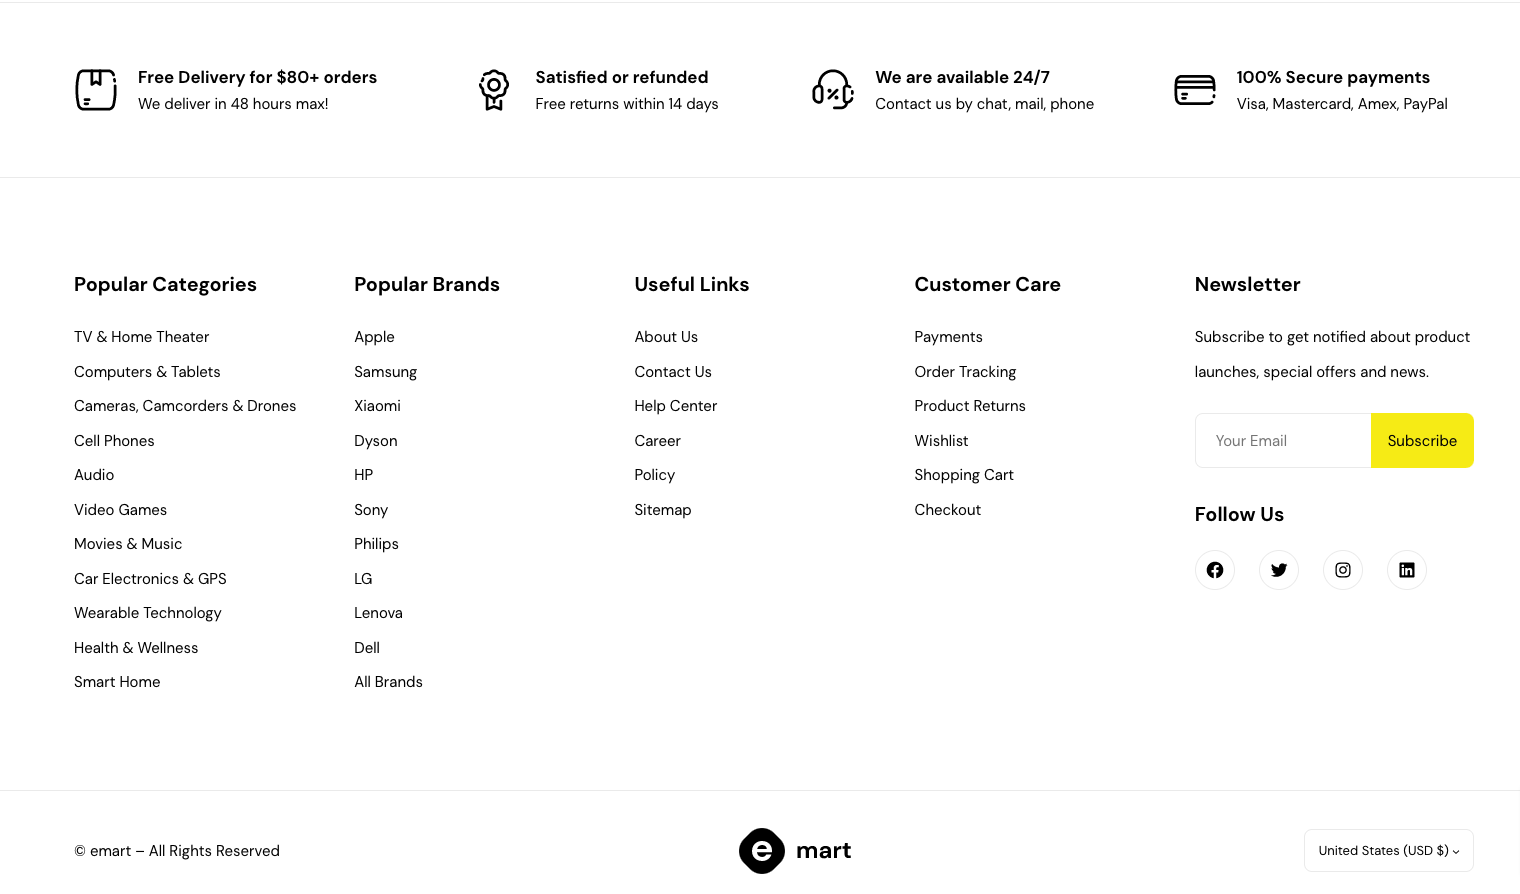
Editor
This Pattern built by using following blocks,
- Image Block
- Heading Block
- Navigation Block – Footer-menu-v1, Footer-menu-v2, Footer-menu-v3, Footer-menu-v4, Footer-currency-switcher
- WP Forms Block
- Social Icons Block
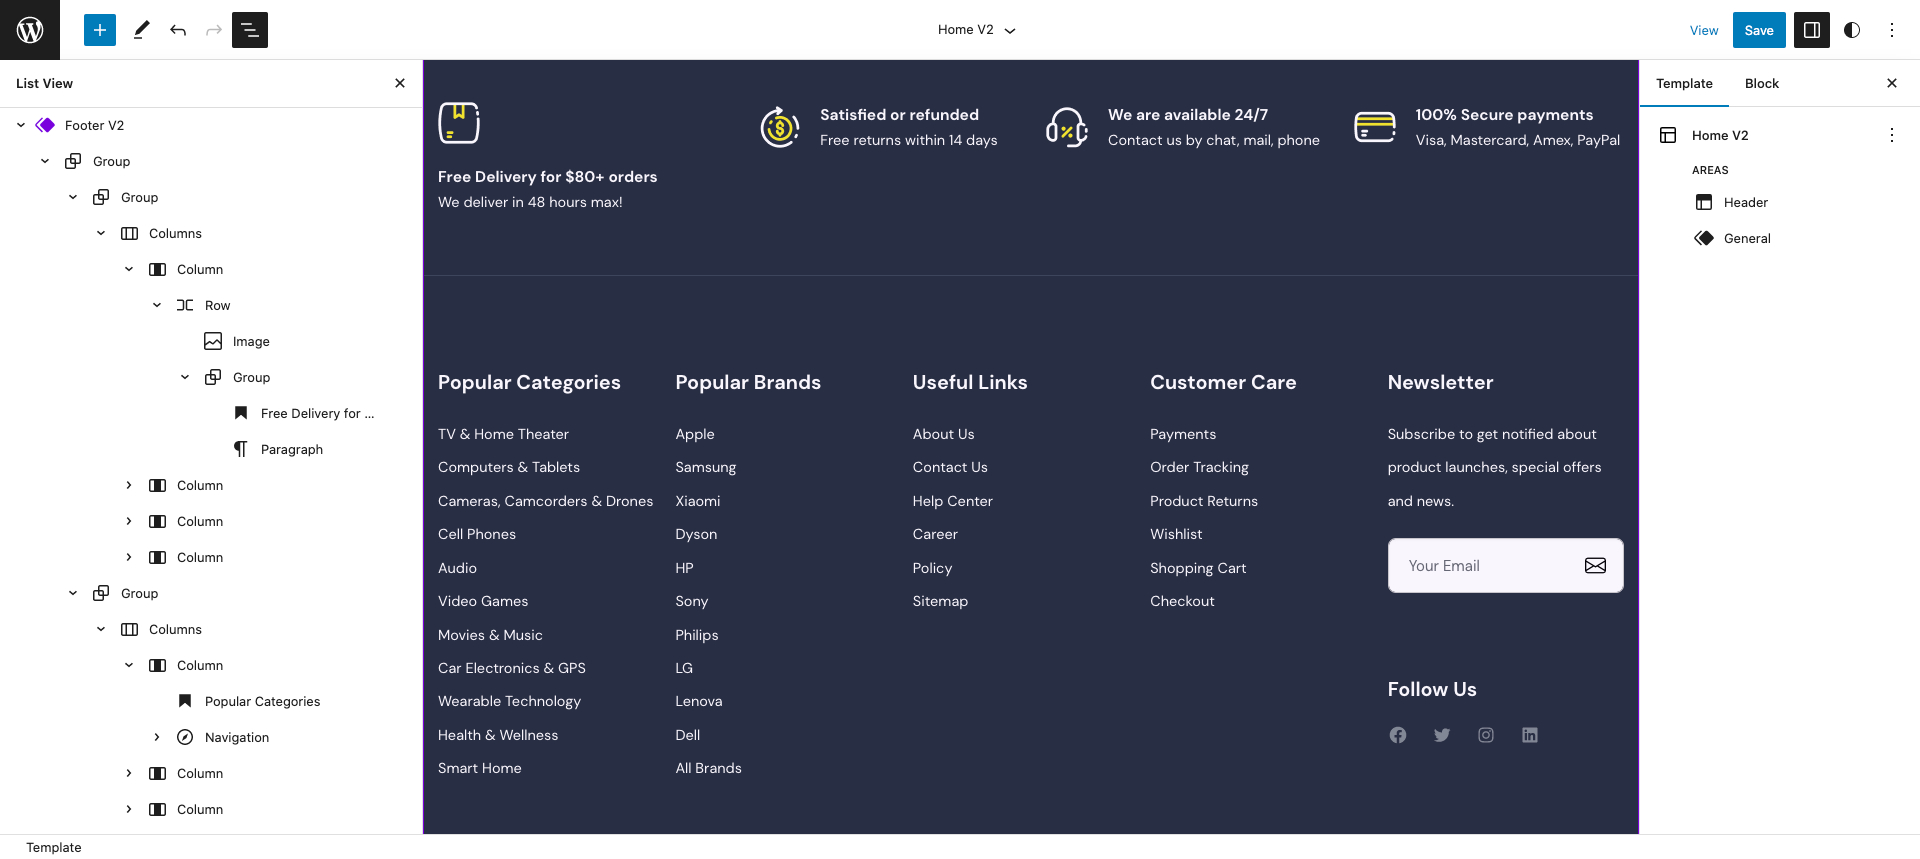
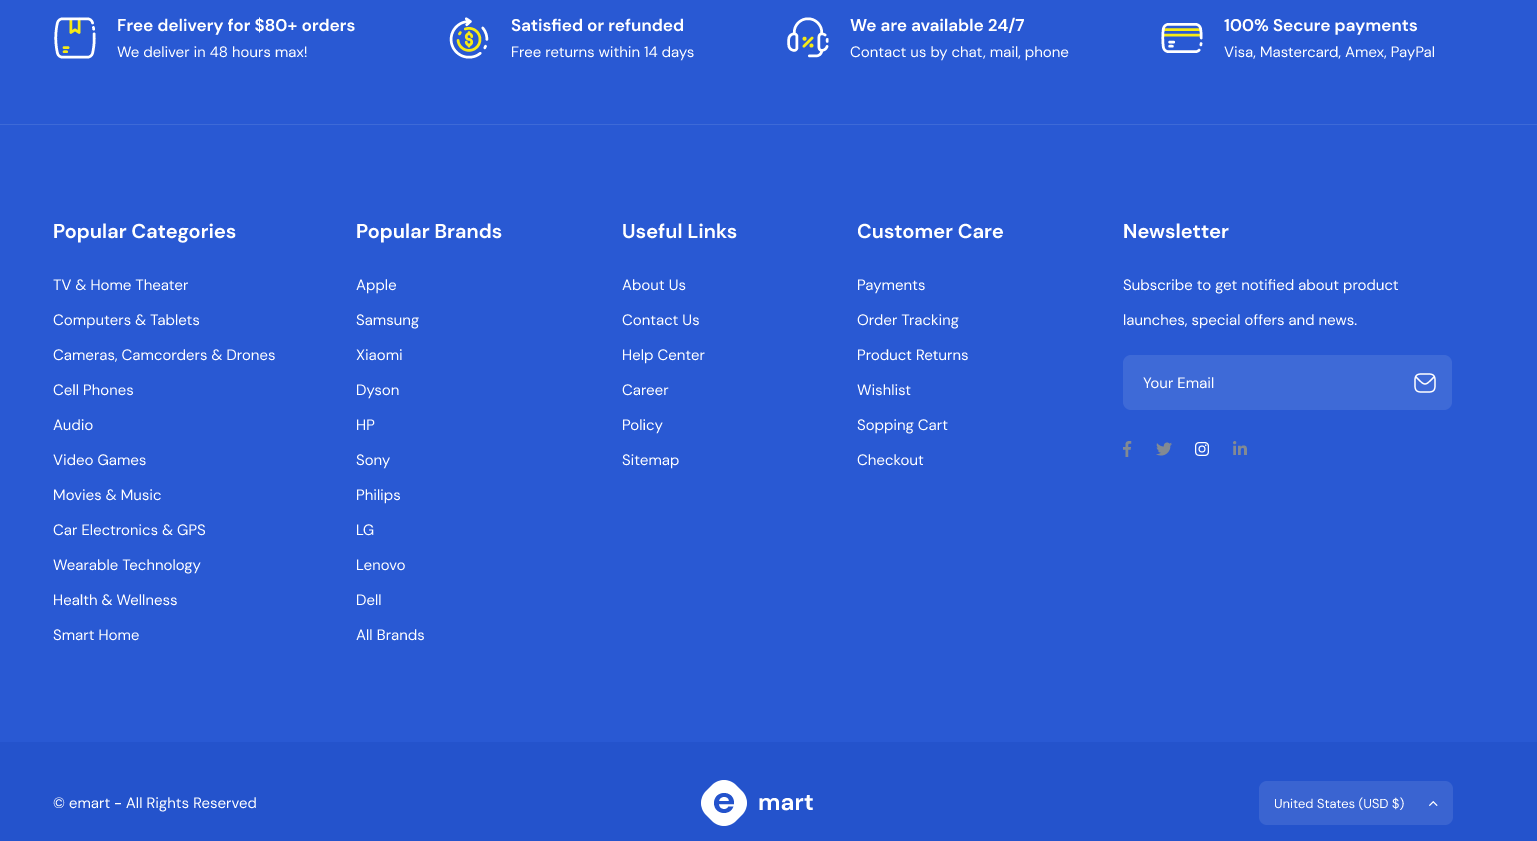
Footer v2
↑ Back to topOutput
Editor
This Pattern built by using following blocks,
- Image Block
- Heading Block
- Navigation Block – Footer-menu-v1, Footer-menu-v2, Footer-menu-v3, Footer-menu-v4, Footer-currency-switcher
- WP Forms Block
- Social Icons Block
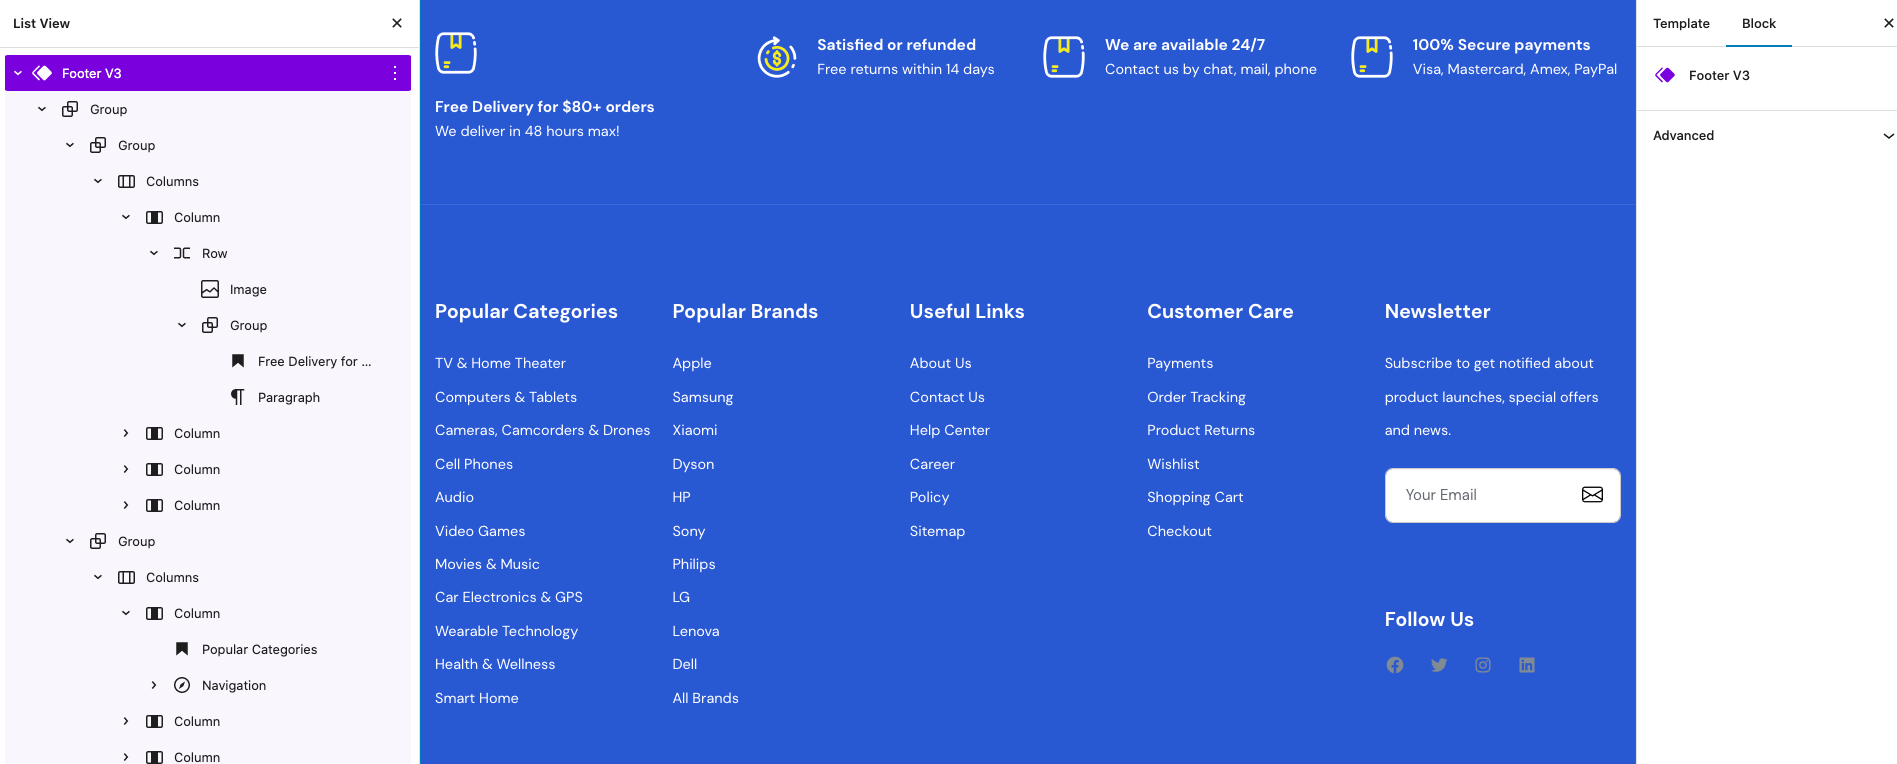
Footer v3
↑ Back to topOutput
Editor
This Pattern built by using following blocks,
- Image Block
- Heading Block
- Navigation Block – Footer-menu-v1, Footer-menu-v2, Footer-menu-v3, Footer-menu-v4, Footer-currency-switcher
- WP Forms Block
- Social Icons Block
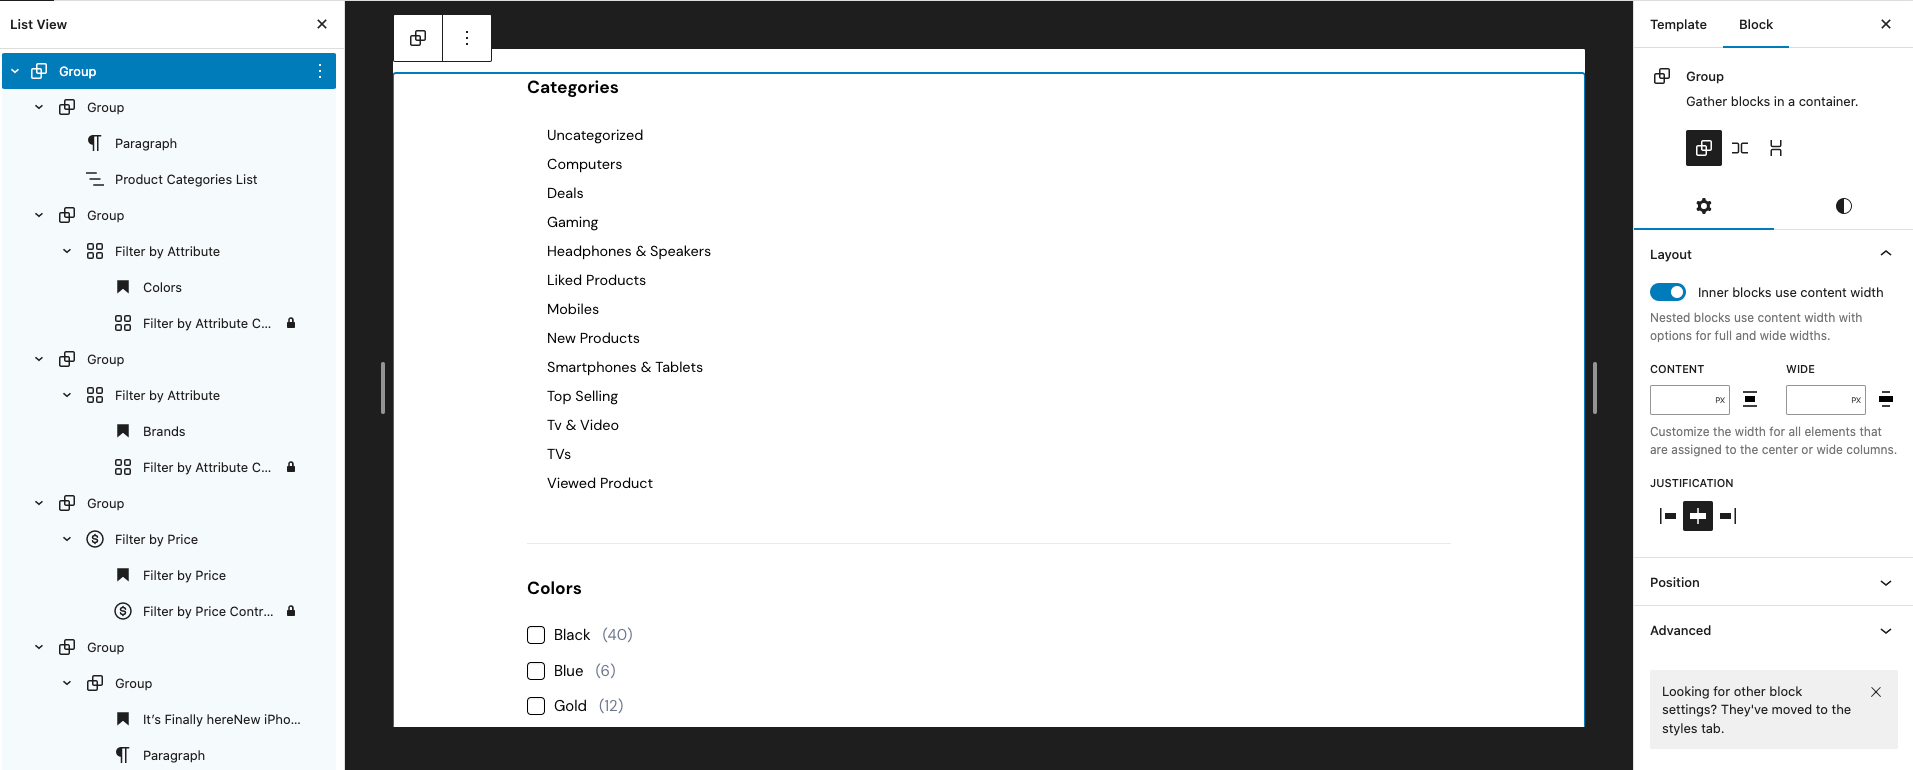
Product Filter
↑ Back to topOutput

Editor
This Pattern built by using following blocks,
- Heading Block
- Product Categories List Block
- Filter By Attributes Block
- Filter By Attributes Control Block
- Filter By Rating Block
- Filter By Rating Control Block
- Filter By Price Block
- Filter By Price Control Block
- Image Block
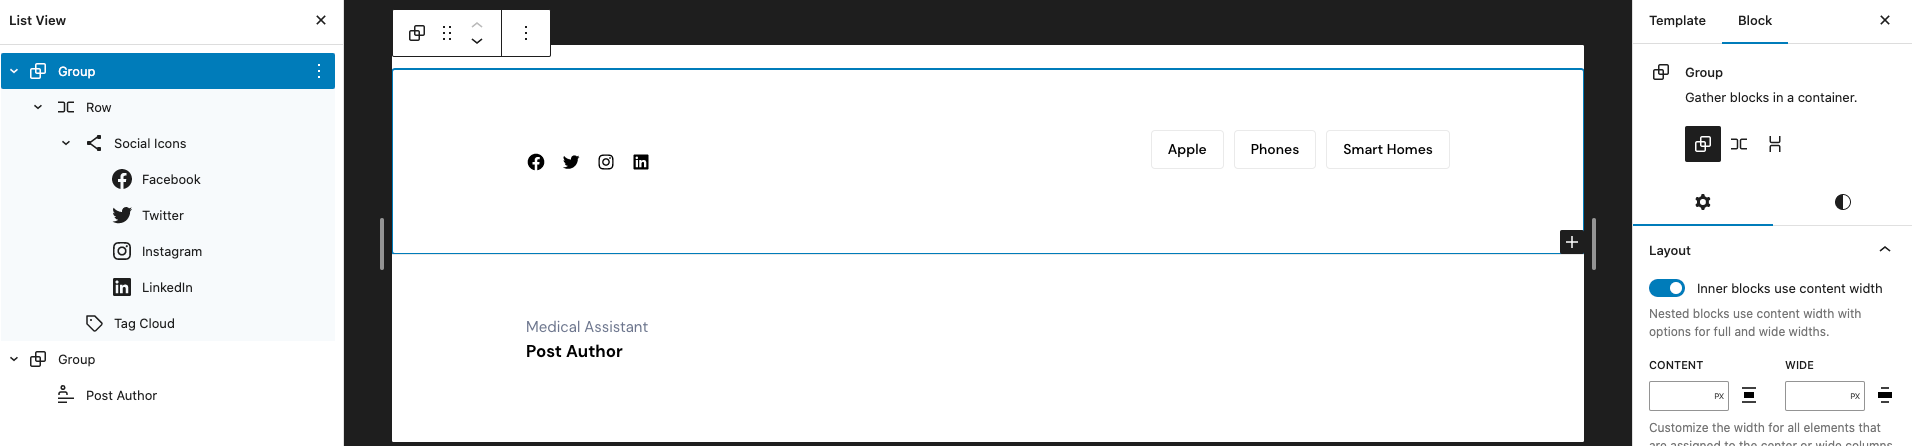
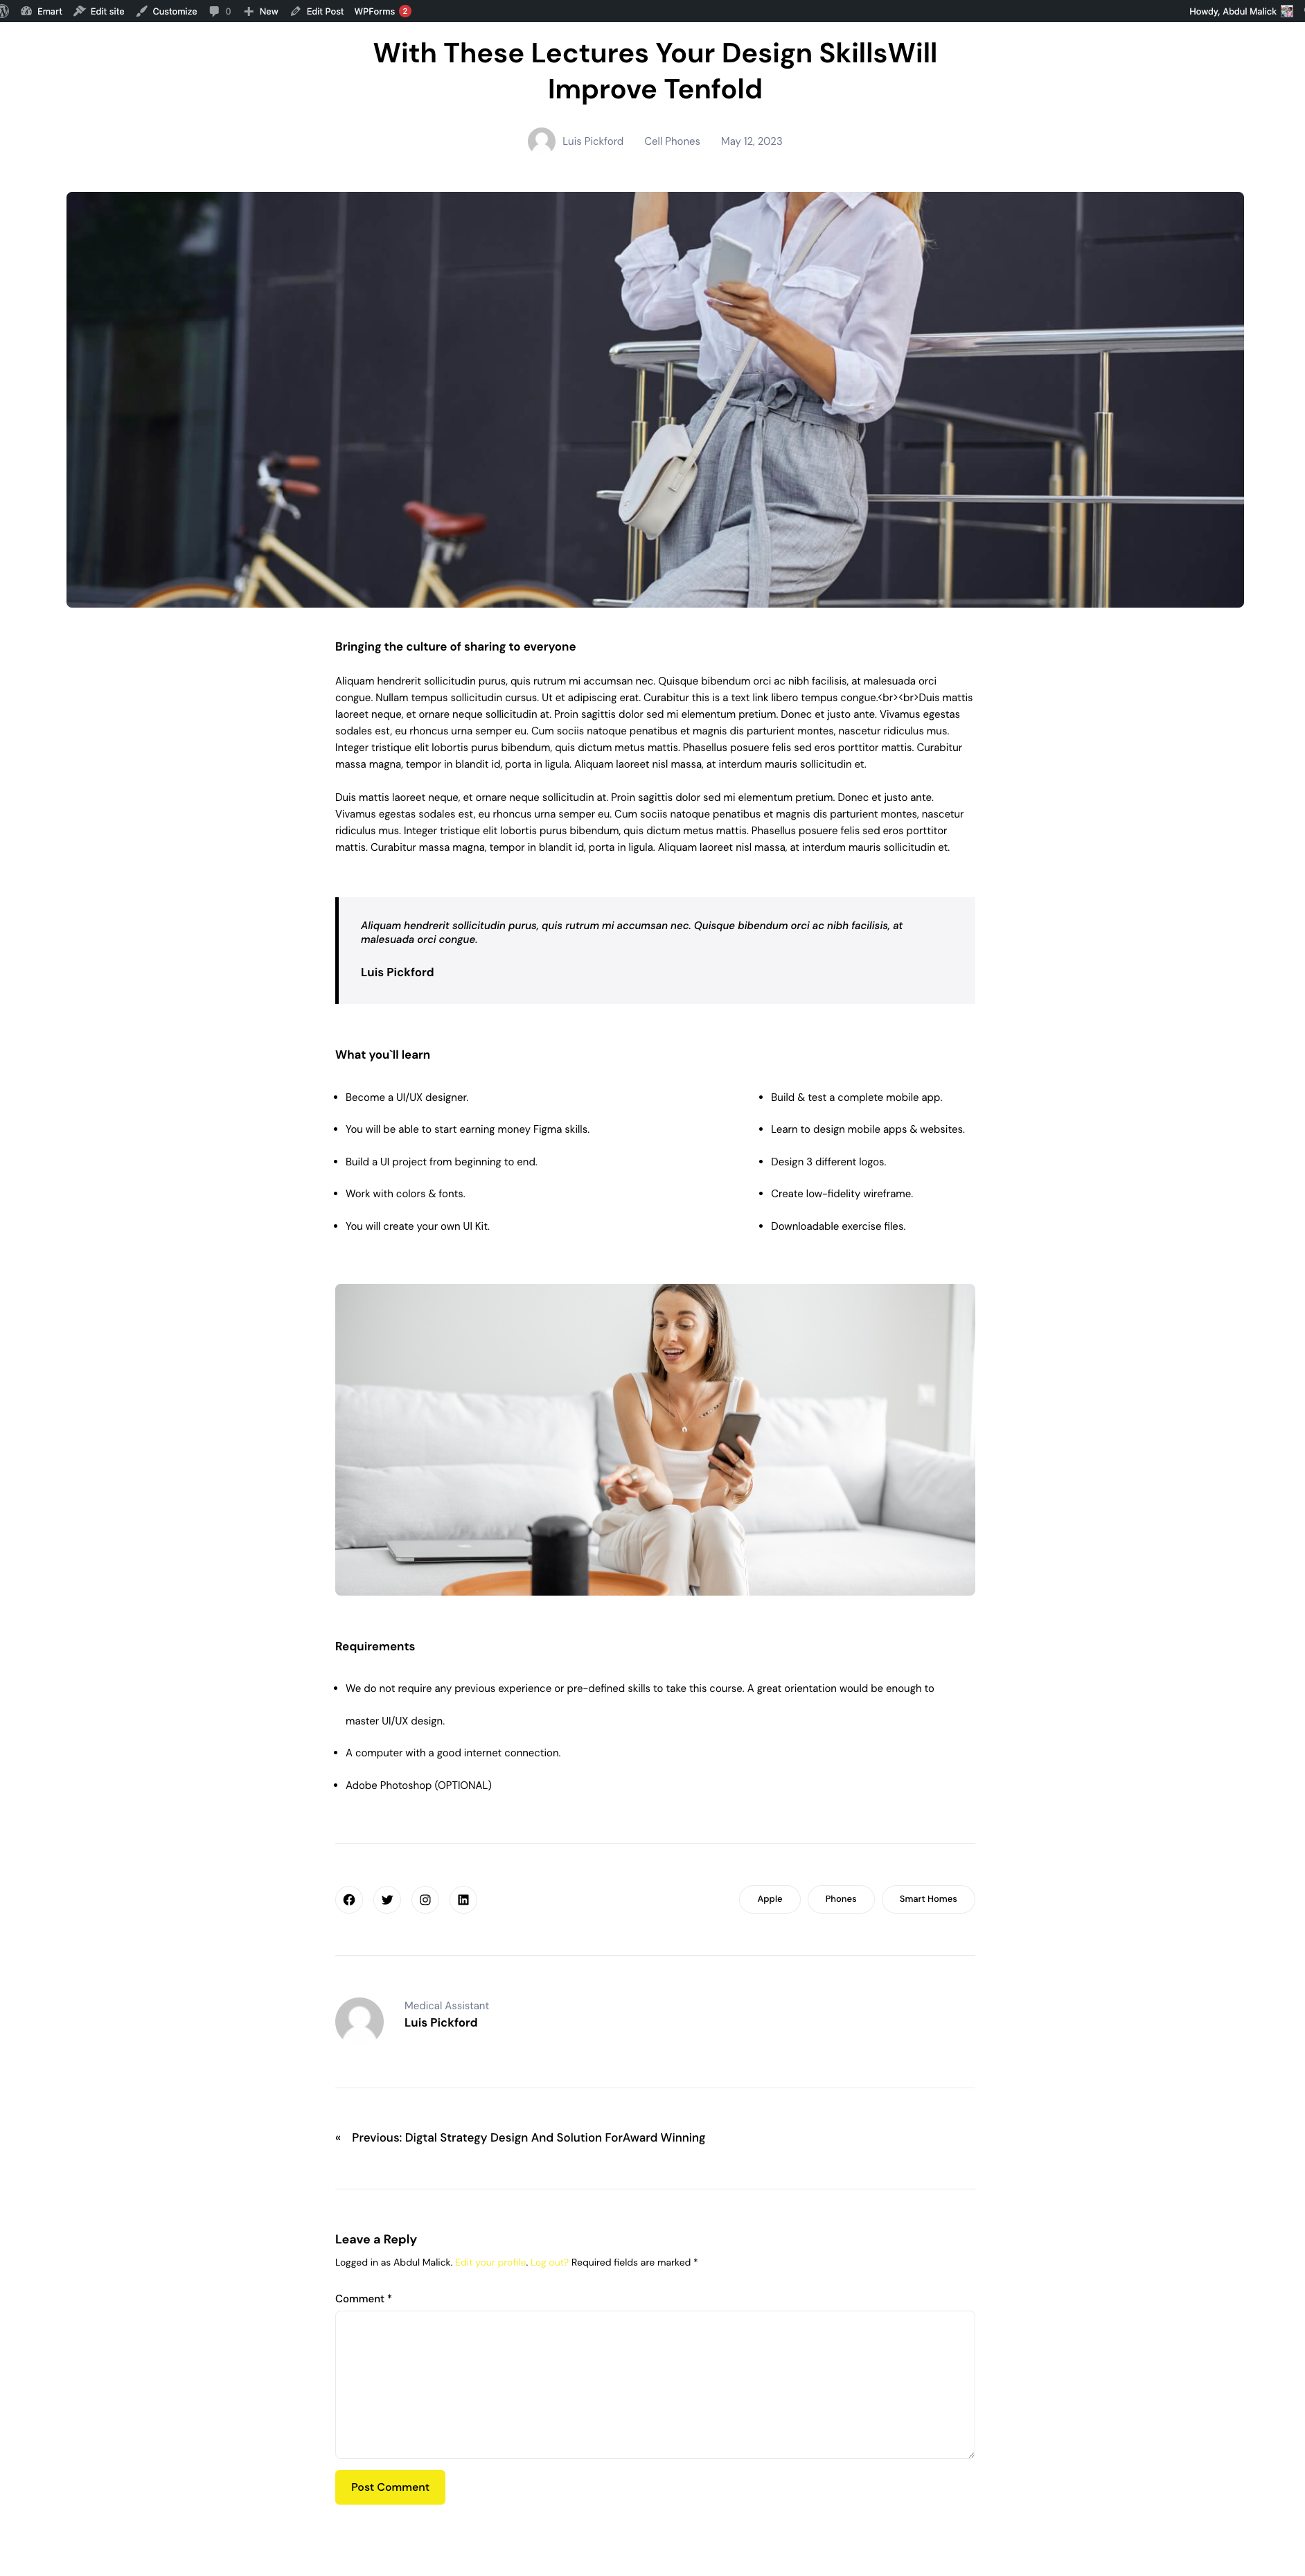
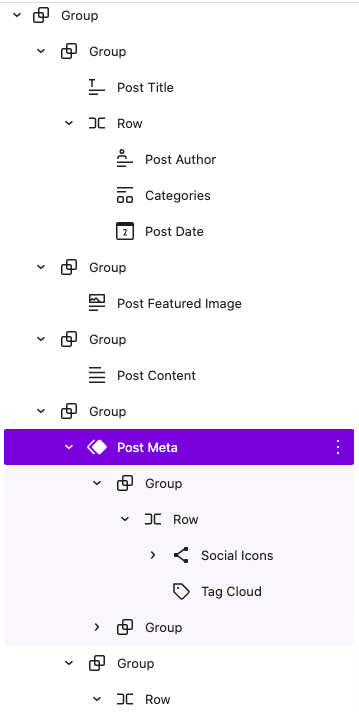
Post meta
↑ Back to topOutput
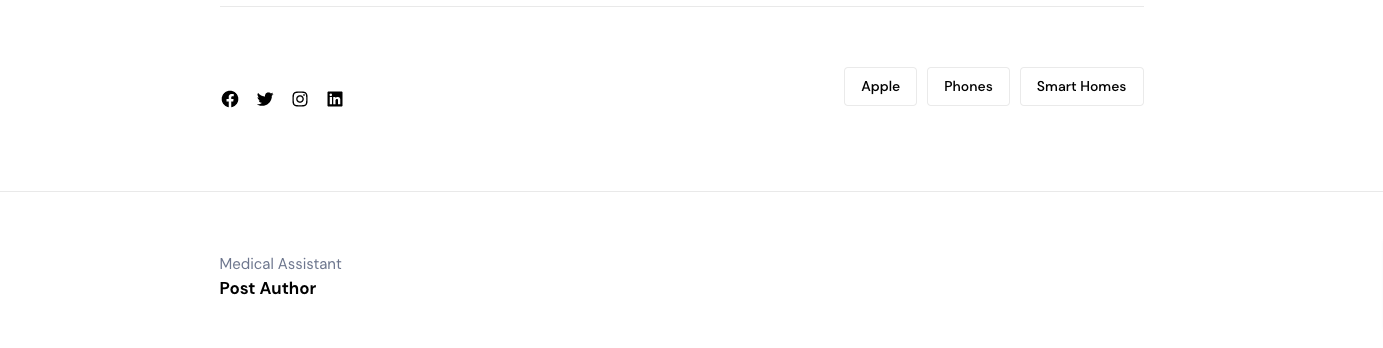
Editor Output
This Pattern built by using following blocks,
- Social Icons Block
- Tag Cloud Block
- Post Author Block
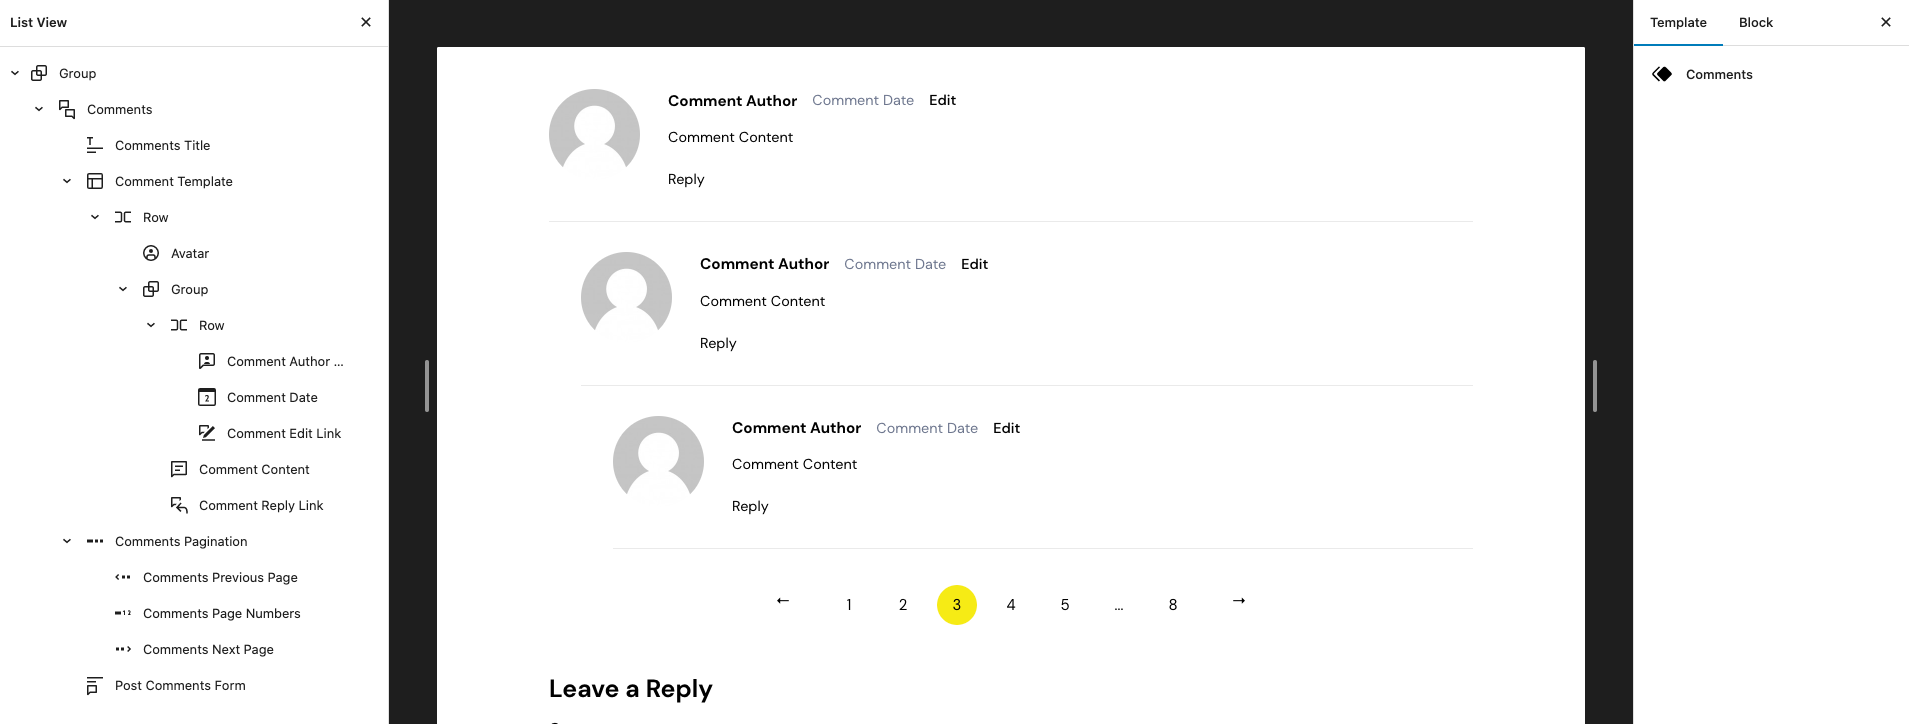
Comments
↑ Back to topOutput

Editor Output
This Pattern built by using following blocks,
- Comments Block
- Comments Title Block
- Comment Template
- Avatar Block
- Comment Author Name
- Row Block
- Comment Date Block
- Comment Edit Link Block
- Comment Content Block
- Comment Reply Link Block
- Comments Pagination Block
- Comments Previous Page Block
- Comments Page Number Block
- Comments Next Page Block
- Post Comments Form Block
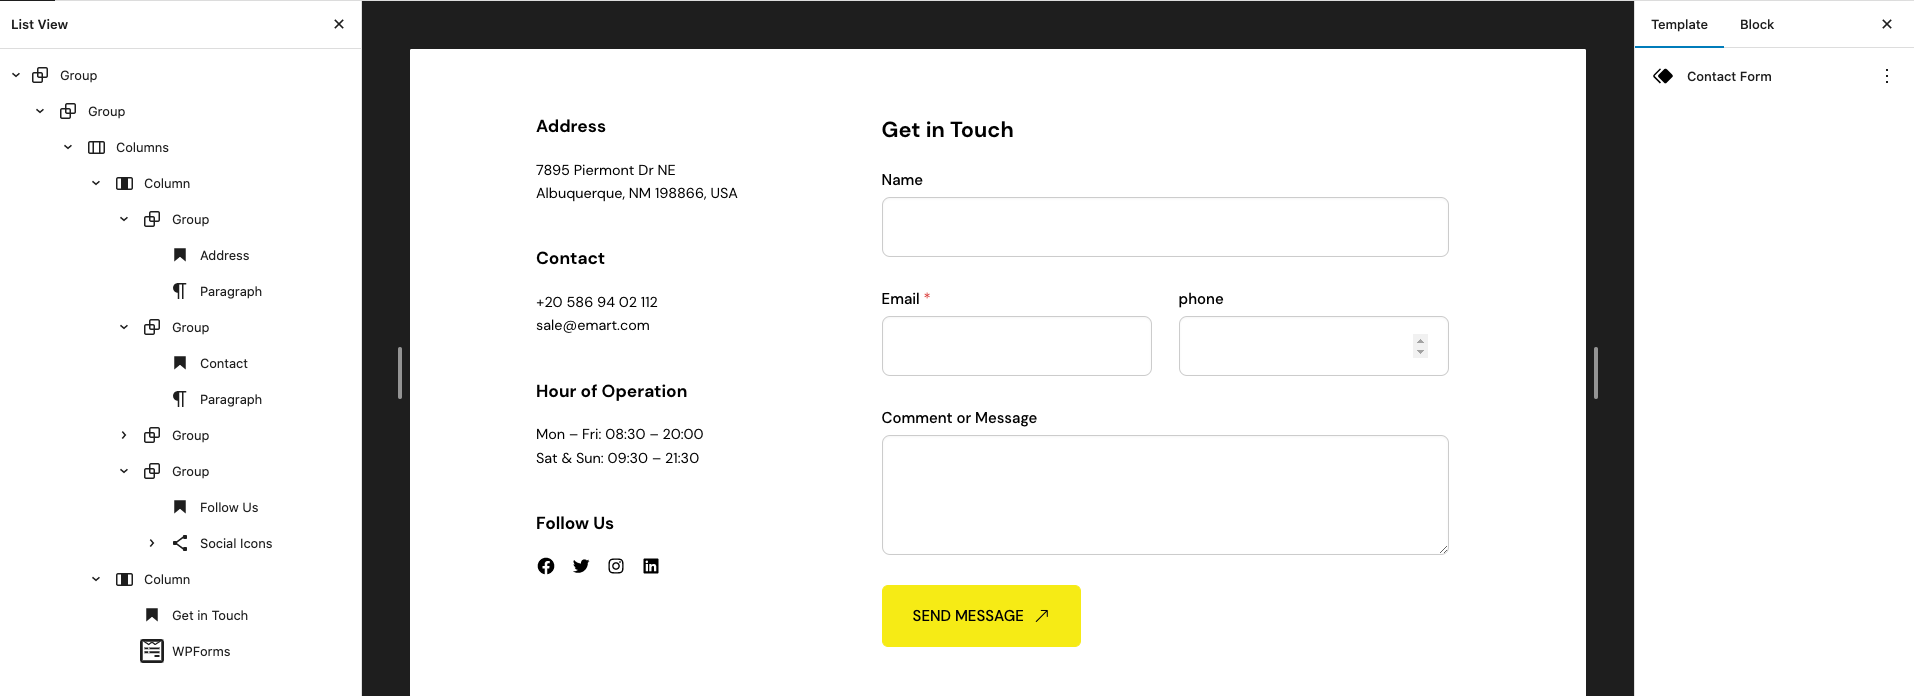
Contact Form
↑ Back to topOutput
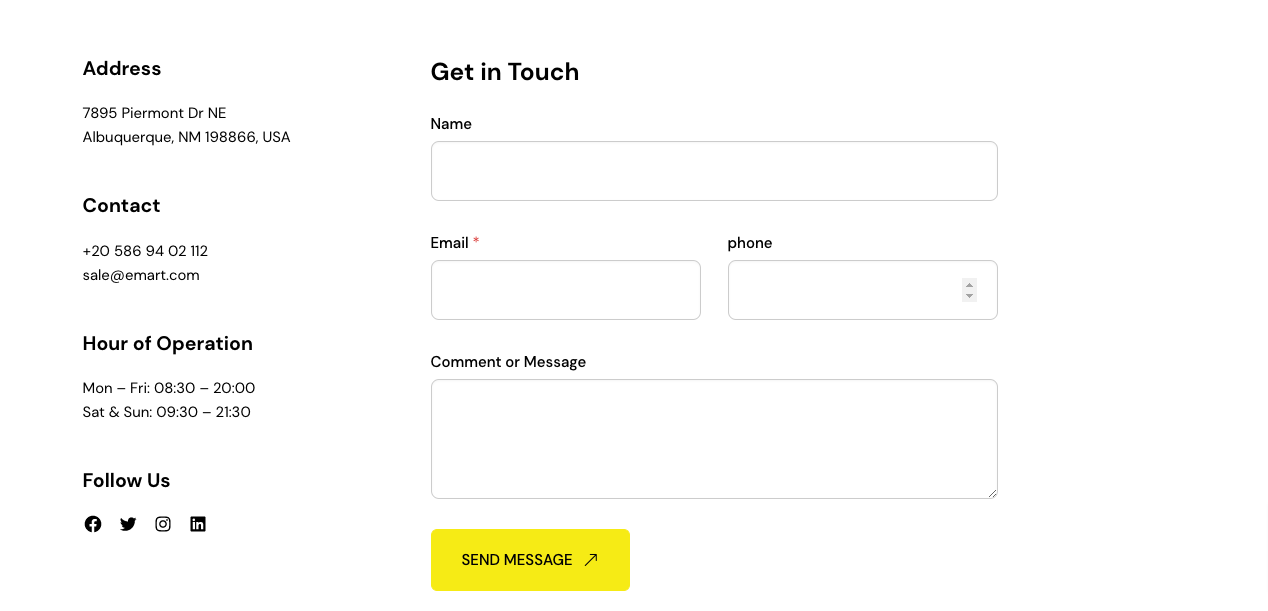
Editor Output
This Pattern built by using following blocks,
- Heading Block
- Social Icons Block
- WPForms Block
Templates
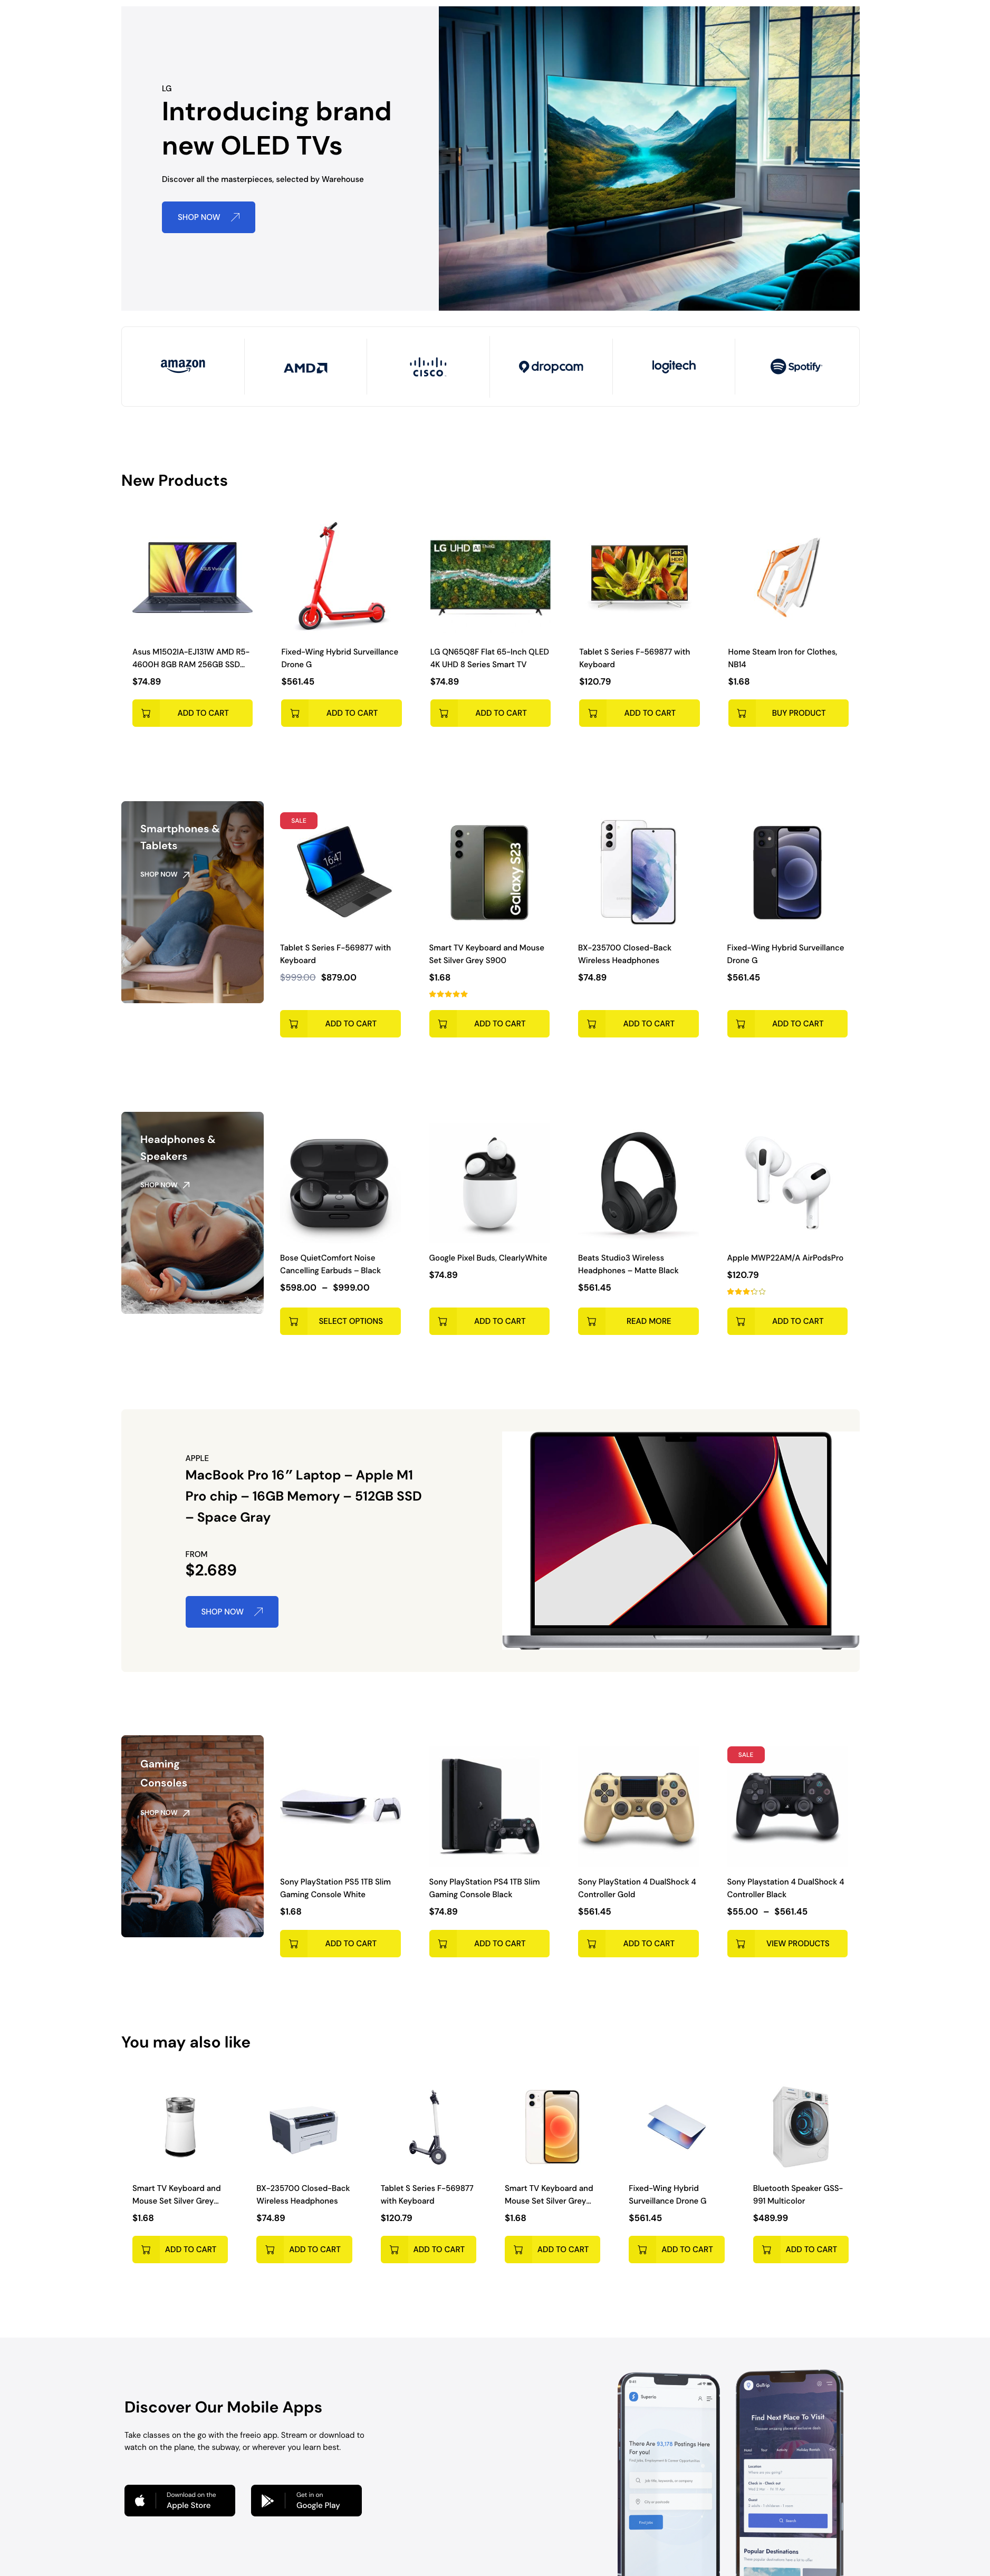
↑ Back to topHome v1
↑ Back to topOutput
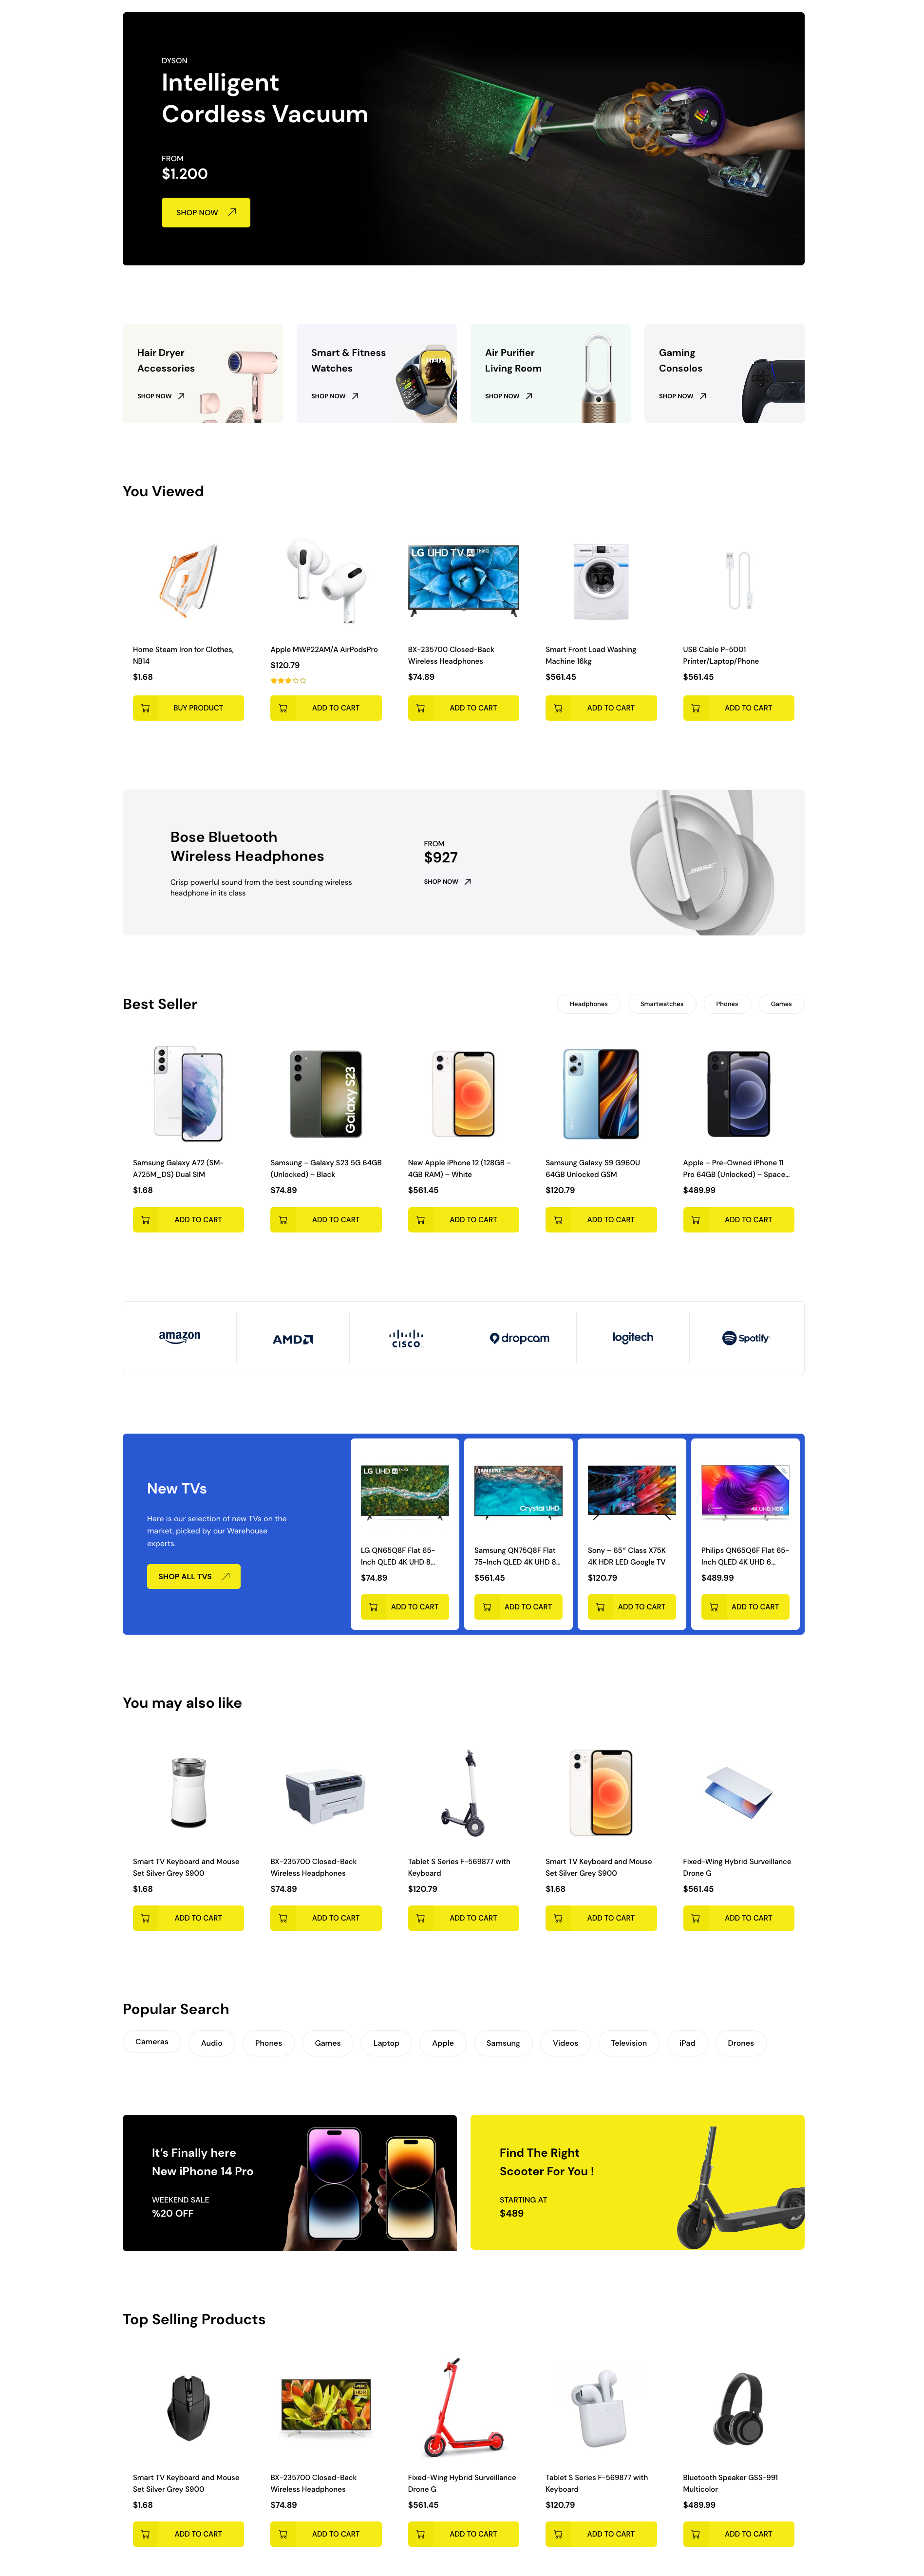
This template built by using following patterns,
- Home-v1-hero
- Home-v1-4 – column-banner
- Home-v1-viewed-products
- Home-v1-banner
- Home-v1-best-selling-products
- Home-v1-brands
- Home-v1-tv-cat
- Home-v1-you-like
- Home-v1-popular-search
- Home-v1-2-column-banner
- Home-v1-top-selling
Home v2
↑ Back to topOutput
This template built by using following patterns,
- Home-v2-hero
- Home-v2-3-column-banner
- Home-v2-deals-of-day
- Home-v2-banner-1
- Home-v2-best-selling-products
- Home-v2-banner-2
- Home-v1-you-like
- Home-v1-brands
- Home-v2-blog-query
Home v3
↑ Back to topOutput
This template built by using following patterns,
- Home-v3-hero
- Home-v1-brands
- Home-v3-new-products
- Home-v3-banner-with-products-1
- Home-v3-banner
- Home-v3-banner-with-products
- Home-v1-you-like
- Home-v3-apps
404
↑ Back to topOutput

Editor
This template built by using following Gutenberg blocks,
- Heading Block
- Search Block

About Us
↑ Back to topOutput

This template built by using following Patterns,
- About-heading
- About-image-gallery
- About-content
- About-testimonial
- About-team
- About-brand
Contact Us
↑ Back to topOutput
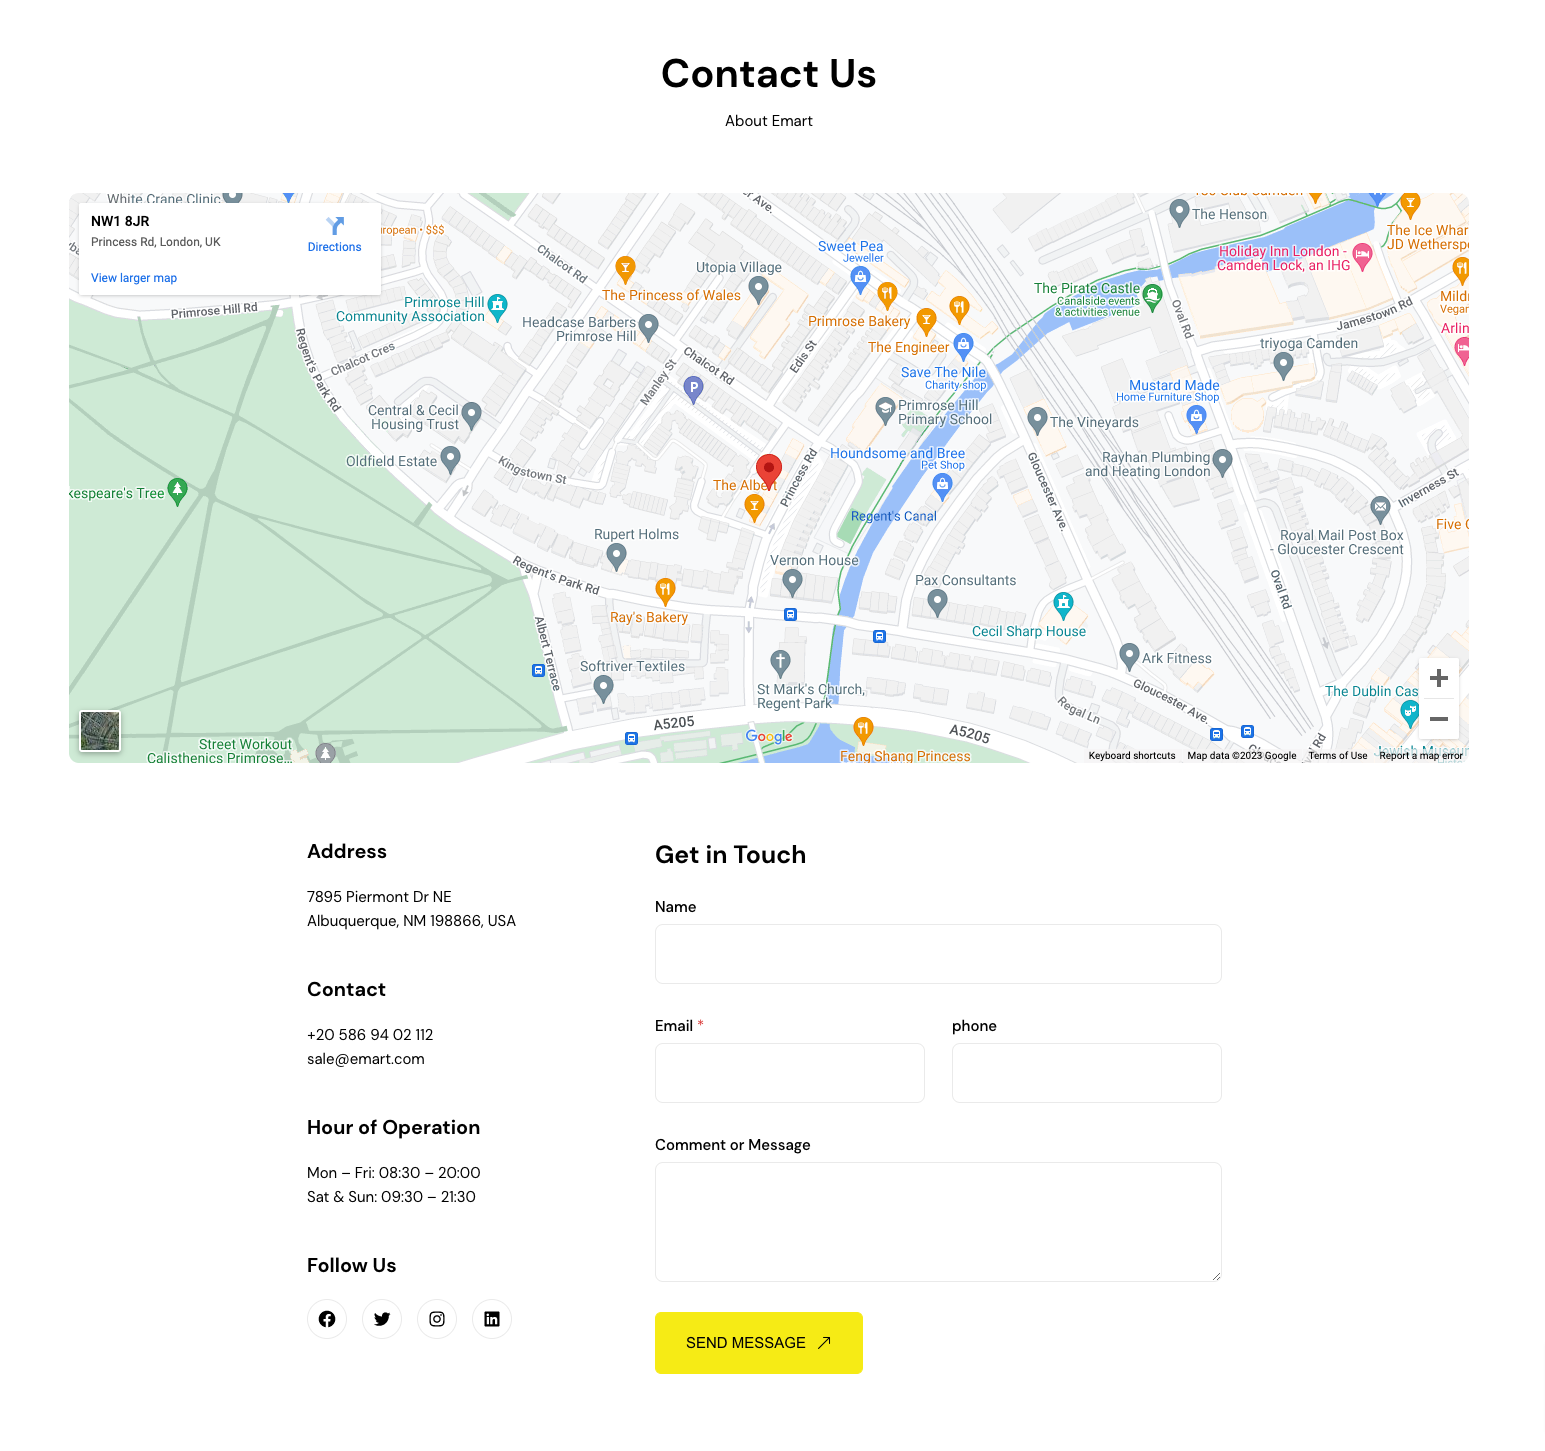
This template built by using following Patterns,
- Contact-heading
- Contact-map
- Contact-form
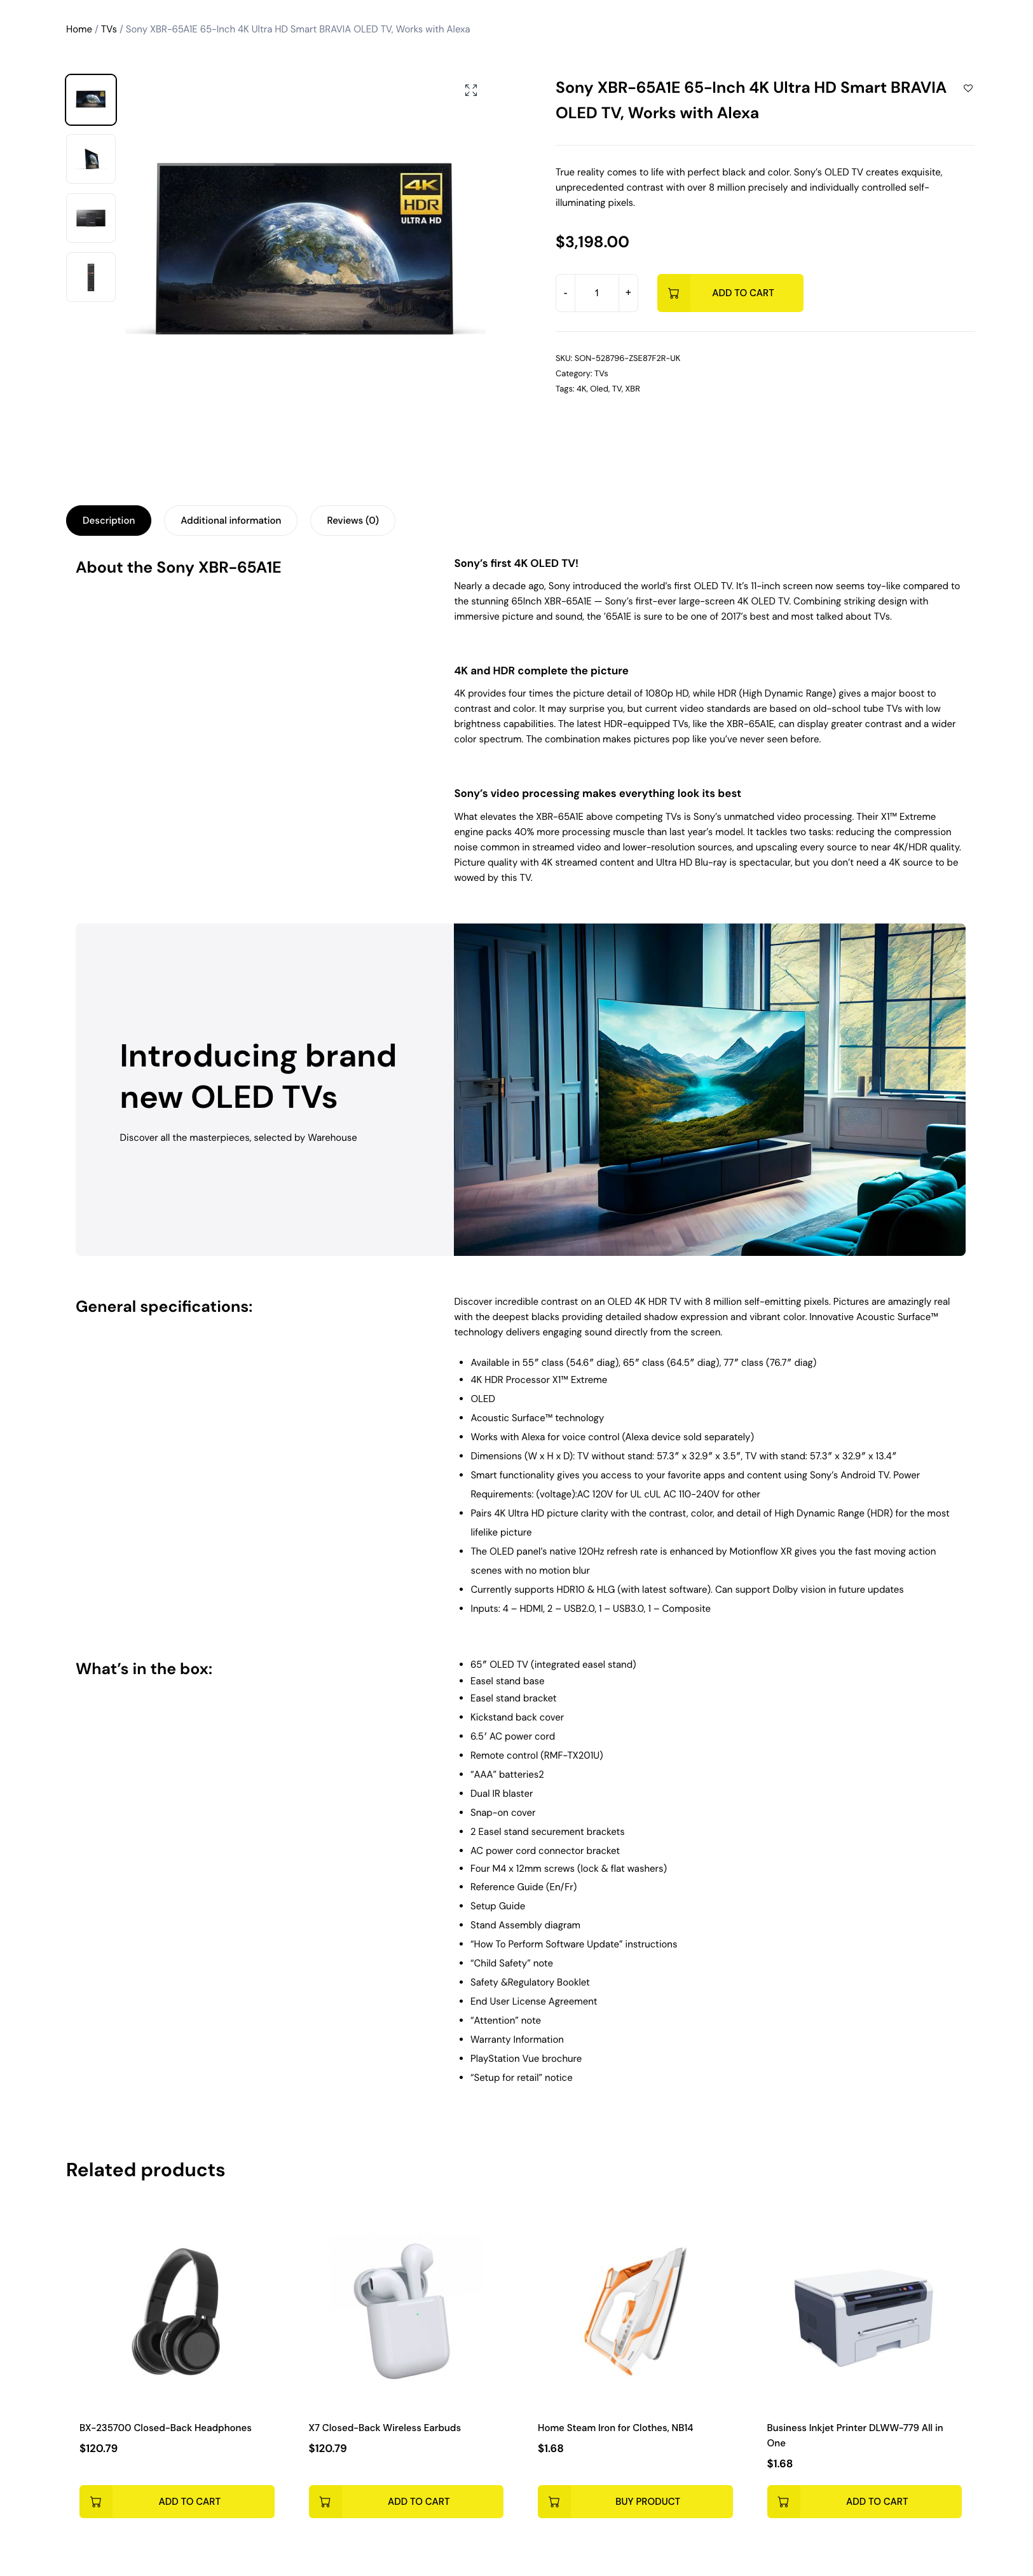
Single Product
↑ Back to topOutput
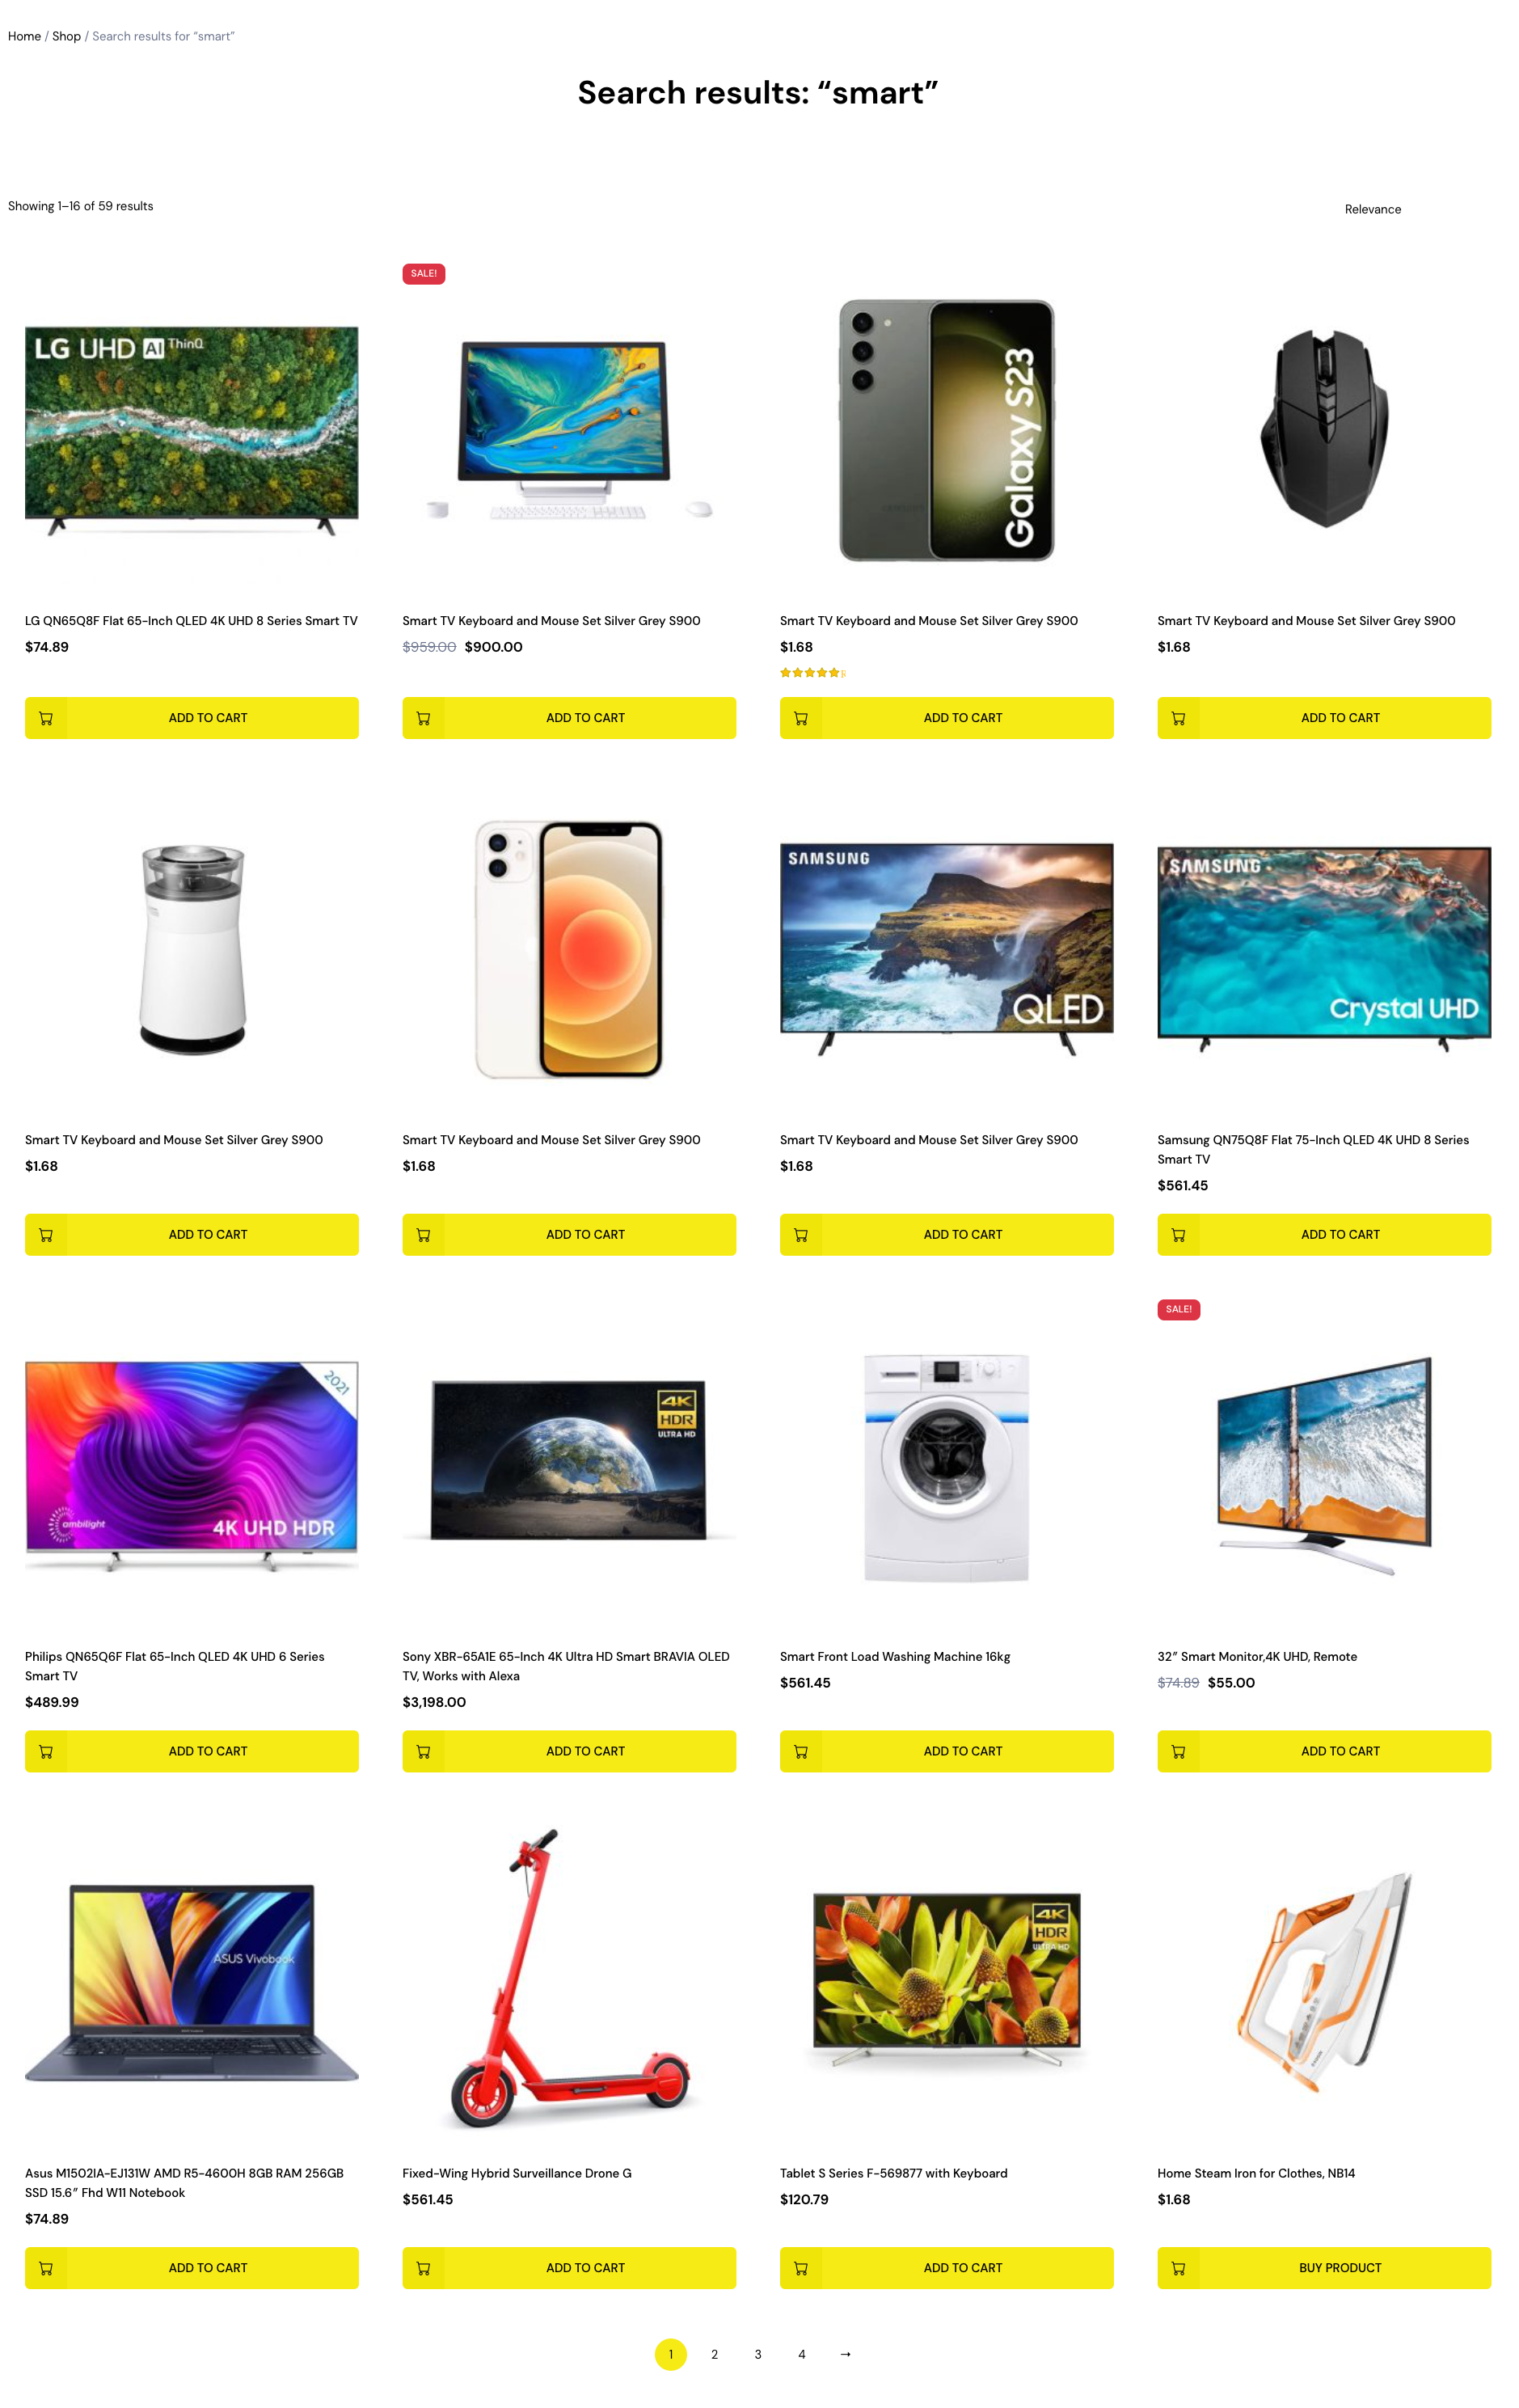
Search
↑ Back to topOutput
Single
↑ Back to topOutput
Index
↑ Back to topOutput

Product Catalog
↑ Back to top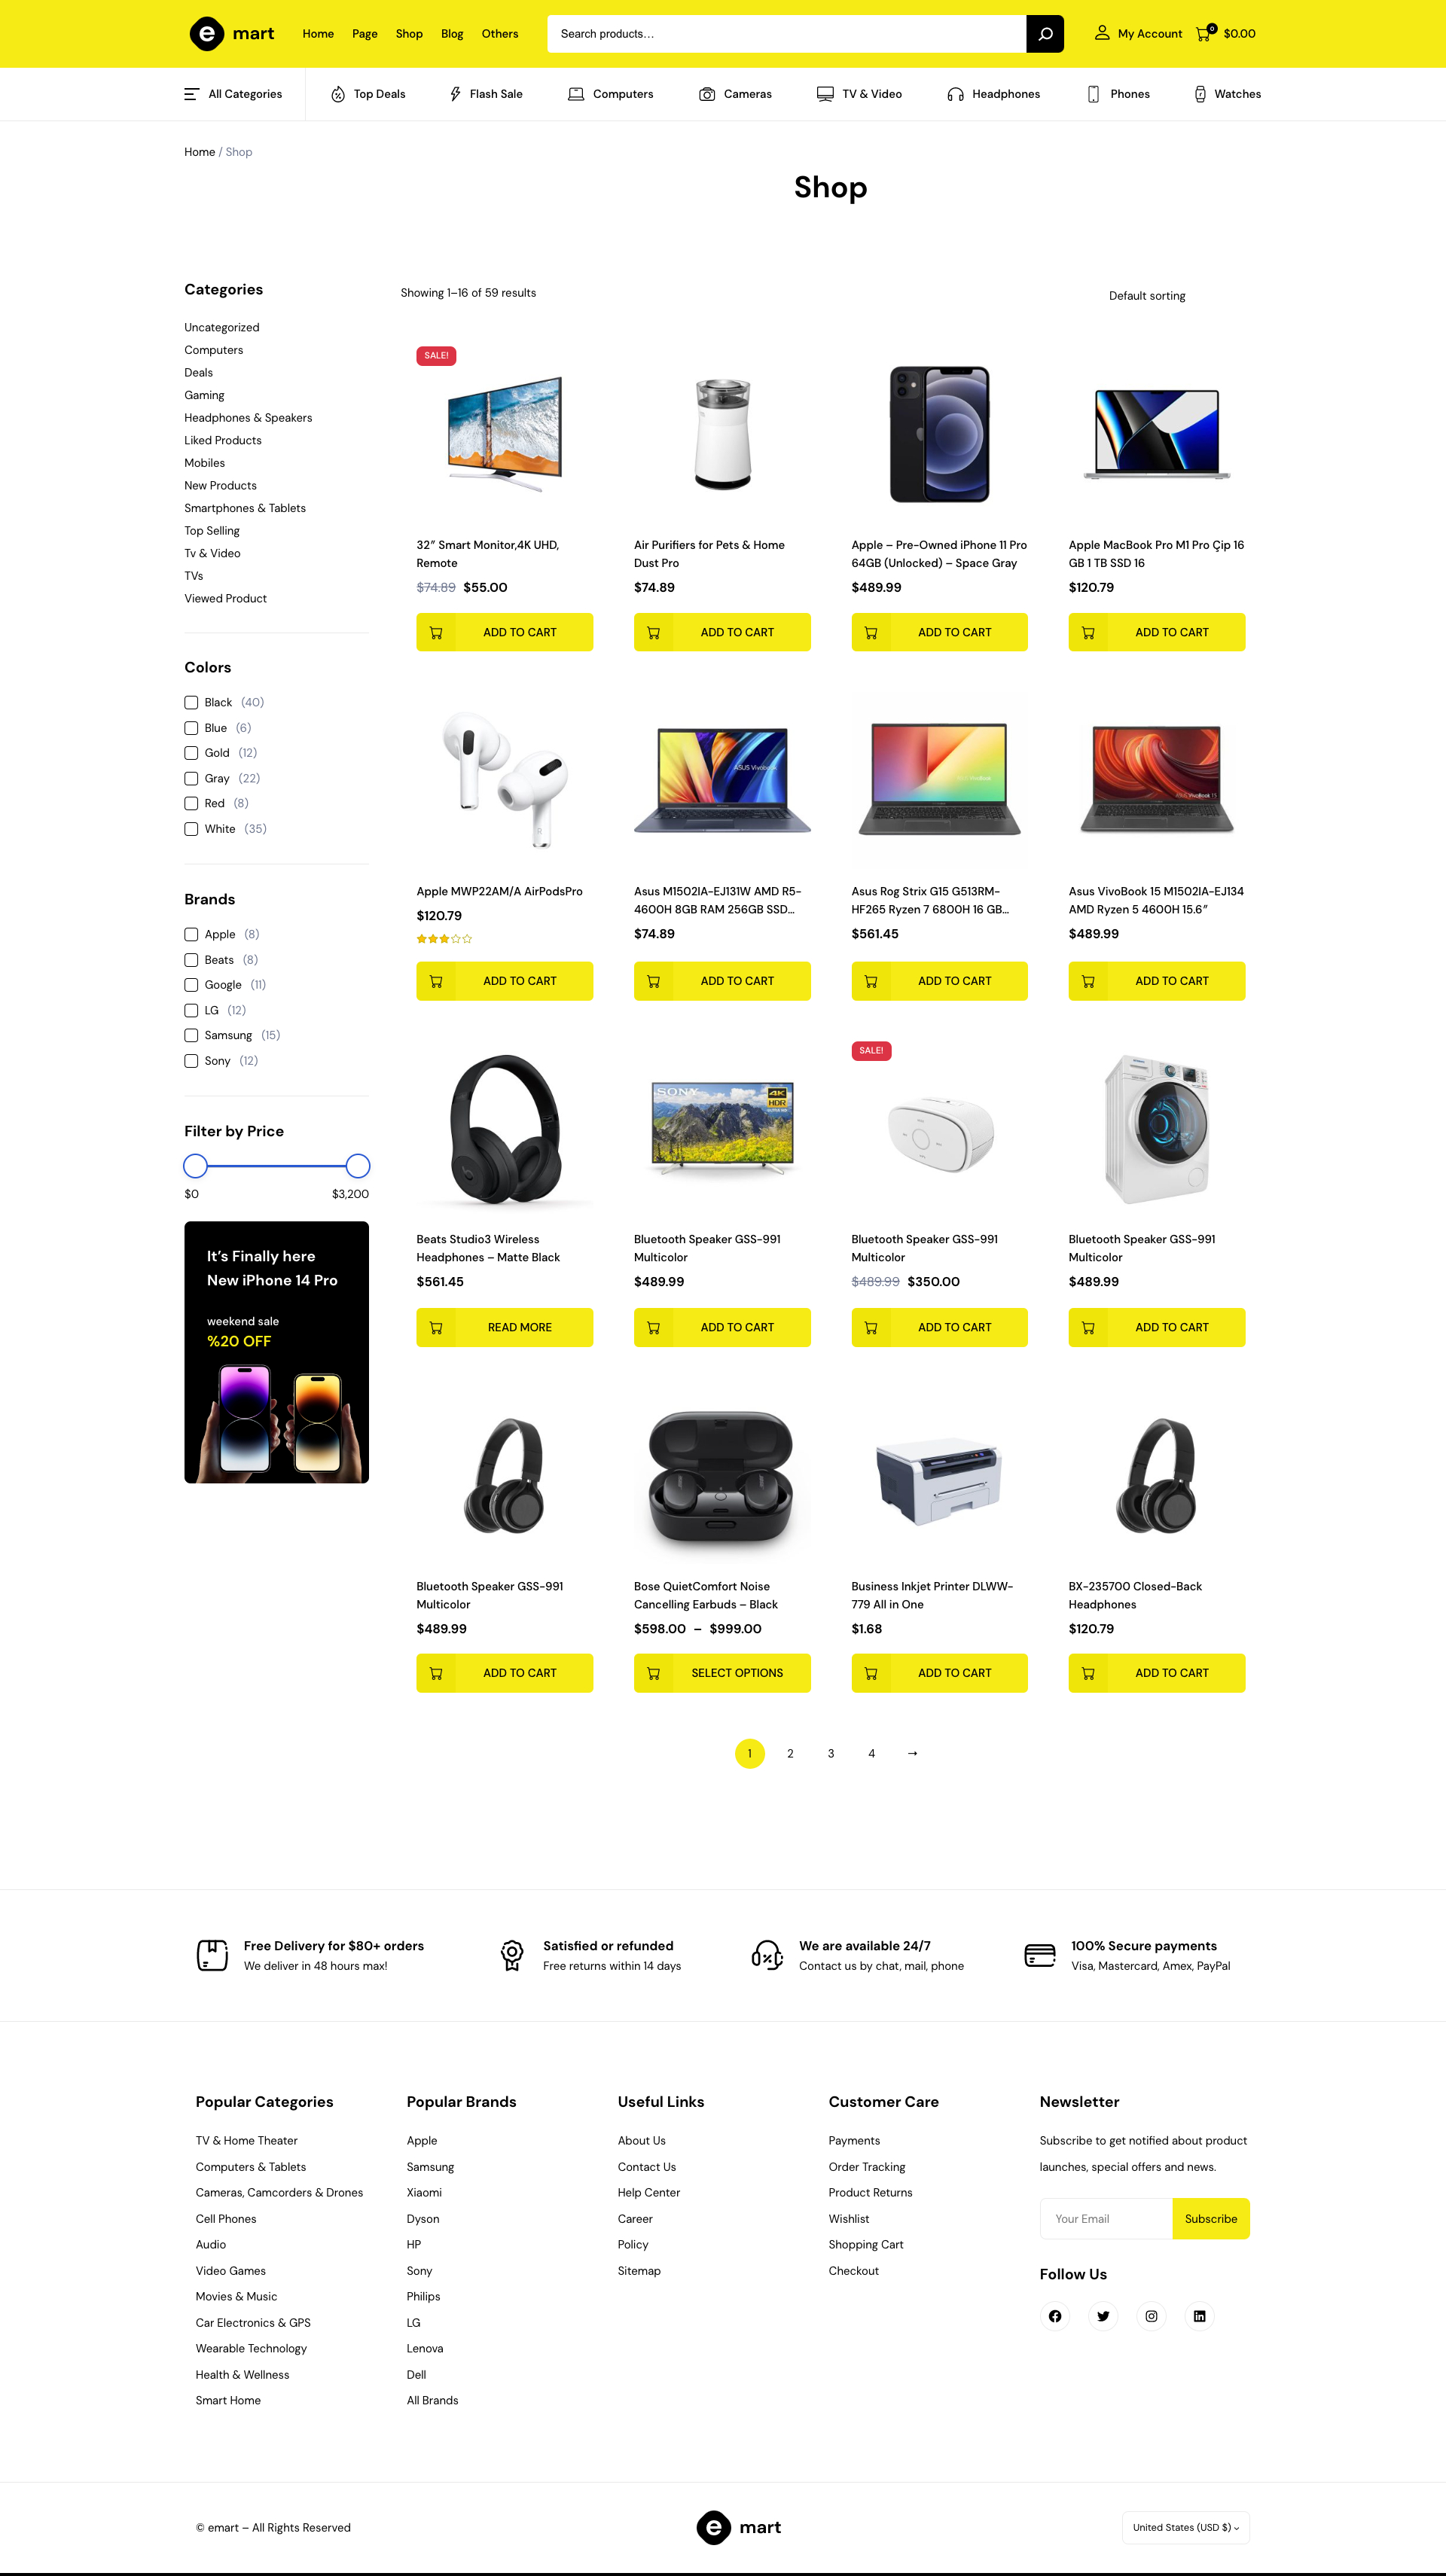

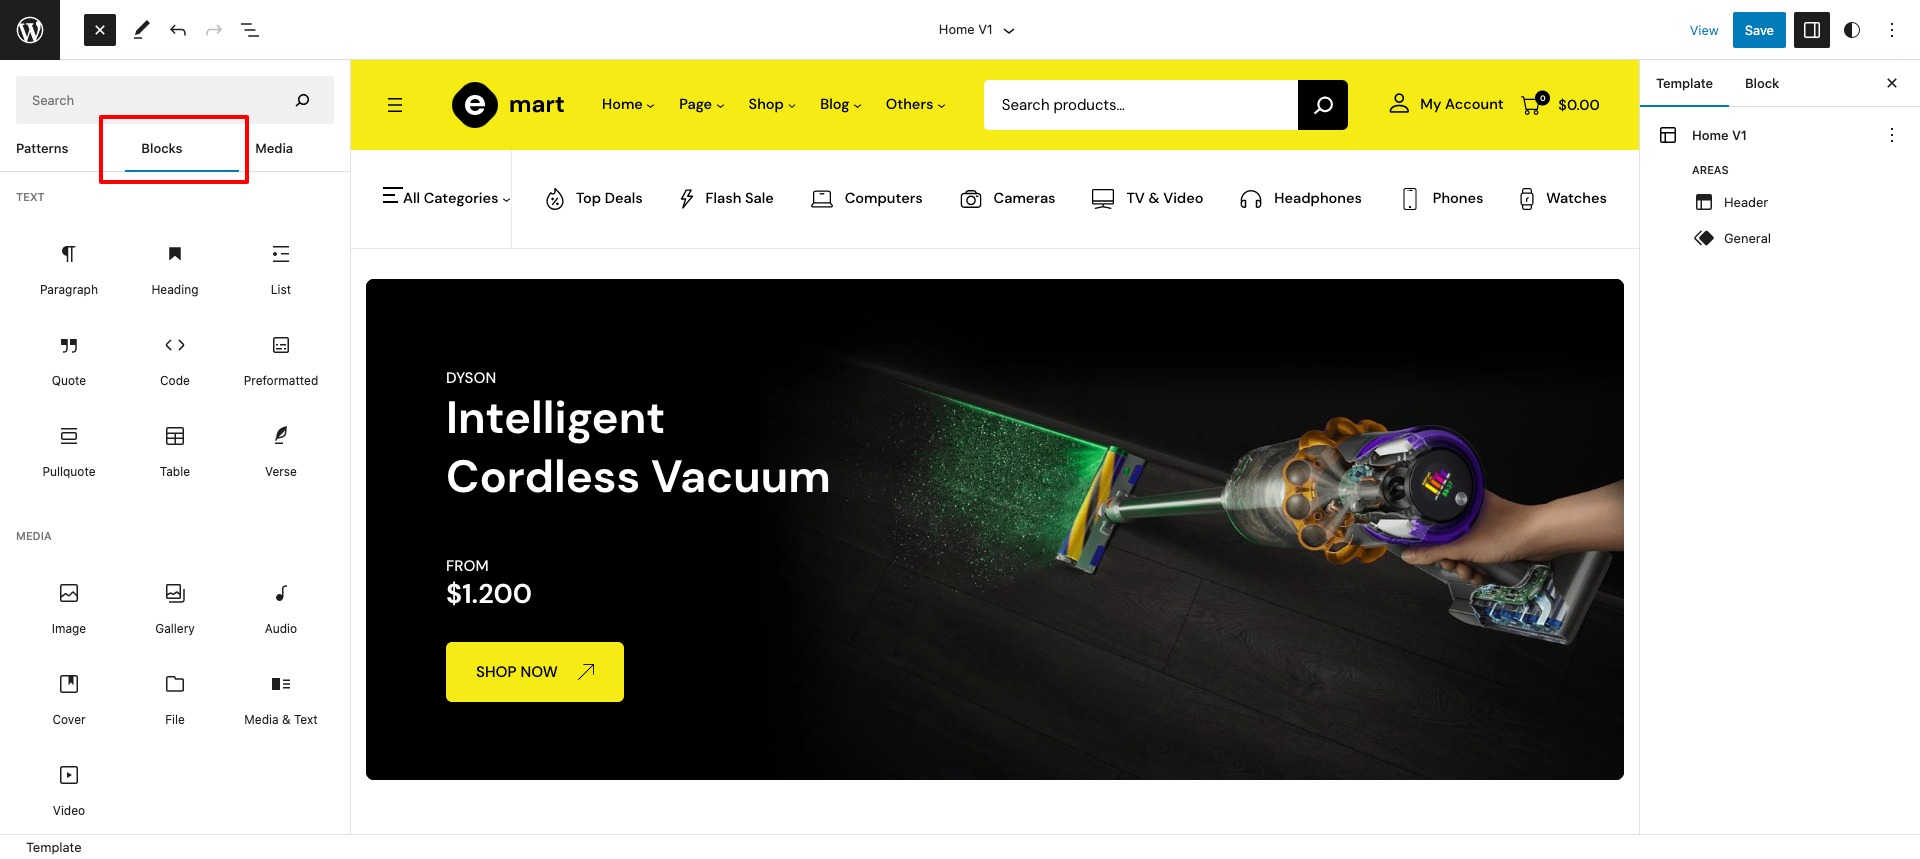
Blocks
↑ Back to topBlocks are the components used in the theme for adding content to the posts/pages. The eMart theme support all WordPress and WooCommerce blocks that you can use to add text, media assets, and layout components, allowing you more freedom to create content.
To get access to the Block, you can follow the step below:
- Go to Pages and choose your desired page
- Now, you can click the plus (+) icon at the top left inside the toolbar to insert blocks
It will display a list of blocks available. You can use the appropriate block that suits your site requirements. For example, You can use the Site Title Block to add the site title on the header area.
Patterns
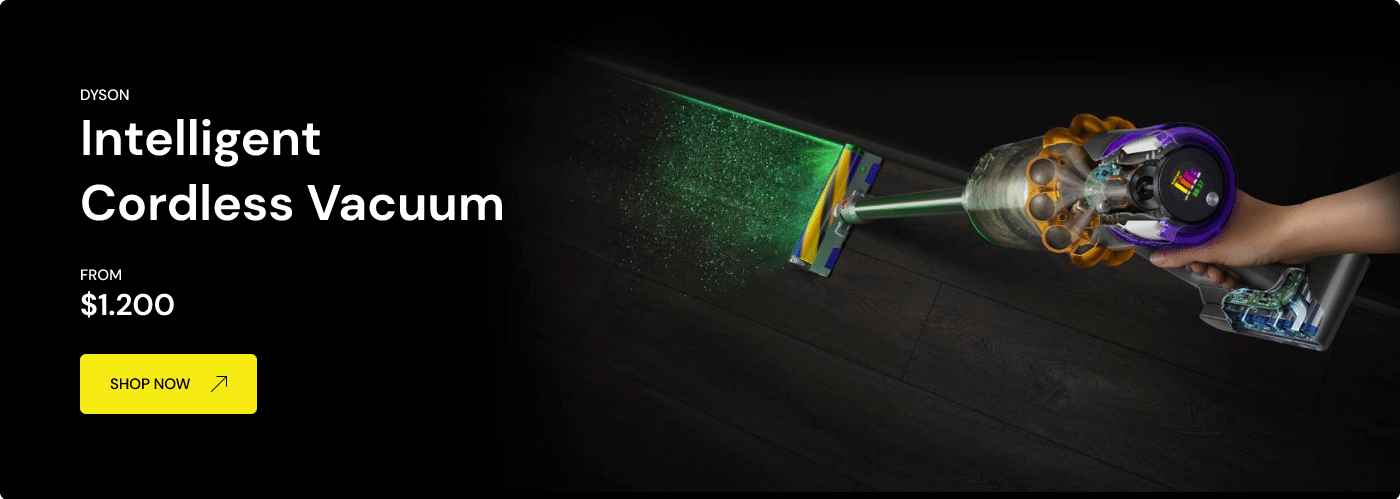
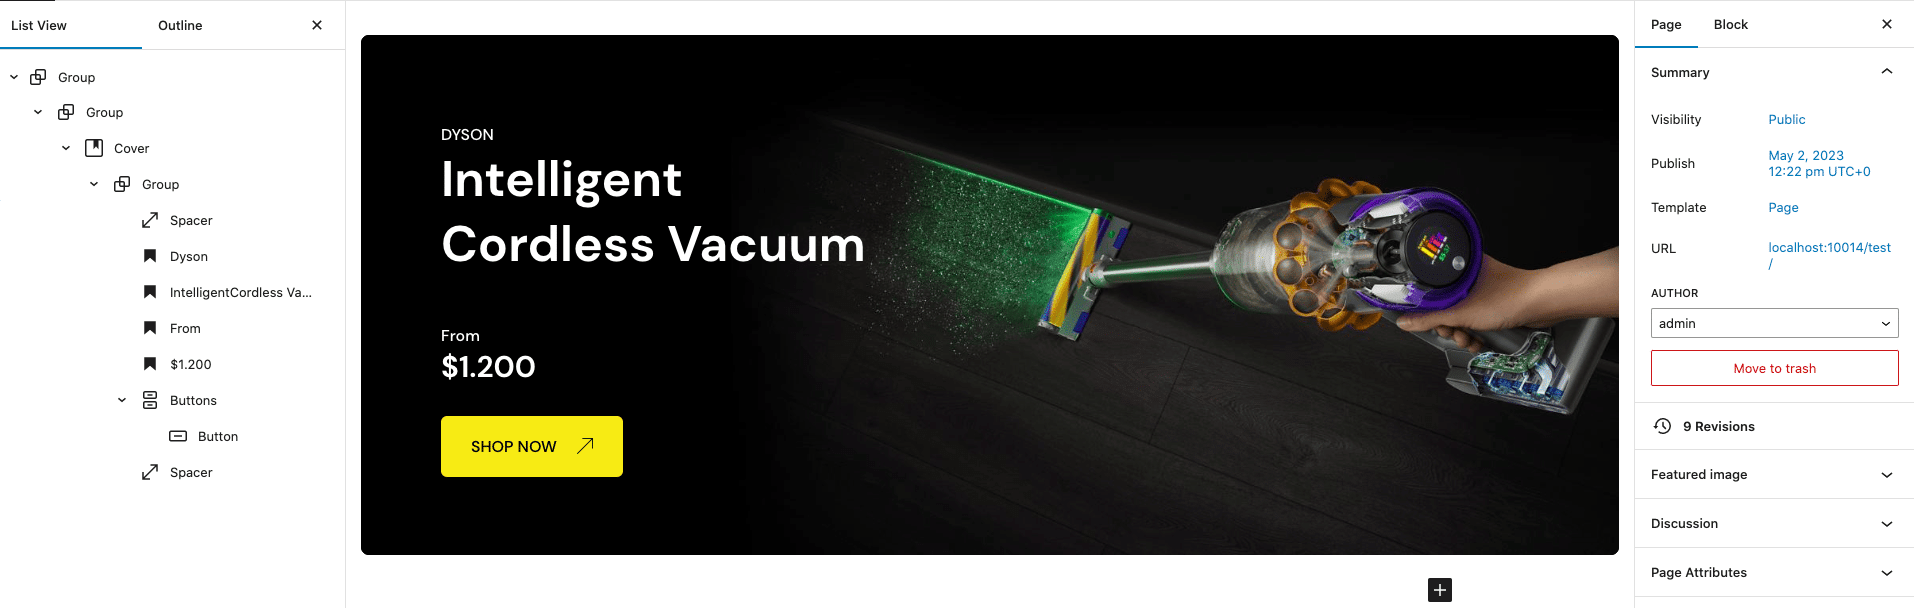
↑ Back to topHome v1 Hero
↑ Back to topOutput
Editor
Hero pattern built using the following Gutenberg blocks,
- Heading Block
- Button Block
- Spacer block
- Cover Block
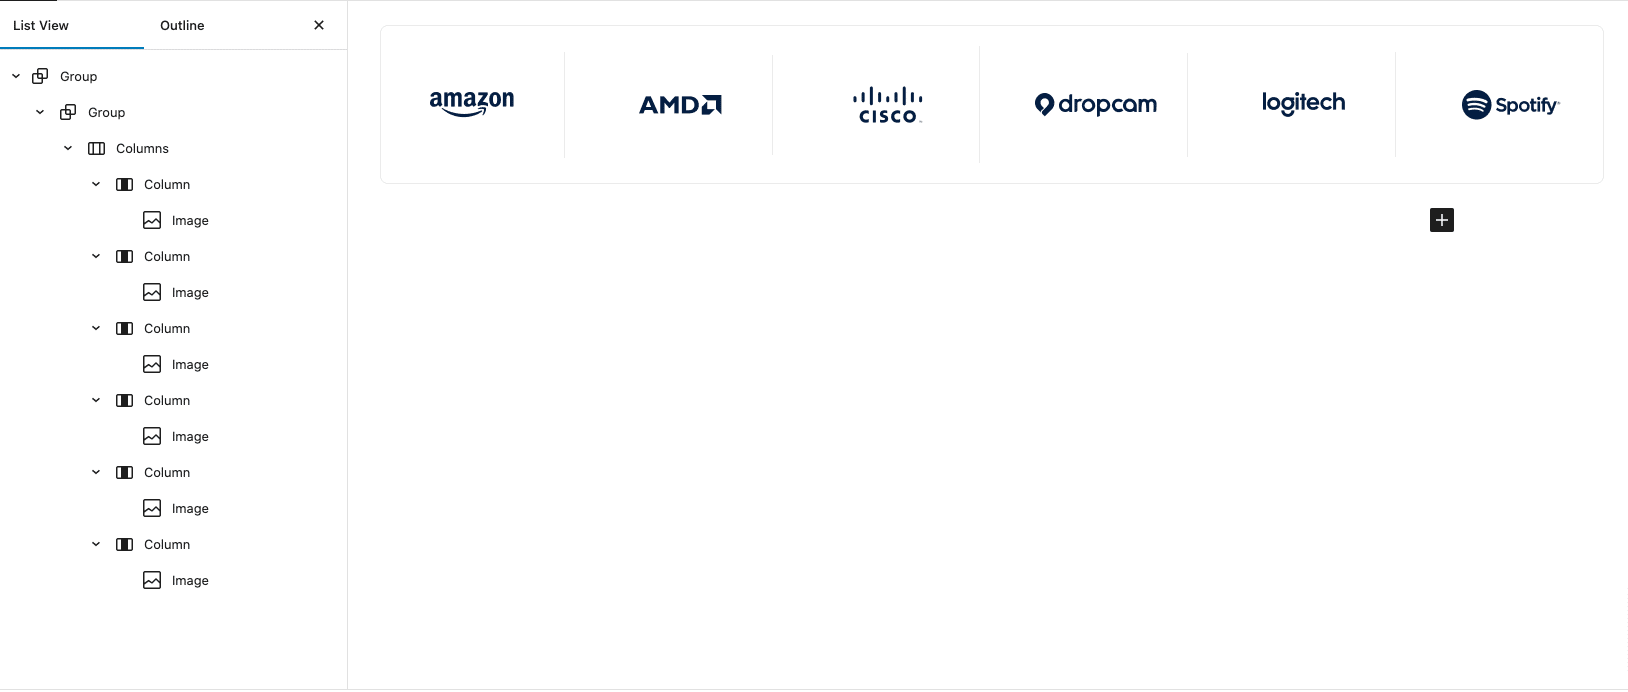
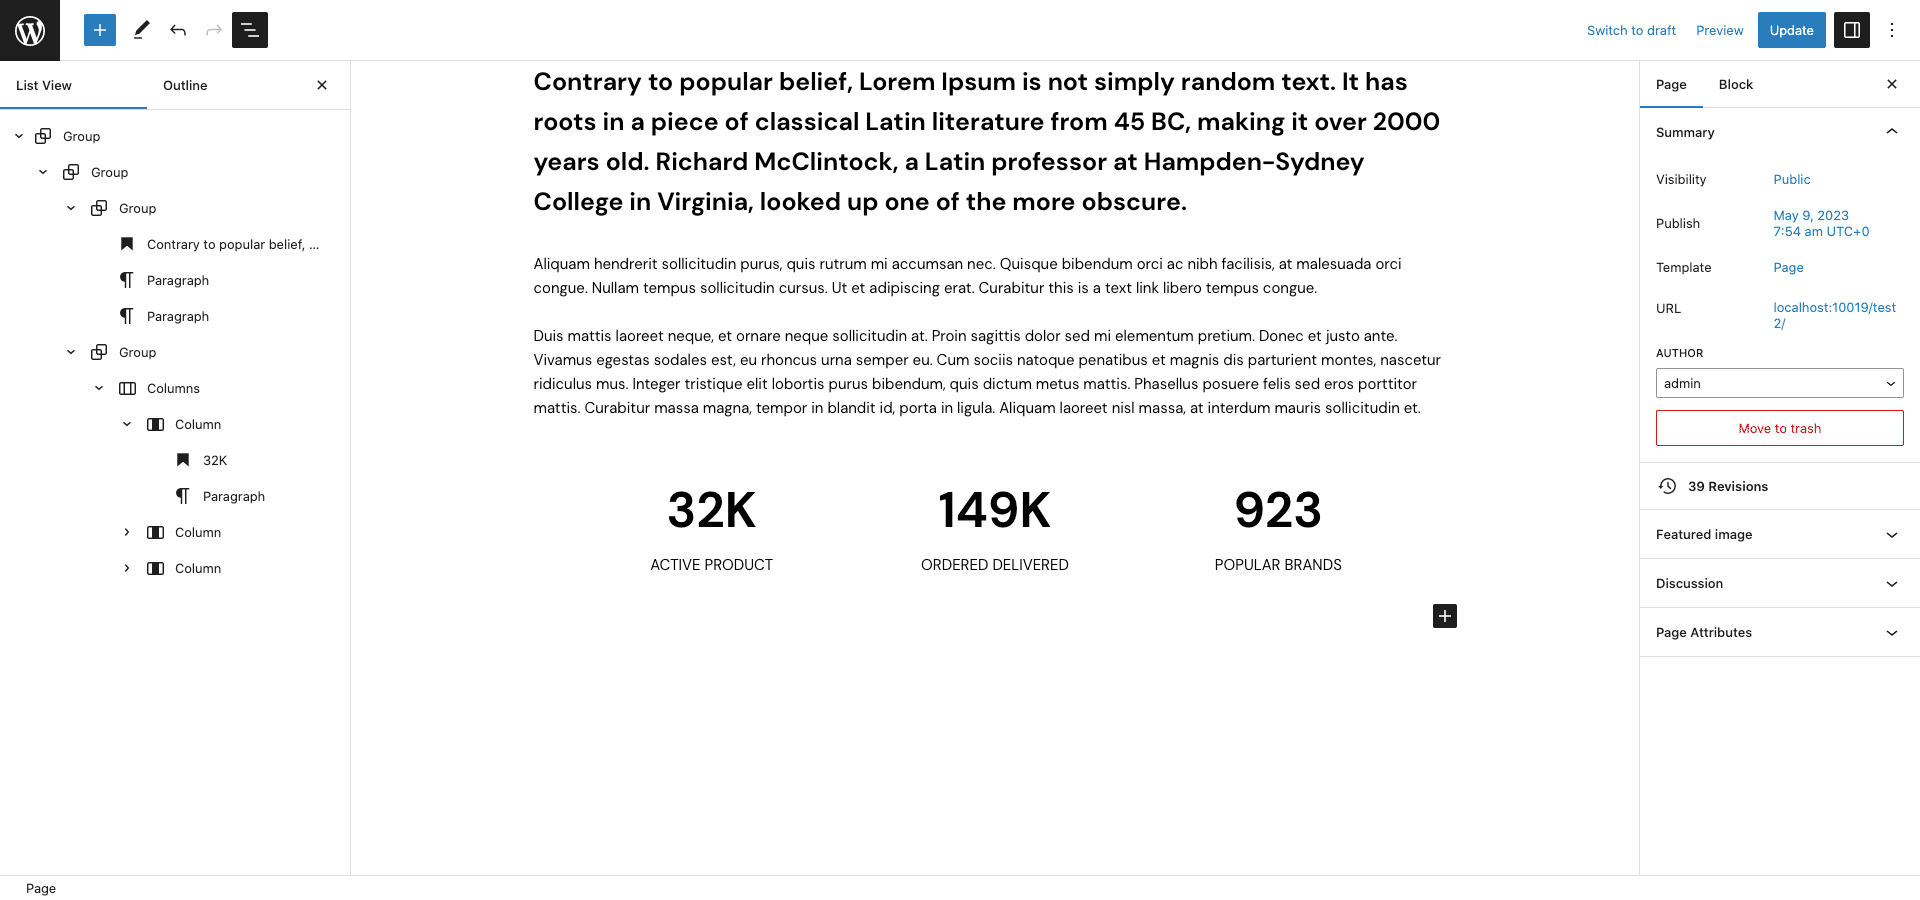
Home v1 Brand
↑ Back to topOutput

Editor
Brand pattern built using the following Gutenberg blocks,
- Image Block
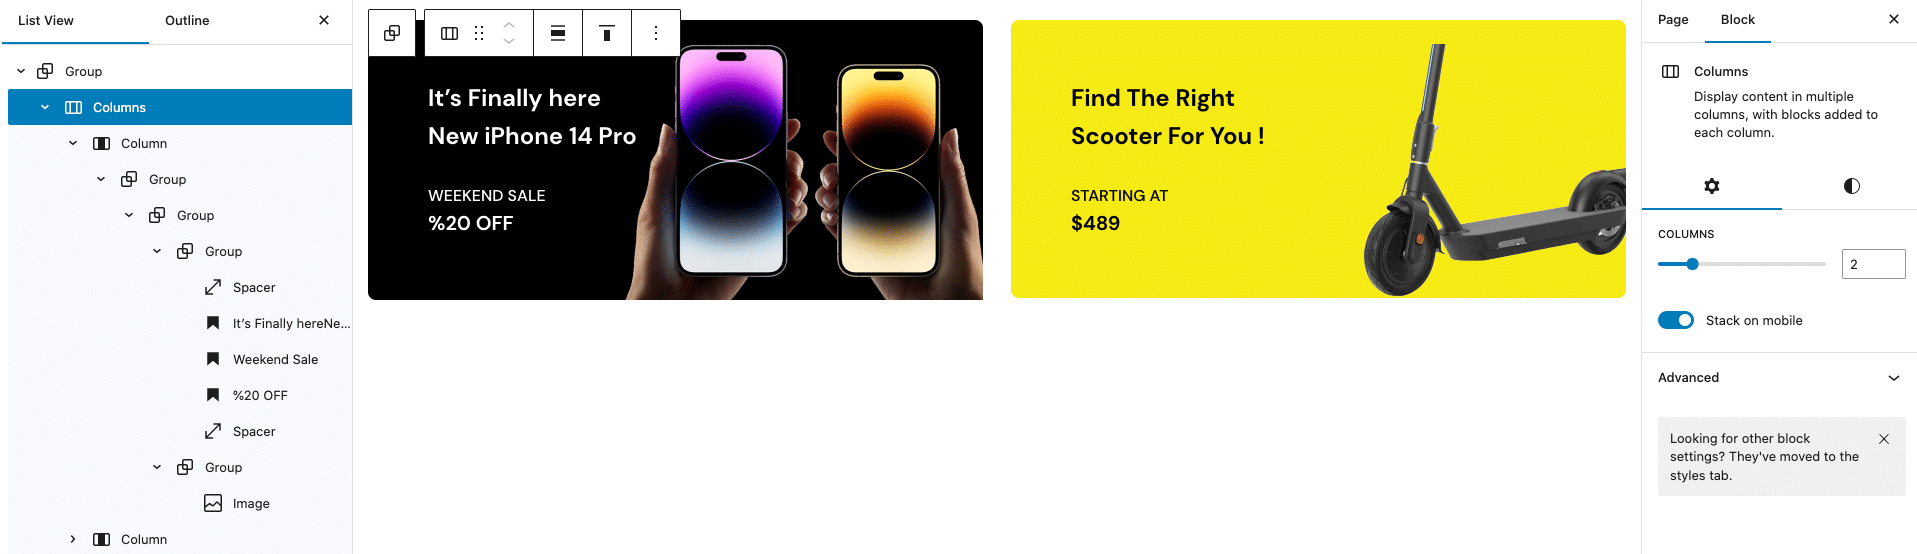
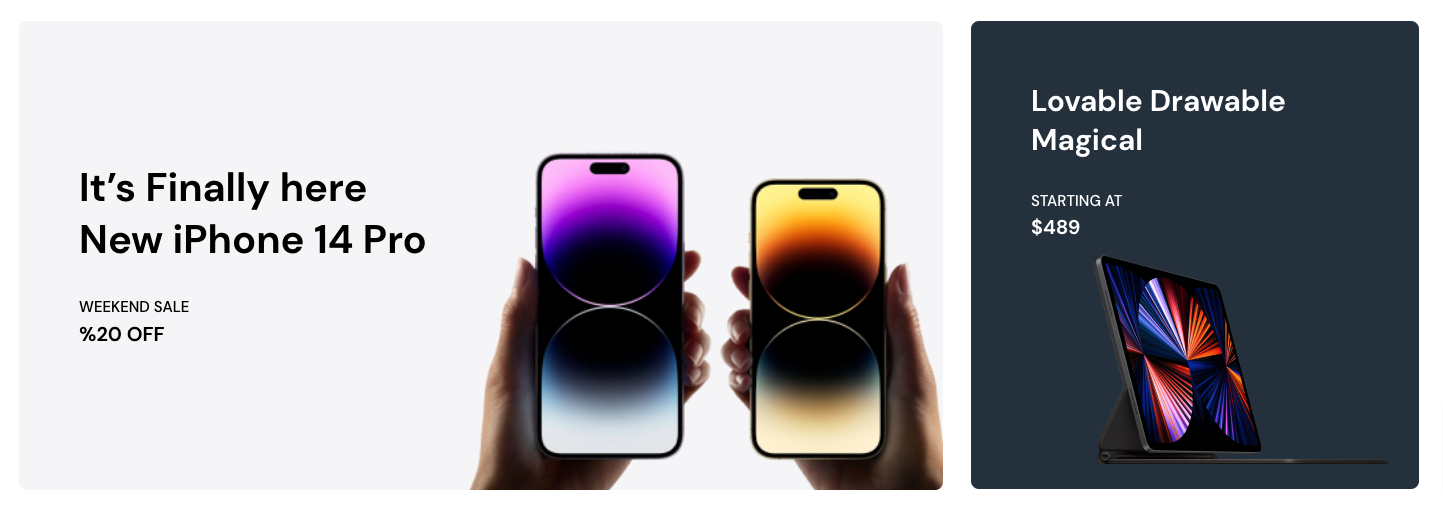
Home v1 2 column Banner
↑ Back to topOutput

Editor
Home-v1 – 2-column-banner pattern built using the following Gutenberg blocks,
- Heading Block
- Image Block
- Spacer Block
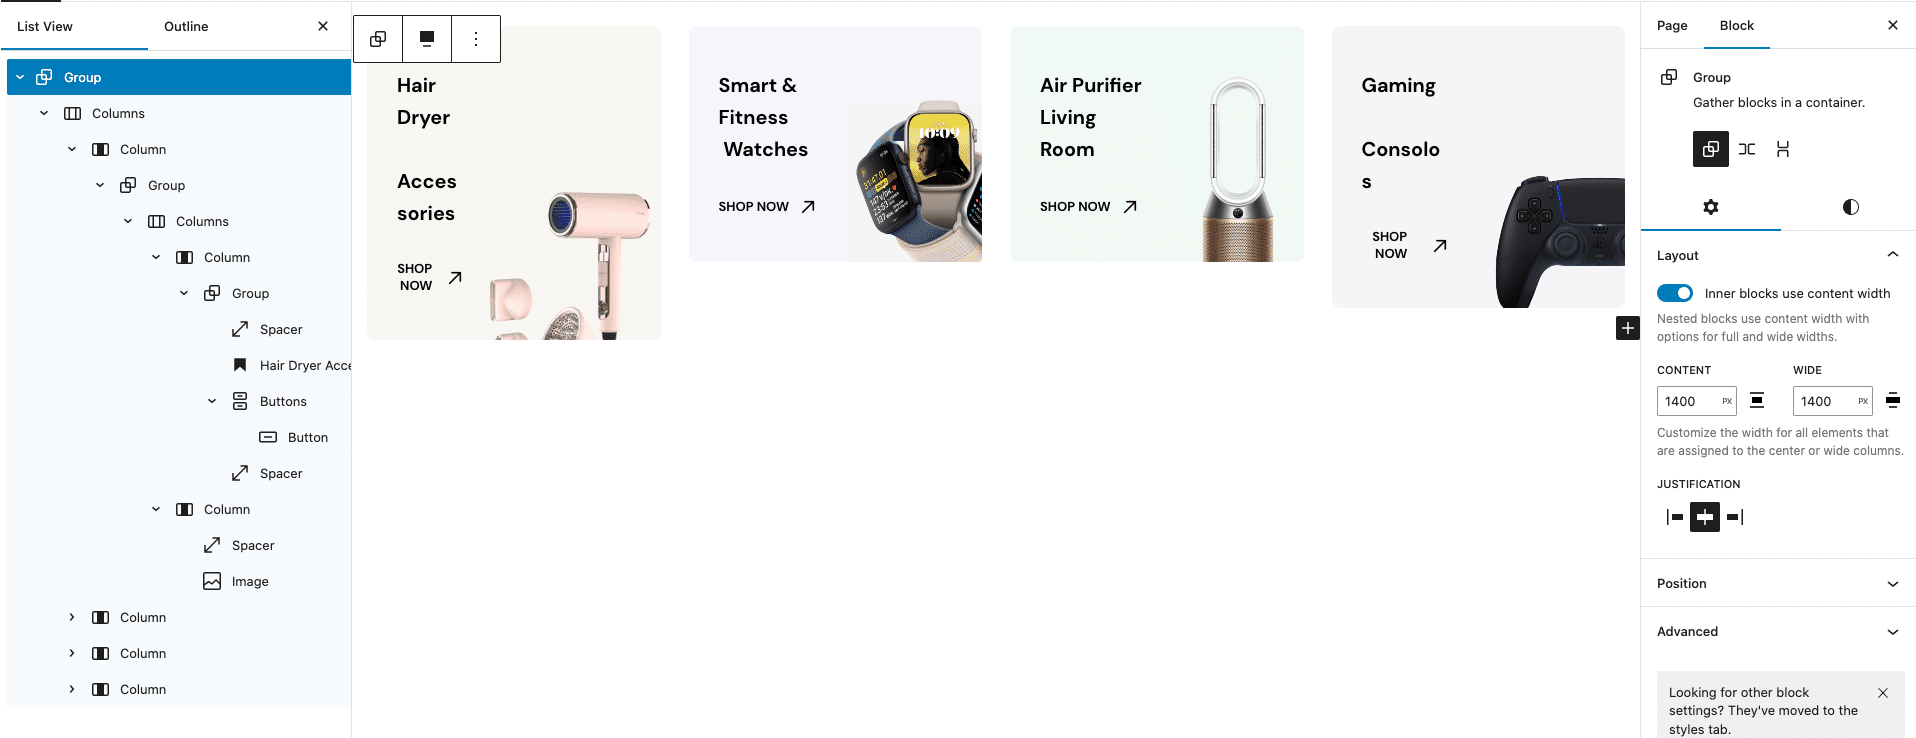
Home v1 4 column Banner
↑ Back to topOutput

Editor
Home-v1 – 4-column-banner pattern built using the following Gutenberg blocks,
- Heading Block
- Image Block
- Spacer block
- Button Block
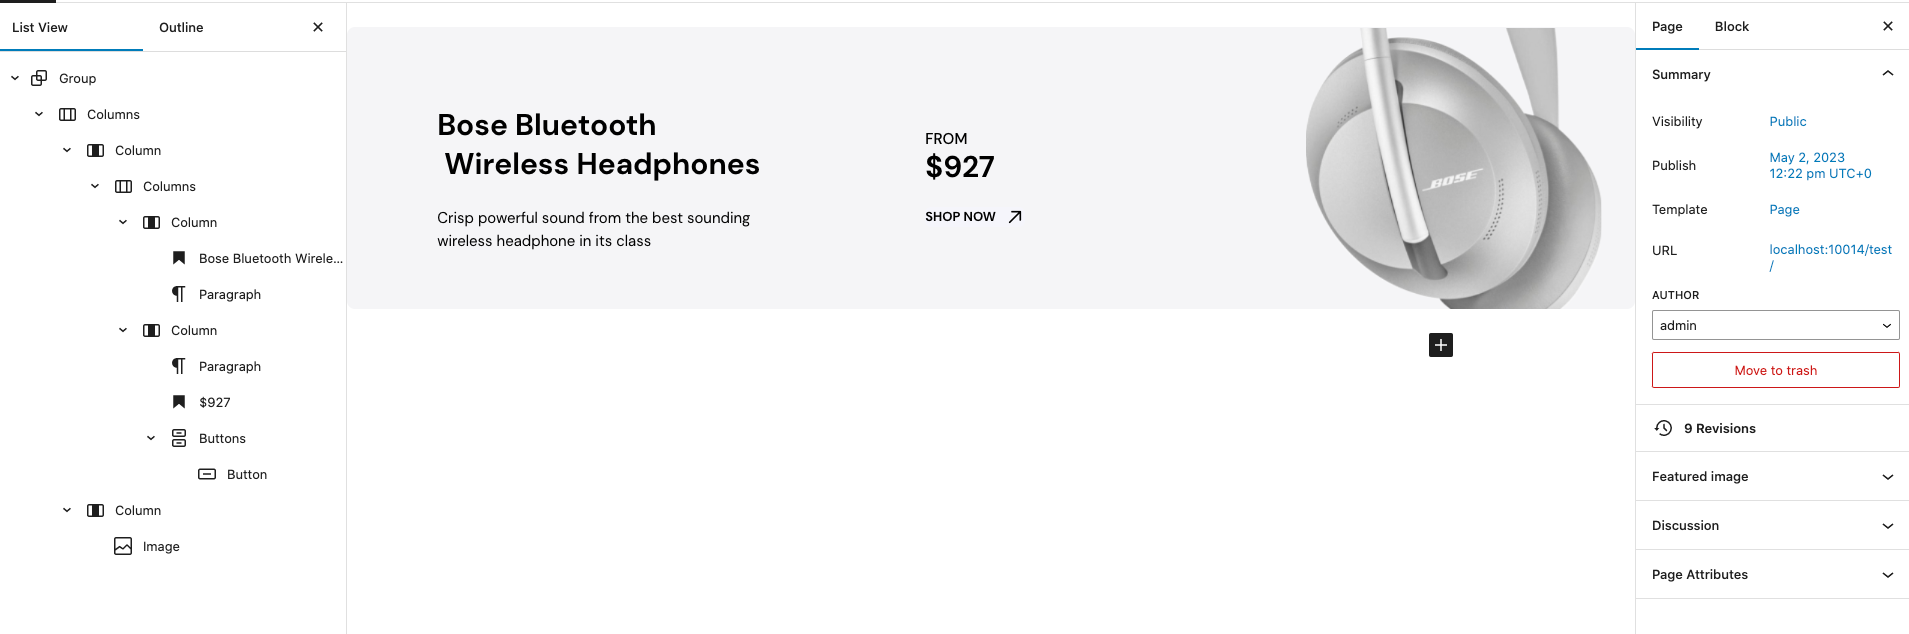
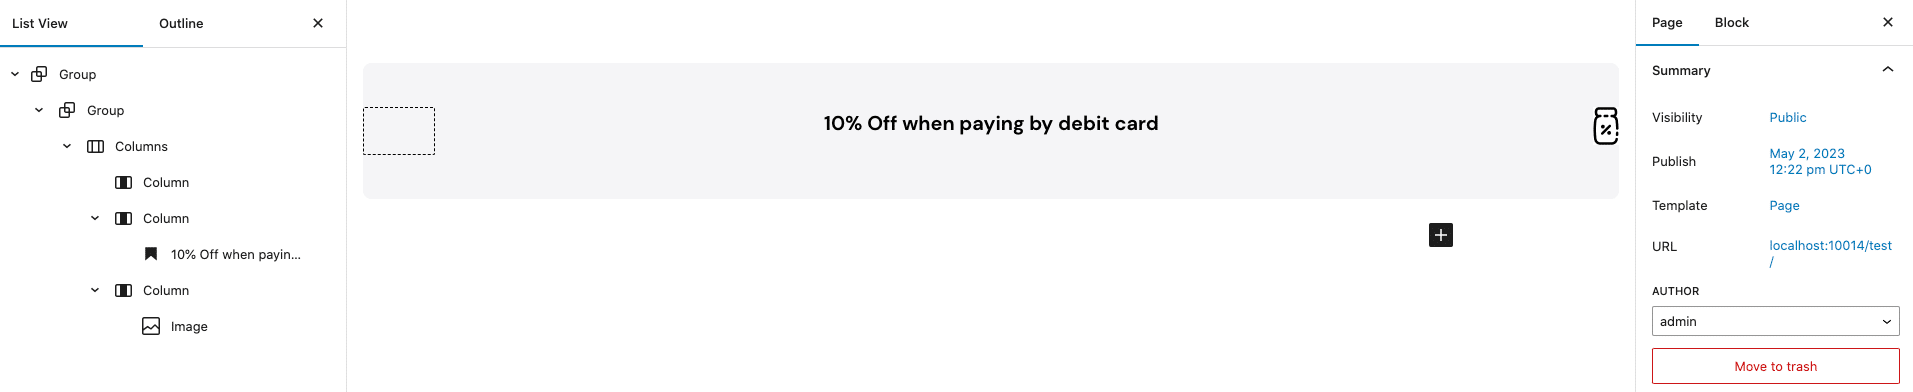
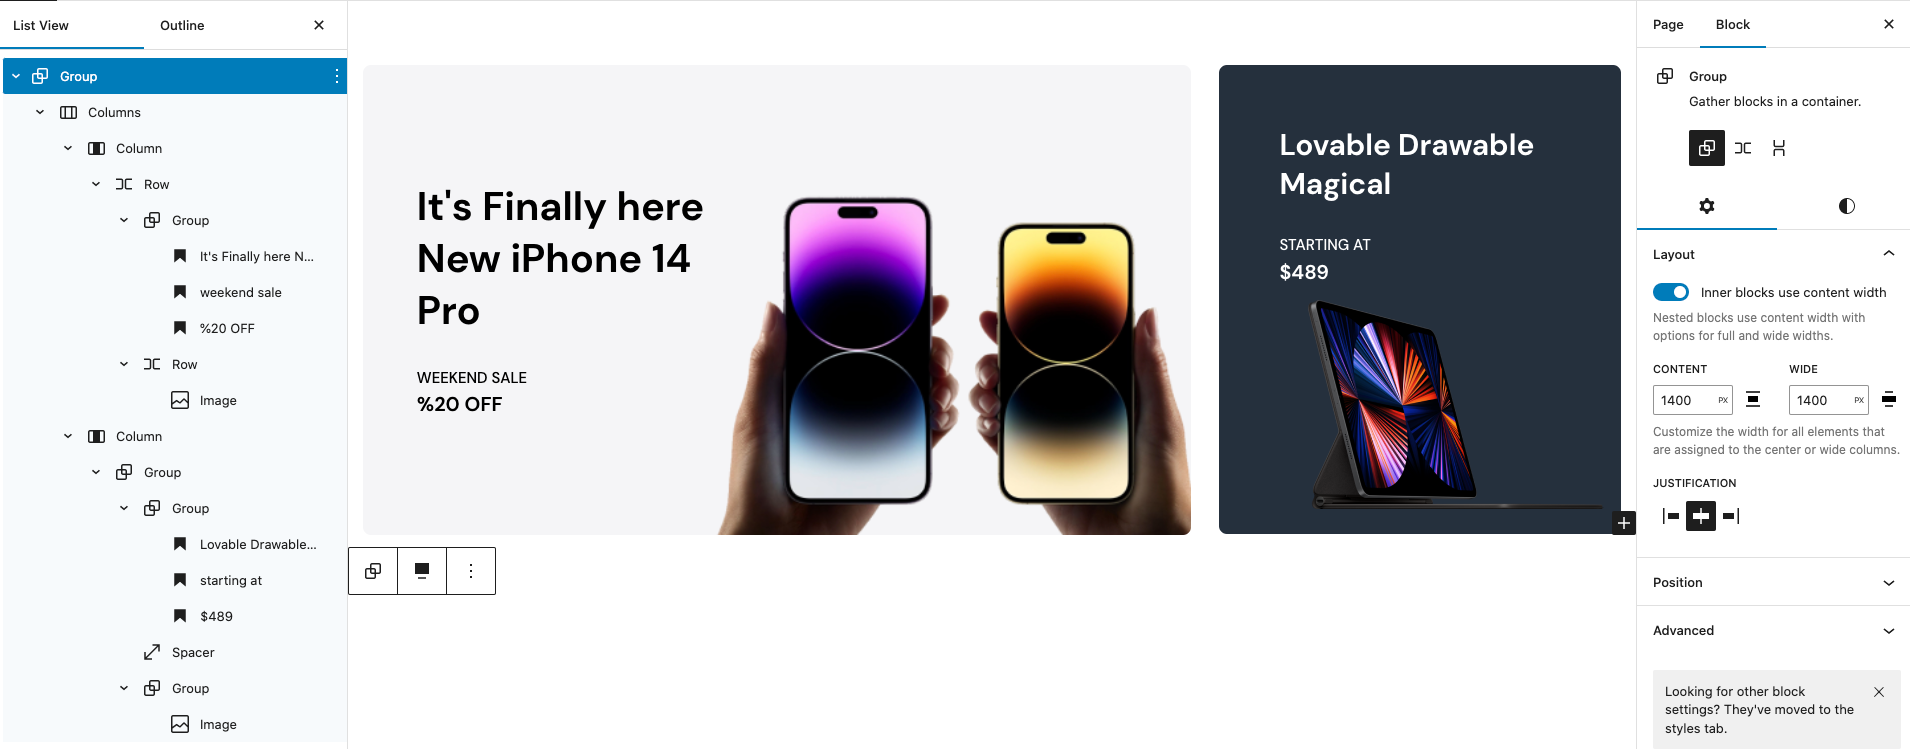
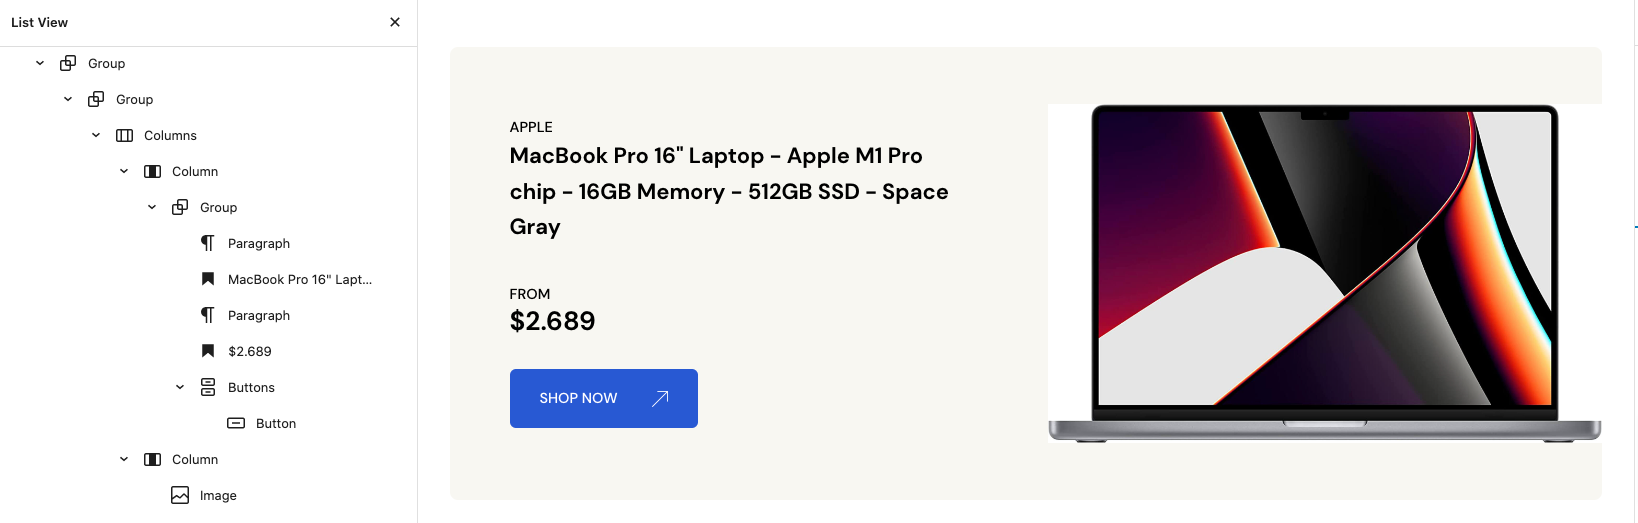
Home v1 Banner
↑ Back to topOutput
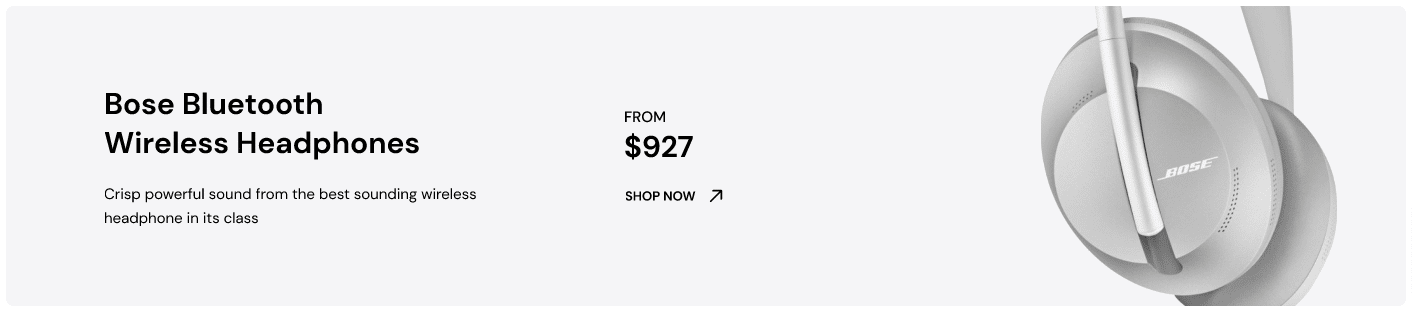
Editor
Home-v1 – Banner pattern built using the following Gutenberg blocks,
- Heading Block
- Image Block
- Paragraph Block
- Button Block
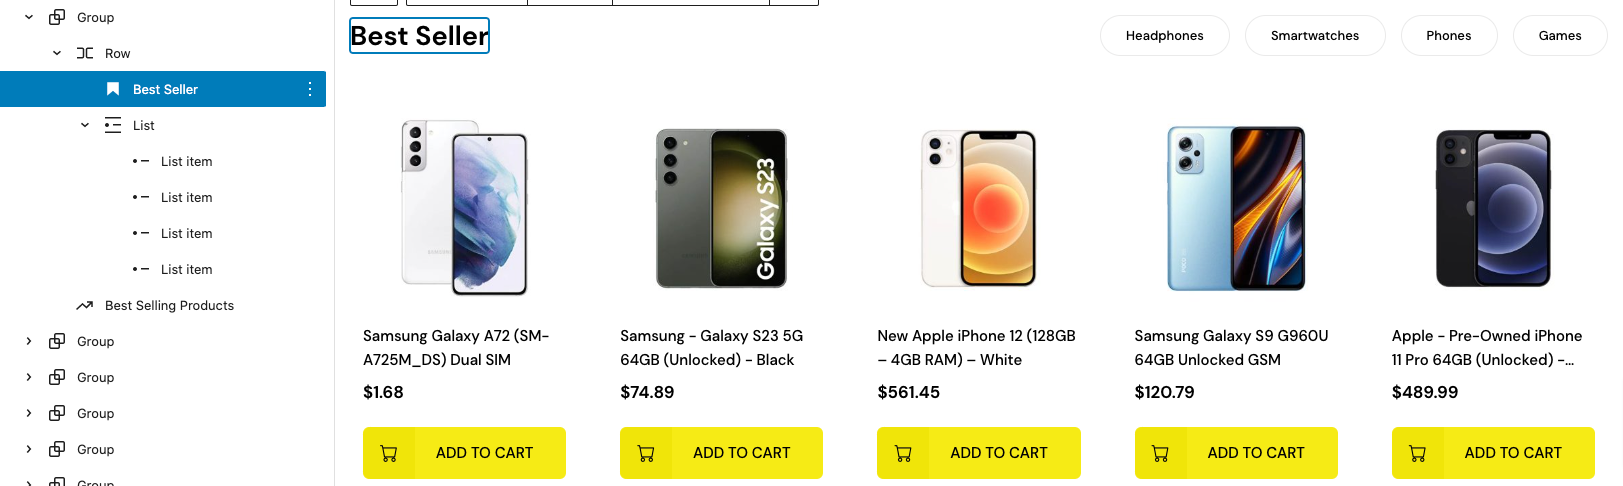
Home v1 Best selling products
↑ Back to topOutput
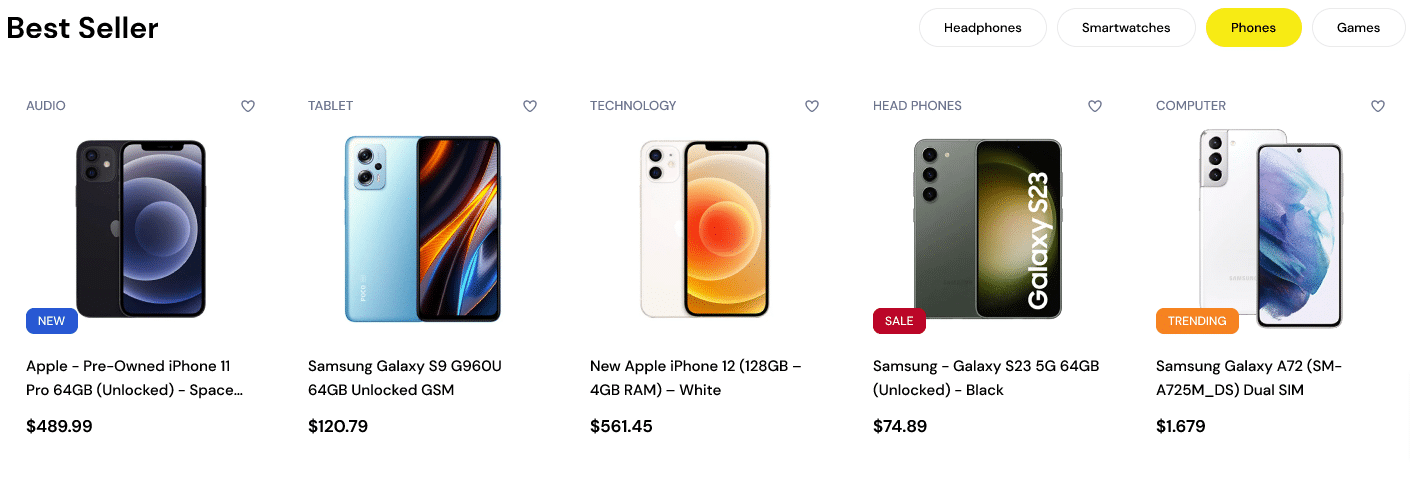
Editor
Home-v1 – Best-selling-products pattern built using the following Gutenberg blocks,
- Heading Block
- List Block
- Best selling products block
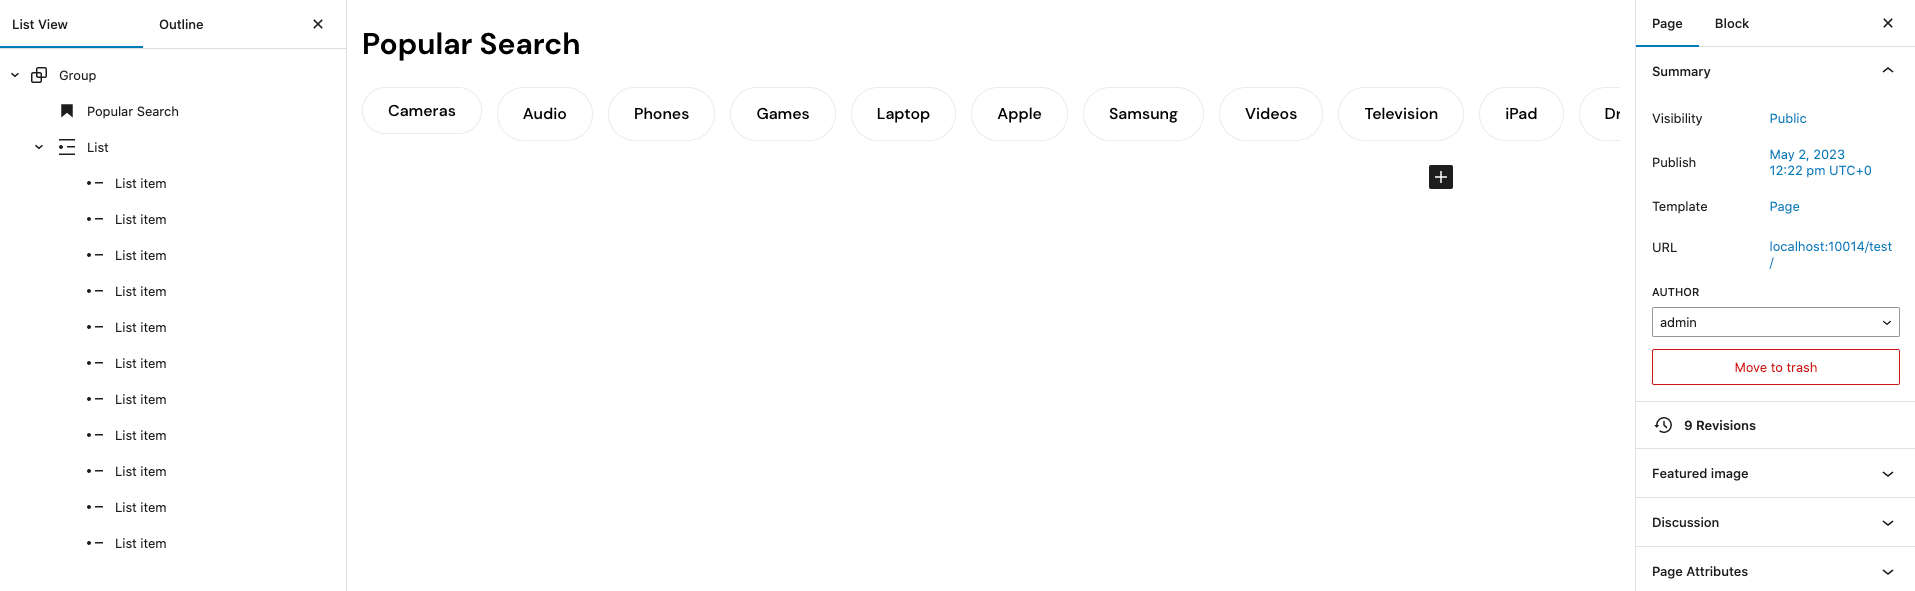
Home v1 Popular search
↑ Back to topOutput

Editor
Home-v1 – Popular-search pattern built using the following Gutenberg blocks,
- Heading Block
- List Block
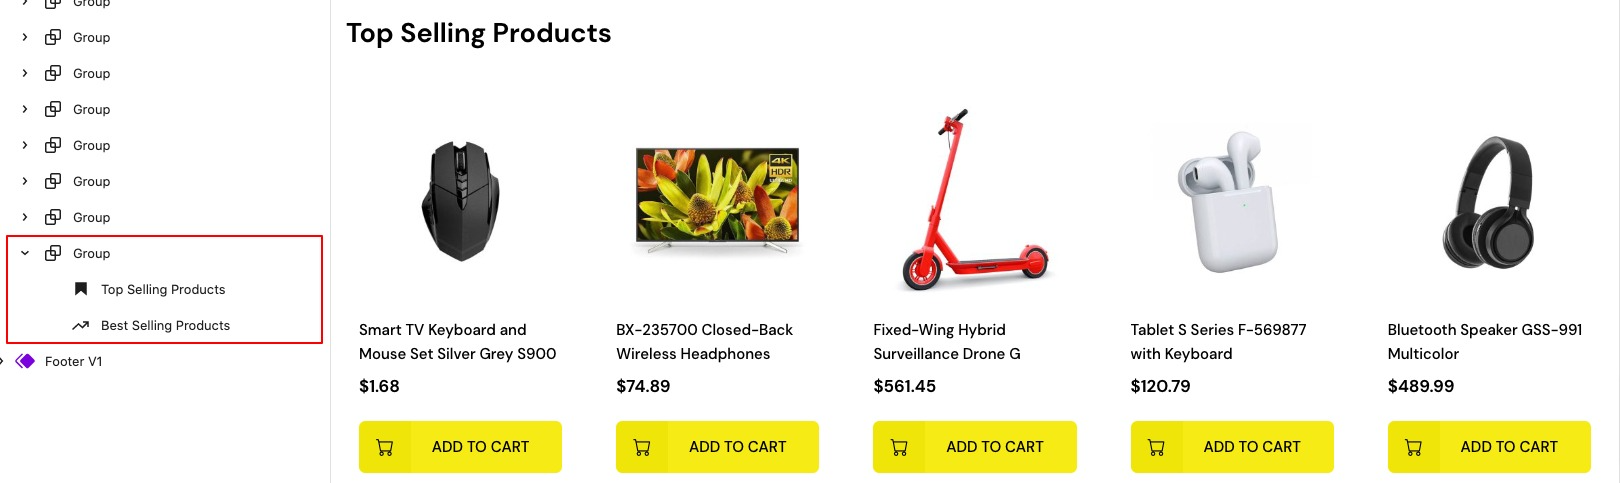
Home v1 Top selling
↑ Back to topOutput
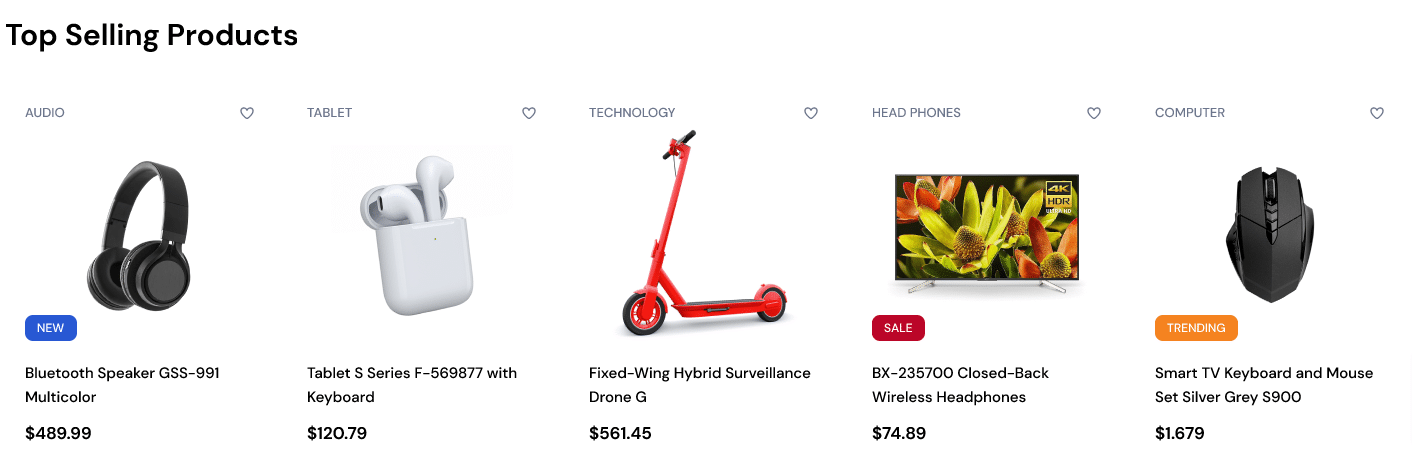
Editor
Home-v1 – Top-selling pattern built using the following Gutenberg blocks,
- Heading Block
- Best selling products Block
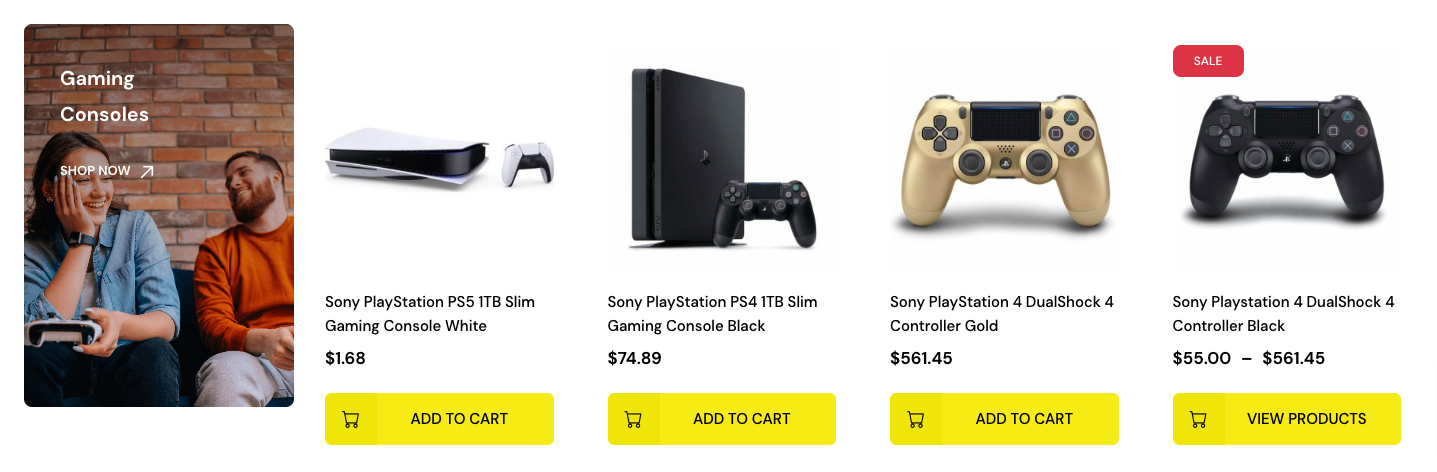
Home v1 tv cat
↑ Back to topOutput
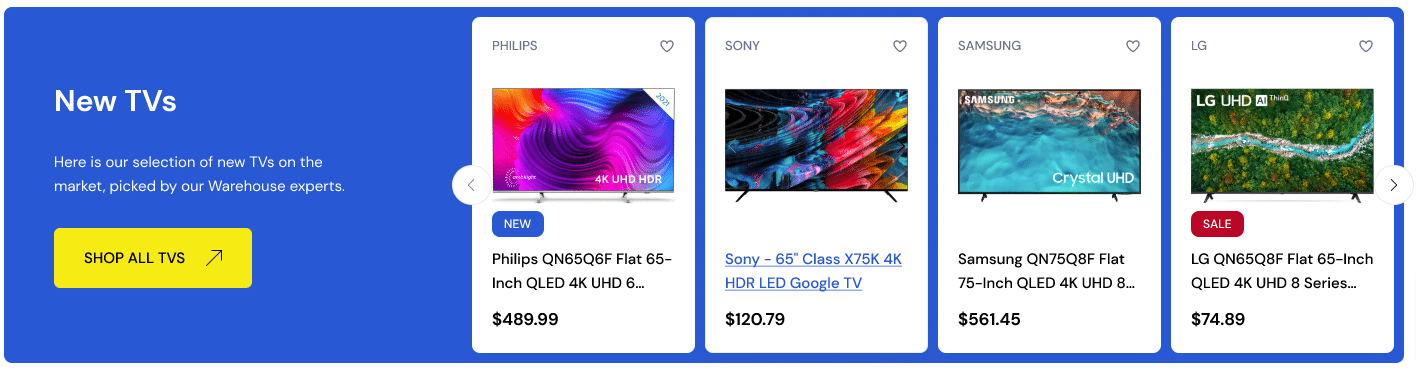
Editor
Home-v1 – Tv-category pattern built using the following Gutenberg blocks,
- Heading Block
- Paragraph Block
- Button block
- Newest Products Block

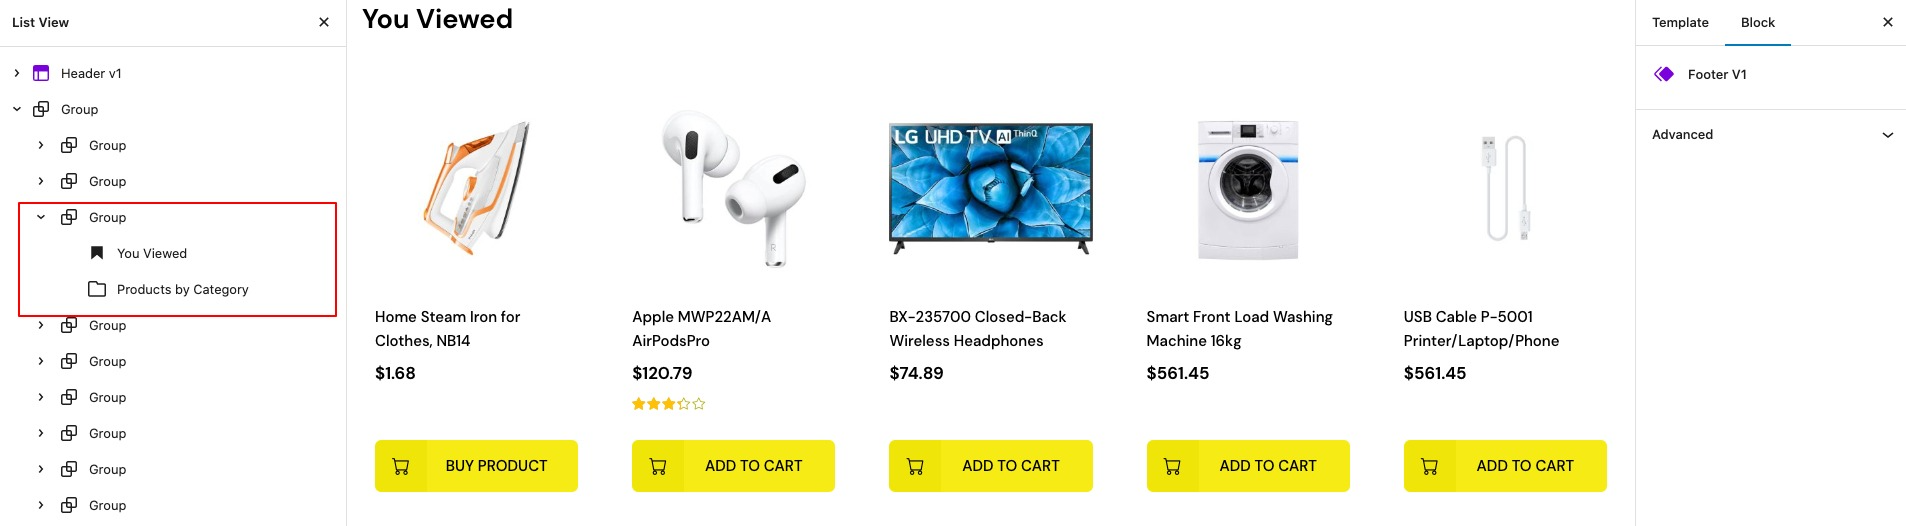
Home v1 Viewed Products
↑ Back to topOutput
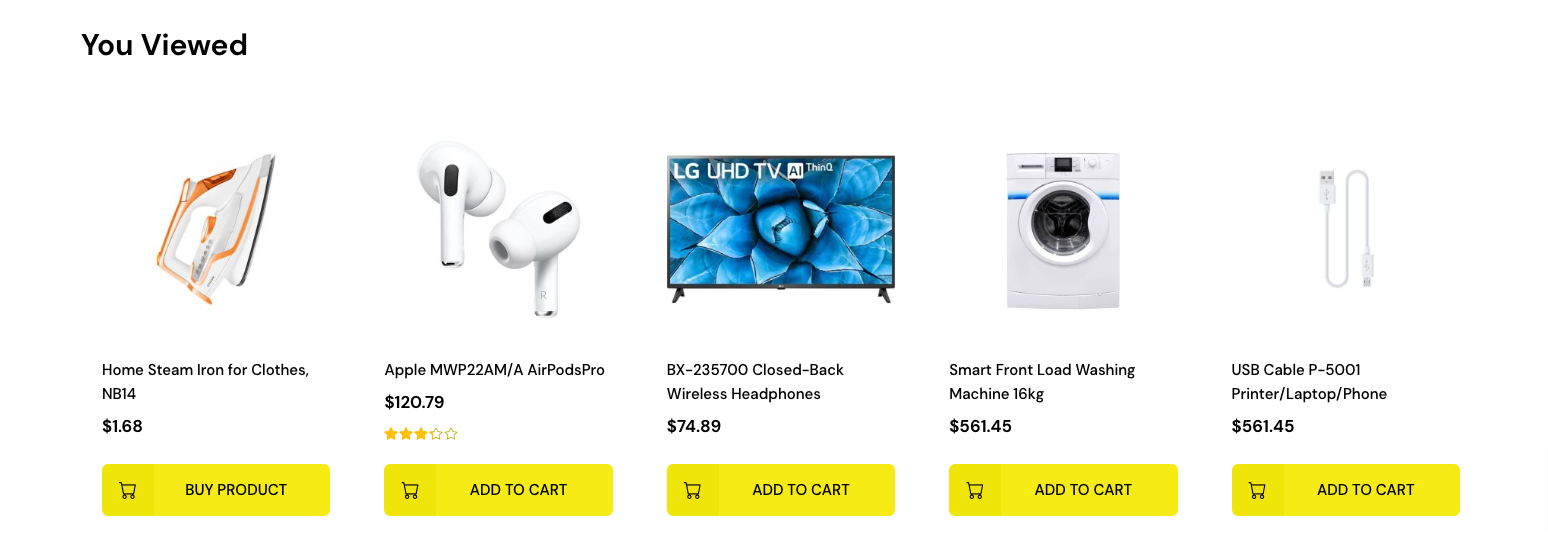
Editor
Home-v1 – Viewed-Products pattern built using the following Gutenberg blocks,
- Heading Block
- Hand-picked products Block
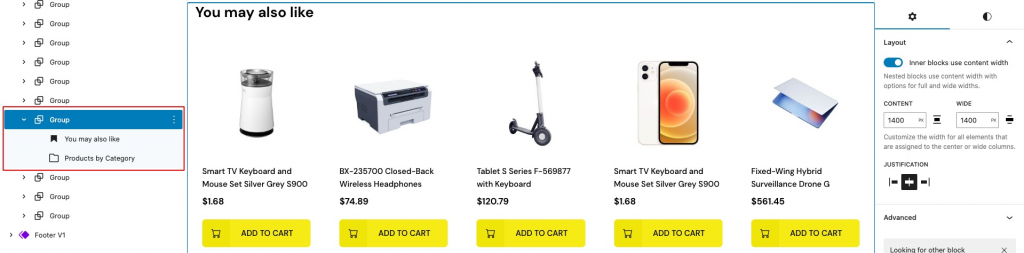
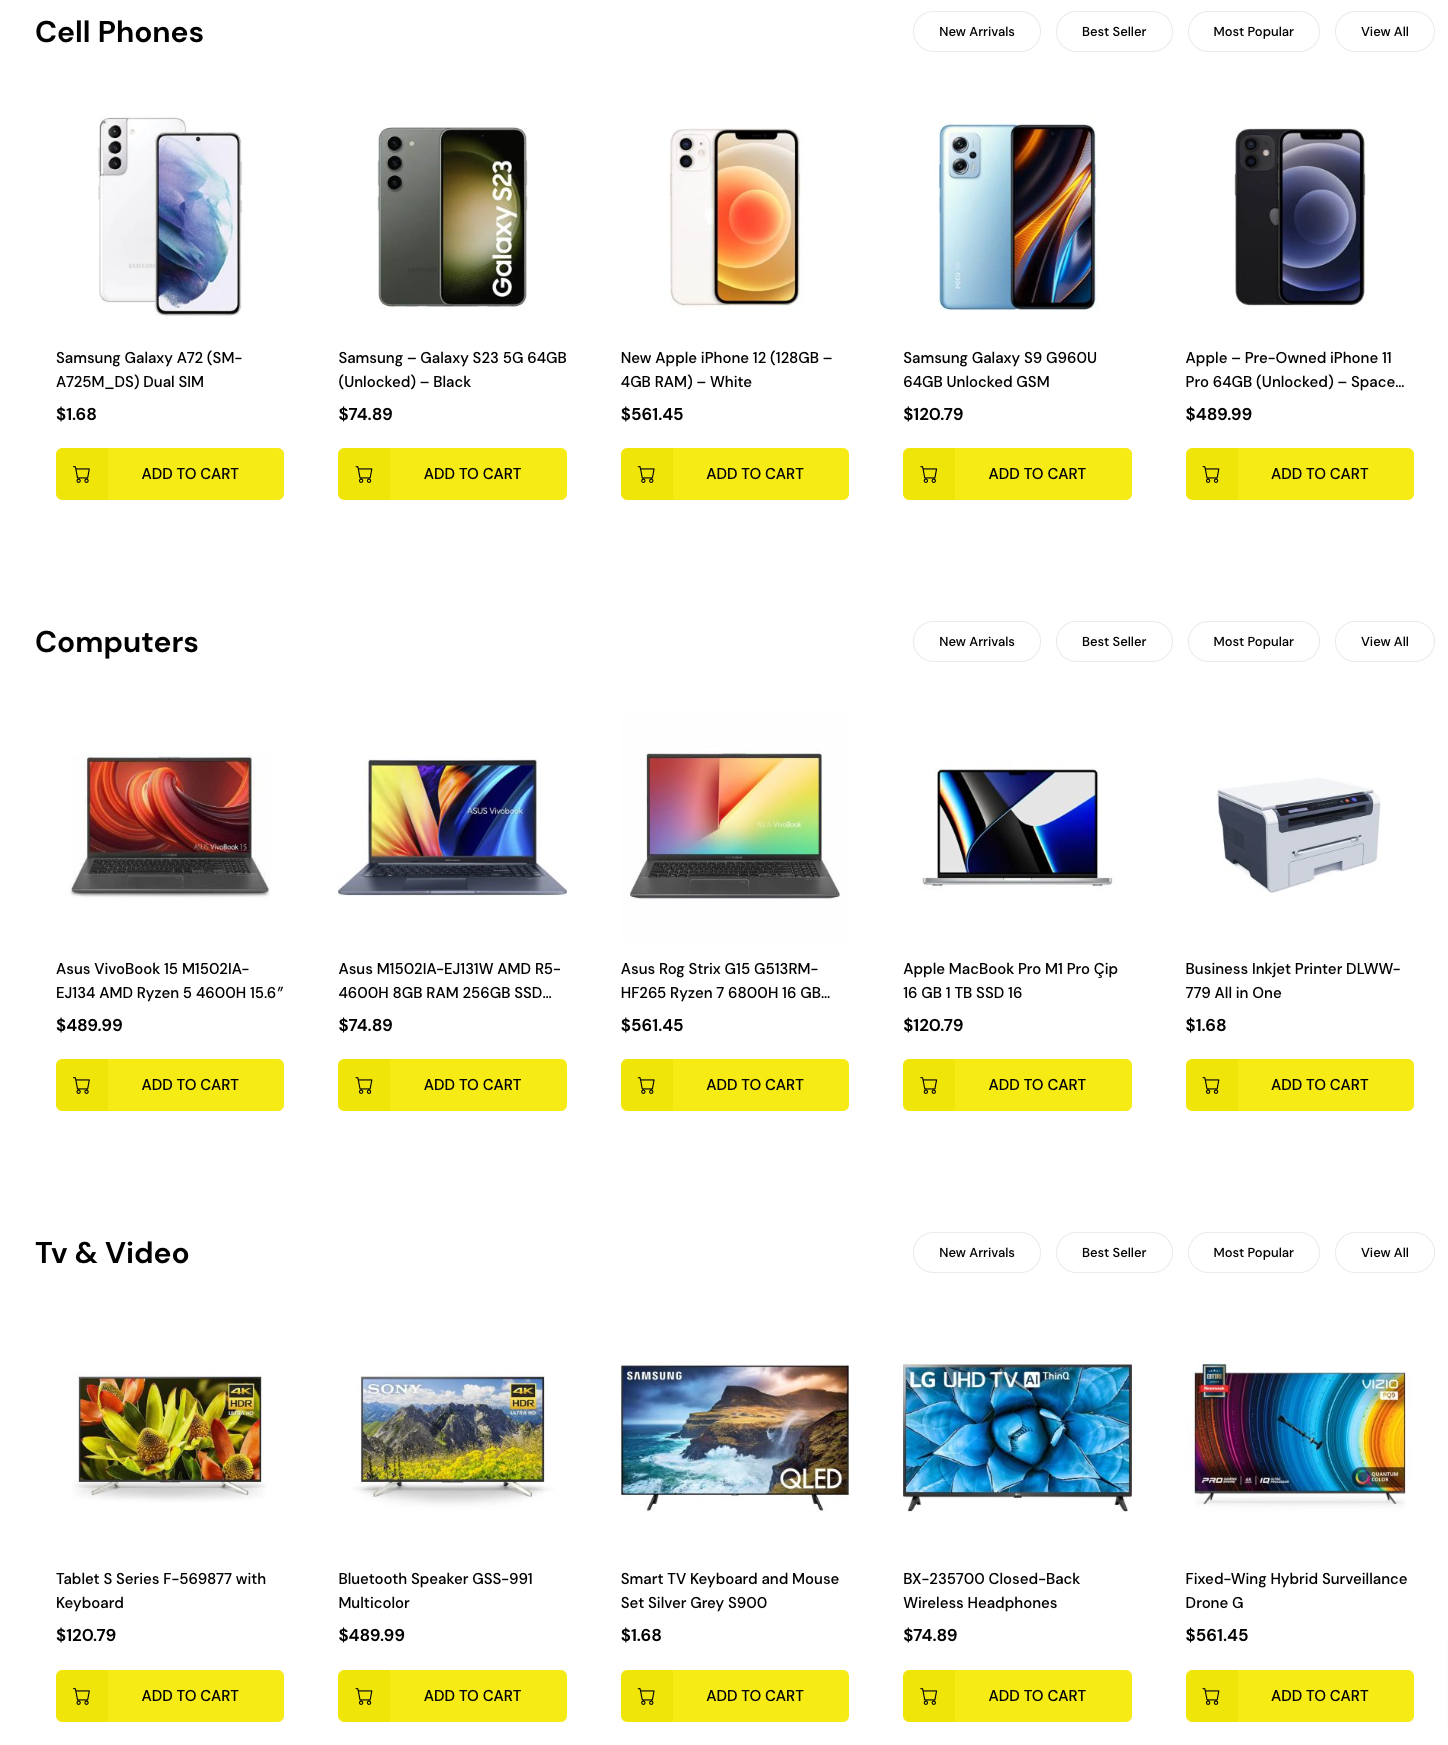
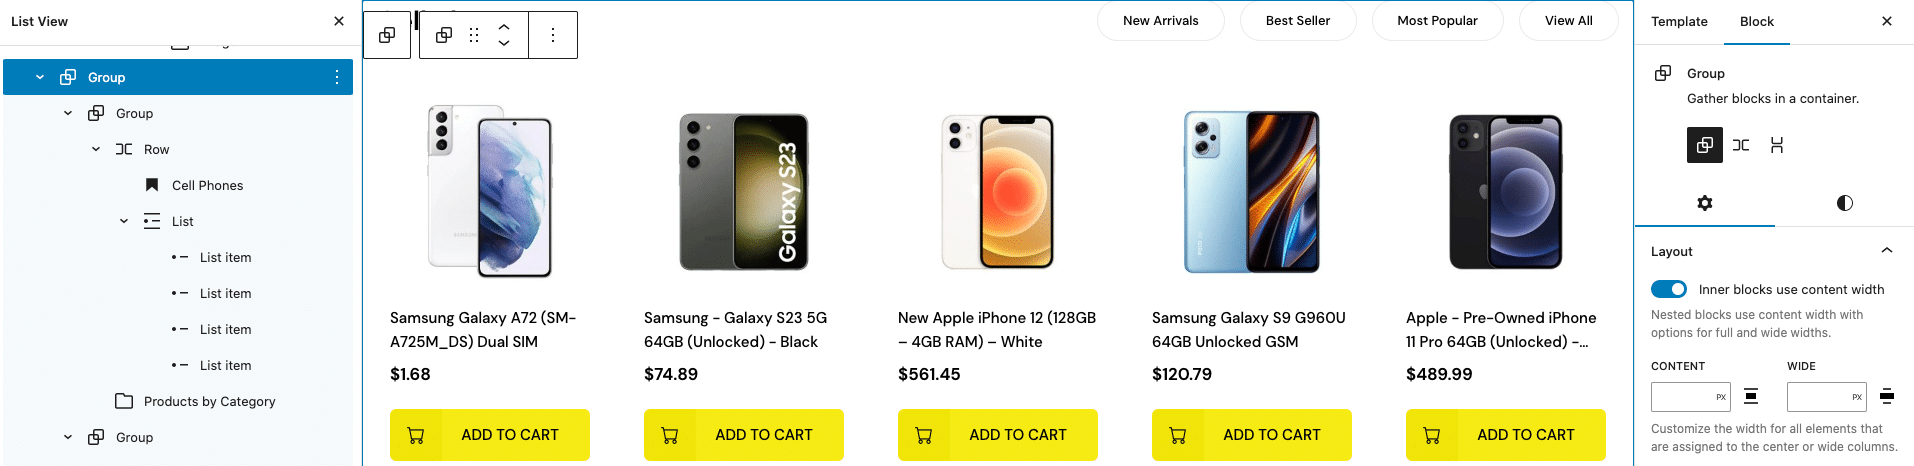
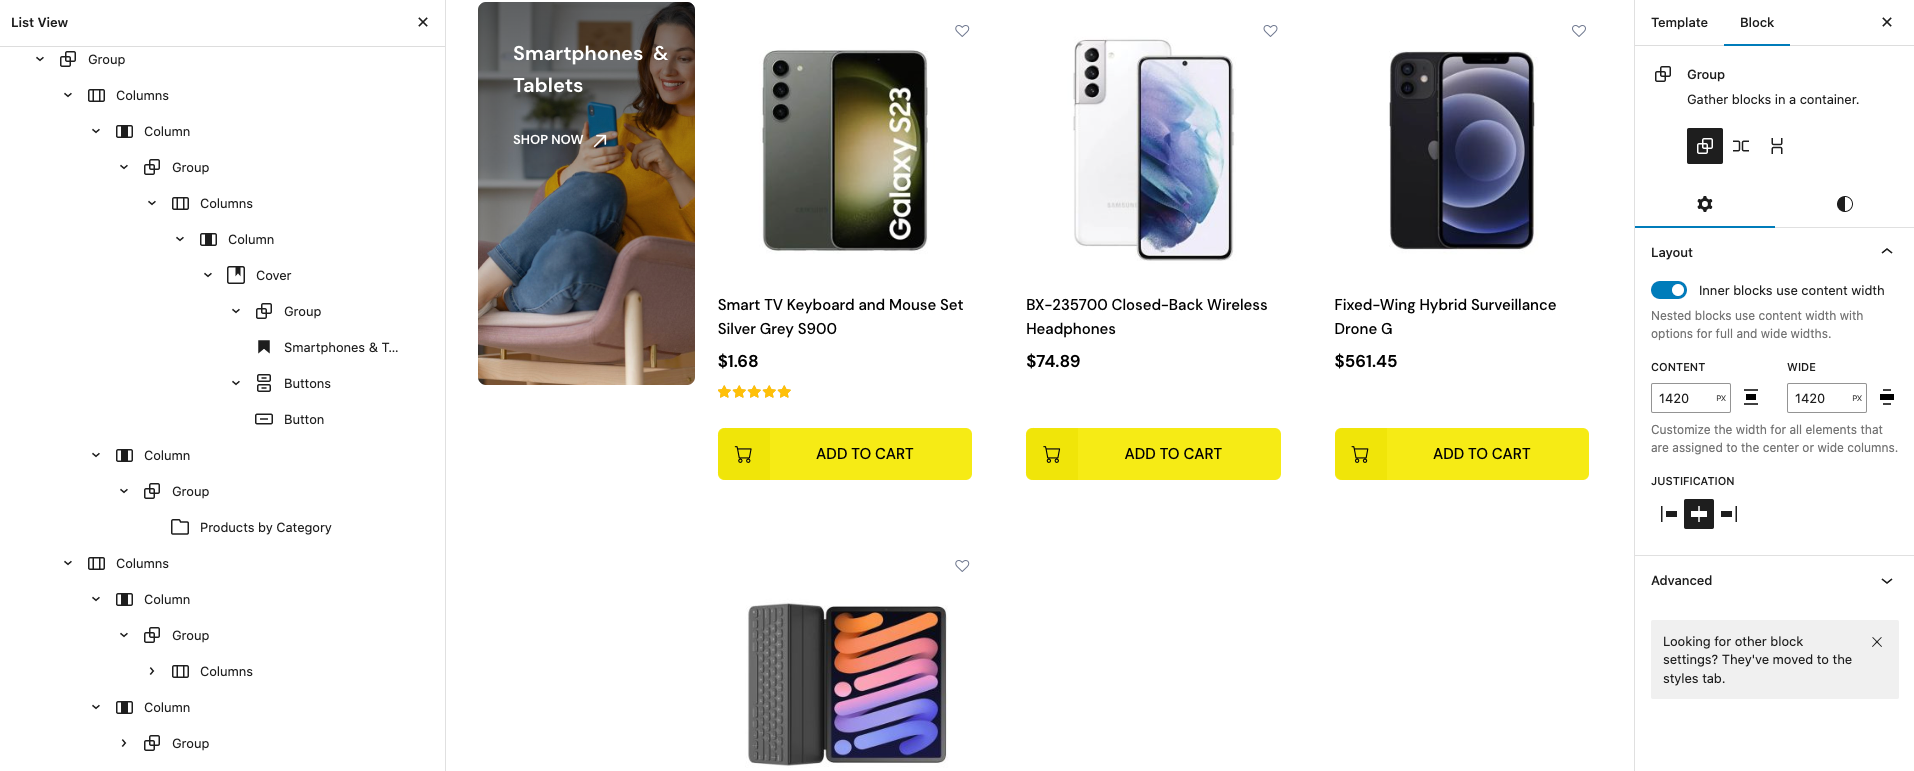
Home v1 You like
↑ Back to topOutput
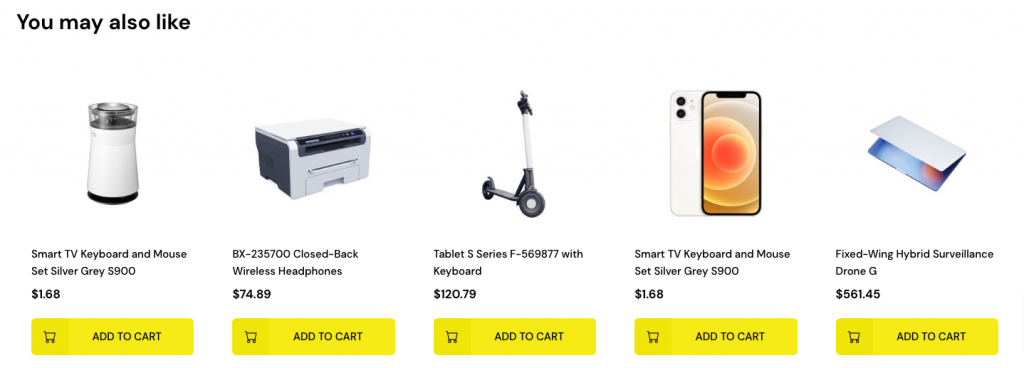
Editor
Home-v1 – You-like pattern built using the following Gutenberg blocks,
- Heading Block
- Products by Category Block
About Content
↑ Back to topOutput
Editor
Hero pattern built using the following Gutenberg blocks,
- Heading Block
- Paragraph Block
About Brand
↑ Back to topOutput

Editor
About – Brand pattern built using the following Gutenberg blocks,
- Image Block
About Heading
↑ Back to topOutput

Editor
About – Heading pattern built using the following Gutenberg blocks,
- Heading Block
- Paragraph Block
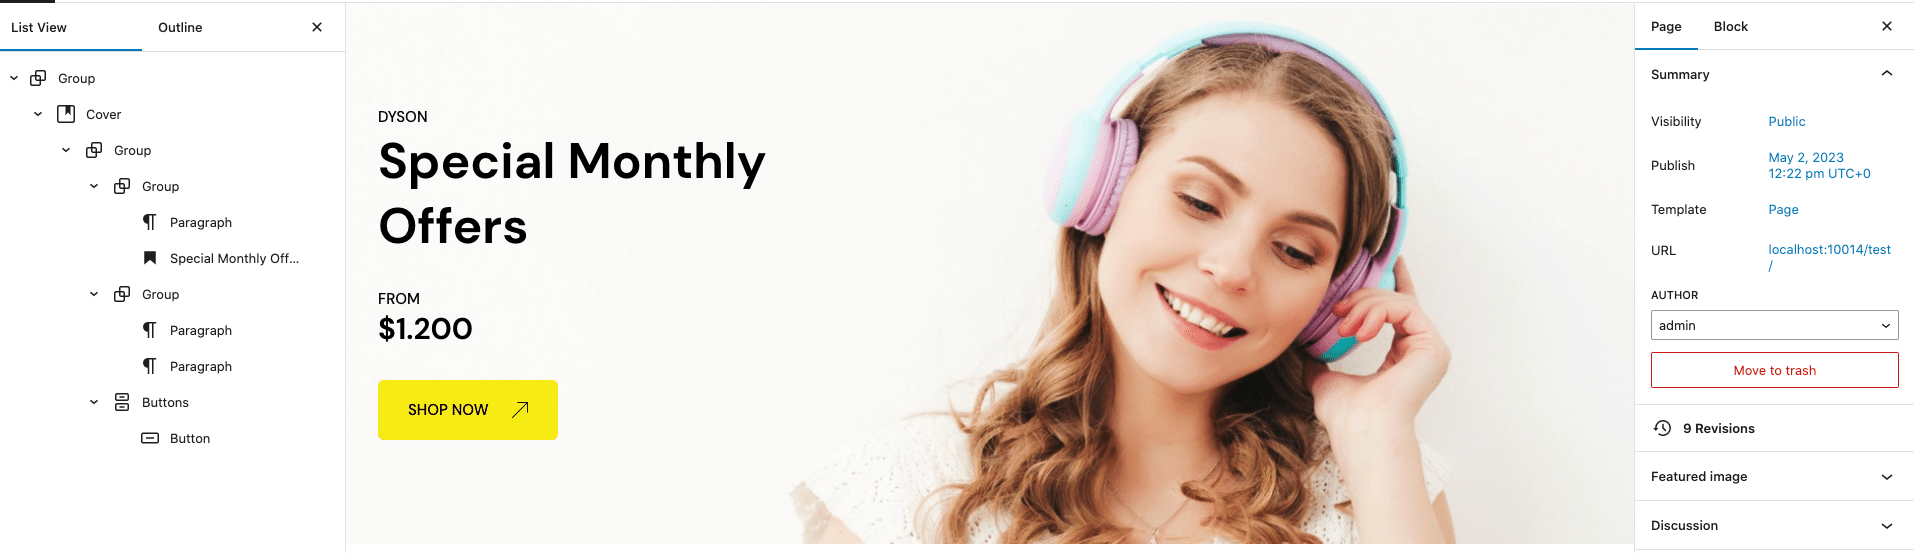
Home v2 Hero
↑ Back to topOutput

Editor
Hero pattern built using the following Gutenberg blocks,
- Cover Block
- Heading Block
- Button Block
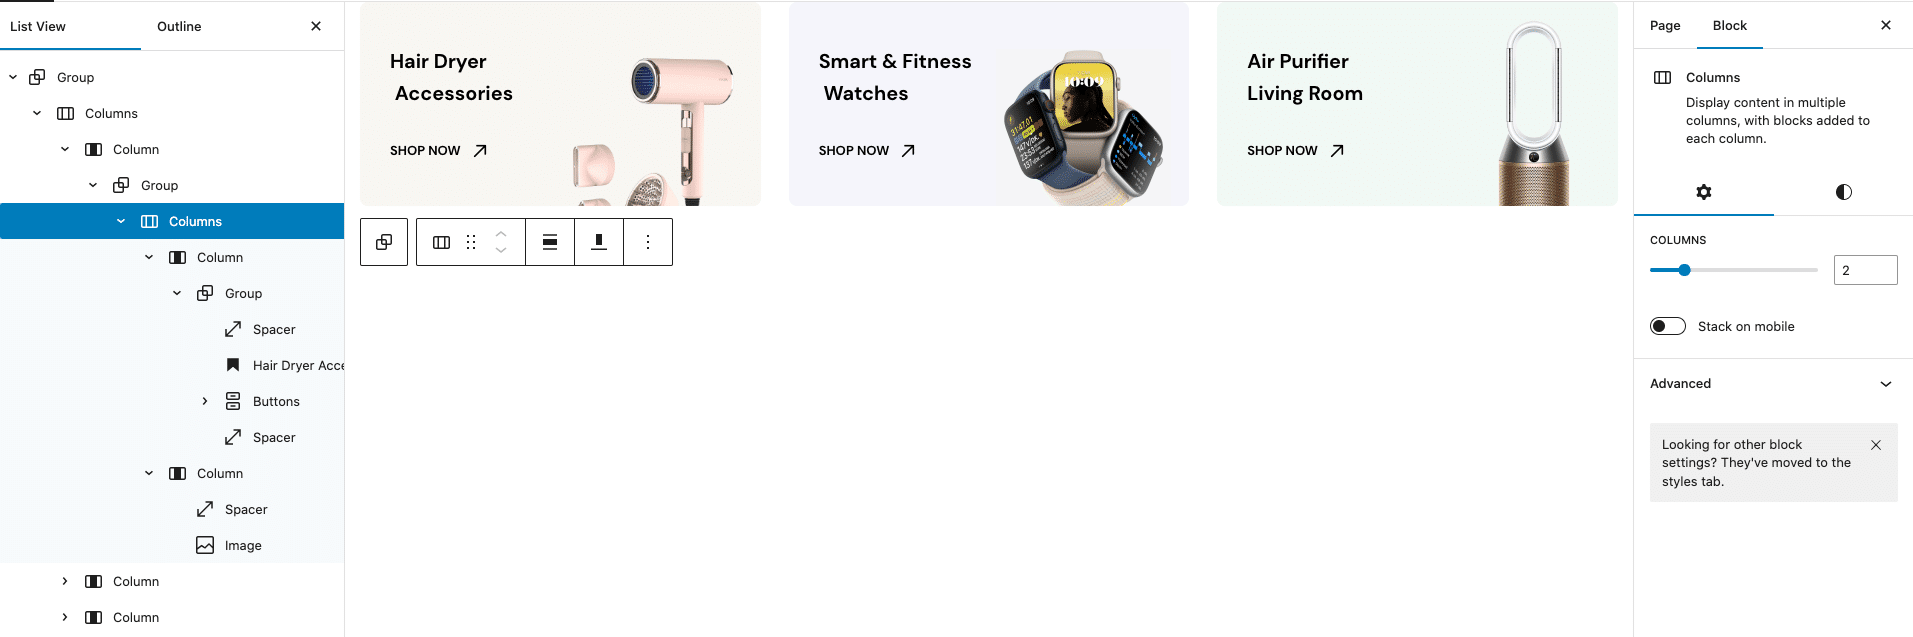
Home v2 3 Column Banner
↑ Back to topOutput

Editor
Column banner pattern built using the following Gutenberg blocks,
- Spacer Block
- Heading Block
- Button Block
- Image Block
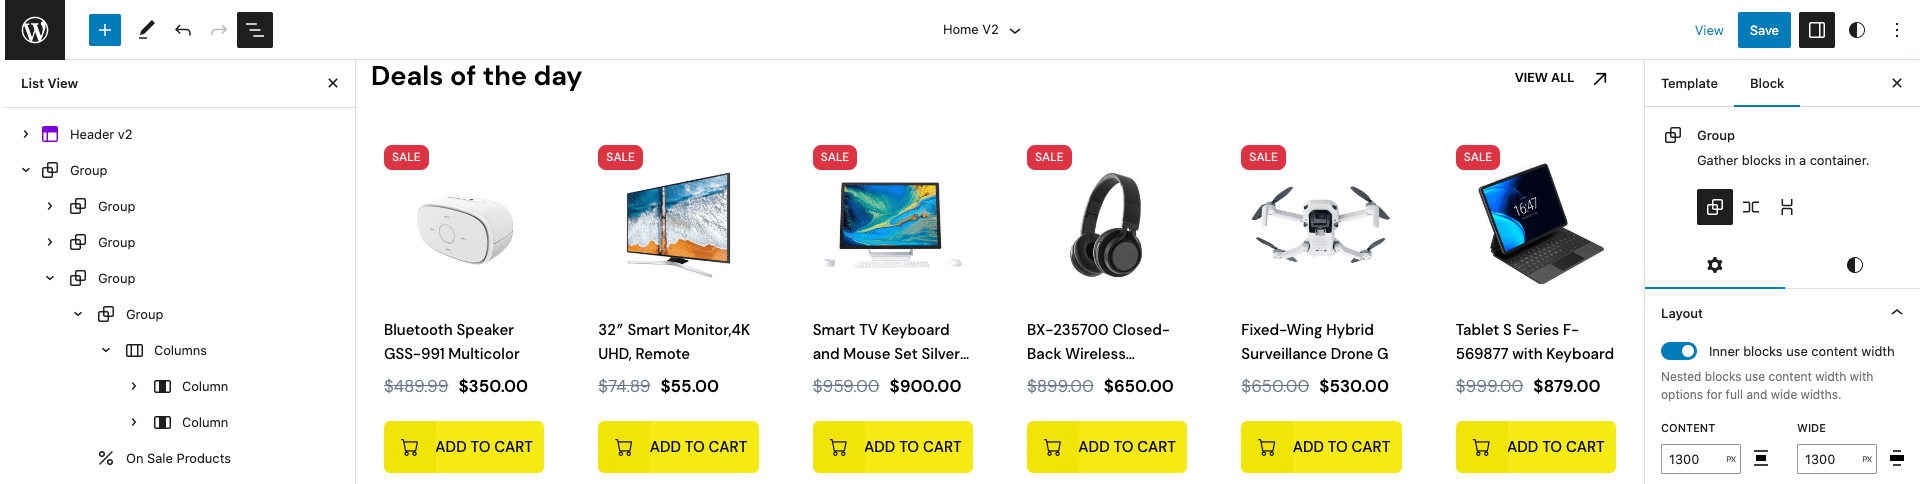
Home v2 Deals of the day
↑ Back to topOutput
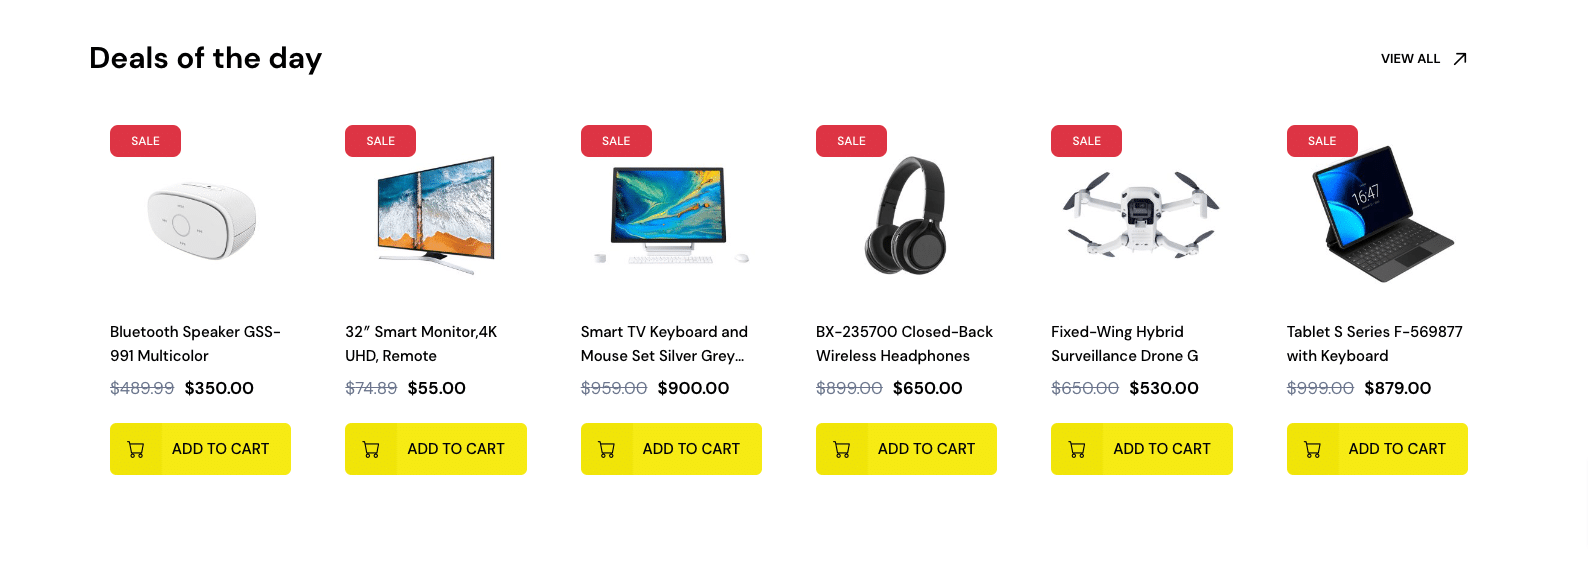
Editor
Deals of the day pattern built using the following Gutenberg blocks,
- Heading Block
- Button Block
- On Sale Products block
Home v2 Banner 1
↑ Back to topOutput

Editor
Banner pattern built using the following Gutenberg blocks,
- Heading Block
- Image Block
Home v2 Best selling products
↑ Back to topOutput
Editor
Best selling product pattern built using the following Gutenberg blocks,
- Heading Block
- List Block
- Products by Category Block
Home v2 Banner 2
↑ Back to topOutput
Editor
Banner pattern built using the following Gutenberg blocks,
- Heading Block
- Image Block
- Spacer Block
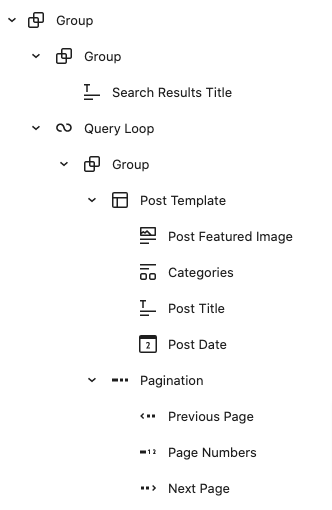
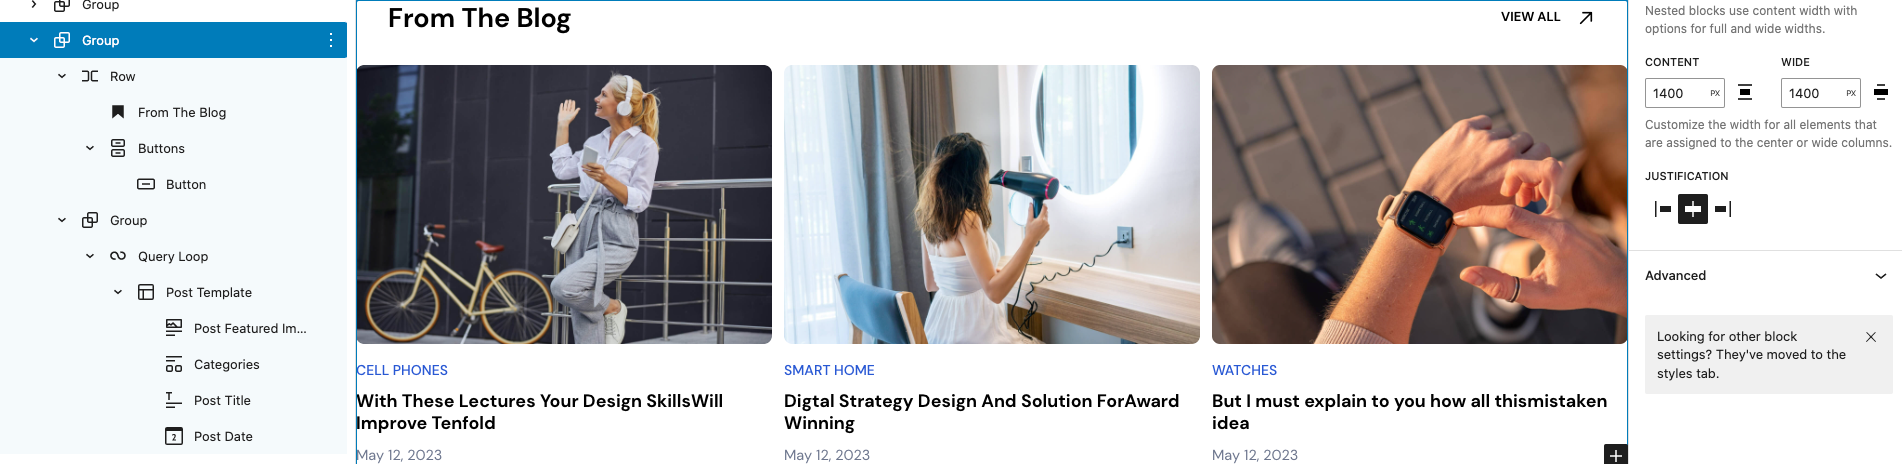
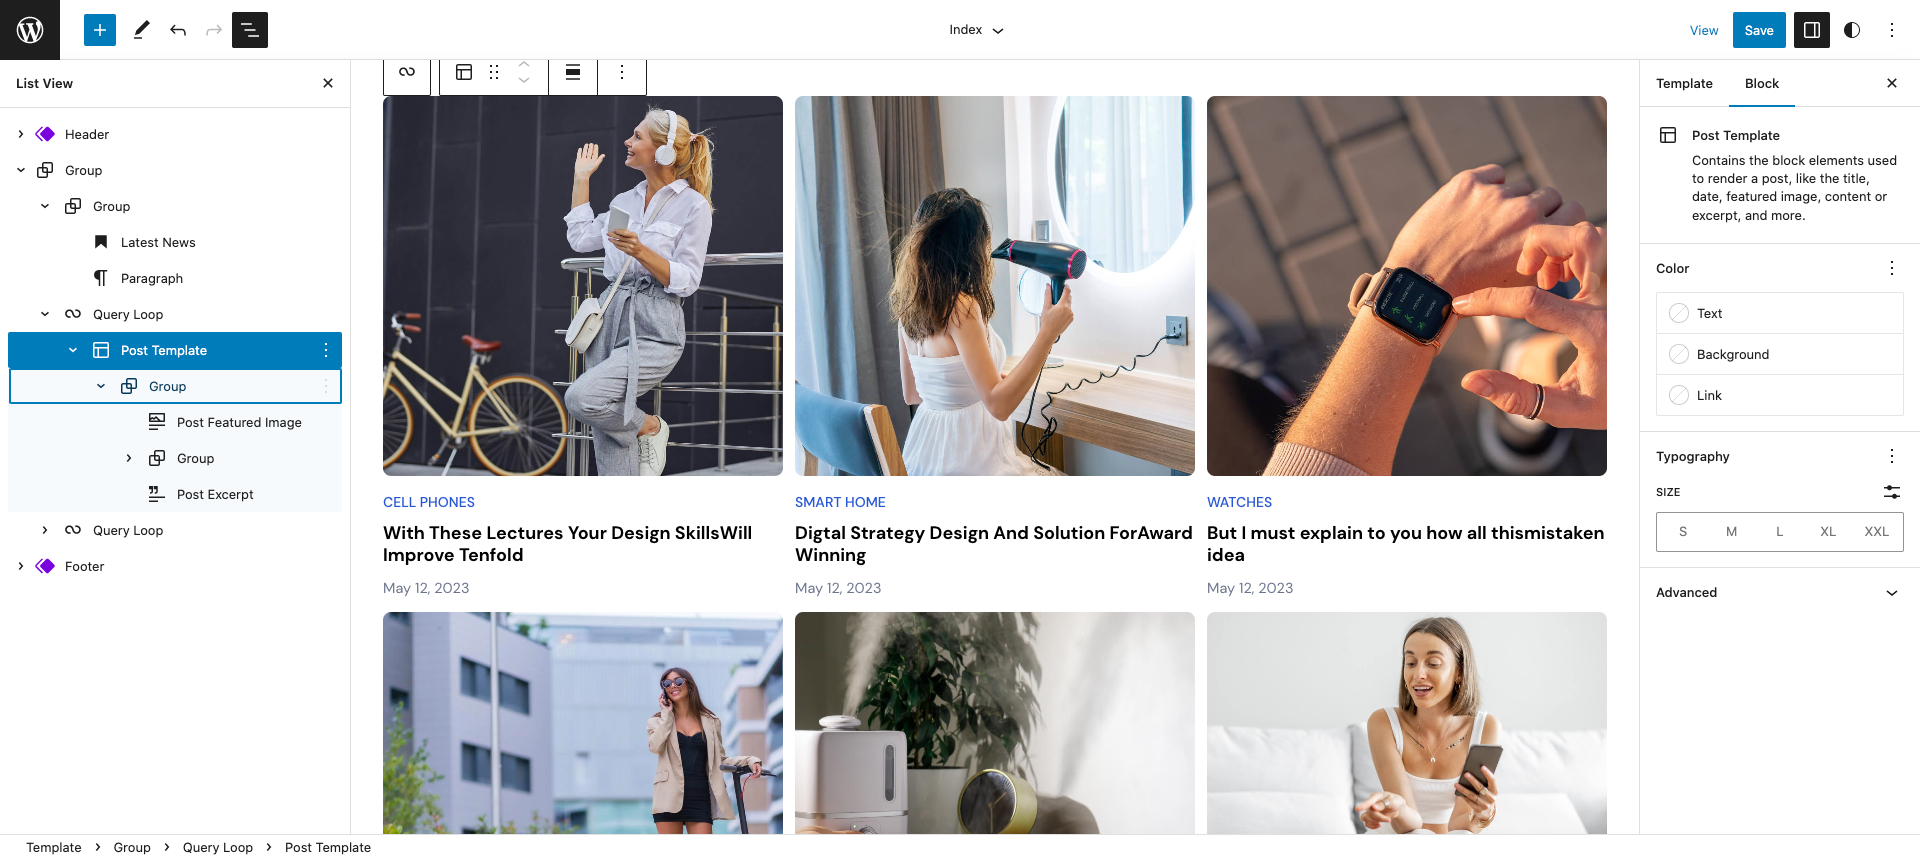
Home v2 Blog Query
↑ Back to topOutput
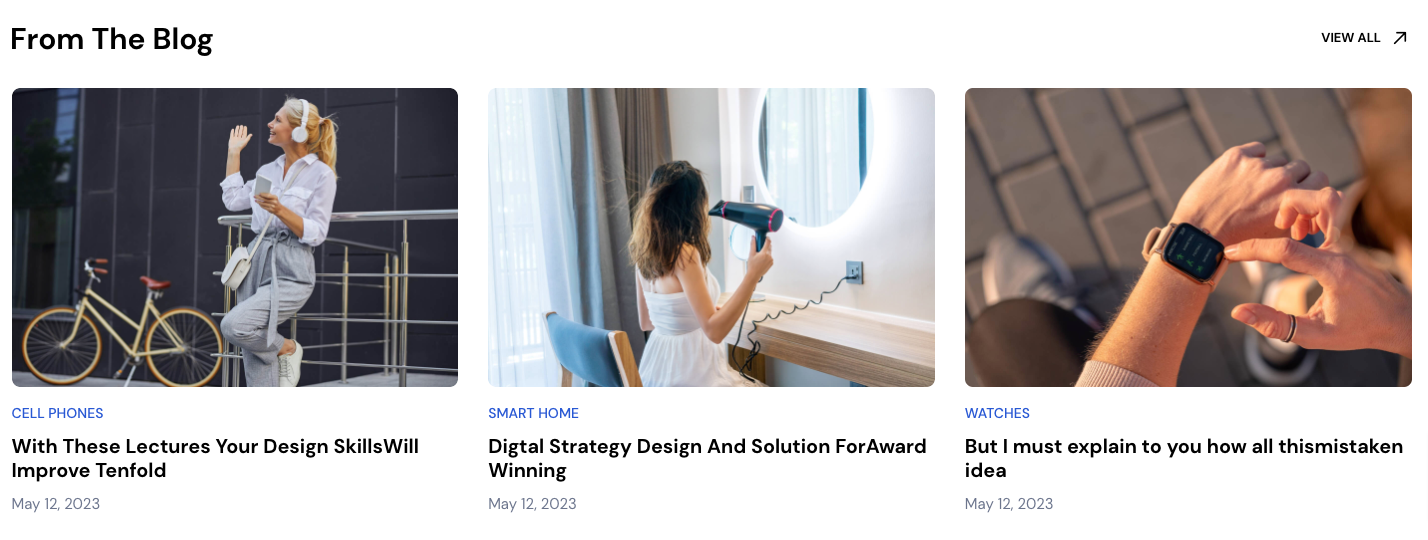
Editor
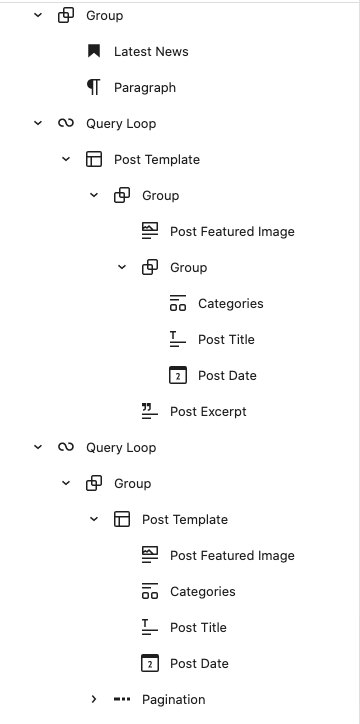
Blog query pattern built using the following Gutenberg blocks,
- Heading Block
- Button Block
- Query Loop Block
- Post Template
- Post Featured Image
- Categories
- Post Title
- Post Date
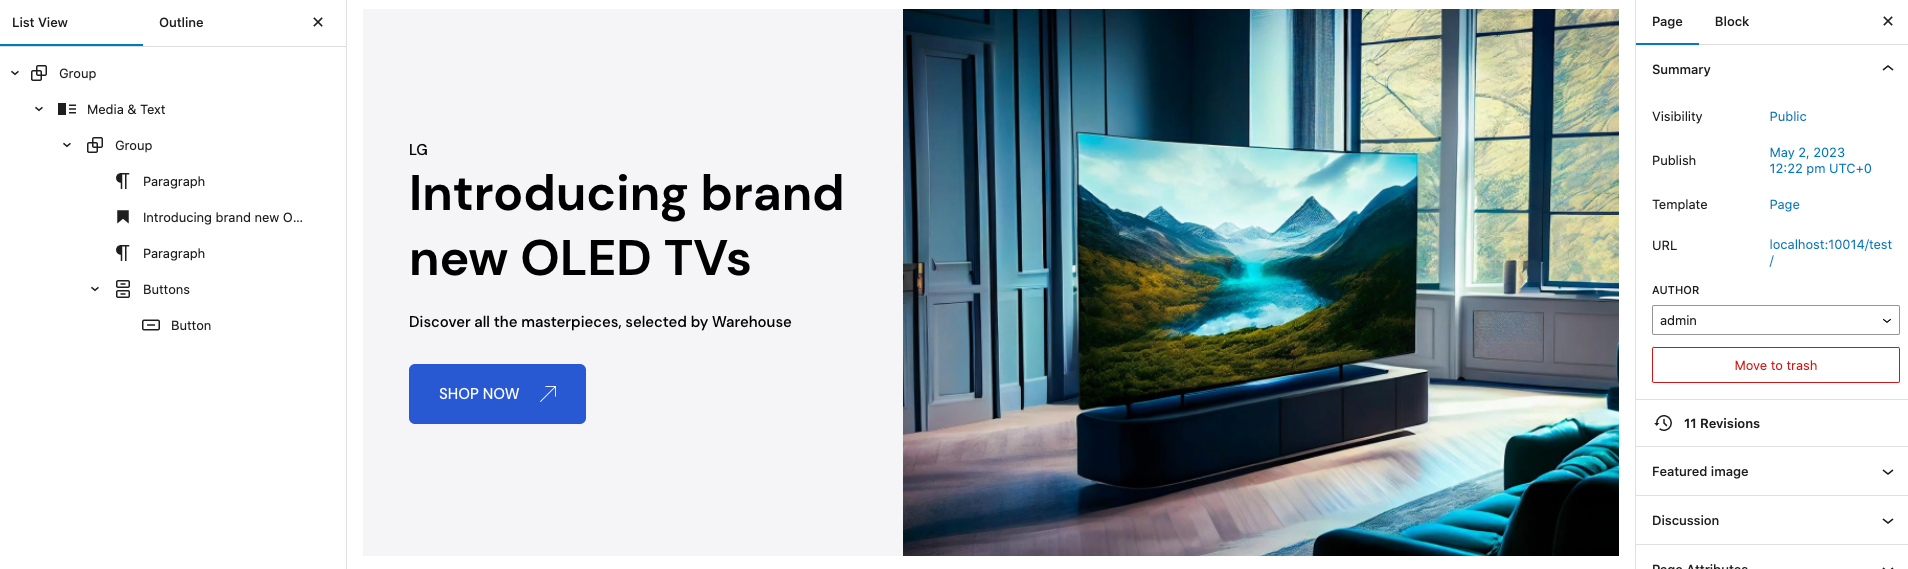
Home v3 Hero
↑ Back to topOutput
Editor
Hero pattern built using the following Gutenberg blocks,
- Heading Block
- Button Block
- Media & Text Block
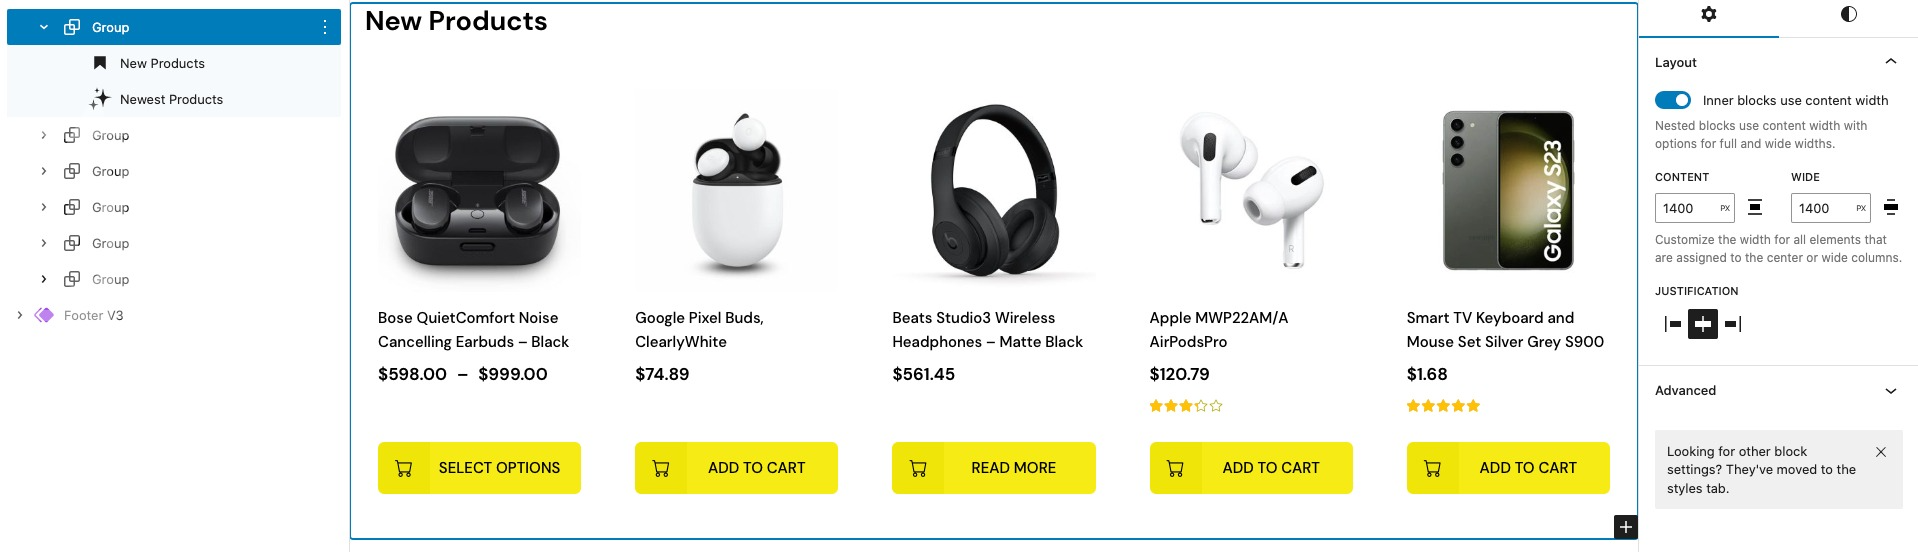
Home v3 New Products
↑ Back to topOutput
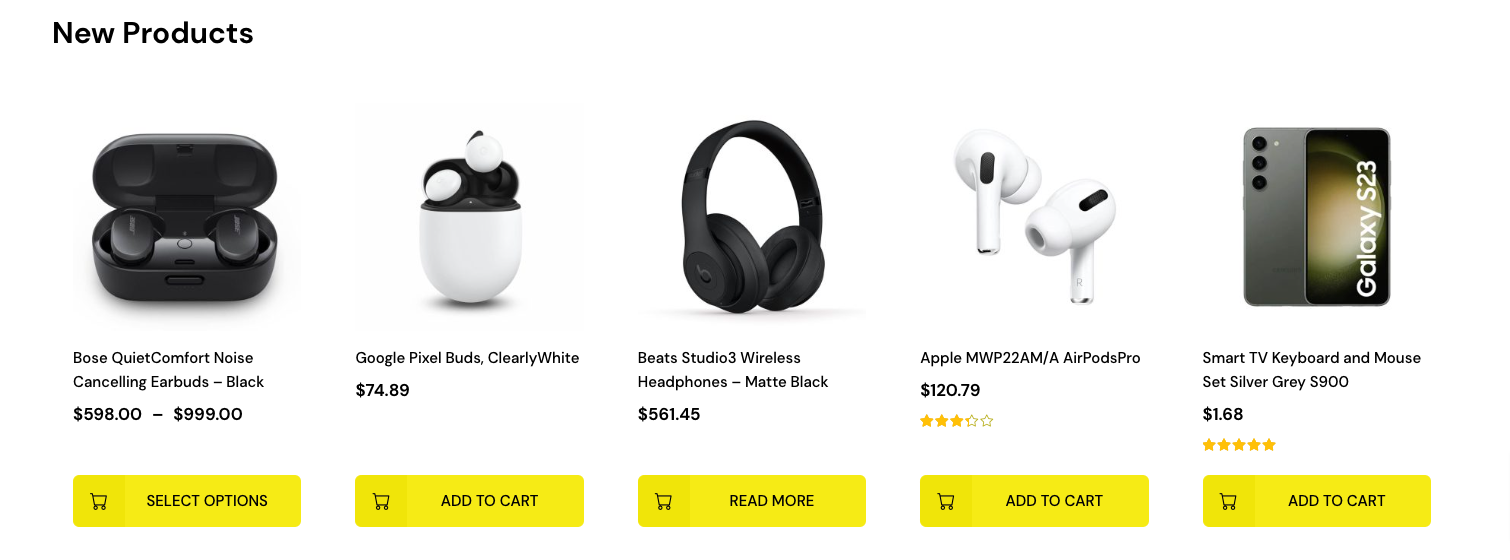
Editor
New products pattern built using the following Gutenberg blocks,
- Heading Block
- Newest Products Block
Home v3 Banner With Products 1
↑ Back to topOutput
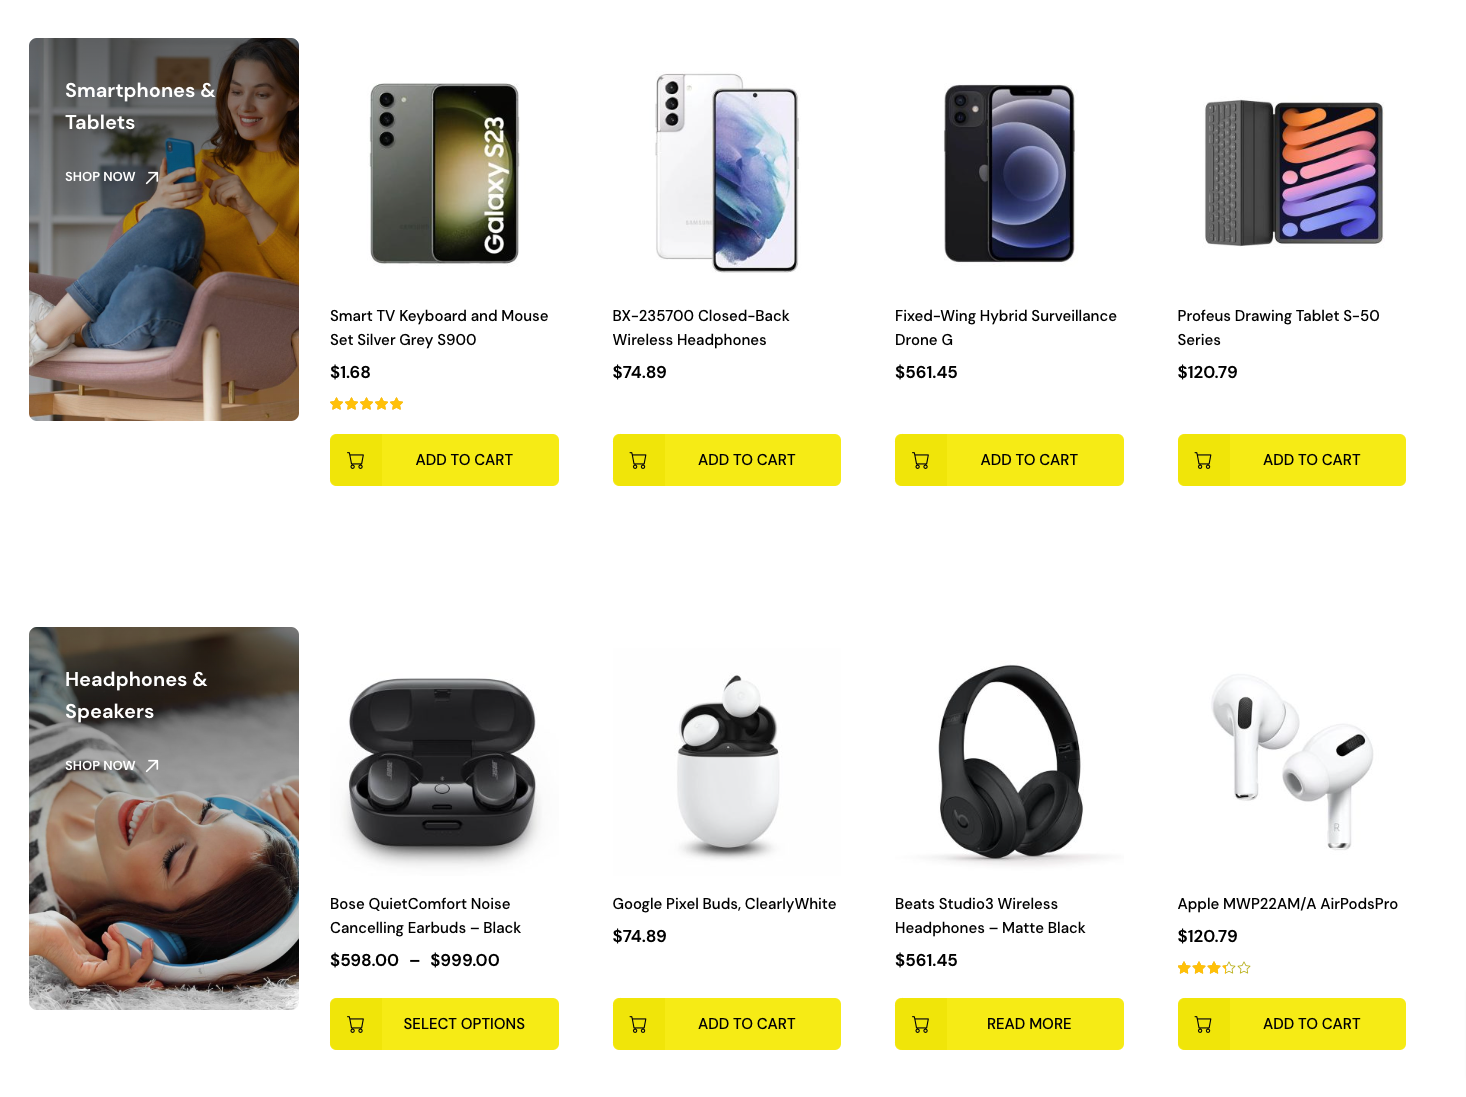
Editor
Banner with products-1 pattern built using the following Gutenberg blocks,
- Cover Block
- Heading Block
- Button Block
- Products by Category Block
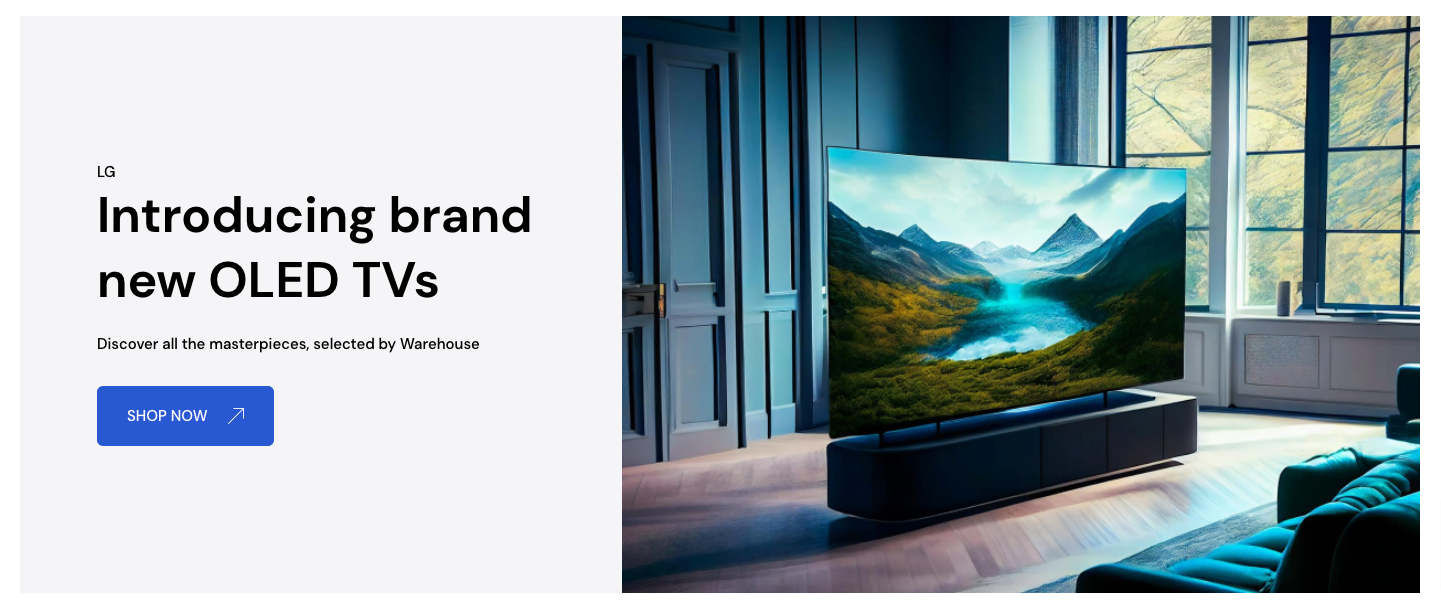
Home v3 Banner
↑ Back to topOutput

Editor
Banner pattern built using the following Gutenberg blocks,
- Heading Block
- Button Block
- Image Block
Home v3 Banner with Products
↑ Back to topOutput
Editor
Banner with products pattern built using the following Gutenberg blocks,
- Cover Block
- Heading Block
- Button Block
- Product by Category

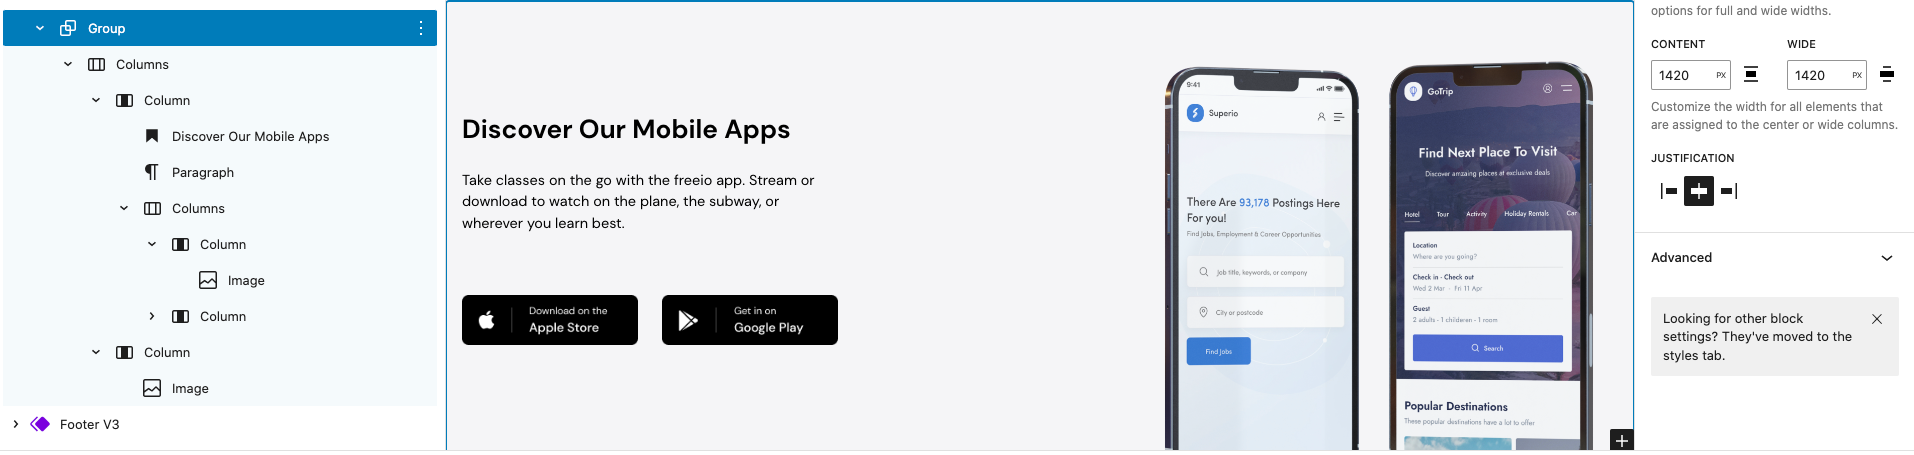
Home v3 Apps
↑ Back to topOutput
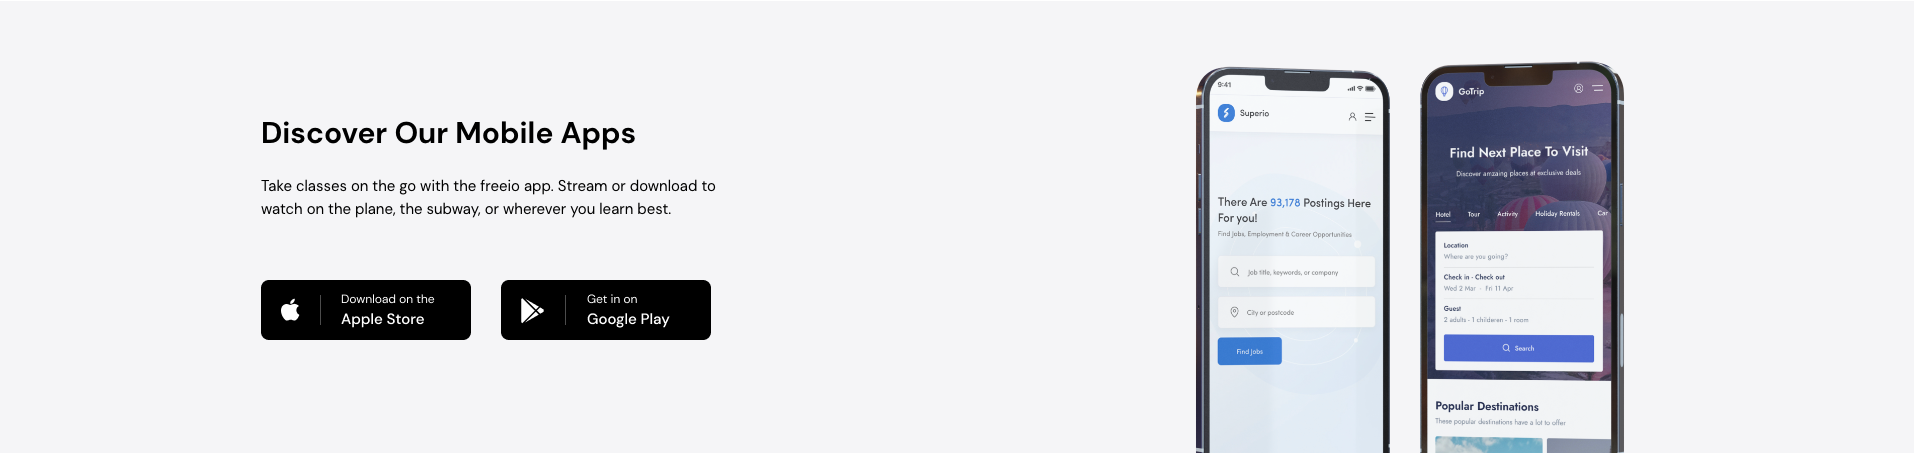
Editor
Apps pattern built using the following Gutenberg blocks,
- Heading Block
- Image Block
Home v4 hero
↑ Back to topOutput

Editor
Hero pattern built using the following Gutenberg blocks,
- Cover Block
- Spacer Block
- Paragraph Block
- Heading Block
- Buttons Block

Home v4 categories
↑ Back to topOutput

Editor
Categories pattern built using the following Gutenberg blocks,
- Heading Block
- Image Block
- Paragraph Block

Home v4 weekly deals
↑ Back to topOutput

Editor
Weekly deals pattern built using the following Gutenberg blocks,
- Heading Block
- Paragraph Block
- Buttons Block
- On Sale Products Block

Home v4 gift banner
↑ Back to topOutput

Editor
Gift banner pattern built using the following Gutenberg blocks,
- Image Block
- Paragraph Block

Home v4 banner 1
↑ Back to topOutput

Editor
Banner-1 pattern built using the following Gutenberg blocks,
- Paragraph Block
- Heading Block
- Buttons Block
- Image Block

Home v4 trending products
↑ Back to topOutput

Editor
Trending products pattern built using the following Gutenberg blocks,
- Heading Block
- Buttons Block
- Newest Products Block

Home v4 banner 2
↑ Back to topOutput

Editor
Banner-2 pattern built using the following Gutenberg blocks,
- Image Block
- Heading Block
- Paragraph Block
- Buttons Block

Home v4 single product
↑ Back to topOutput

Editor
Single product pattern built using the following Gutenberg blocks,
- Products (Beta) Block
- Product Template Block
- Product Image Block
- Product Title Block
- Product Summary Block
- Product Price Block
- Add to Cart Button Block
- Product SKU Block
- Paragraph Block
- Product Categories Block
- Product Tags Block
- Social Icons Block

Home v4 best selling products
↑ Back to topOutput

Editor
Best selling products pattern built using the following Gutenberg blocks,
- Heading Block
- Buttons Block
- Best Selling Products Block

Home v4 tv category
↑ Back to topOutput

Editor
TV category pattern built using the following Gutenberg blocks,
- Heading Block
- Paragraph Block
- Buttons Block
- Newest Products Block

Home v4 testimonials
↑ Back to topOutput

Editor
Testimonials pattern built using the following Gutenberg blocks,
- Image Block
- Heading Block
- Paragraph Block

Home v4 blog query
↑ Back to topOutput

Editor
Blog query pattern built using the following Gutenberg blocks,
- Heading Block
- Buttons Block
- Query Loop Block
- Post Template Block
- Post Featured Image Block
- Categories Block
- Title Block
- Post Date Block
Patterns Blog
↑ Back to topOutput

Editor
This pattern built by using following Gutenberg blocks,
- Heading Block
- Query Loop ( Gutenberg Block )
Theme built-in CSS classes
↑ Back to top- grid – This class generates a block-level grid
- md-grid– This class generates a block-level grid width is at least 768 pixels
- flex – This class apply inline or block depending on the given value. It enables a flex context for all its direct children.
- list-none -This class hide marker is shown
- absolute – This class places an element relative to its parent’s position and changing the layout around it
- relative – This class places an element relative to its current position without changing the layout around it
- text-nowrap – Text should overflow the parent
- z-1 – This class specifies the stack order of an element.
- fw-bold– This class specifies font weight value ( 700 )
- grid-span-full – This class specifies a grid item’s size and location within a row and column
- stretched-link – This class to make its containing block clickable via a
::beforepseudo element.this means that an element with position: absolute; - grow – This class specifies how much the item will grow relative to the rest of the flexible items inside the same container.
- d-none – This class hide the elements
- d-sm-none – This class will be applied to elements, when the viewport width is at maximum 767 pixels
- pl-sm-15 – This class apply the padding value 15px width is at least 768 pixels
- d-xl-block – This class will be applied to elements, when the viewport width is at least 1200 pixels
- d-xl-none – This class will be applied to elements with the classes when the viewport width is at least 1200 pixels
- d-md-block – This class will be applied to elements with the classes when the viewport width is at least 768 pixels
- d-lg-block – This class will be applied to elements with the classes when the viewport width is at least 1024 pixels
- d-lg-none – This class will be applied to elements with the classes when the viewport width is at least 1024 pixels
- overflow-hidden – overflow property with value hidden, the overflow is clipped. The content hides.
- border – This class to display the border of element
- rounded – To apply border radius sizes to an element.rounded-sm value is 4px
- rounded-sm – To apply border radius sizes to an element.rounded-sm value is 2px
- col-span-2 – colspan specifies the number of columns a cell should span.col-span-2 cover all 2 columns
- col-span-3 – colspan specifies the number of columns a cell should span.col-span-3 cover all 3 columns
Elementor
↑ Back to topIntroduction
↑ Back to topeMart pages are available with elementor. Along with Elementor, our theme is bundled with our custom plugin MAS Elementor which is used to extend core Elementor widgets and provide new widgets.
Installation
Elementor is a free plugin available in WordPress.org repository and it is the #1 WordPress Website Builder plugin. It has over 5 million active installations. To install Elementor in your website:
- In your admin panel, go to Plugins > Add New.
- Type ‘Elementor’ in the search for and press the ‘Enter’ key on your keyboard.
- Click on Install and Activate Elementor to use Elementor.
MAS Elementor
We’ve developed MAS Elementor plugin which is bundled with the theme and is available for installation from Appearance > Install Plugins. Once you’ve installed this plugin, please make sure to activate the plugin.
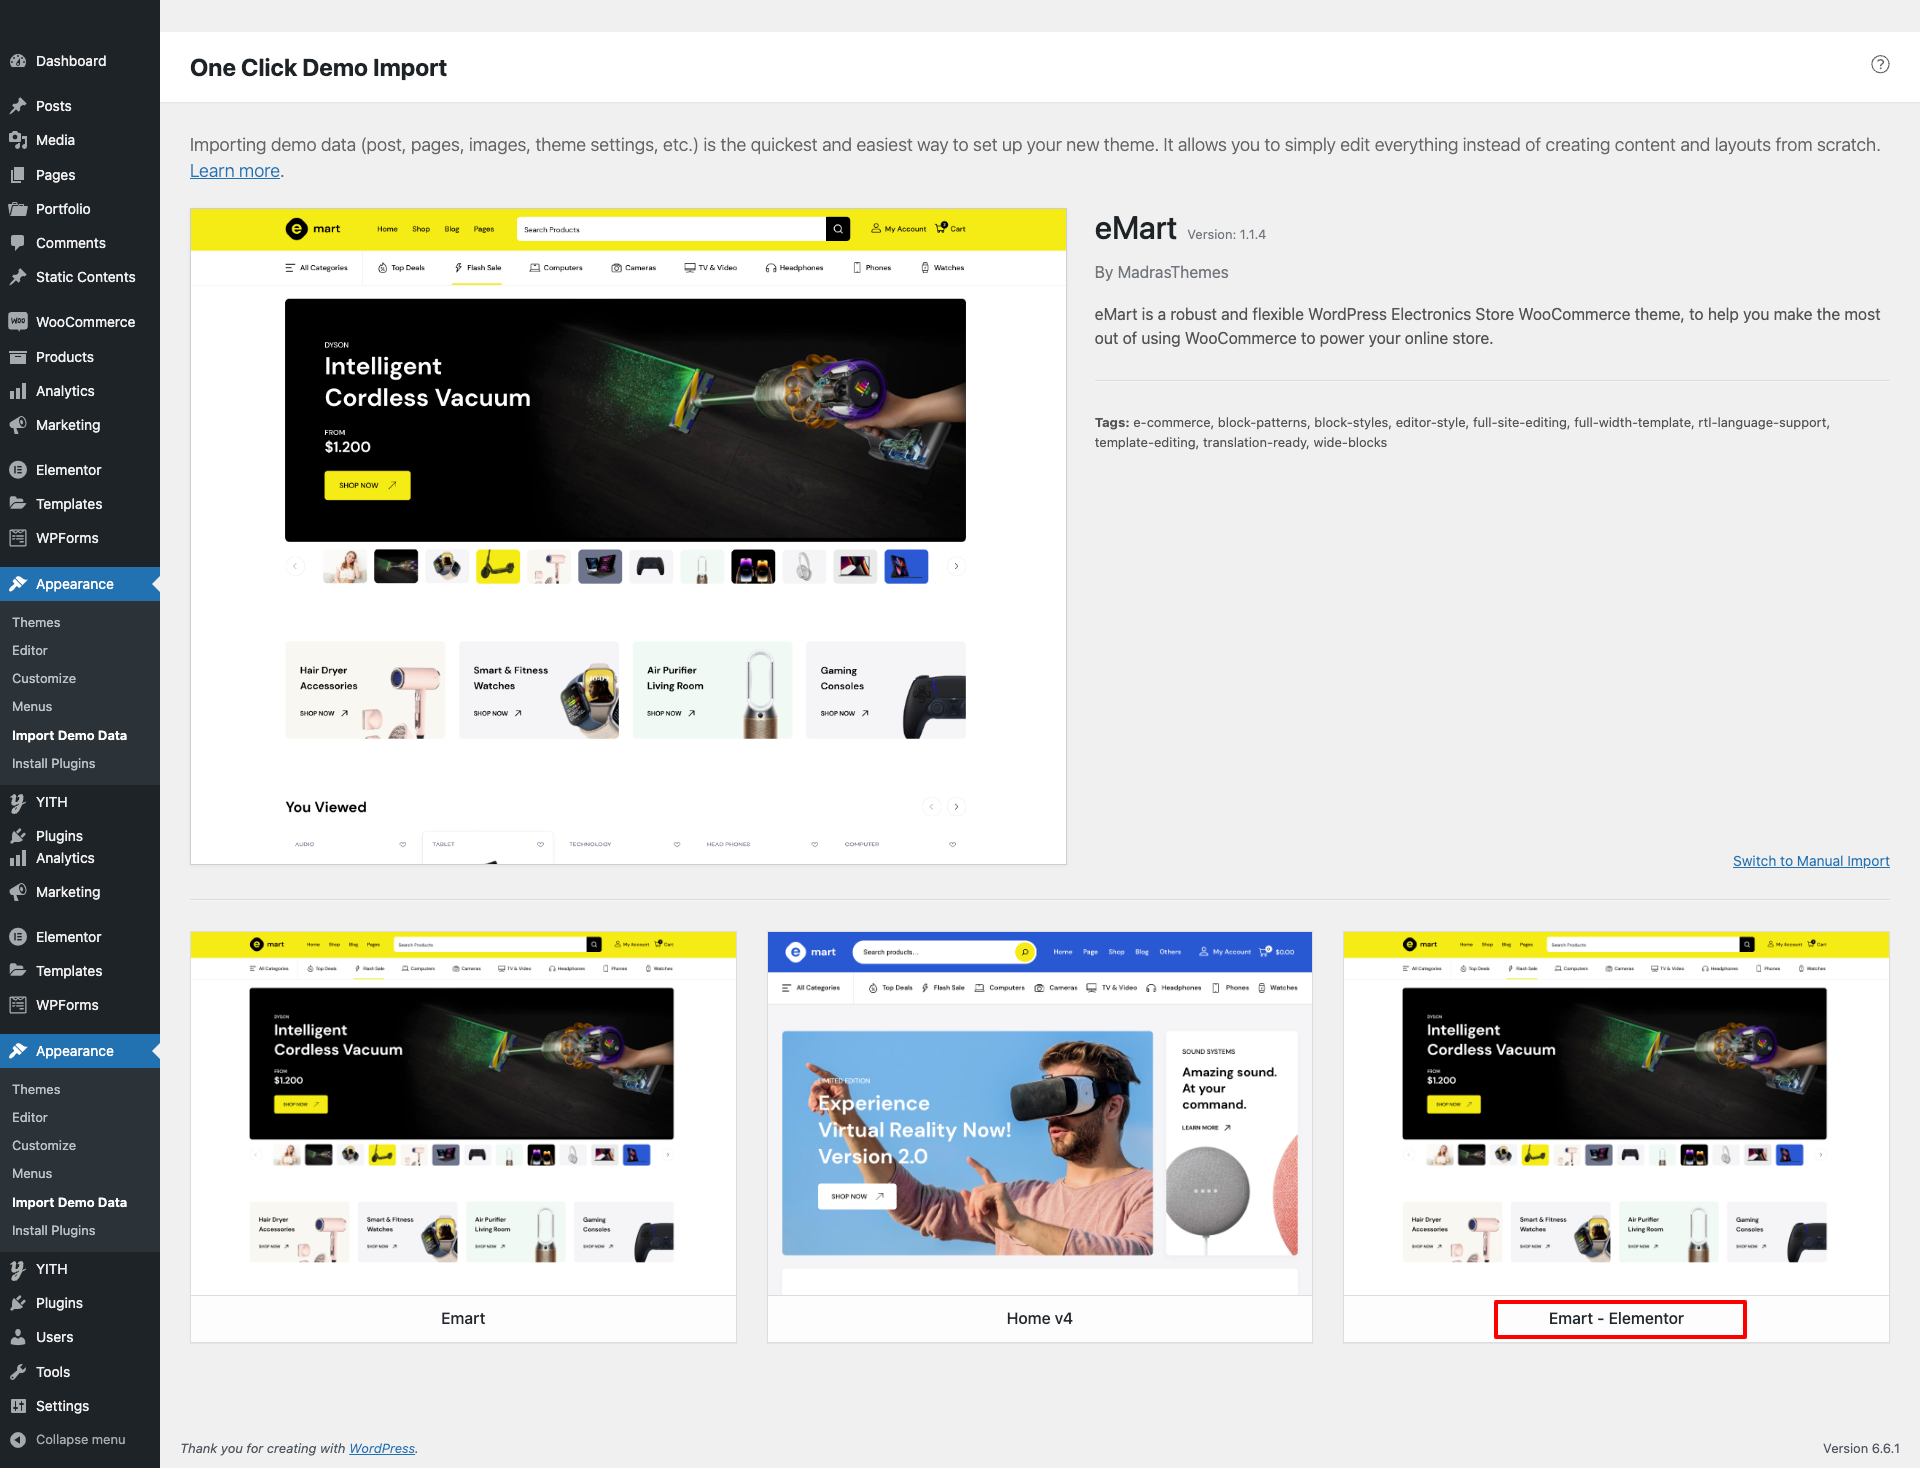
Import demo content & Setup
↑ Back to topAfter installation and activation of the theme and required plugins. You can now install the demo content to get you started.
Elementor demo data (Static Contents, Menus and MAS-Post-Items) will be imported when importing.
Elementor Data Import
Please make sure that all the required plugins are installed and activated.
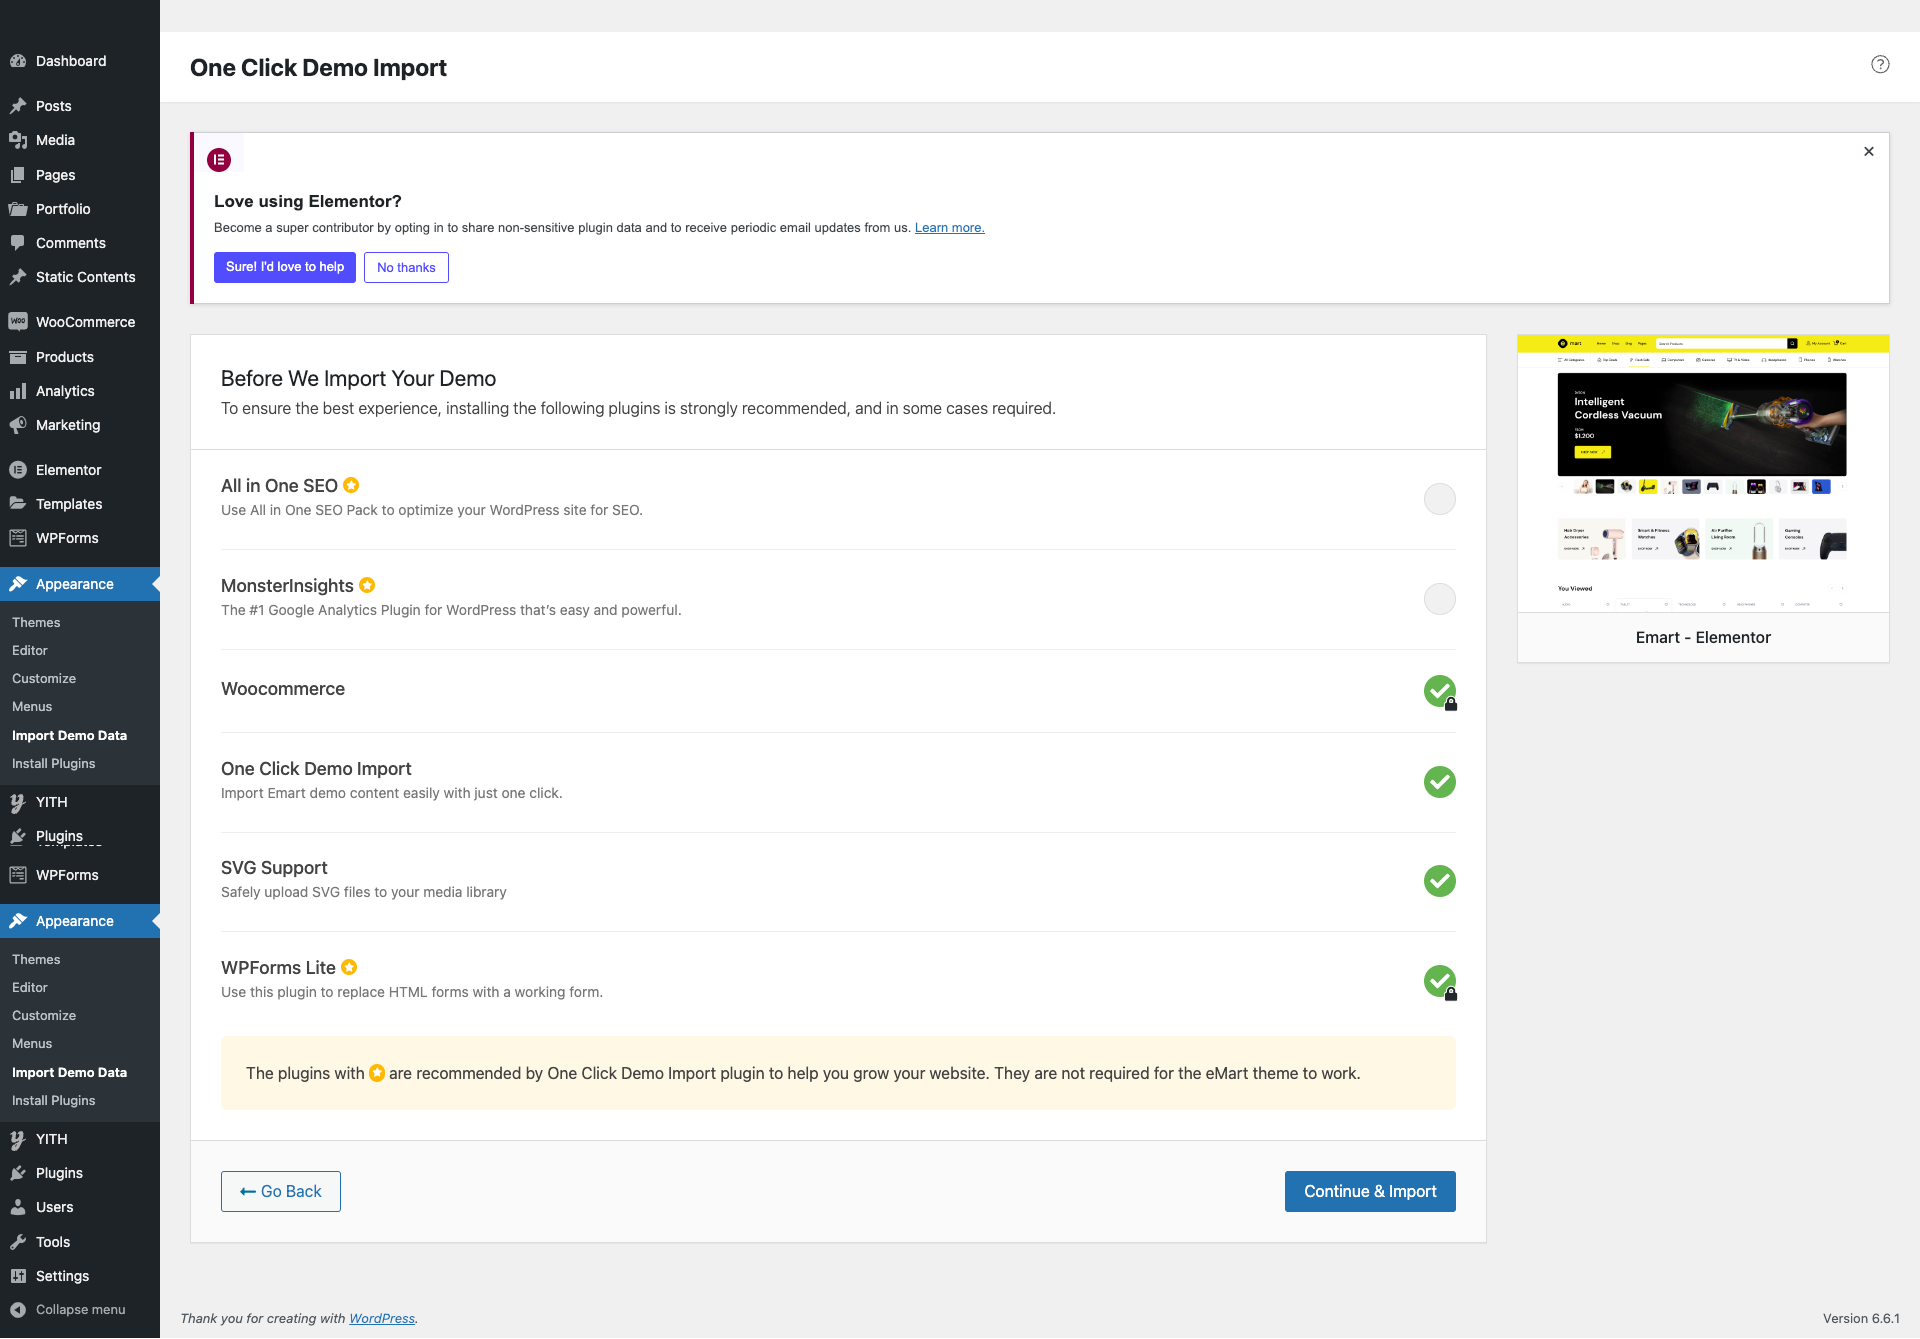
Import Complete
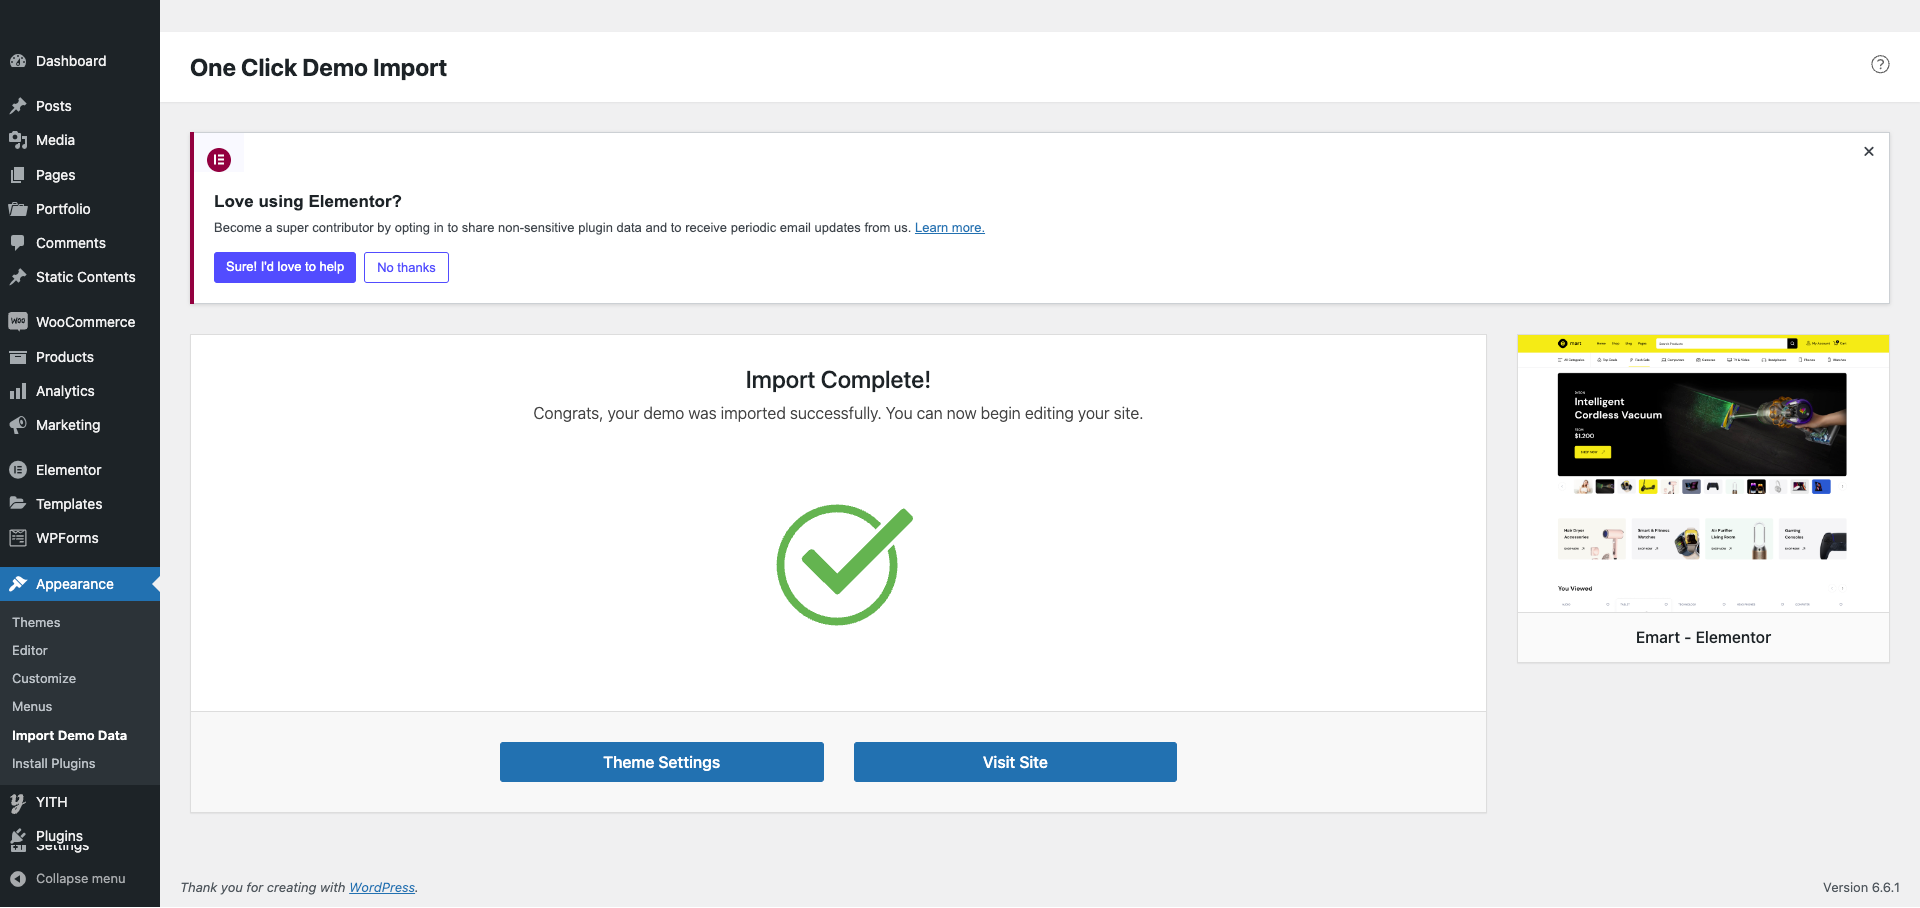
After import, you’ll be notified about the import completion.
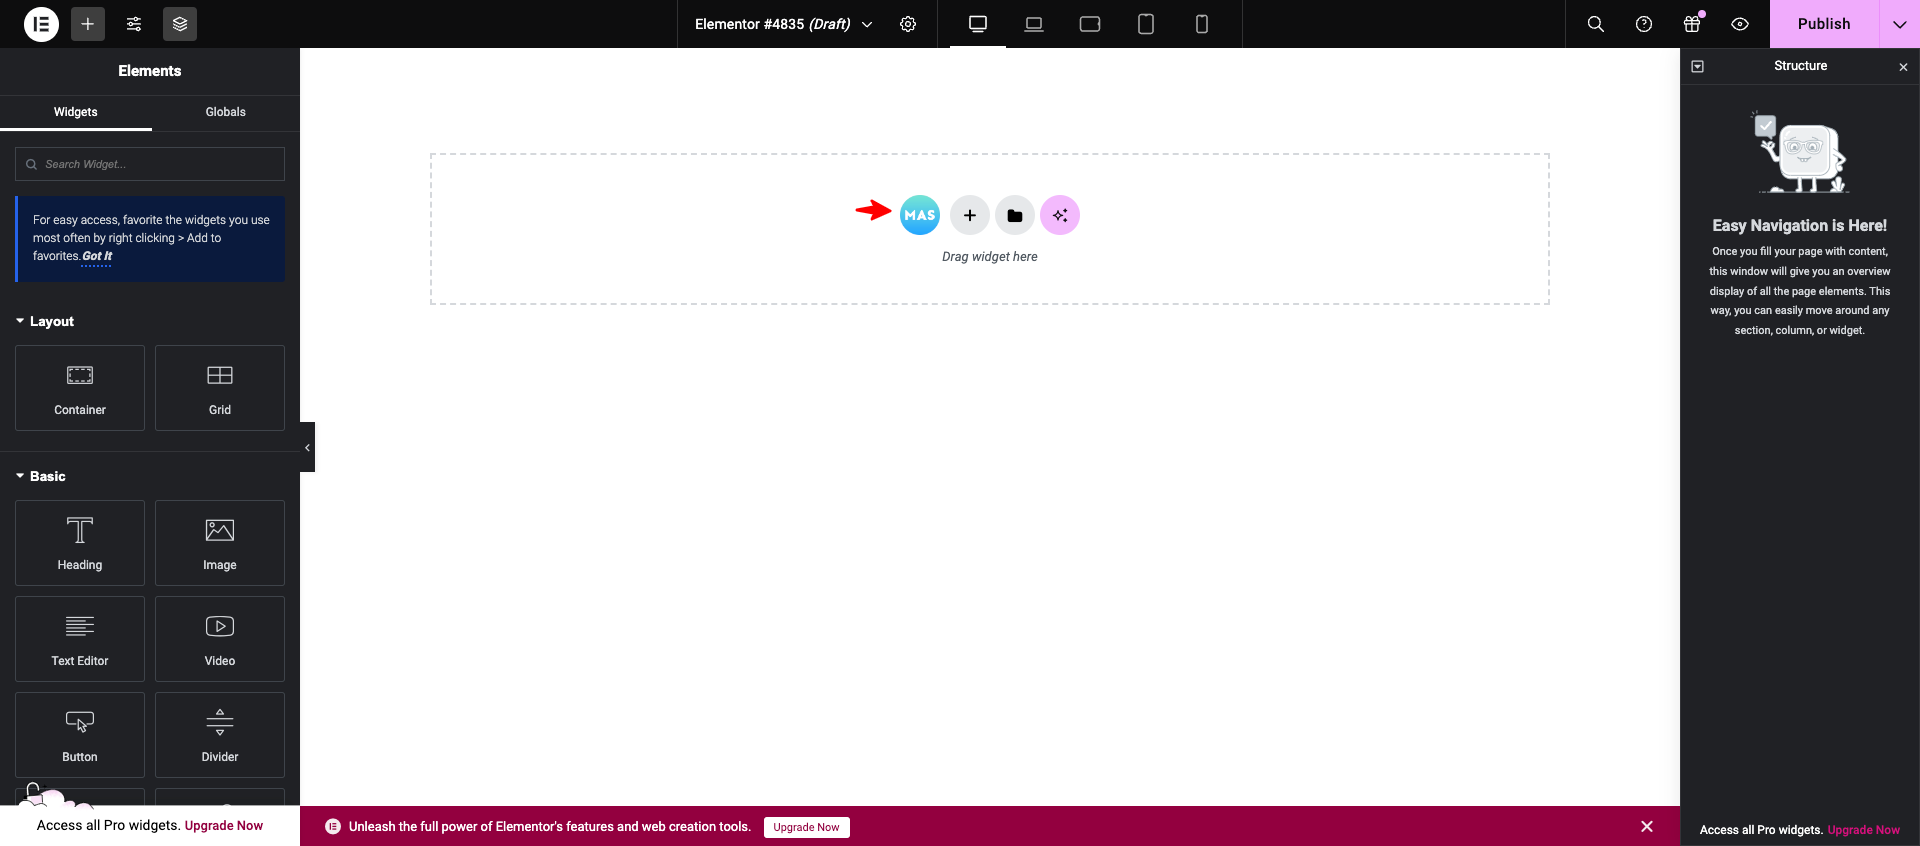
Importing Templates
To import the elementor templates :
Add a new page and import the elementor template like in the below images.

Header
↑ Back to topEmart has 4 header styles.
Overview
Header v1

Header v2

Header v3

Header v4

Logo
You can set header Logo for individual pages via Elementor.
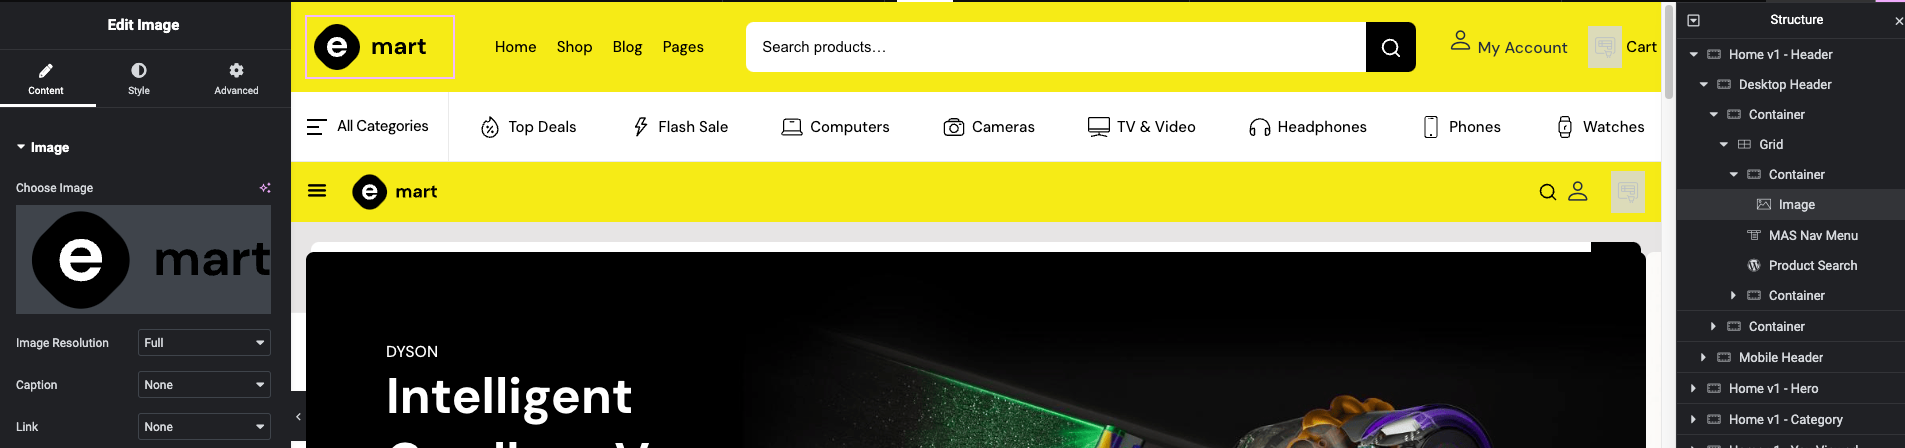
Here you can change your logo by changing the image.
Primary Navigation
Output

Settings
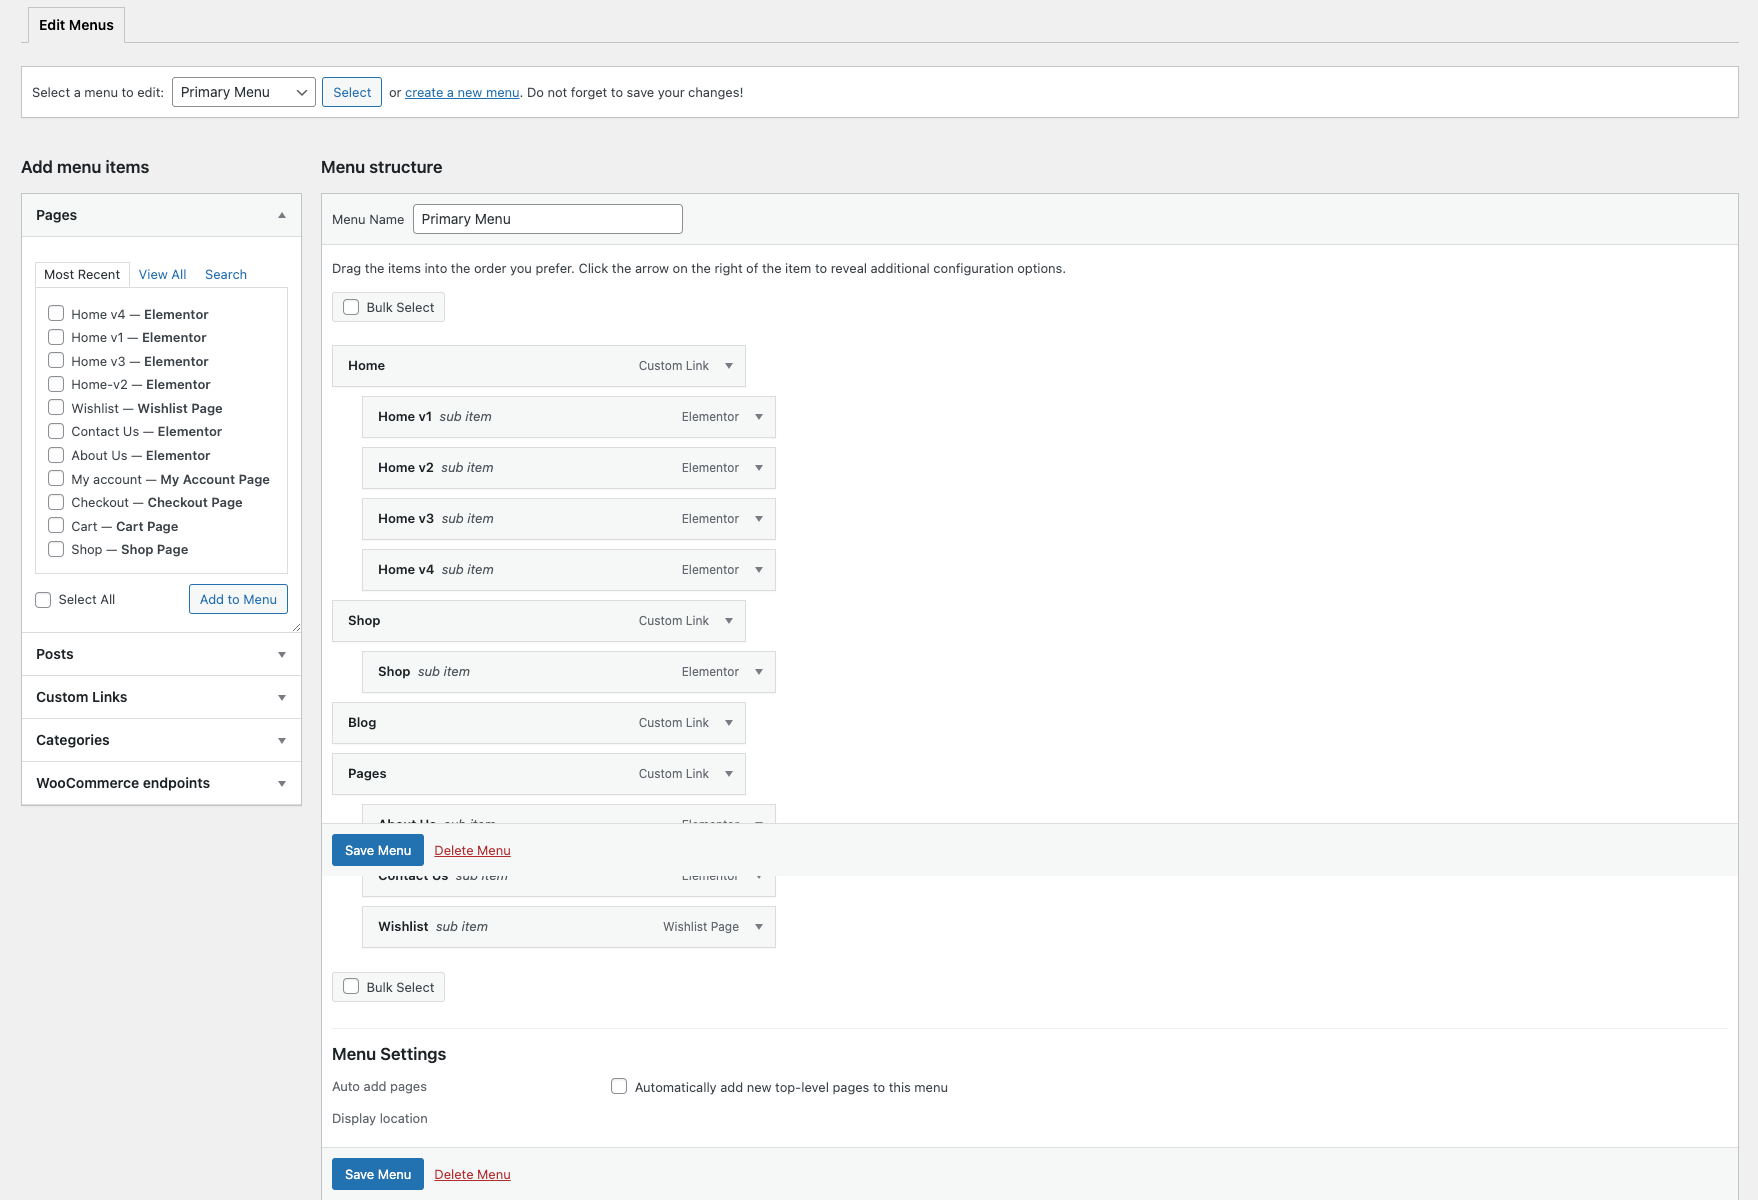
You can create a menu for your website from Appearance > Menus.
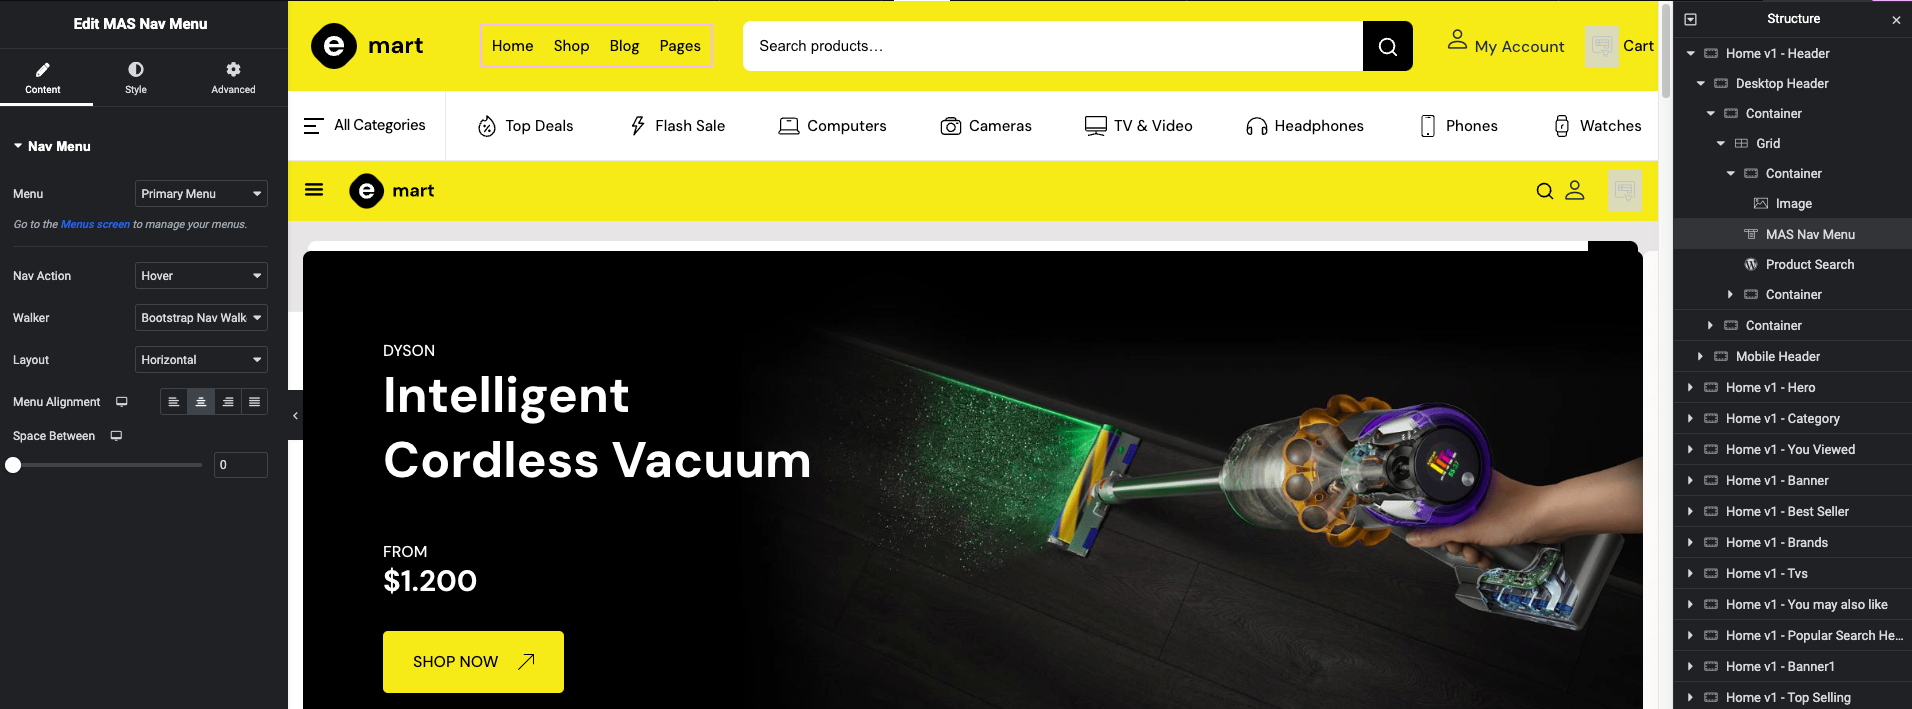
Once you’ve create a menu, you can assign the created menu using MAS Nav menu widget. Also you can style your menu via style tab.
Footer
↑ Back to topYou can edit footer for individual pages via Elementor. Emart has 3 footer styles.
Overview
Footer v1

Footer v2

Footer v3
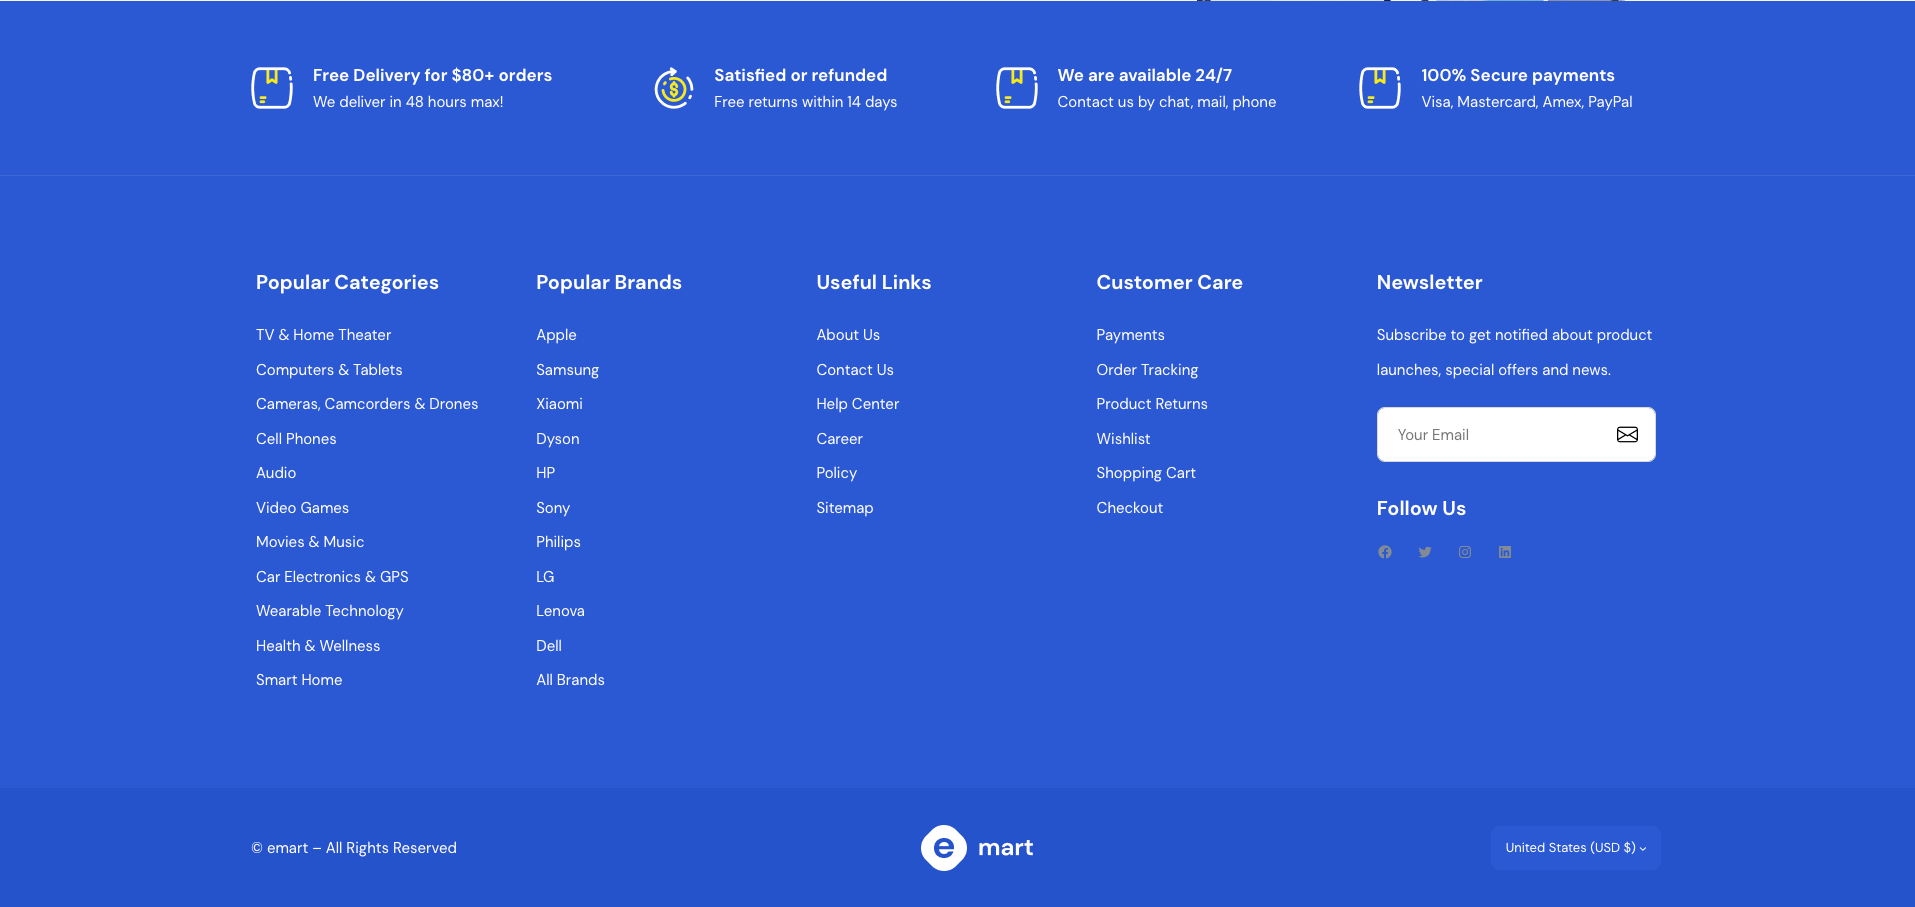
Settings

Here you can change your footer via elementor.
Elementor Pages
↑ Back to top- Home v1
- Home v2
- Home v3
- Home v4
- About Us
- Contact Us