- Go to your WooCommerce.com account Downloads page. Click the download icon to get a compressed emoly.zip file on your computer.
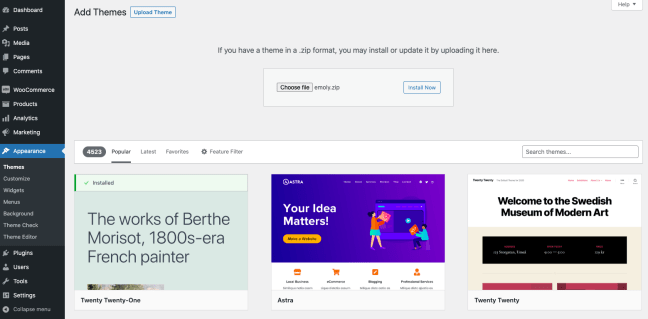
- On your website, go to Appearance > Themes and click the Add New button.
- Click Upload to upload the emoly.zip file you downloaded in step 1.
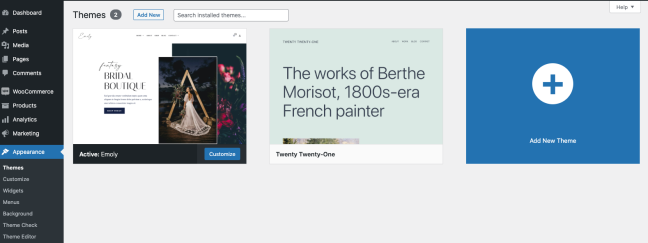
- Go to Appearance > Themes to Activate.
You can find more here.
How to import the sample content
↑ Back to topIf you like what you see on our demo website, you can simply import the sample content. And then, all you will have to do is simply replace the content of these pages with your content.
To import the sample content:
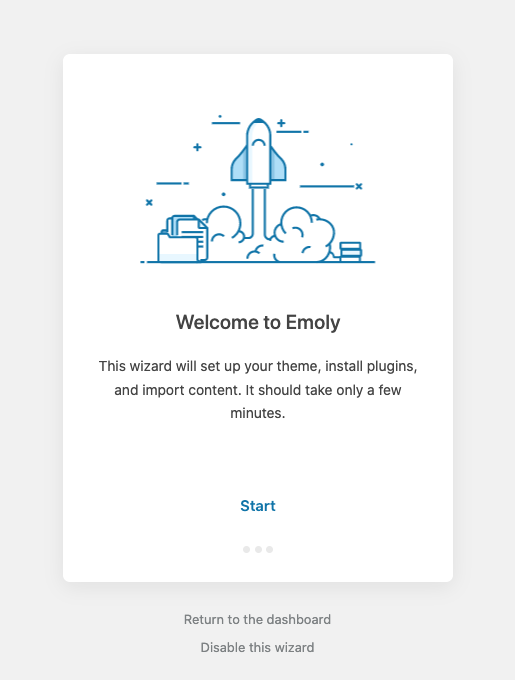
1. In your WordPress dashboard, visit Appearance > Demo Content.
2. Click on the Import button and Wizard will navigate you through the demo import process.
Customization
↑ Back to topAll of the theme’s customization settings can be found under Appearance > Customize. This is where you go to upload a logo & change colors.
Site Identity & Logo
↑ Back to top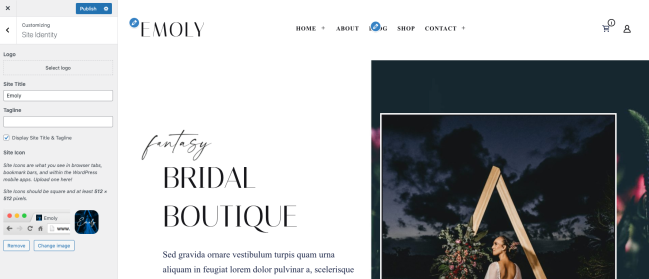
Under Appearance > Customize > Site Identity, you can:
• Upload a logo
• Update the Site Title and the Tagline
• Upload a Site Icon
Colors
↑ Back to top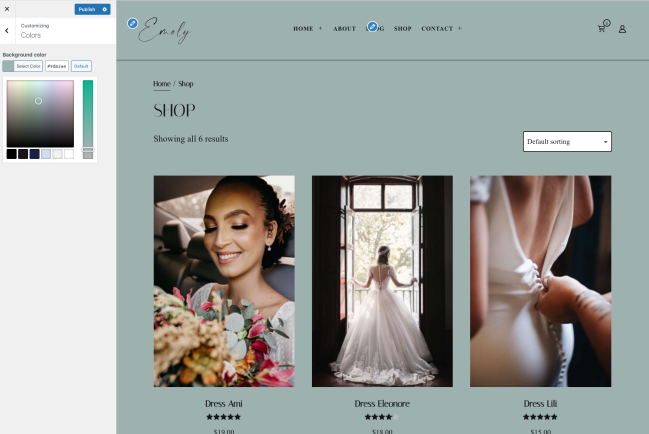
Here you can set the main color of your website. Colors can also be changed for each block/pattern on each page from within the page editor.
Menus
↑ Back to topIn the menus section, you can create or edit menus. To create your first menu, make sure to create at least a couple of pages.
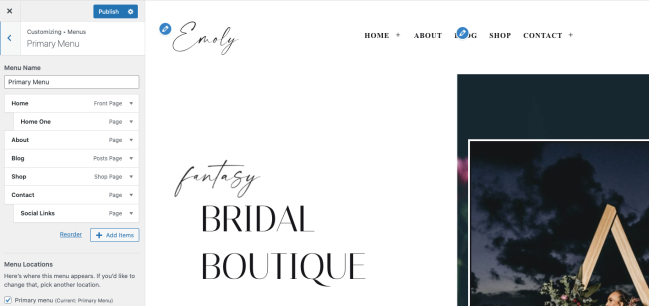
Primary Menu
Navigate to the Customize » Menus and click Create New Menu. You can name it however you like. In the theme demo, we named it “Primary Menu.”
To make this your main navigation menu, update from within Theme Locations (Appearance > Menus > Manage Locations), check the Primary Menu box and save it.
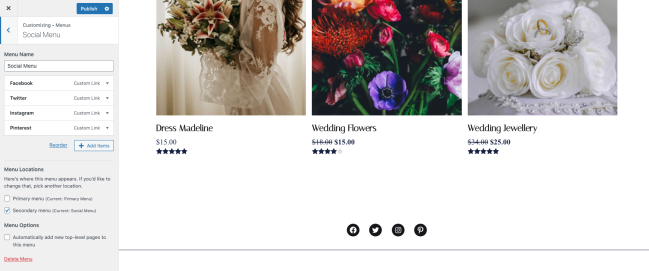
Social Menu
The social menu bar is built using a standard WordPress menu. Navigate to the Customize » Menus and create a new menu. You can name it however you like. In the theme demo, we named it “Social Menu.”
To make this your social menu, update from within Theme Locations (Appearance > Menus > Manage Locations), check the Secondary Menu box and save it.
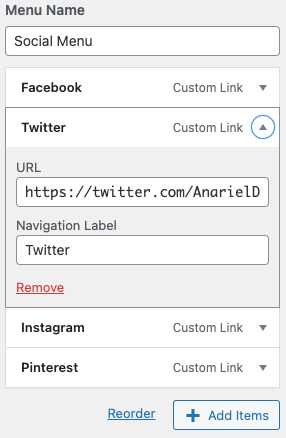
To add socials to the social menu, you first need to add Custom Links to the menu. Then inside the “URL” field, add your social page URL and in the “Link Text” field, add the name of the social platform, for example, “Facebook.” Once you add it to the menu, the social icon will automatically show up inside the socials bar. Once you are finished adding all your socials, click “Save Menu.”
Widgets
↑ Back to top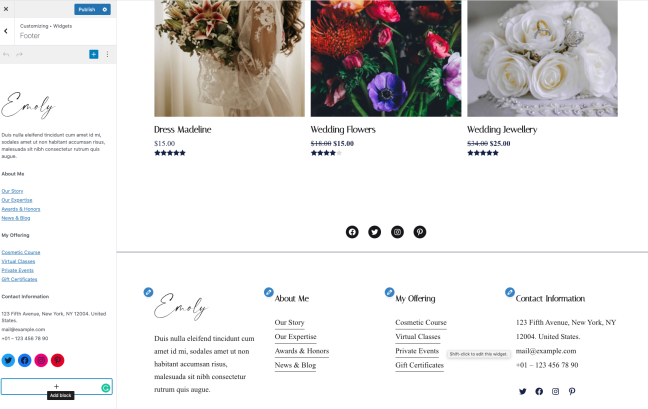
Pages
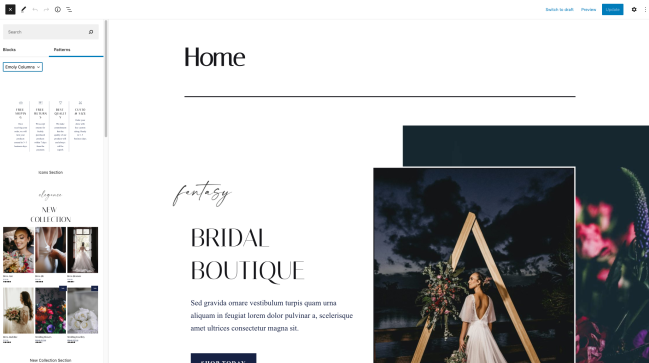
↑ Back to topAll page layouts in the Emoly theme are built using WordPress block editor. Emoly pre-built patterns are accessible with a click of a button from the block editor. You can find the patterns in the editor sidebar within the Emoly category. To add them to your page, simply drag and drop each pattern into the main editor window.
Once you have added a block pattern to your page, you can start replacing the sample text and images with your own.
Learn more about block patterns here.
Updating the theme
↑ Back to topOnce you connect your site and WooCommerce.com account, you will receive update notifications in your WordPress dashboard as soon as they’re made available allowing you to update the theme with one-click or set up automatic updates.
If you still need to manually update your theme, follow the details at Updating Your Theme.