NOTE
This product is no longer available on WooCommerce.com. This document has been left available for existing users, but will no longer be updated.
Installation
↑ Torna in cima- Download the .zip file from your WooCommerce account.
- Go to: WordPress Admin > Plugins > Add New and Upload Plugin with the file you downloaded with Choose File.
- Install Now and Activate the extension.
More information at: Install and Activate Plugins/Extensions.
Setup and Configuration
↑ Torna in cimaTo set up your store with Gupshup:
- Go to: WooCommerce > Settings > Gupshup .
- Enter a details for Gupshup settings.
- Enable Gupshup notification
- Save changes.
There are the following settings:-
Settings
↑ Torna in cimaMerchant can setup Gupshup account using this section. Merchant needs to setup account on Gupshup where Gupshup will provide Access Key, Secret Key and Sender ID.
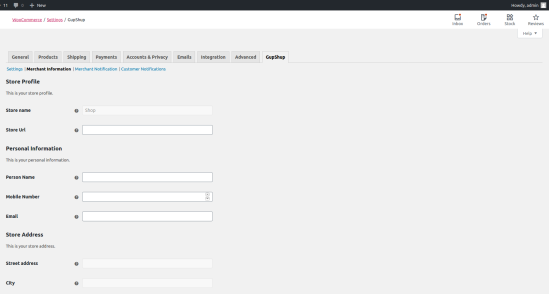
Merchant Information
↑ Torna in cimaThere are some settings that need to update like Store Profile, Personal Information, Store Address, Store Settings and Social profile.
Merchant Notifications
↑ Torna in cimaMerchants set an alert to receive SMS notifications when customers place orders.
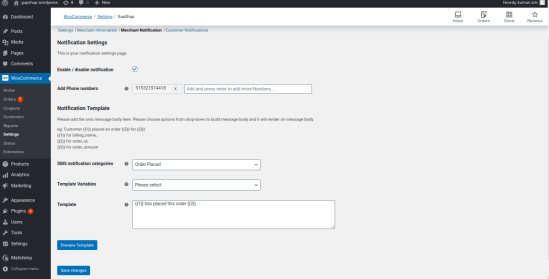
Customer Notifications
↑ Torna in cimaMerchants send SMS notifications to their customers when their order statuses change.

Autopick data
↑ Torna in cimaMerchant information – It pick following settings from default from WooCommerce and WordPress
a) Store Information
Store Url
b) Address
Email
Street Address
City
State
Country
Zip Code
c) Store Settings
Logo Url – will be pulled from WordPress once will be set from Appearance > Customise > Logo setting
Usage
↑ Torna in cimaThis extension allows you to send sms to merchant and customers on order. Admin can enable settings on every status.
Receiving notifications of new orders improves the response rate of merchants.
Sending automated SMS notifications to customers on order status changes improves customer satisfaction.
Easy and quick configuration—go live in a short time.
Keep yourself and your customers updated. Use Gupshup SMS Notifications for automatic order updates.
Privacy policy
↑ Torna in cimaGupshup privacy policy : https://www.gupshup.io/developer/privacy