Allow your customers to ship to multiple addresses from a single order and save multiple shipping and billing addresses to their account.
- Download the .zip file from your WooCommerce account.
- Go to: WordPress Admin > Plugins > Add New and Upload Plugin with the file you downloaded with Choose File.
- Install Now and Activate the extension.
More information at
Install and Activate Plugins/Extensions.
Once the extension is installed, you can see the “Multiple Customer Addresses Option” under WordPress Admin > WooCommerce. Click to access the settings.
Once you access the “Multiple Customer Addresses” option, then you can see two main tabs, which are:
- Customer Saved Addresses
- Shipping Multiple Addresses
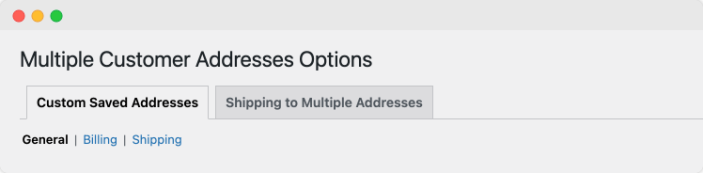
Let’s look into the customer saved addresses first.
In the customer saved addresses section, you can see three sub-tabs:
- General Settings
- Billing Settings
- Shipping Settings
Let’s look into each one by one.
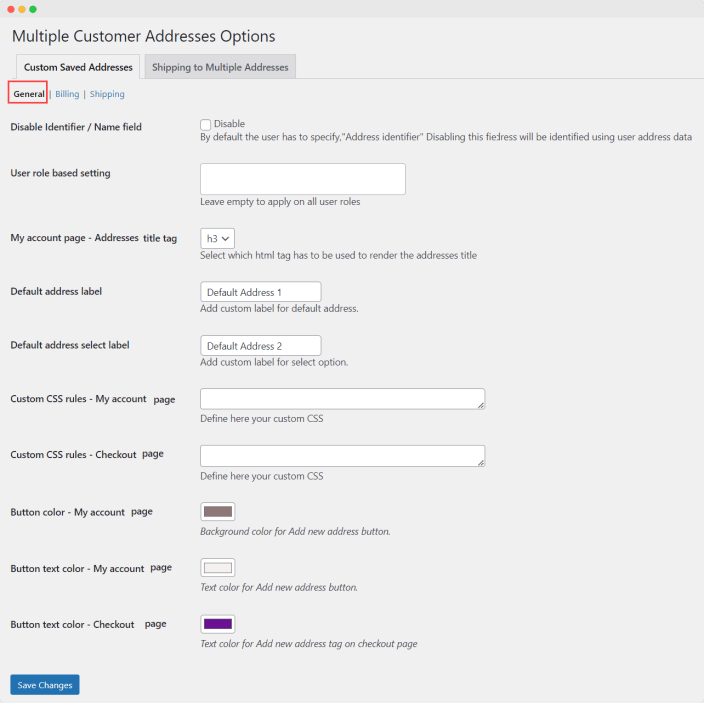
Use the general settings you,
- Disable address identifier/name – When disabled, the address will denoted with the first and last name
- User role based settings – Select user roles who can save multiple addresses, leave empty to apply on all
- My account page – Address title tag – Select the heading title tag on my account page (h1 – h6 use any heading tag)
- Default address label – Customize the default address label
- Custom CSS rules- My Account Page – Add custom styling to addresses section in my account page (Keep empty to use default styling)
- Custom CSS rules- Checkout Page – Add custom styling to addresses section in my account page (Keep empty to use default styling)
- Button color – My account page – Choose the button’s background color
- Button text color – My account page – Choose the text color for the button on my account page
- Button text color – Checkout page – Choose the text color for the button on checkout page
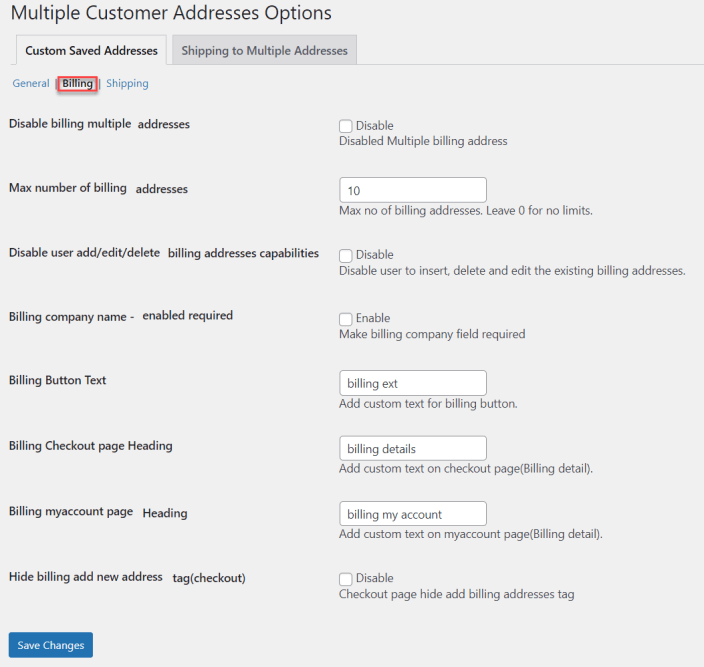
You can customize following options of billing settings,
- Disable billing multiple addresses – Disable multiple billing address feature
- Max number of billing addresses – Choose the maximum billing addresses a customer can add
- Disable users to add/edit/delete billing addresses capabilities – Disallow users to delete or edit existing address
- Billing company name enabled required – Make company name mandatory
- Billing checkout page heading – Customize billing address heading on checkout page
- Billing “My account” page heading – Add custom billing address heading for my account page
- Hide billing add new address tag (checkout) – Hide add address button checkout page in order to keep it on my account page only
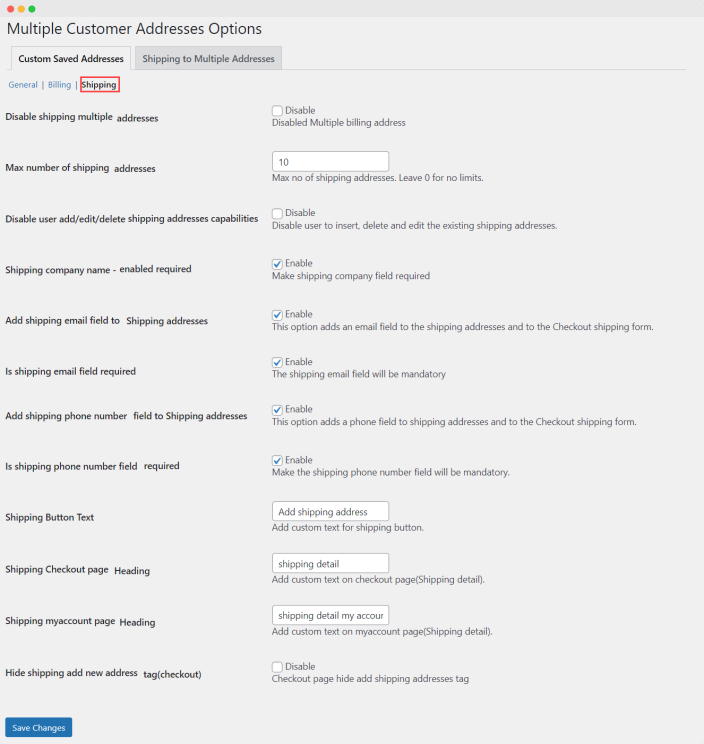
You can customize the following options of shipping settings,
- Disable shipping multiple addresses – Disable multiple shipping address feature
- Max number of shipping addresses – Maximum shipping addresses a customer can add
- Disable user add/edit/delete shipping address capabilities – Disallow users to delete or edit an existing address
- Shipping company name enabled required – Make company name required or optional
- Add a shipping email field to shipping addresses – Enable shipping email field
- Is a shipping email field required – Make the shipping email field required
- Add a shipping phone number field to shipping addresses – Enable shipping phone number field
- Is a shipping email field required – Make the shipping phone number field required
- Shipping button text – Add custom text to shipping button text
- Shipping checkout page heading – Add a heading for shipping section on checkout
- Shipping my account page heading – Add a heading for shipping section on my account
- Hide shipping address add new address tag (checkout) – Hide add address button checkout page in order to keep it on my account page on
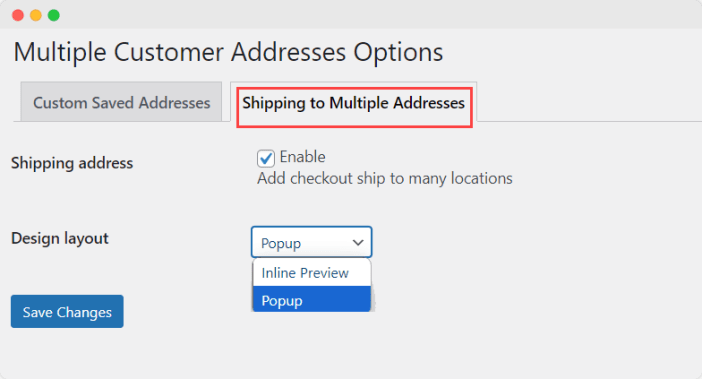
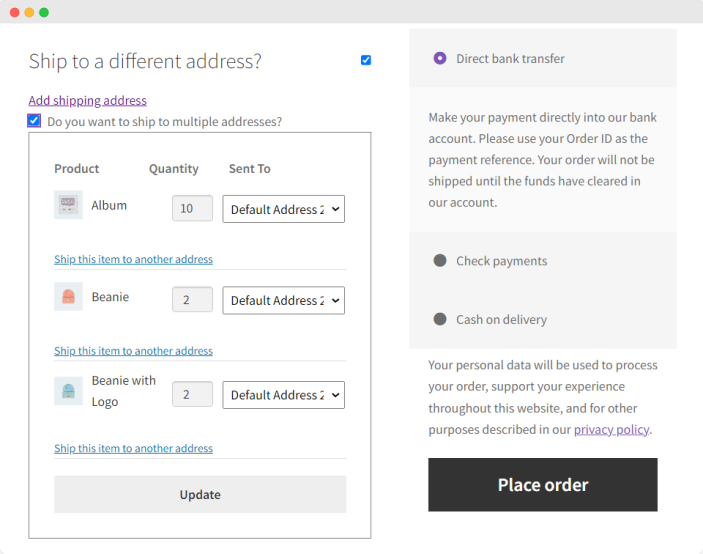
There are two settings that you can configure in the shipping multiple addresses, which are:
- Shipping Addresses – Enable the ship to multiple addresses functionality
- Design layout – Choose a design layout for the ship to multiple addresses on checkout
- Inline preview – Extends ship to multiple addresses section on the checkout page
- Popup – Show ship to multiple addresses functionality on checkout in a popup

A—The role-based restrictions apply only to the multiple customer saved addresses functionality, and the restricted users will still see the ship to multiple addresses functionality on checkout.