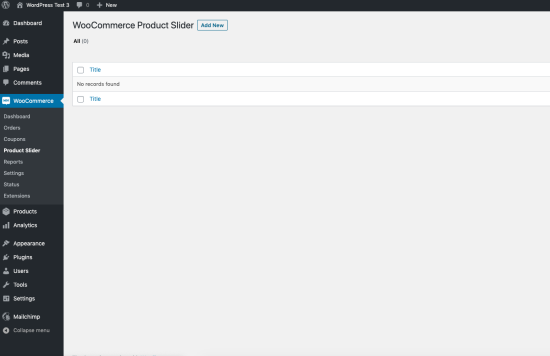
Once you installed and activated the plugin you will be redirected to the following screen where you can create new sliders.

Click Add New button on the top to add a new slider. Fill the required fields and save the slider.
There are two ways you can insert a slider
- Insert slider using the shortcode or PHP code
Once you have created a slider on the right hand side you will find a section call shortcode where you could find the short code or template tag of the slider which you can copy and paste where you want to display the slider.
- Insert slider as widget or using shortcode button on post editor
You can insert slider on widget enable area. (Please, go to Appearance>Widgets and click on WPS Widget.) and then type your slider ID and save it.
To edit sliders, go to WooCommerce > Product Slider and click on the slider you want to edit. Change the options which you want and save the slider.
Templates files of the plugin can be found within the wp-content/plugins/product-slider-for-woocommerce/templates/ directory.
You can create new or edit files in an upgrade-safe way using overrides. Copy it into a directory within your theme named /product-slider-for-woocommerce, keeping the same file structure.
Example: To override or edit the themes wp-content/plugins/product-slider-for-woocommerce/templates/basic/basic.php to yourtheme/product-slider-for-woocommerce/templates/basic/basic.php
The copied file will now override the selected template and you can edit this file to make any customization. Please, do not make any changes within the core plugin itself as they are overwritten during the upgrade process and any customization will be lost.
Scripts of the plugin can be disabled or enabled via WooCommerce > Settings under Product Slider tab.
Multiple sliders: Please note you can’t use the same slider in a page more than once because the ids can’t be duplicated. You should duplicate your slider and add the new slider to the page once again, if you would like to use it more than once.
 Click Add New button on the top to add a new slider. Fill the required fields and save the slider.
