We only host server containers under custom domains. Thus, having a domain, configured DNS and access to the DNS settings is required to complete this guide.Prepare Google Tag Manager
↑ Back to topFirst make sure we have new or existing GTM Container that have “server” set as the Target platform during creation:

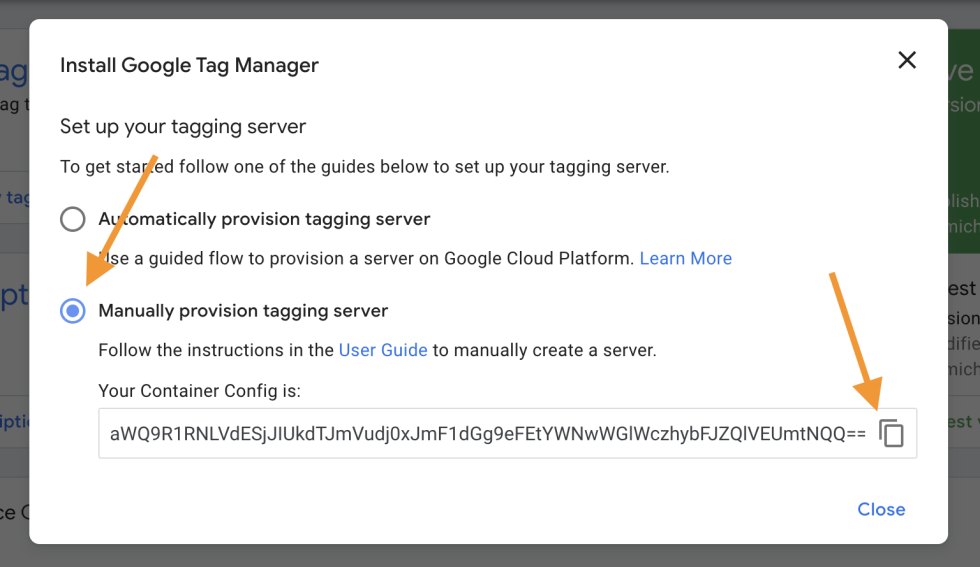
Right after creation (or in the Admin, Settings and Install Google Tag Manager section) select “Manually provision tagging server” and copy the Container Config string.
This string contains everything that is needed to connect your hosting with this GTM container:
Provision Server Container Hosting
↑ Back to topOnce your subscription is created you can access it here:
https://app.tagconcierge.com/v2/login
and log in using the email address provided during purchase:
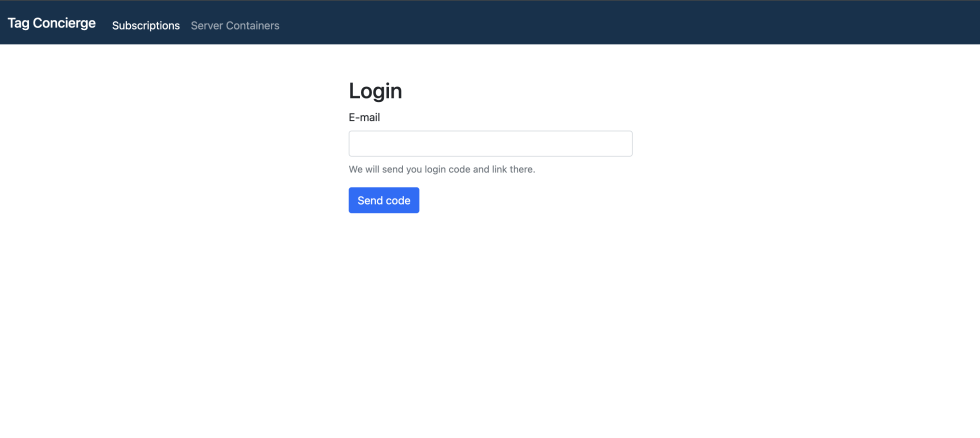
Then navigate to Server Container in top nav and click Create Server Container button.
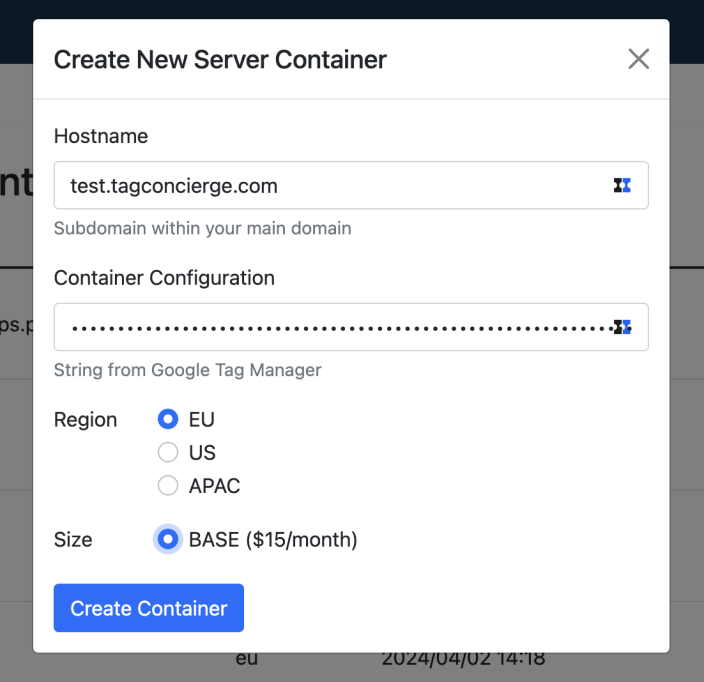
In the modal fill in all fields:
- Hostname – type in your an URL for your server container, it needs to be subdomain in your main domain. The first part of address is something that you can freely adjust, it can be “metrics”, “gtm”, “events”, “analytics” etc.
- Container Configuration – paste the string copied in the Step 1. above
- Region – select the region that is closest to your users’ location and/or which is a legal requirement
- Size – select BASE which means the server container will get 3 server processes and will scale to handle the traffic.
When ready click “Create Container” button:
Configure DNS
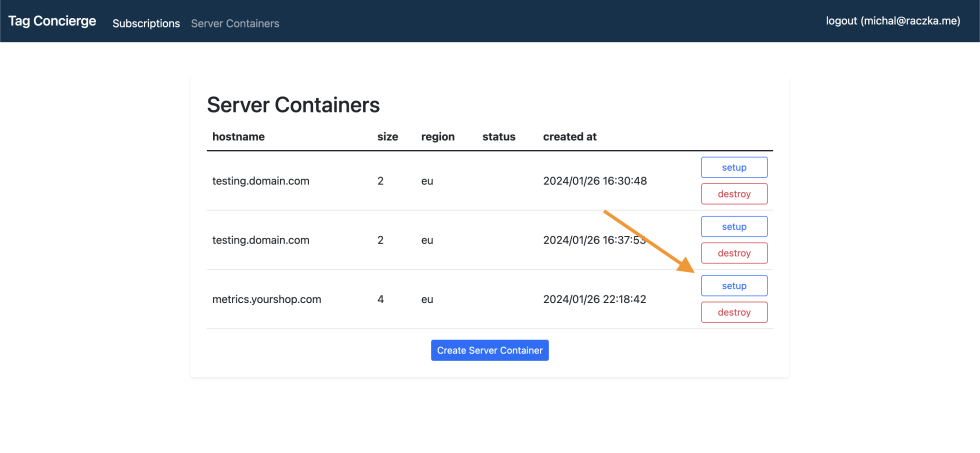
↑ Back to topAfter the server is provisioned it will appear on the list. When it’s available click “setup” button next to it to continue:
Click “DNS Setup” to reveal details of DNS settings that needs to be added in your domain configuration:
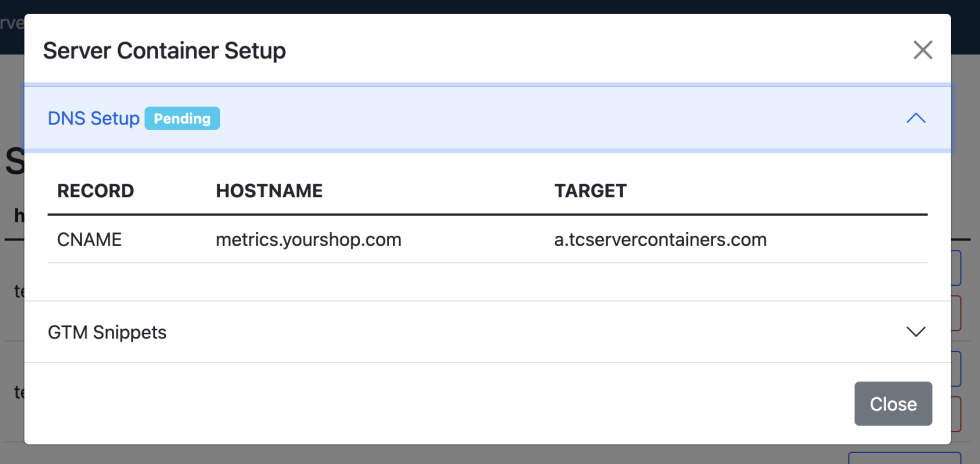
The exact step needed here will depend on your DNS hosting. This is how it will look in CloudFlare:

Save the new CNAME record. New DNS settings make take a while to have an effect.
Container Settings
↑ Back to topOnce the DNS settings will go live the server container will be accessible and you will be able to finalize the settings. Navigate back to GTM Admin section and select Container Settings:
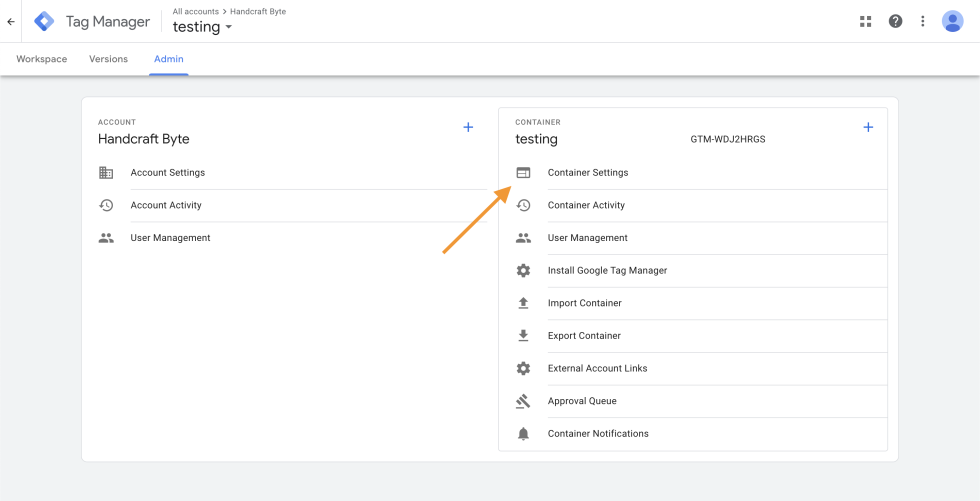
Click “Add URL” and paste your new server container subdomain adding “https://” in front of it. It will tell GTM where your server container is hosted and will enable preview mode, when URL is added Save it:

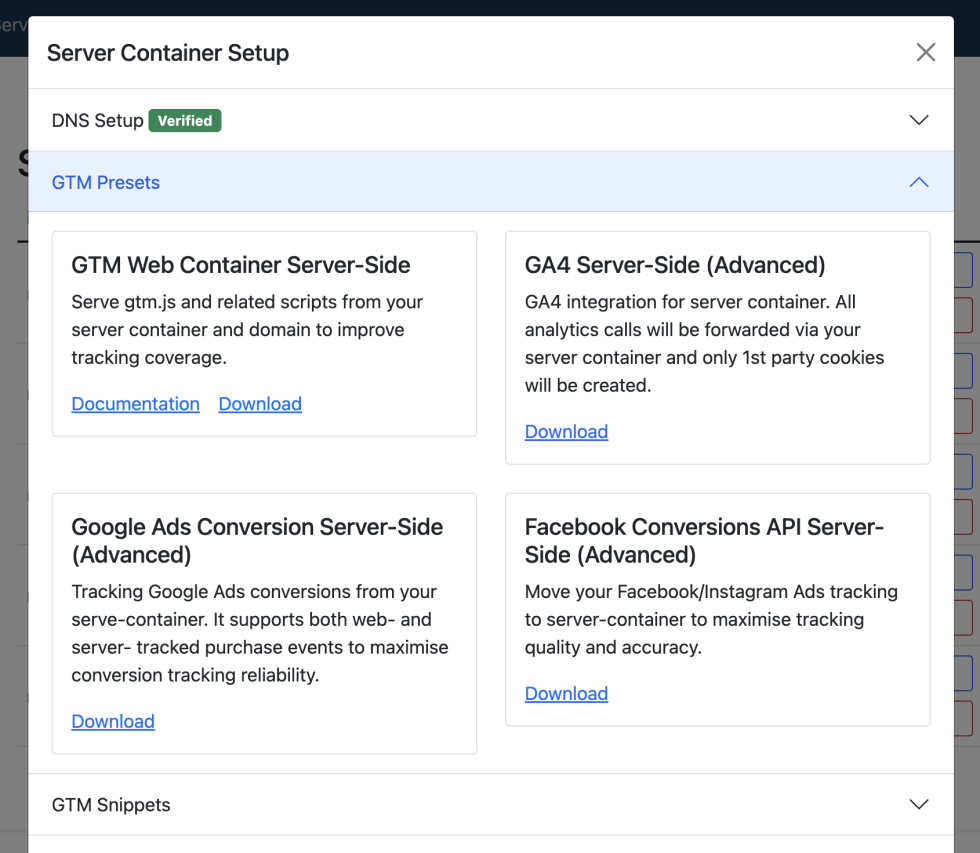
You can start configuring your new GTM server container. For instance you can import any of the server-side presets our hosting offers.
(Optionally) Install Server GTM Presets
↑ Back to topIn order to quickly provision end-to-end integrations for most popular platforms, we have prepared a set of GTM presets that can be imported into server GTM container. These presets are configured for eCommerce use-case, but can be adapted for other needs.
GTM Snippets Installation
↑ Back to topWhen you are ready configuring both of your web and server containers you can install it on your website. In order to get GTM served from your subdomain you need to use modified GTM installation snippets. You can find them on our platform clicking again “setup” button next to the container and selecting “GTM Snippets”.

In order to generate the Snippets you need to provide your Web GTM Container ID. This is the classic GTM container that will load into the browser, track events and send them to Server GTM container.
You can use our ready GTM Preset to configure your Web GTM container.
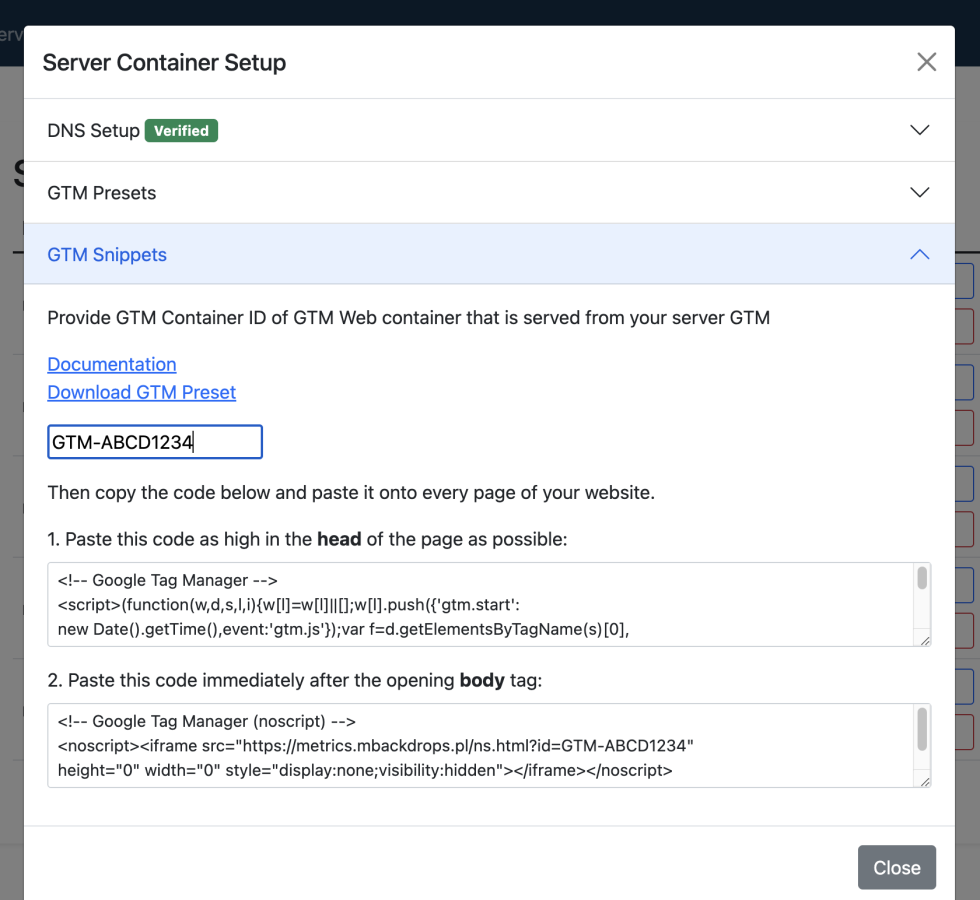
You can copy and paste those two snippets into appropriate place:
- Our GTM for WooCommerce plugin settings
- Directly into your theme code
- Into settings of your Cookie Banner or Consent Management Platform widget
