Installation
↑ Back to top- Download the .zip file from your WooCommerce account.
- Go to: WordPress Admin > Plugins > Add New and Upload Plugin with the file you downloaded with Choose File.
- Install Now and Activate Plugin.
More information at Install and Activate Plugins/Extensions.
Setup and Configuration
↑ Back to topOnce the extension is installed and activated, the Smart User Email Verification settings are available under WordPress Admin > WooCommerce. You can manage plugin functionality via General and Message Settings.
General Settings
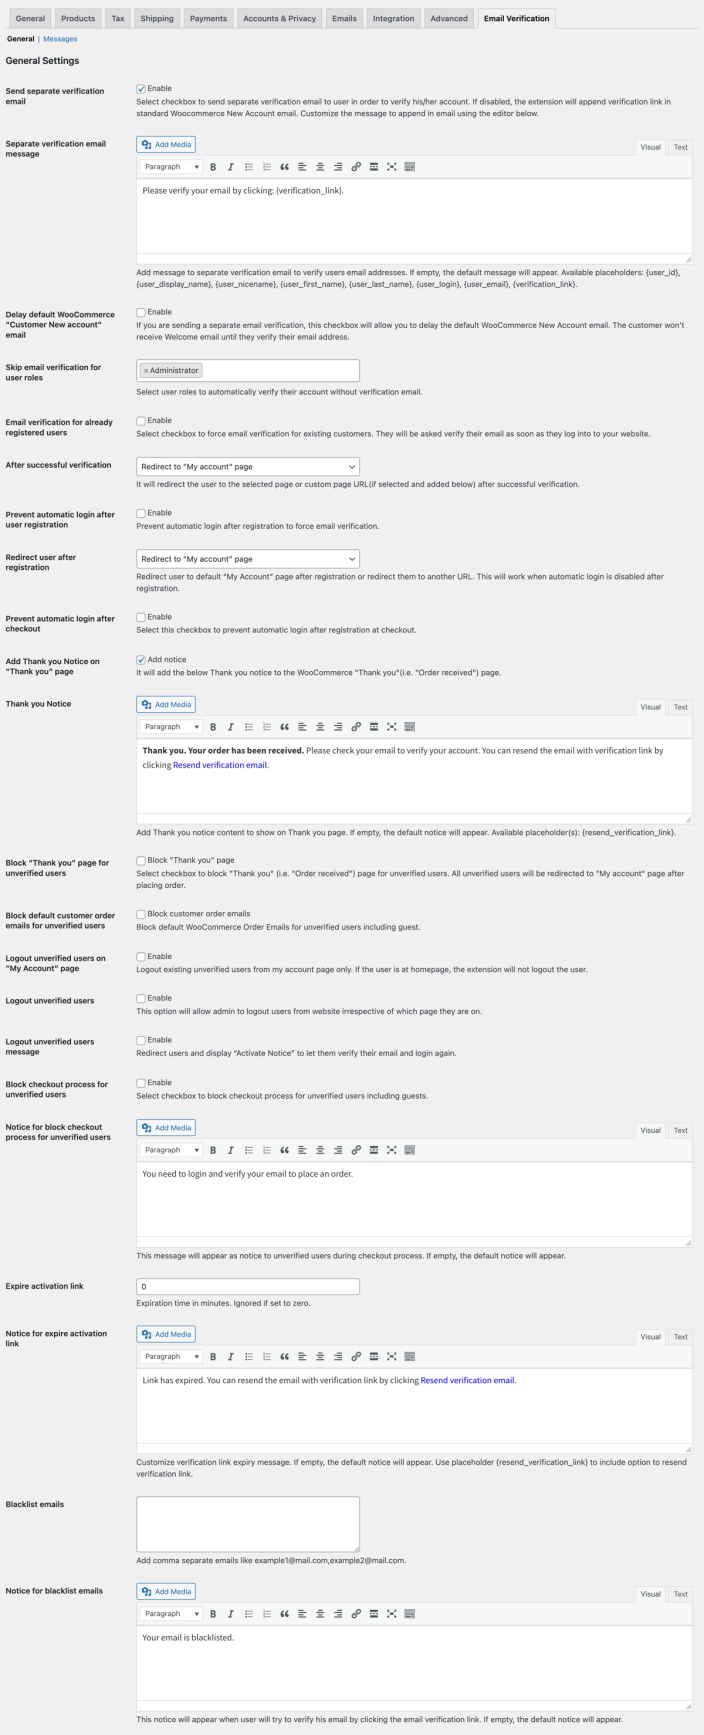
↑ Back to topFrom within General Settings (WP Admin > WooCommerce > Email Verification), you can customize the following options:
- Upon new account creation, the account verification link will be appended to the default WooCommerce “New Account” email. Or you can opt to enable the send separate verification email feature with the option to delay the “New Account” email until successful verification.
- Set verification link and customize message to be appended to default WooCommerce “New Account” email.
- Option to skip verification for specific user roles e.g, shop manager or any other VIP customer groups.
- Enable verification for existing users – the existing user will be asked to verify email once they login back to their account.
- Redirect user to “My Account”, “Home” page or any custom URL after successful verification.
- Prevent automatic login after user registration by forcing users to verify email in order to login with option to redirect user to custom URL.
- Prevent automatic login after checkout to force user email verification.
- Option to add notice on order confirmation “Thank You” page or instead block “Thank You” page for unverified users.
- Option to block default order confirmation emails or block checkout altogether to customers with unverified email address.
- Logout unverified users from your store – registered users will be logged out and forced to verify email address.
- Set verification link expiry time and customize message for expired link.
- Blacklist specific email addresses and customize notice.
Message Settings
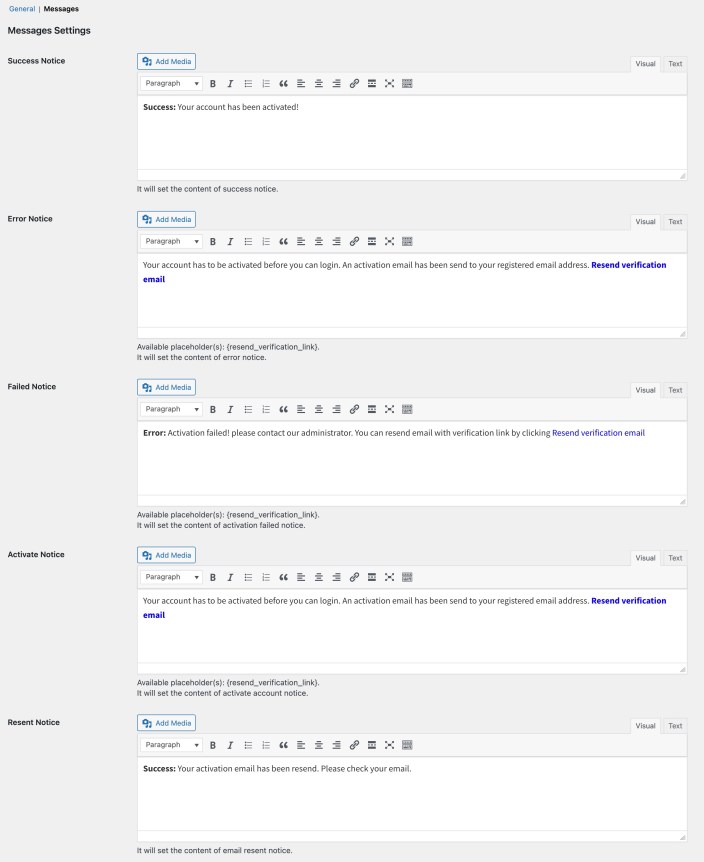
↑ Back to topWithin the Message settings, you can customize the following notices:
- Successful account creation messages – this notice appears on the account login page once email verification is successful.
- Error notices alerting customer to verify their email – unverified user will see this notice if attempting to login.
- Failed notice which appears when email verification is unsuccessful.
- Activate notice appears when a new user registers.
- Resend message appears when resend verification email is sent successfully
Manually Validate Emails
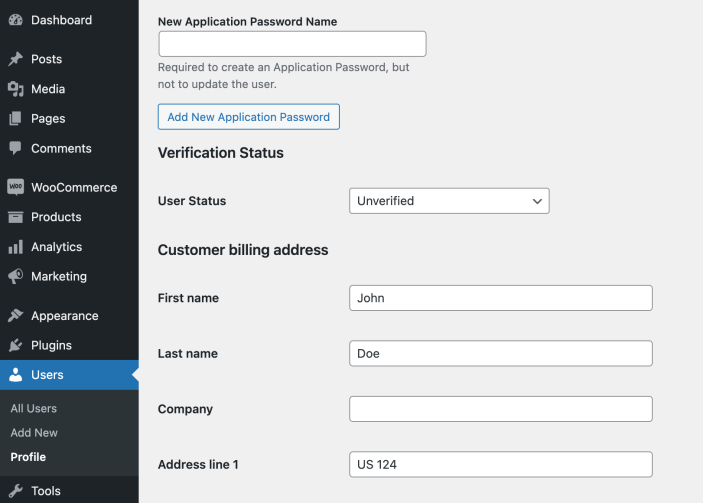
↑ Back to topYou can also view and manually set the verification status of users . To manually verify a user,
- Go to WooCommerce > Users > All Users.
- Next, select relevant User and then Edit. In the “User status” field, Select User Verification Status from the dropdown menu.
- Update Profile.
FAQs
↑ Back to topHow to validate guest emails?
The guest emails cannot be validated as there is no account in the backend to manage their verification status and block them from logging into the account. We recommend disabling guest checkout if the email verification is required to process each order.
Does the extension validate the user’s email when account is created from checkout page?
Yes, when non-logged in customers are forced to create an account during checkout, the extension sends a verification email once the order is placed. A custom message can be displayed on the order “Thank You” page notifying customers to verify their email in order to confirm the order.