Note: This product is no longer for sale at WooCommerce.com, and the documentation is not being updated.
Requirements
↑ Back to top- A HipChat account. More info at: hipchat.com
Installation
↑ Back to top- Download the .zip file from your WooCommerce account.
- Go to: WordPress Admin > Plugins > Add New and Upload Plugin with the file you downloaded with Choose File.
- Install Now and Activate the extension.
Setup and Configuration
↑ Back to top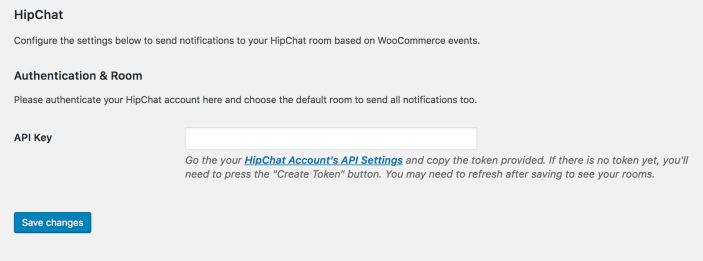
- Go to WooCommerce > Settings > Integration > HipChat.
- Enter the API Key from your HipChat account. In your HipChat account, create a new token by going your API Settings for your account.
- Save changes. to verify the API was entered correctly.
- If no, an error is returned. Confirm, and verify again.
- If yes, additional settings appear. You may need to refresh your browser.
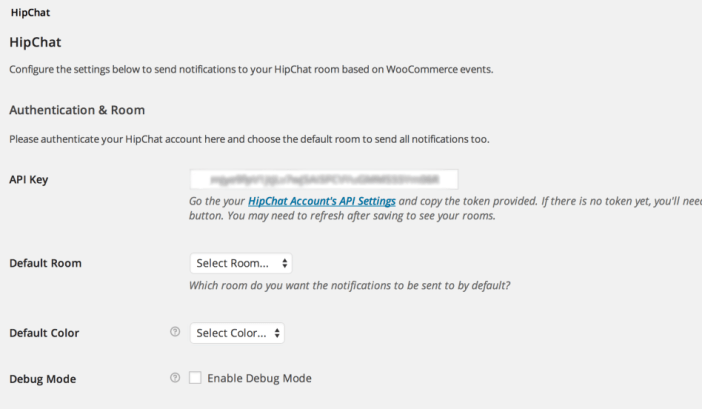
- Select a Default Room and Default Color from the dropdown.
- Enable Debug Mode (optional) for troubleshooting purposes. Otherwise, leave disabled.
- Save changes.
- Set up Notifications. See next section on Notifications.
- Send Test Notification to ensure they are working.
- Save changes.

Notifications
↑ Back to top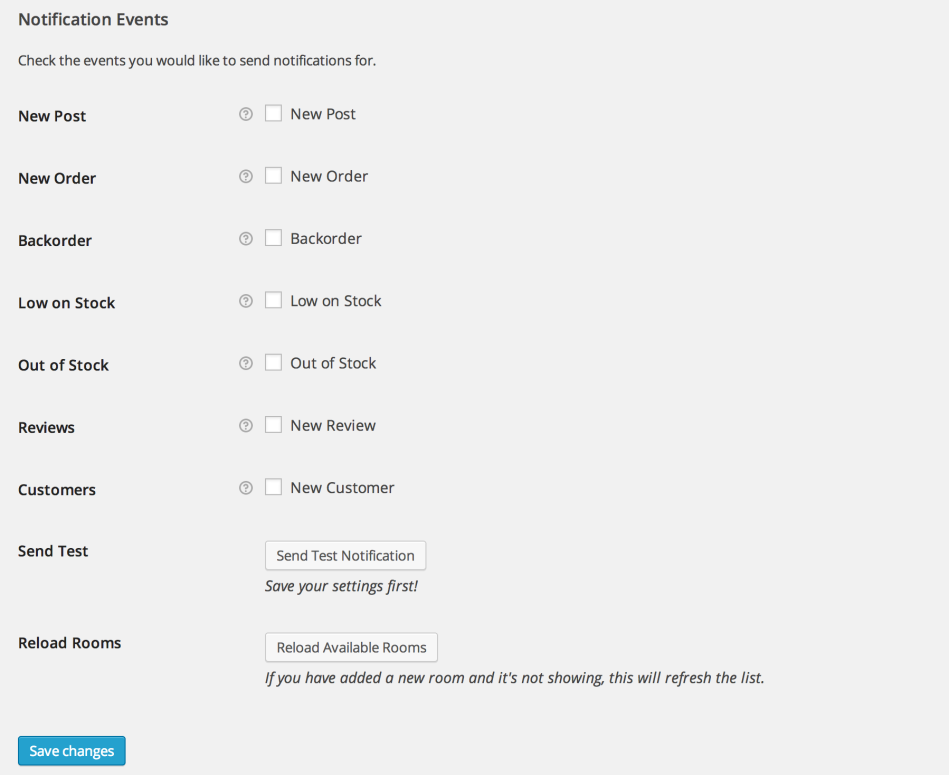
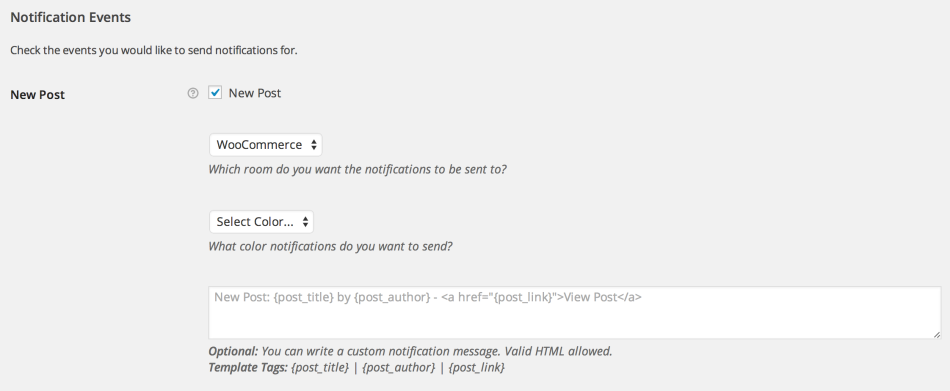
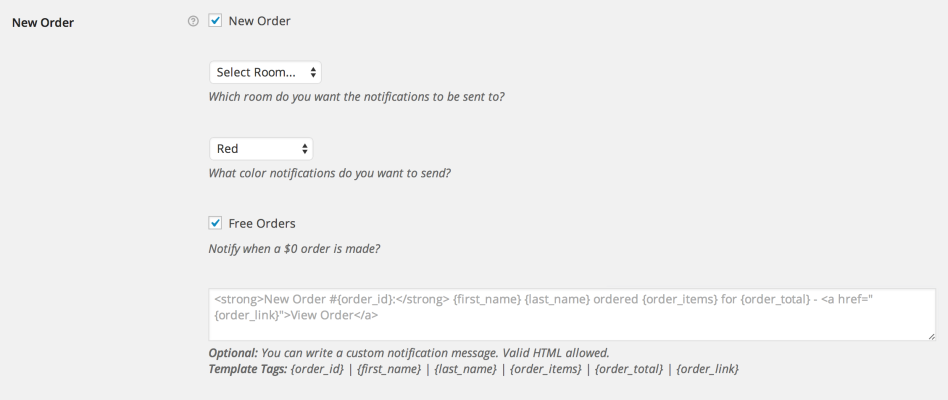
- Room – Specific room to send this notification to
- Color – Specific color of this notification
- Custom Notification Message – Custom message to use for this notification, made using the notification’s unique template tags
New Order Notification
There is also one extra option for the new order notification:- Free Orders – If you check this option, notifications will be sent for free orders too
Custom Notifications
It’s possible to build your own custom notification messages for each notification type. Underneath each notification, the available template tags are listed. They’re straightforward to use but keep in mind that {xxxxx_link} provides the URL itself. Valid HTML is allowed to be used, so you can include links and other formatting / styling.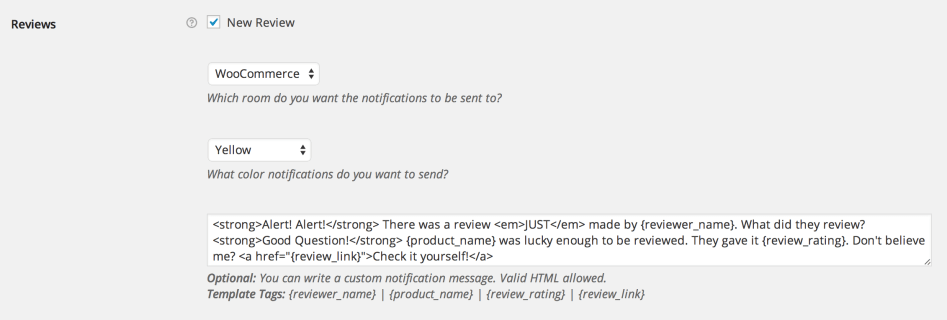

Customization
↑ Back to topFrequently Asked Questions
↑ Back to top
